
As I stood under the stars reminiscing about summer camp, the rich aroma of toasted marshmallows wafting through the air brought an unmistakable sense of nostalgia. My latest creation, Toasted S’mores Ice Cream Sandwiches, captures those cherished memories in a deliciously easy dessert. This recipe is perfect for gatherings, bringing people together over the delightful combination of crispy graham crackers, gooey toasted marshmallows, and creamy ice cream. With minimal prep time, these ice cream sandwiches can be made ahead, allowing you to bask in the joy of summer evenings with family and friends instead of being stuck in the kitchen. So, why settle for ordinary desserts when you can make these nostalgic treats with a twist? What flavor will you choose to make them your own?
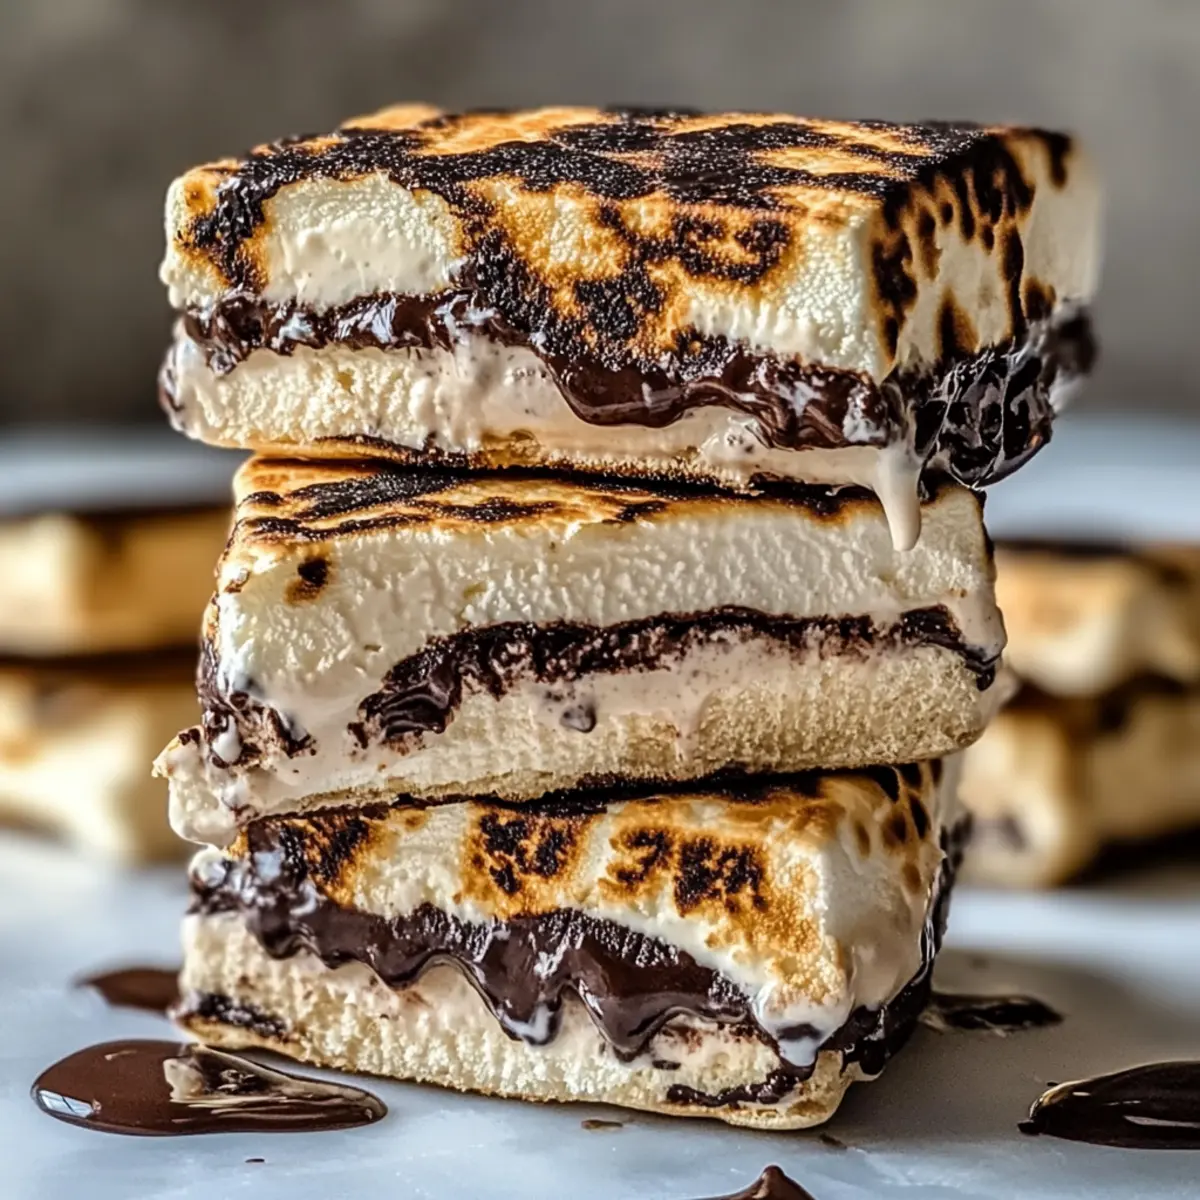
Why Are Toasted S’mores Ice Cream Sandwiches Irresistible?
Nostalgic Flavor: Each bite transports you back to summer nights around the campfire, blending the smoky sweetness of toasted marshmallows with creamy ice cream.
Versatile Options: Customize your dessert with your favorite ice cream flavors—think chocolate or salted caramel—making each creation uniquely yours!
Effortlessly Easy: With only a few simple steps, these sandwiches are a breeze to prepare. They can be assembled ahead of time, so you can enjoy a stress-free gathering.
Crowd Pleaser: Whether it’s a family BBQ or a casual get-together, everyone will adore these tasty treats—perfect for all ages!
Make-Ahead Magic: Prepare them up to 24 hours in advance. Serve with a side of Iced Pumpkin Cream for a seasonal twist.
Toasted S’mores Ice Cream Sandwiches Ingredients
• Get ready to create an irresistible summer treat with these must-have ingredients!
For the Sandwiches
- Graham Crackers – Provide the classic crunch and structure essential for building your ice cream sandwiches.
- Marshmallows – Perfectly charred for that iconic s’mores flavor; opt for large marshmallows for an extra gooey center.
- Vanilla Ice Cream – The backbone of the sandwich, bringing creaminess that complements the toasted marshmallows beautifully. You can switch it up with chocolate or salted caramel flavors for a fun twist.
For the Chocolate Drizzle
- Chocolate Fudge Sauce – A rich addition that enhances every bite; warm it up slightly for easy pouring over the ice cream.
Now gather these ingredients and get ready to craft your own Toasted S’mores Ice Cream Sandwiches—the kind of treat that unites friends and family under the stars!
Step‑by‑Step Instructions for Toasted S’mores Ice Cream Sandwiches
Step 1: Preheat and Prepare
Begin by preheating your broiler to high. Line a 9×13 inch baking pan with parchment paper, allowing for some overhang to make removing the assembled dessert easier later. This will provide a sturdy base for your delicious Toasted S’mores Ice Cream Sandwiches, keeping everything perfectly intact.
Step 2: Broil the Marshmallows
Arrange the marshmallows in a single layer on a baking sheet. Place the sheet under the broiler for 1-2 minutes, watching closely until they puff up and turn golden brown, which adds that delectable smoky sweetness. Keep an eye on them to avoid burning; removing them at the right moment creates that perfect toasted flavor.
Step 3: Cool the Marshmallows
Once beautifully toasted, remove the marshmallows from the oven and let them cool for a few moments. This brief cooling period ensures that the marshmallows won’t melt your ice cream when layered, while still maintaining that gooey, chewy texture essential for your Toasted S’mores Ice Cream Sandwiches.
Step 4: Layer the Ice Cream
Take your softened vanilla ice cream and spread about 3/4 of it evenly across the bottom of the prepared pan. Be sure to use a spatula to create a smooth layer, ensuring consistent coverage that acts as the creamy foundation of your sandwiches. This layer will complement the toasted marshmallows beautifully.
Step 5: Add Chocolate Fudge Sauce
Drizzle a generous layer of warm chocolate fudge sauce over the ice cream, allowing it to cascade evenly. This will enrich the flavor of the sandwich, adding a delightful chocolatey contrast to the creamy ice cream and the crispy graham cracker layer. The warmth of the sauce will also meld perfectly with the ice cream.
Step 6: Distribute Toasted Marshmallows
Evenly distribute the toasted marshmallows over the chocolate fudge sauce, ensuring each bite will have that signature s’mores experience. Gently press them into the fudge sauce to help them adhere, creating layers of flavor and texture that will elevate your Toasted S’mores Ice Cream Sandwiches.
Step 7: Add Remaining Ice Cream
Spread the remaining softened ice cream over the toasted marshmallows, sealing in the layers of deliciousness. Smooth this layer evenly, making sure to fill any gaps for a perfect finish. This top layer is crucial for completing the sandwich and preventing the graham crackers from becoming soggy.
Step 8: Freeze Until Firm
Cover the pan with additional parchment or plastic wrap and place it in the freezer. Allow the assembled Toasted S’mores Ice Cream Sandwiches to freeze until firm, which typically takes at least 4 hours, but overnight is even better for optimal slicing. This step is essential for achieving a neat, satisfying serve.
Step 9: Slice and Serve
When ready to serve, remove the pan from the freezer and use the parchment overhang to lift the frozen block out. Using a hot knife dipped in water, slice into squares to minimize sticking and achieve clean edges. Now, your Toasted S’mores Ice Cream Sandwiches are ready to be enjoyed, showcasing delightful layers of flavor in every bite!
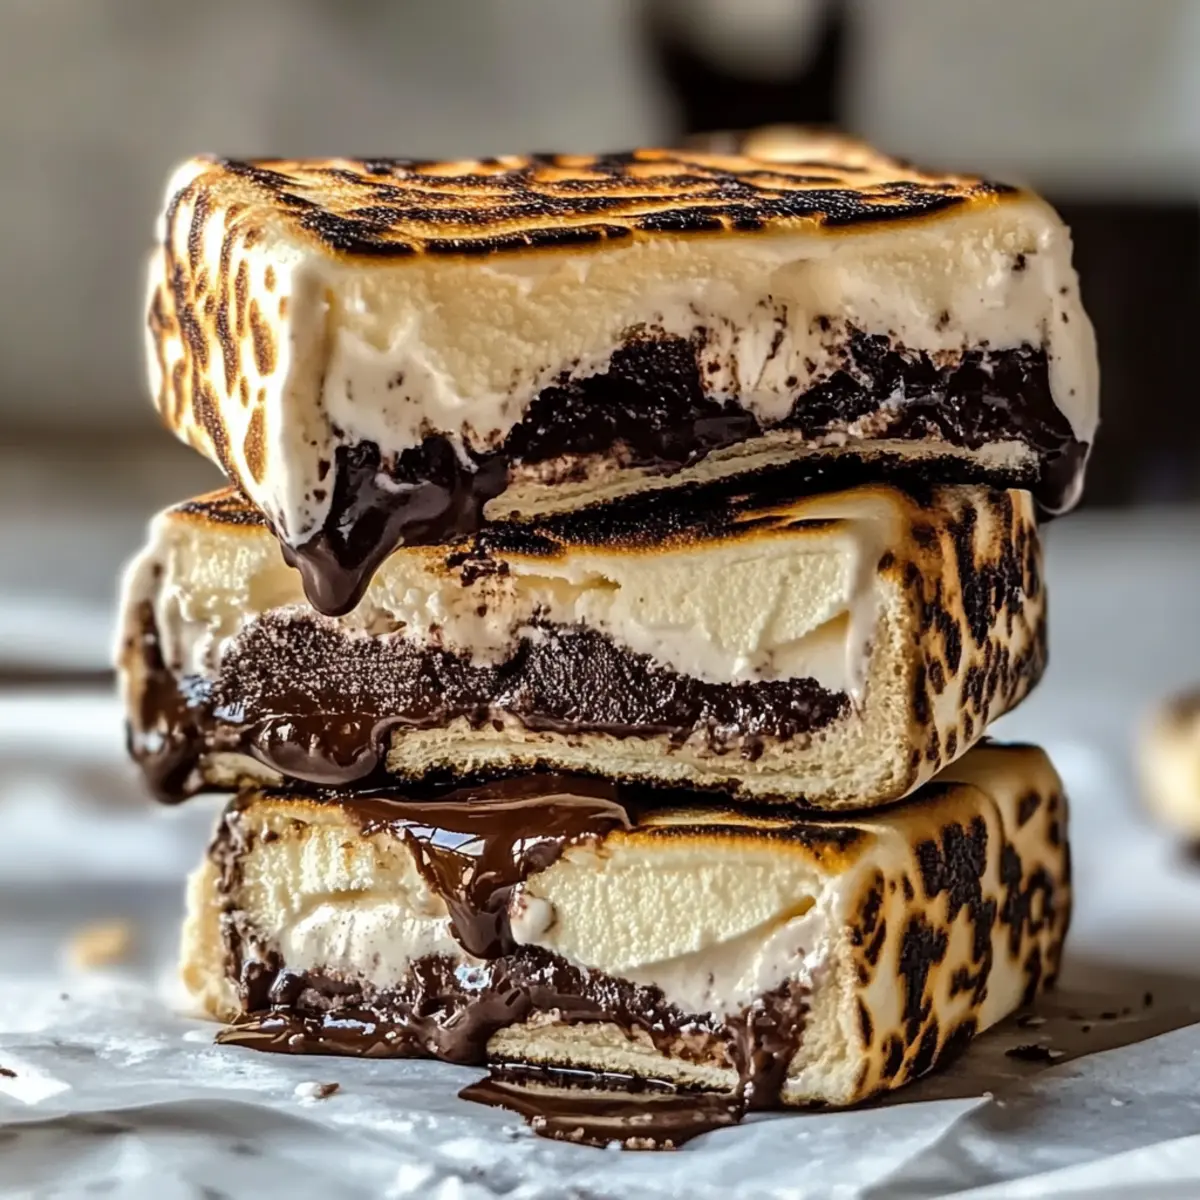
Expert Tips for Toasted S’mores Ice Cream Sandwiches
-
Avoid Soggy Crackers: Use crushed graham crackers mixed with melted butter as a base. This creates a sturdier structure and prevents sogginess.
-
Toast Carefully: Watch your marshmallows closely under the broiler; they can go from perfectly toasted to burnt in seconds.
-
Optimal Ice Cream Texture: Make sure your ice cream is slightly softened but still cold for easy layering. This ensures a smooth assembly for your s’mores ice cream sandwiches.
-
Use Parchment Wisely: Leave a generous overhang of parchment paper to make lifting the frozen dessert out easier; it’s a game changer for neat slicing.
-
Slice with Precision: Dip a sharp knife in hot water before slicing your sandwiches. This helps create clean, beautiful edges without sticking, enhancing presentation.
What to Serve with Toasted S’mores Ice Cream Sandwiches
Indulging in the sweetness of toasted marshmallows and creamy ice cream sparks the perfect evening for delightful pairings.
- Fresh Berries: Tart raspberries or juicy strawberries add a refreshing contrast to the sweet ice cream, brightening each bite.
- Chocolate Dipped Fruit: Enhance the flavor parade with banana or strawberry slices dipped in chocolate, a playful addition that echoes the classic s’mores taste.
A fruity option brings a lightness, balancing out the richness of your ice cream sandwiches. Try serving a bowl of mixed berries on the side, allowing guests to enjoy a burst of freshness along with their dessert.
- Chilled Hot Chocolate: A rich, velvety hot chocolate served cold provides the ultimate chocolate complement to the s’mores flavors.
- Grilled Pineapple: The caramelized sweetness of grilled pineapple adds a tropical zing that beautifully contrasts with the dessert’s creamy texture.
Imagine the taste of warm, grilled pineapple, bringing a sunny vibrancy to your meal, while chilled hot chocolate echoes the comforting feeling of a cozy campfire night.
- Caramel Sauce Drizzle: Drizzling warm caramel over each sandwich creates an extra layer of sweetness that enhances the overall experience.
- Vanilla Ice Cream Scoop: A classic scoop of vanilla ice cream on the side makes for a smooth, creamy pairing with every bite of the s’mores!
Toasted S’mores Ice Cream Sandwiches Variations
Feel free to let your creativity shine while customizing these delightful treats to suit your taste buds.
-
Flavor Swap: Try different ice cream flavors like chocolate or strawberry for a unique twist. Each flavor brings its own charm, making every bite a new adventure. Don’t forget to share your favorite combinations!
-
Nutty Boost: Add crushed nuts such as almonds or pecans between the layers for a delightful crunch. This extra texture enhances the dessert’s flavor and adds a delightful surprise in every bite, turning your sandwich into a gourmet experience.
-
Caramel Drizzle: Replace the chocolate fudge with warm caramel sauce for an indulgent twist. The sweet, buttery flavor of caramel perfectly complements the other ingredients, creating a luscious, decadent treat that’s hard to resist.
-
Dairy-Free Delight: Substitute the ice cream with a coconut or almond milk-based ice cream for a dairy-free version. You’ll enjoy a creamy texture without the dairy, perfect for those looking for a lighter, vegan-friendly treat.
-
Spicy Kick: Sprinkle a pinch of cinnamon or cayenne pepper on the toasted marshmallows for a surprising heat. This unexpected twist can elevate your s’mores game and tantalize your taste buds with warming spices.
-
Fruit Fusion: Incorporate slices of fresh strawberries or banana in the layers for a fruity twist. The natural sweetness of the fruit creates a refreshing contrast with the rich flavors, making each bite irresistibly delicious.
-
Chocolate Variations: Use different types of chocolate, such as dark, milk, or even white chocolate, for unique flavor profiles. Each type will bring a different level of richness, enabling you to cater to your specific chocolate cravings.
With all these delicious options, your Toasted S’mores Ice Cream Sandwiches can transform to match any craving or dietary preference. Pair them with a scoop of Pistachio Ice Cream for an even more delightful experience—you’ll be the star of your next gathering!
How to Store and Freeze Toasted S’mores Ice Cream Sandwiches
Fridge: Store any leftovers tightly wrapped in plastic wrap for up to 3 days. However, be mindful that the marshmallows may lose their texture over time.
Freezer: For best freshness, keep the assembled Toasted S’mores Ice Cream Sandwiches wrapped in parchment and plastic wrap in the freezer. They can last for up to 2 weeks without losing flavor or texture.
Reheating: Serve directly from the freezer for a firm bite. If you prefer a softer texture, let them sit at room temperature for about 5 minutes before slicing and serving.
Make-Ahead Tip: Feel free to prepare the sandwiches up to 24 hours in advance and store tightly covered to enhance flavor and maintain structure!
Make Ahead Options
These Toasted S’mores Ice Cream Sandwiches are perfect for meal prep and can be assembled up to 24 hours in advance! To do this, simply prepare the sandwich layers—broil the marshmallows, layer the ice cream, and drizzle the chocolate sauce—then cover tightly and freeze. This ensures your dessert maintains its delightful combination of textures even after a night in the freezer. When you’re ready to serve, just slice the frozen block using a hot knife dipped in water for clean edges and a delicious presentation. You’ll have a fantastic treat ready with minimal effort, saving time for those busy summer evenings with family and friends!
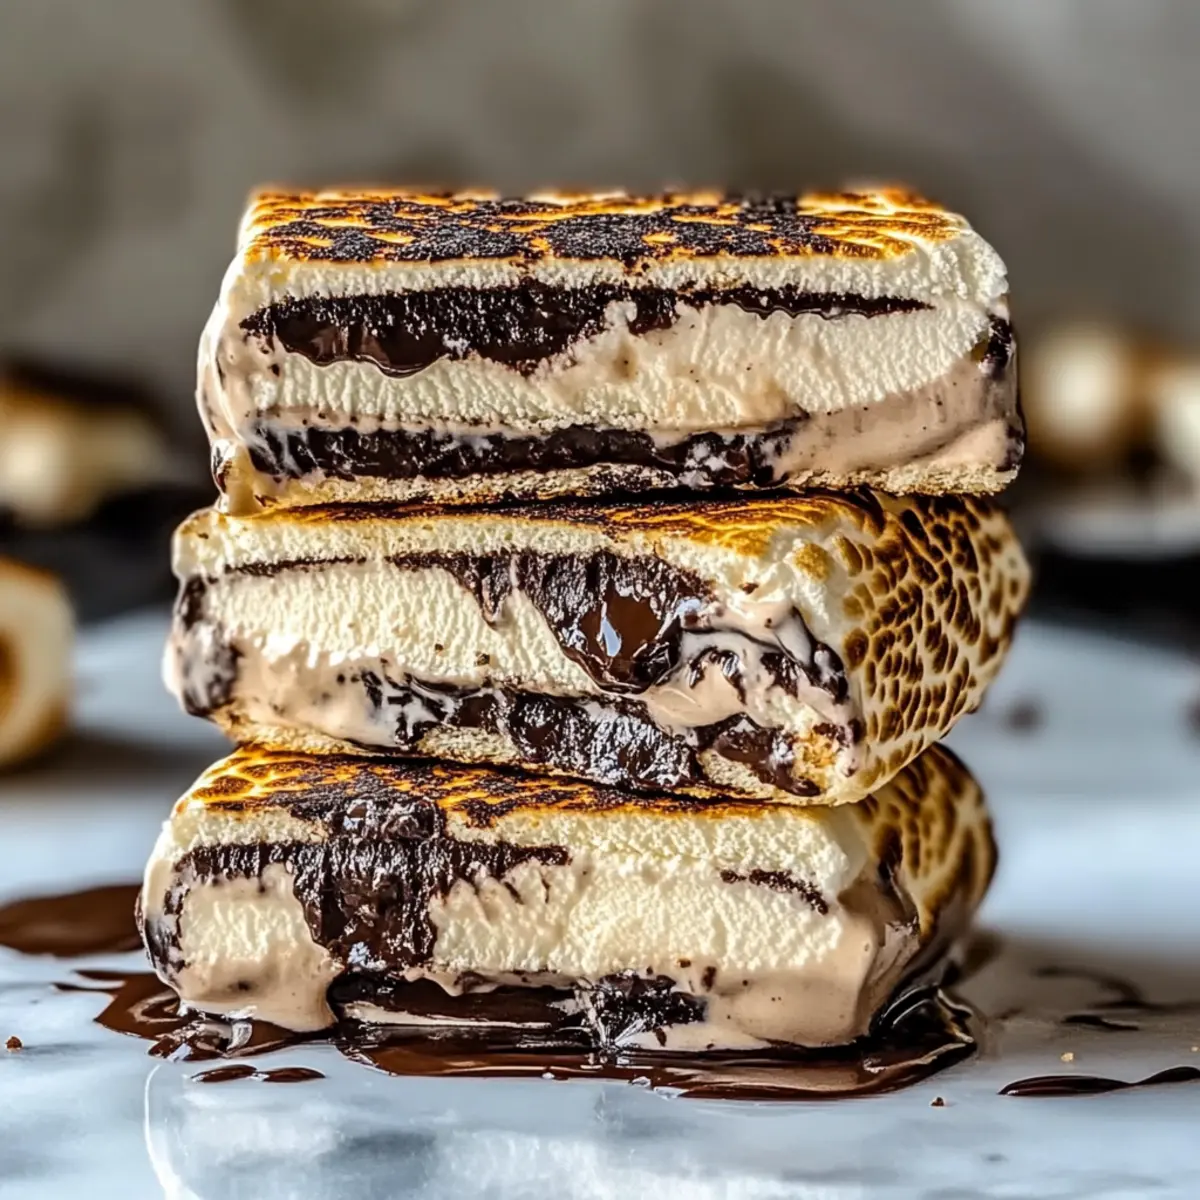
Toasted S’mores Ice Cream Sandwiches Recipe FAQs
What type of marshmallows should I use?
Absolutely! For the best results, use large marshmallows that will puff up beautifully when toasted. If you’re feeling adventurous, you can also try using flavored marshmallows for an exciting twist on the classic taste!
How should I store the leftover sandwiches?
To keep your Toasted S’mores Ice Cream Sandwiches fresh, tightly wrap them in plastic wrap and store them in the freezer. This way, they can last for up to 2 weeks without losing their delightful flavor and texture. Avoid storing them in the fridge as the marshmallows may become too soft.
Can I freeze these ice cream sandwiches?
Yes, you can! Once assembled, wrap the sandwiches tightly in parchment and plastic wrap. They’ll freeze perfectly for up to 2 weeks. When ready to enjoy, just slice them straight from the freezer for a satisfying, icy treat!
What should I do if my marshmallows burn while broiling?
If your marshmallows burn, don’t worry! They’re quite forgiving. Simply remove them immediately and allow them to cool before adding a fresh batch. Be sure to keep a close eye on them while broiling; just a minute or two can make all the difference!
Can I modify this recipe for dietary restrictions?
Very! To make gluten-free Toasted S’mores Ice Cream Sandwiches, simply choose gluten-free graham crackers. Additionally, if there are nut allergies at your gathering, opt for nut-free chocolate fudge sauce and ice cream. There are plenty of substitutes available that maintain the delicious experience!
How can I ensure clean slices when serving?
For a neat finish, dip your knife in hot water before slicing your sandwiches. Wipe it dry between cuts to keep those edges looking sharp and tidy. This simple step will impress your guests and enhance the presentation of your nostalgic treats!
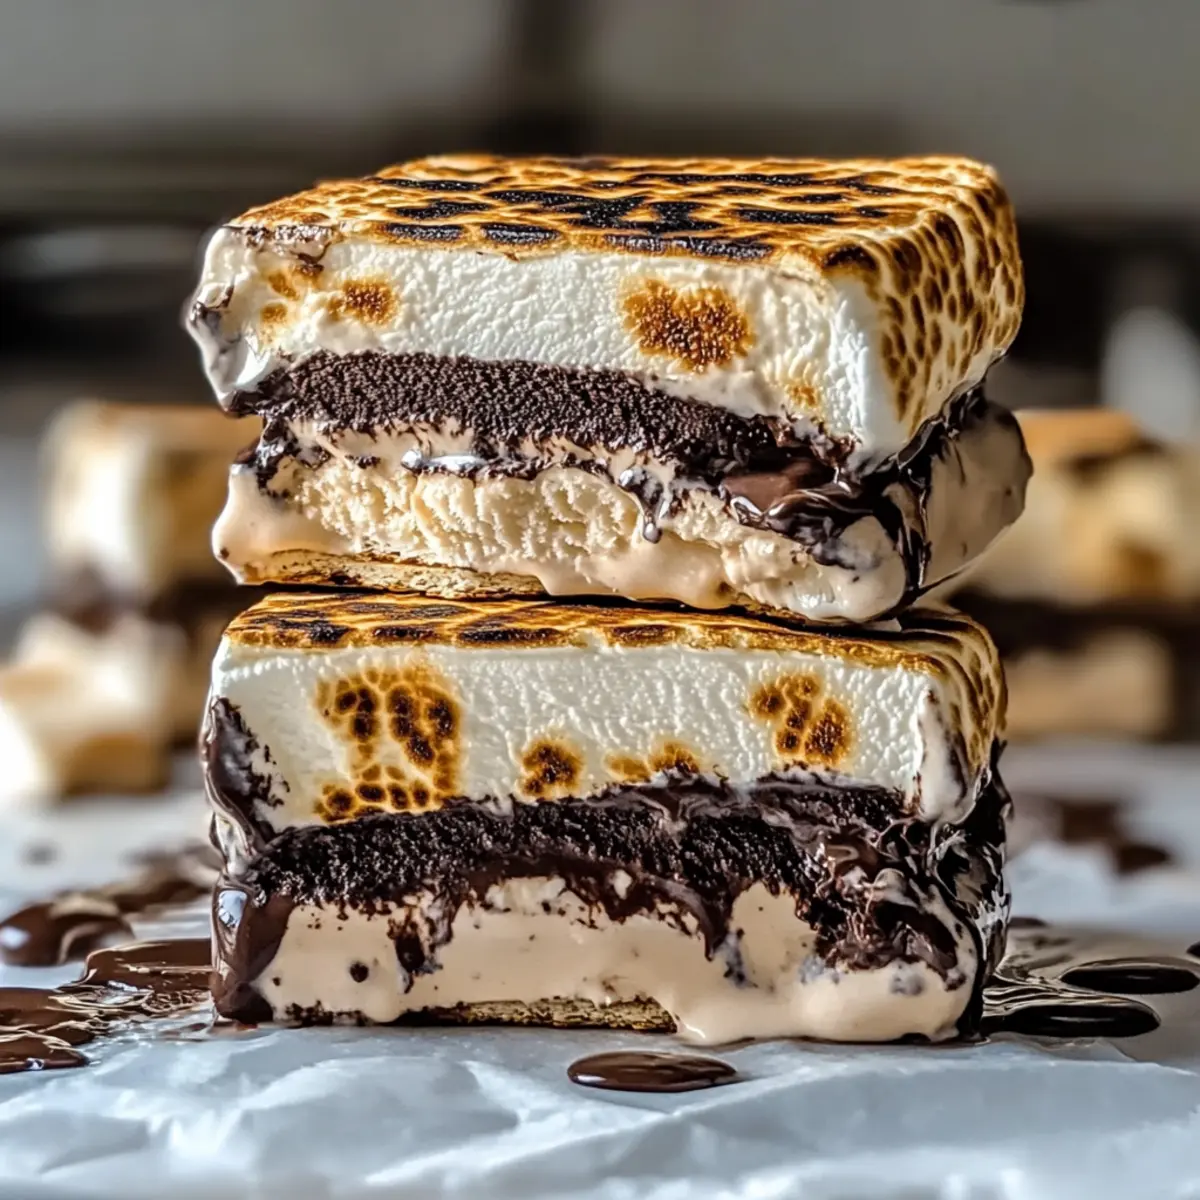
Toasted S'mores Ice Cream Sandwiches: A Sweet Summer Delight
Ingredients
Equipment
Method
- Preheat your broiler to high and line a baking pan with parchment paper.
- Arrange the marshmallows on a baking sheet and broil for 1-2 minutes until golden brown.
- Let the marshmallows cool for a few moments to prevent melting the ice cream.
- Spread 3/4 of the softened vanilla ice cream evenly in the bottom of the prepared pan.
- Drizzle warm chocolate fudge sauce over the ice cream layer.
- Distribute the toasted marshmallows over the chocolate sauce and press gently.
- Spread the remaining softened ice cream over the marshmallows for sealing.
- Cover with parchment or plastic wrap and freeze until firm, at least 4 hours.
- Remove from freezer, lift using parchment overhang, and slice into squares.
Leave a Reply