
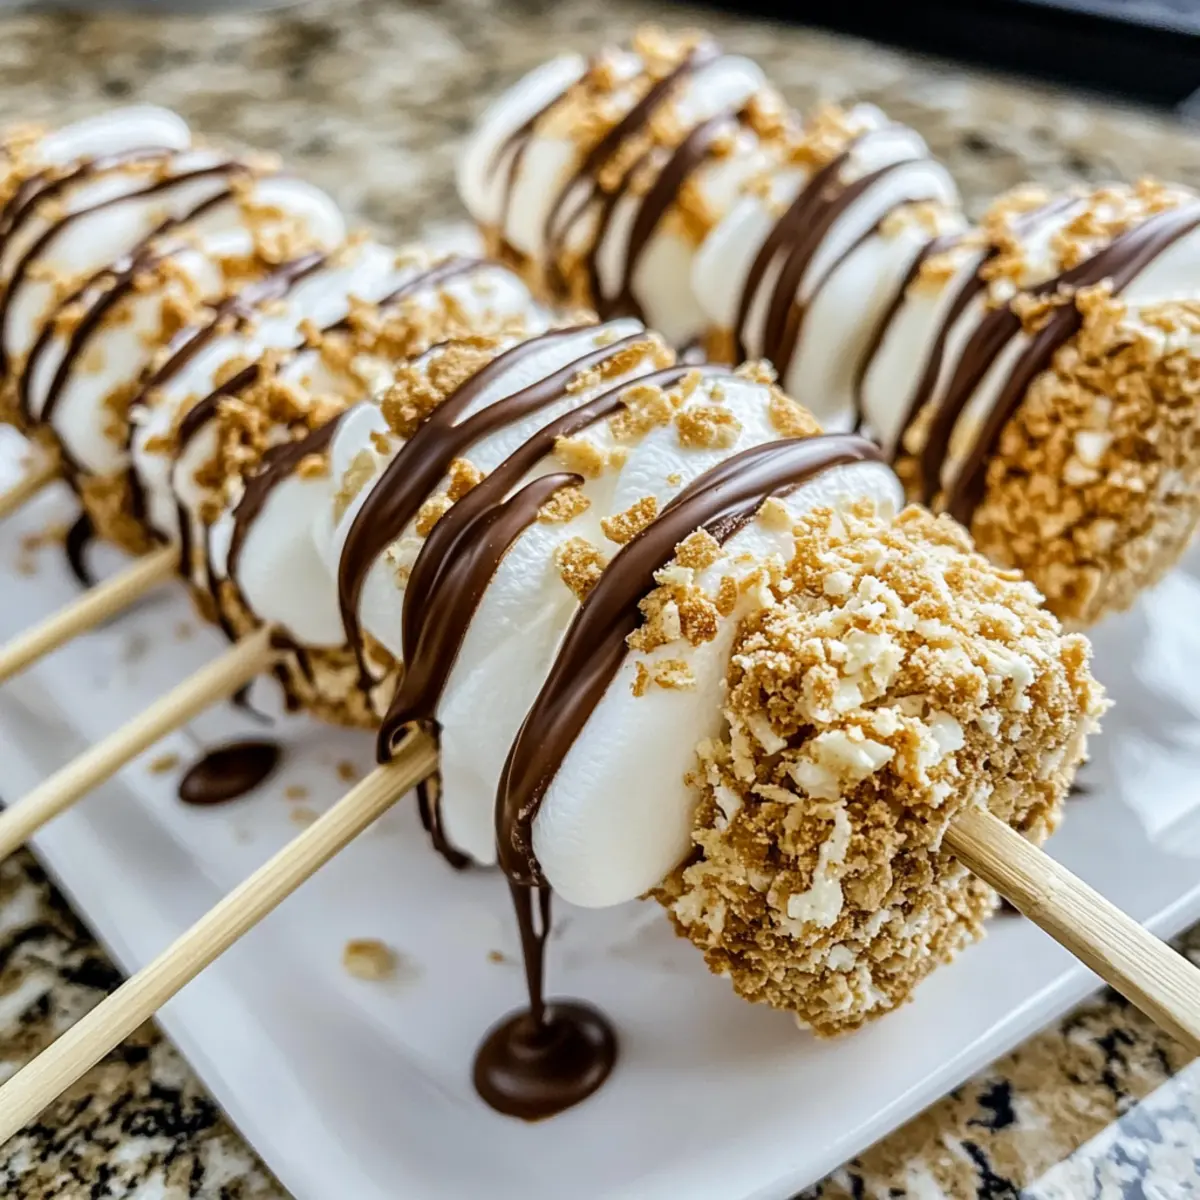
There’s nothing quite like the joy of bringing a taste of summer indoors, and these Easy No-Bake S’mores Marshmallow Pops do just that! With their combination of chewy marshmallows, silky chocolate, and crunchy graham crackers, each bite transports me back to those fun campfire nights. The best part? This quick dessert is a breeze to whip up, making it perfect for those busy days or spontaneous gatherings. Plus, being vegetarian-friendly, these delightful pops are a hit for everyone, from kids to adults. So, are you ready to indulge in a nostalgic treat that satisfies your sweet tooth without the fuss of baking? Let’s dive into this fun and easy recipe together!
Why are S’mores Marshmallow Pops so amazing?
Instant Nostalgia: These treats bring back the warm, fuzzy feelings of summer nights spent around the campfire.
Quick & Easy: With a no-bake method, preparation is a breeze—perfect for busy schedules or last-minute gatherings!
Versatile Delight: Customize your pops with different chocolates or toppings, like mini marshmallows or sprinkles, to suit every taste.
Vegetarian-Friendly: Everyone can enjoy these sweet delights, making them a perfect party treat for guests young and old.
Impressive Presentation: The glossy chocolate coating and crunchy graham cracker layer look stunning on any dessert table. Grab some inspiration from other delightful treats like our Marshmallow Rice Krispies or Pumpkin Smores Bars!
S’mores Marshmallow Pops Ingredients
For the Marshmallow Base
• Marshmallows – They form the sweet gooey center; use regular or jumbo for a fun twist.
For the Chocolate Coating
• White Chocolate (morsels or almond bark) – This creamy coating adds sweetness; feel free to swap with milk or dark chocolate based on your taste.
• Milk Chocolate (morsels or almond bark) – For an extra drizzle of richness; can be substituted with semi-sweet or dark chocolate.
For the Crunchy Coating
• Graham Crackers (crushed) – They provide the nostalgic S’mores crunch; try alternative cookies for different flavors or textures.
For Thinning Chocolate
• Vegetable Shortening – Essential for keeping the chocolate smooth when melting; it can help rescue thickened chocolate too.
Let’s gather these ingredients to create some delicious S’mores Marshmallow Pops that evoke those cherished campfire memories!
Step‑by‑Step Instructions for S’mores Marshmallow Pops
Step 1: Skewering the Marshmallows
Begin by carefully skewering four marshmallows onto each stick, ensuring they’re evenly spaced. Lay the skewered marshmallows on a sheet of wax paper, which will catch any drips later. This setup should take just a few minutes, and the sight of fluffy marshmallows lined up is a delightful start to your S’mores Marshmallow Pops.
Step 2: Melting the White Chocolate
In a microwave-safe bowl, add your white chocolate morsels or almond bark. Heat them in the microwave in 30-second bursts, stirring well after each interval until the chocolate is completely smooth and glossy. This should take about 1 to 2 minutes. Be careful not to overheat; a gentle melting process helps create the perfect coating for your pops.
Step 3: Coating the Marshmallows
Dip each skewered marshmallow into the melted white chocolate, ensuring it’s fully coated. Allow any excess chocolate to drip off before rolling the marshmallow in crushed graham crackers to create that classic S’mores flavor. Cover each marshmallow thoroughly, and admire how deliciously messy they look; this is the essence of S’mores Marshmallow Pops!
Step 4: Setting the Pops
Place your coated marshmallow pops back on the wax paper, spacing them out to avoid sticking. Allow them to set for about 15-20 minutes at room temperature, or until the chocolate hardens and creates a beautiful glossy surface. This step is crucial as it keeps your S’mores Marshmallow Pops intact for the next delicious phase.
Step 5: Drizzling with Milk Chocolate
While waiting for the white chocolate to set, melt the milk chocolate using the same microwave method. Once smooth, drizzle the melted milk chocolate over the hardened white chocolate pops in a zigzag pattern. This extra layer will add richness and visual appeal to your S’mores Marshmallow Pops, making them even more irresistible!
Step 6: Final Touches
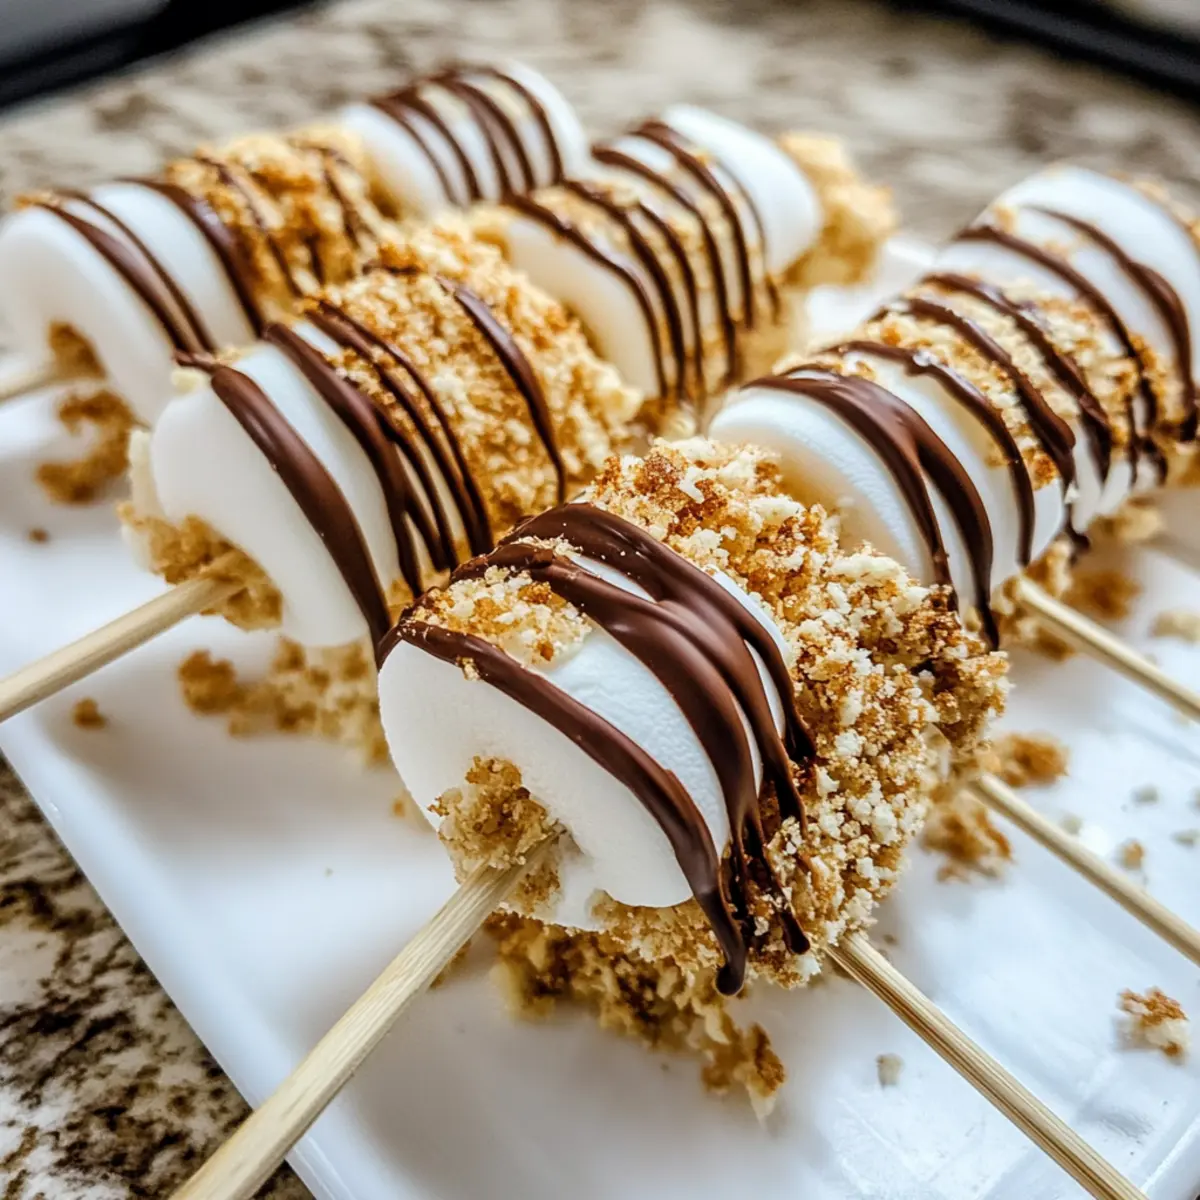
Before the milk chocolate sets, sprinkle mini marshmallow bits on top for a whimsical finish. Allow the pops to sit on the wax paper until everything is firm, which should take an additional 10 minutes. Once your S’mores Marshmallow Pops are fully hardened, they’re ready to be devoured or showcased at your next gathering!
Make Ahead Options
These S’mores Marshmallow Pops are perfect for meal prep enthusiasts! You can easily prepare the marshmallow pops up to 24 hours in advance by following the initial steps of skewering the marshmallows and coating them in white chocolate and crushed graham crackers. Once they’re set, store the finished pops in an airtight container at room temperature to maintain their delightful texture and flavors. Simply drizzle with melted milk chocolate and add mini marshmallow bits right before serving to keep everything looking fresh and irresistible. This hands-on approach not only saves you time but also ensures your pops remain just as delicious and visually appealing for your gatherings!
How to Store and Freeze S’mores Marshmallow Pops
Room Temperature: Maintain S’mores Marshmallow Pops in an airtight container at room temperature for up to 1 week. This keeps them fresh and avoids stickiness.
Fridge: For longer freshness, you can store the pops in the refrigerator. They will last about 2 weeks; ensure they’re in a sealed container to prevent absorbing odors.
Freezer: If you wish to freeze them, wrap each pop individually in plastic wrap and then place them in a freezer-safe container. They can be frozen for up to 3 months.
Reheating: When ready to enjoy, remove from the freezer and let them sit at room temperature for about 15 minutes before serving. Avoid reheating in the microwave, as this can melt the chocolate coating.
What to Serve with Easy No-Bake S’mores Marshmallow Pops
Imagine a delightful feast that pairs perfectly with the whimsical sweetness of these S’mores Marshmallow Pops!
-
Creamy Vanilla Ice Cream: The cool, creamy texture of vanilla ice cream balances the pop’s sweetness, creating a dreamy combination for dessert lovers.
-
Fresh Fruit Skewers: Bright, juicy strawberries and pineapple bites offer a refreshing contrast that enhances the overall indulgence of the S’mores.
-
Chocolate Drizzled Pretzels: The salty crunch of pretzels drizzled with chocolate adds an exciting twist, highlighting the sweet and savory harmony.
-
Cold Chocolate Milk: A glass of chilled chocolate milk complements the flavors beautifully, turning your treat into a nostalgic trip down memory lane.
-
Campfire-themed Cupcakes: Fun cupcakes decorated to resemble campfires add a playful element to your dessert table, perfect for kids’ gatherings.
-
Roasted Marshmallow Latte: A warm, comforting drink with a hint of roasted marshmallow pairs excellently with the pops, enhancing the overall S’mores theme.
-
S’mores Bar: Set up a DIY s’mores bar where guests can create their own versions to match the pops, making for a memorable party experience!
S’mores Marshmallow Pops Customizations
Let your creativity shine as you explore delightful twists on S’mores Marshmallow Pops, enhancing flavors and textures just the way you like them!
-
Dairy-Free: Use dairy-free chocolate alternatives, ensuring everyone can enjoy these delicious treats without missing out!
-
Gluten-Free: Swap graham crackers for gluten-free cookie options, like crushed gluten-free biscuits, for a super tasty alternative.
-
Flavored Chocolates: Choose white chocolate with a hint of vanilla, or even infused versions like mint or orange, to elevate your pops and add a touch of whimsy.
-
Nutty Surprise: For a crunchy twist, sprinkle chopped nuts, like almonds or pecans, on top of the melted chocolate before it sets. Each bite will be a delightful surprise!
-
Heat It Up: Add a pinch of cayenne pepper or chili powder to the chocolate for a fun, spicy kick—it’s an unexpected flavor bomb that works wonderfully with the sweetness!
-
Fruit-Infused: Dip each marshmallow in melted chocolate and then roll in crushed freeze-dried fruits, like strawberries or raspberries, to add both flavor and vibrant color.
-
Caramel Drizzle: After coating with chocolate, drizzle warm caramel sauce over the pops for an extra layer of indulgence. It takes the S’mores experience to a whole new level!
-
Vegetable Shortening Swap: For a healthier swap, you can even use coconut oil instead of vegetable shortening, giving your melted chocolate a subtle tropical taste.
Don’t forget to check out our delightful Marshmallow Rice Krispies or indulge in some Pumpkin Smores Bars for more sweet inspiration that will bring smiles to your gatherings!
Expert Tips for S’mores Marshmallow Pops
- Chocolate Temperature: Keep an eye on your chocolate while melting. Stir it frequently to prevent overheating, which can result in a gritty texture.
- Graham Cracker Crunch: Use fresh graham crackers for the best crunch. Old or stale crackers can lead to a less enjoyable texture.
- Setting Time: Patience is key! Allow your pops to set fully to avoid a sticky mess when serving. Not letting them harden completely could ruin your S’mores Marshmallow Pops experience.
- Fun Variations: Experiment with different toppings like crushed nuts or flavored chocolate for a unique twist. This way, you can customize the pops to suit any gathering.
- Storage Tips: If making ahead, store your pops in an airtight container at room temperature to maintain their texture and flavor for up to a week.
S’mores Marshmallow Pops Recipe FAQs
What type of marshmallows should I use?
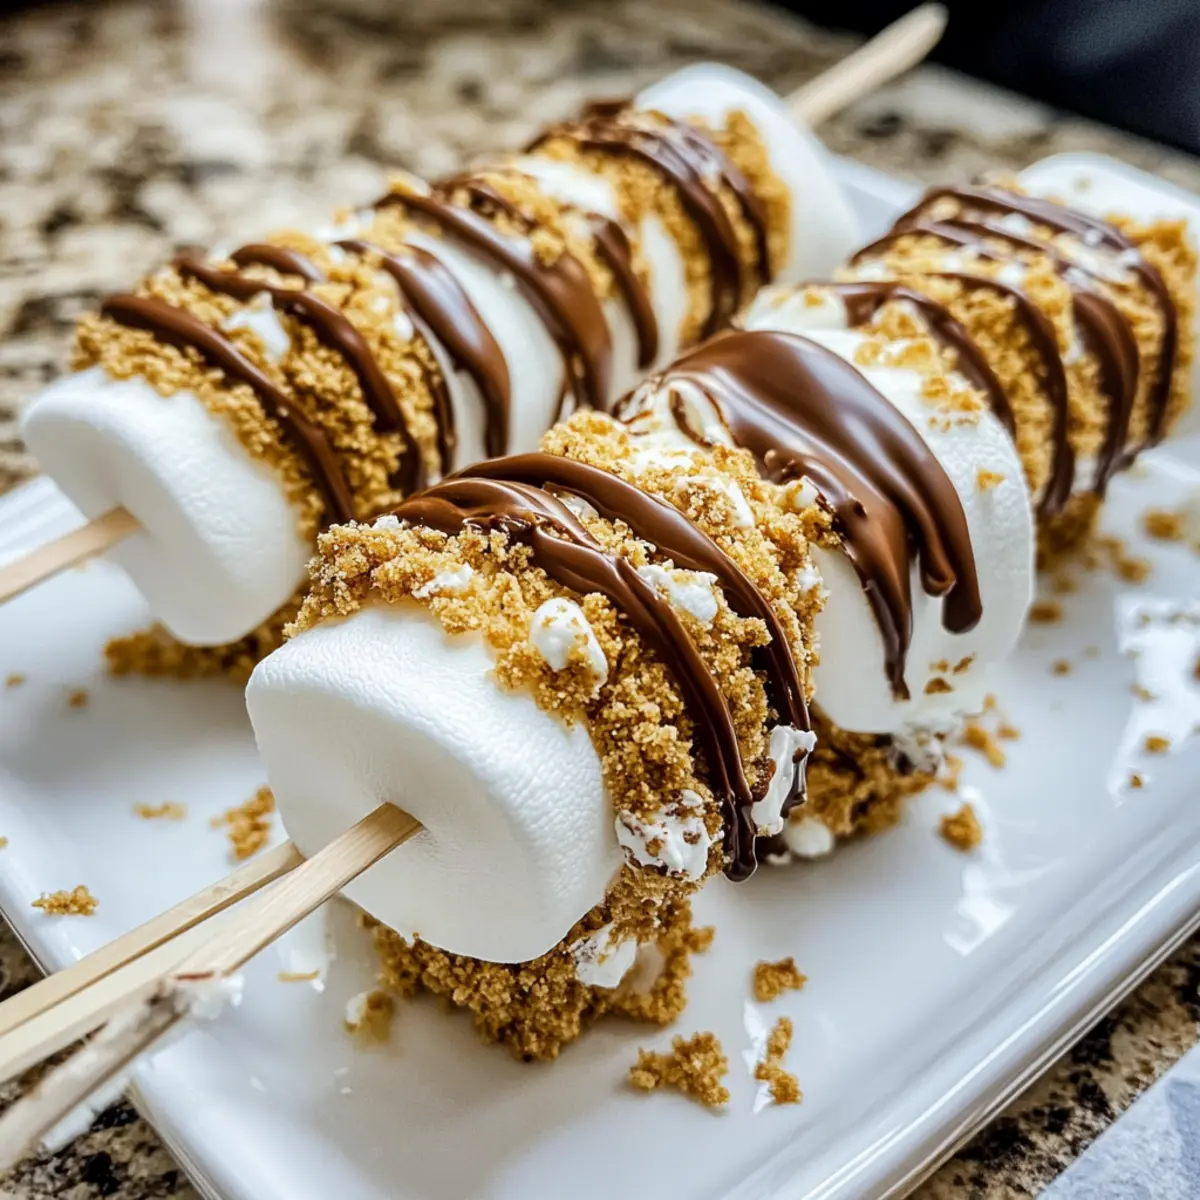
Absolutely use any type you prefer! Regular or jumbo marshmallows work well for these S’mores Marshmallow Pops. Jumbo marshmallows give a fun, oversized treat, while regular ones are great for a classic approach.
How do I store S’mores Marshmallow Pops?
For optimal freshness, keep your S’mores Marshmallow Pops in an airtight container at room temperature for up to 1 week. If you want to extend their life, refrigerating them will keep them good for about 2 weeks. Just ensure they are well-sealed to prevent any unwanted odors!
Can I freeze S’mores Marshmallow Pops?
Yes! To freeze your S’mores Marshmallow Pops, individually wrap each one in plastic wrap, then transfer them to a freezer-safe container. They can be stored in the freezer for up to 3 months. When ready to enjoy, let them sit at room temperature for about 15 minutes to soften slightly before serving.
What should I do if the chocolate coating gets too thick?
If your white or milk chocolate becomes too thick while melting, don’t worry! Add a teaspoon of vegetable shortening to the chocolate and stir it in until smooth. This method helps maintain a silky texture, ensuring your pops have a beautiful coating.
Are these S’mores Marshmallow Pops suitable for kids with allergies?
It’s important to be cautious! While these treats are vegetarian-friendly, they may not be suitable for individuals with allergies. Always check the ingredients of the chocolate used, as some chocolates may contain dairy or nuts. To make them allergy-friendly, consider using dairy-free chocolate and gluten-free graham crackers.
How can I customize my S’mores Marshmallow Pops?
The more the merrier! You can customize your pops by using different types of chocolate—like dark or milk chocolate. Additionally, feel free to experiment with various toppings such as sprinkles, nuts, or even flavored chocolate for a unique twist that caters to your taste buds!
S’mores Marshmallow Pops: No-Bake Joy for Everyone
Ingredients
Equipment
Method
- Skewer four marshmallows onto each stick and lay on wax paper.
- Melt white chocolate in microwave, stirring every 30 seconds until smooth.
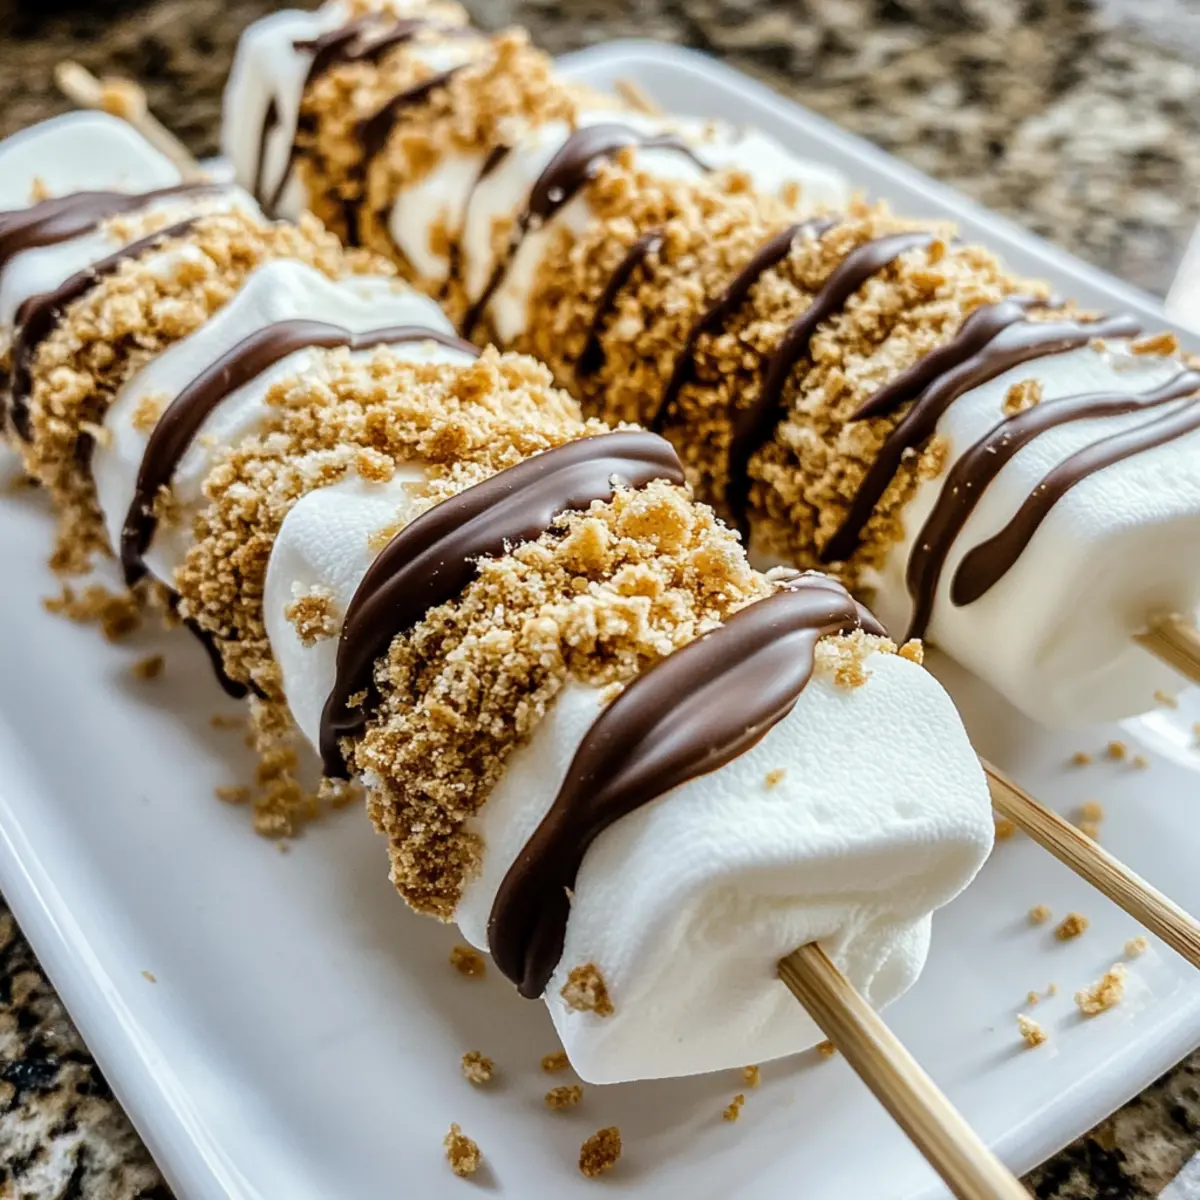
- Dip marshmallows in melted white chocolate, then roll in crushed graham crackers.
- Place coated pops on wax paper and let set for 15-20 minutes.
- Melt milk chocolate and drizzle over hardened white chocolate pops.
- Sprinkle mini marshmallow bits on top before milk chocolate sets and let sit until firm.
Leave a Reply