
The moment I stirred the bowl and saw the butter and sugars come together in a creamy whirl, I could feel my excitement bubbling over. Nothing quite compares to the nostalgia of baking Classic Chocolate Chip Cookies, where every bite makes you feel right at home. This recipe embraces the best of both worlds: whether you prefer cookies with a chewy center or a crisp edge, there’s something for everyone. With easy-to-follow steps and the added option of gluten-free ingredients, it’s perfect for baking novices and seasoned pros alike. Just the thought of these cookies—a warm, inviting treat—makes my heart skip a beat. Are you ready to get your kitchen filled with that unforgettable, chocolatey aroma? Let’s bake!
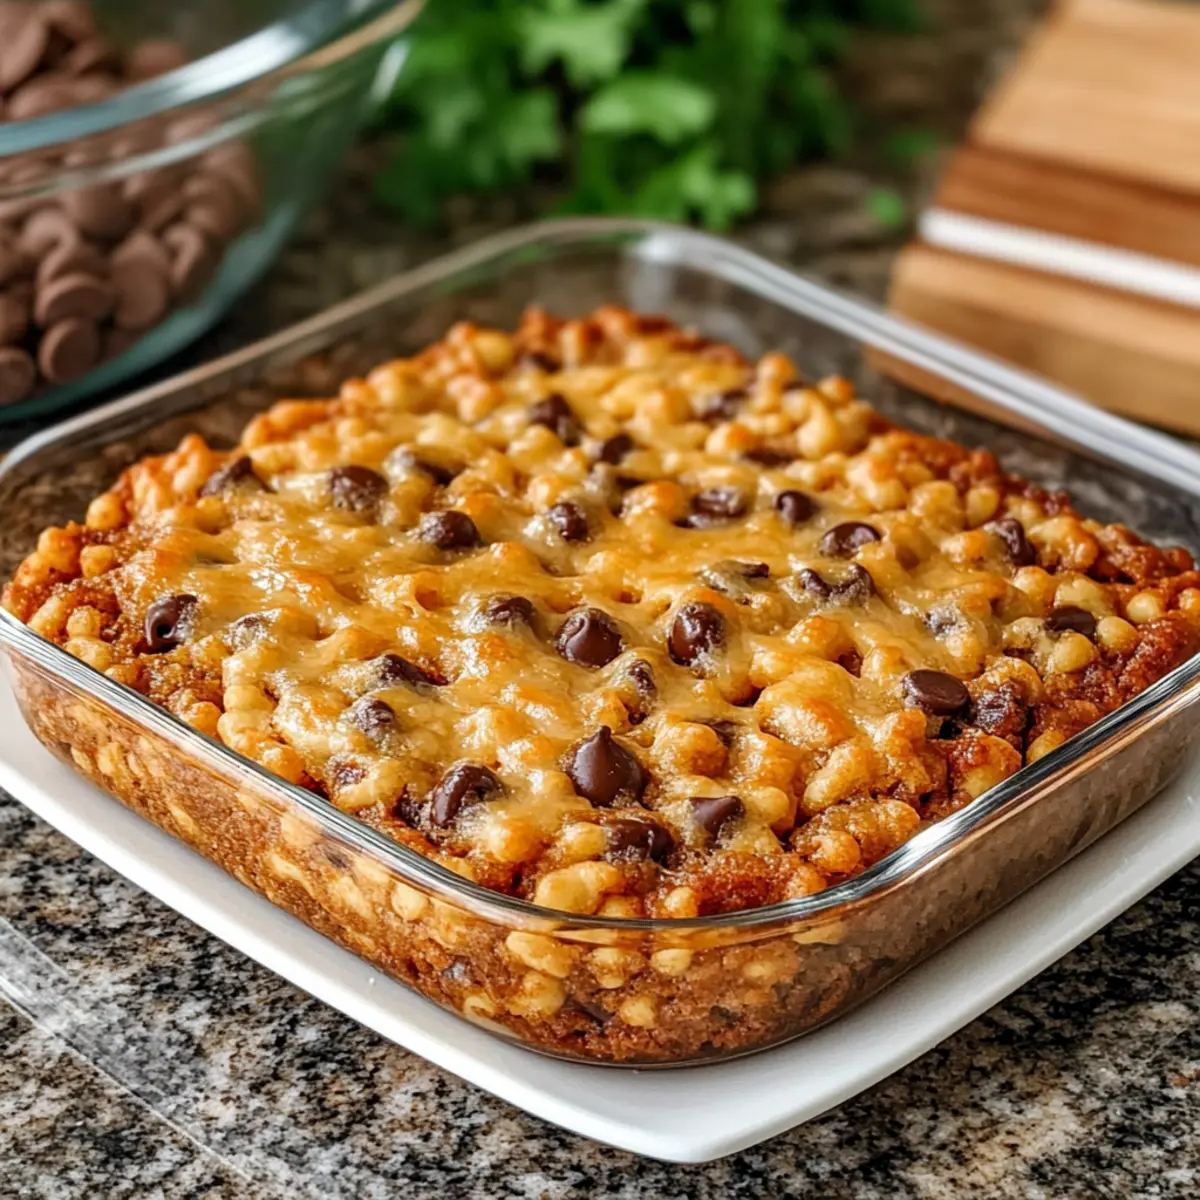
Why Are These Cookies So Irresistible?
Versatile Options: Whether you crave chewy centers or crispy edges, this recipe caters to every taste preference.
Crowd-Pleasing Delight: Perfect for sharing, these classic cookies will impress friends and family alike.
Easy to Follow: With simple steps and minimal prep work, you’ll be baking like a pro in no time!
Gluten-Free Friendly: With a straightforward swap, even those with dietary restrictions can join in on the fun.
Perfectly Timed: Ready in just 20 minutes, you won’t have to wait long to indulge in that delicious chocolatey goodness. Pair these with a glass of milk or explore other comforting dishes like French Onion Beef or Sticky Beef Noodles for a complete meal experience!
Classic Chocolate Chip Cookie Ingredients
For the Batter
- All-purpose flour – Provides structure; can substitute with a gluten-free flour blend for a gluten-free version.
- Unsalted butter – Adds richness and helps achieve that melt-in-mouth texture; ensure butter is softened but not melted.
- Brown sugar – Contributes moisture and depth of flavor; light brown sugar can be swapped for dark brown for a richer taste.
- Granulated sugar – Sweetens the mixture and aids in browning; you can reduce it for less sweetness.
- Eggs – Binds ingredients and adds moisture; using one large egg is ideal for texture.
- Vanilla extract – Enhances overall flavor; pure extract is recommended for the best taste.
- Baking soda – Acts as a leavening agent for lift, ensuring your cookies rise perfectly.
- Salt – Balances sweetness and enhances flavor; try using sea salt for a gourmet touch.
For the Chocolate
- Chocolate chips – The star ingredient providing sweetness and richness; dark or semi-sweet chips work well and can be substituted with nuts for variation.
These ingredients come together to create the ultimate classic chocolate chip cookies that everyone will love!
Step‑by‑Step Instructions for Ultimate Classic Chocolate Chip Cookies
Step 1: Mix Dry Ingredients
In a medium bowl, whisk together 2 ½ cups of all-purpose flour, 1 teaspoon of baking soda, and ½ teaspoon of salt until well combined. This step ensures even distribution of leavening and seasoning throughout the cookies. Set this bowl aside, allowing the mixture to rest while preparing the wet ingredients for your ultimate classic chocolate chip cookies.
Step 2: Cream Butter and Sugars
In a large mixing bowl, beat 1 cup of softened unsalted butter along with ¾ cup of brown sugar and ½ cup of granulated sugar using a hand mixer or stand mixer on medium speed. Continue mixing for about 3-4 minutes, or until the mixture appears light and fluffy. This creamy base is key to achieving the rich texture that makes these cookies so comforting.
Step 3: Incorporate Eggs and Vanilla
Add one large egg and 1 teaspoon of pure vanilla extract to the butter-sugar mixture. Beat on low speed just until the egg is fully incorporated, usually around 30 seconds. This will add an incredible depth of flavor to your ultimate classic chocolate chip cookies. Make sure to scrape the bowl to ensure everything is well mixed for uniform baking.
Step 4: Combine Dry with Wet Ingredients
Gradually add the flour mixture to the wet ingredients while mixing on low speed. Stop mixing once everything is just combined—be cautious not to overmix, which could lead to tough cookies. You’ll want a soft, slightly sticky dough to form; this is essential for the chewy center everyone loves in these cookies.
Step 5: Fold in Chocolate Chips
Gently fold in 1 ½ cups of chocolate chips using a spatula or wooden spoon. Take care not to overwork the dough; you want to evenly distribute the chocolate throughout your ultimate classic chocolate chip cookie dough. This is the moment when the rich aroma starts to bring warmth to your kitchen; it’s hard to resist!
Step 6: Chill Dough
For chewy cookies, wrap the dough in plastic wrap and place it in the refrigerator for at least 30 minutes. If you prefer a crispier cookie, you can skip this step. Chilling helps develop flavor and gives your cookies a softer texture, so don’t rush this pivotal phase of your baking experience.
Step 7: Scoop and Bake
Preheat your oven to 350°F (175°C). Line a baking sheet with parchment paper. Use a cookie scoop or tablespoon to drop rounded mounds of dough about 2 inches apart on the prepared baking sheet. Bake for 10–12 minutes or until the edges are golden brown and the centers are set but still soft. Your kitchen will soon fill with the delightful smell of baking cookies!
Step 8: Cool
Once baked, remove the cookies from the oven and let them cool on the baking sheet for about 5 minutes. This allows them to firm up slightly before transferring them to a wire rack for complete cooling. The final touch will be enjoying the warm, melty goodness of these ultimate classic chocolate chip cookies as they reach their perfect texture.
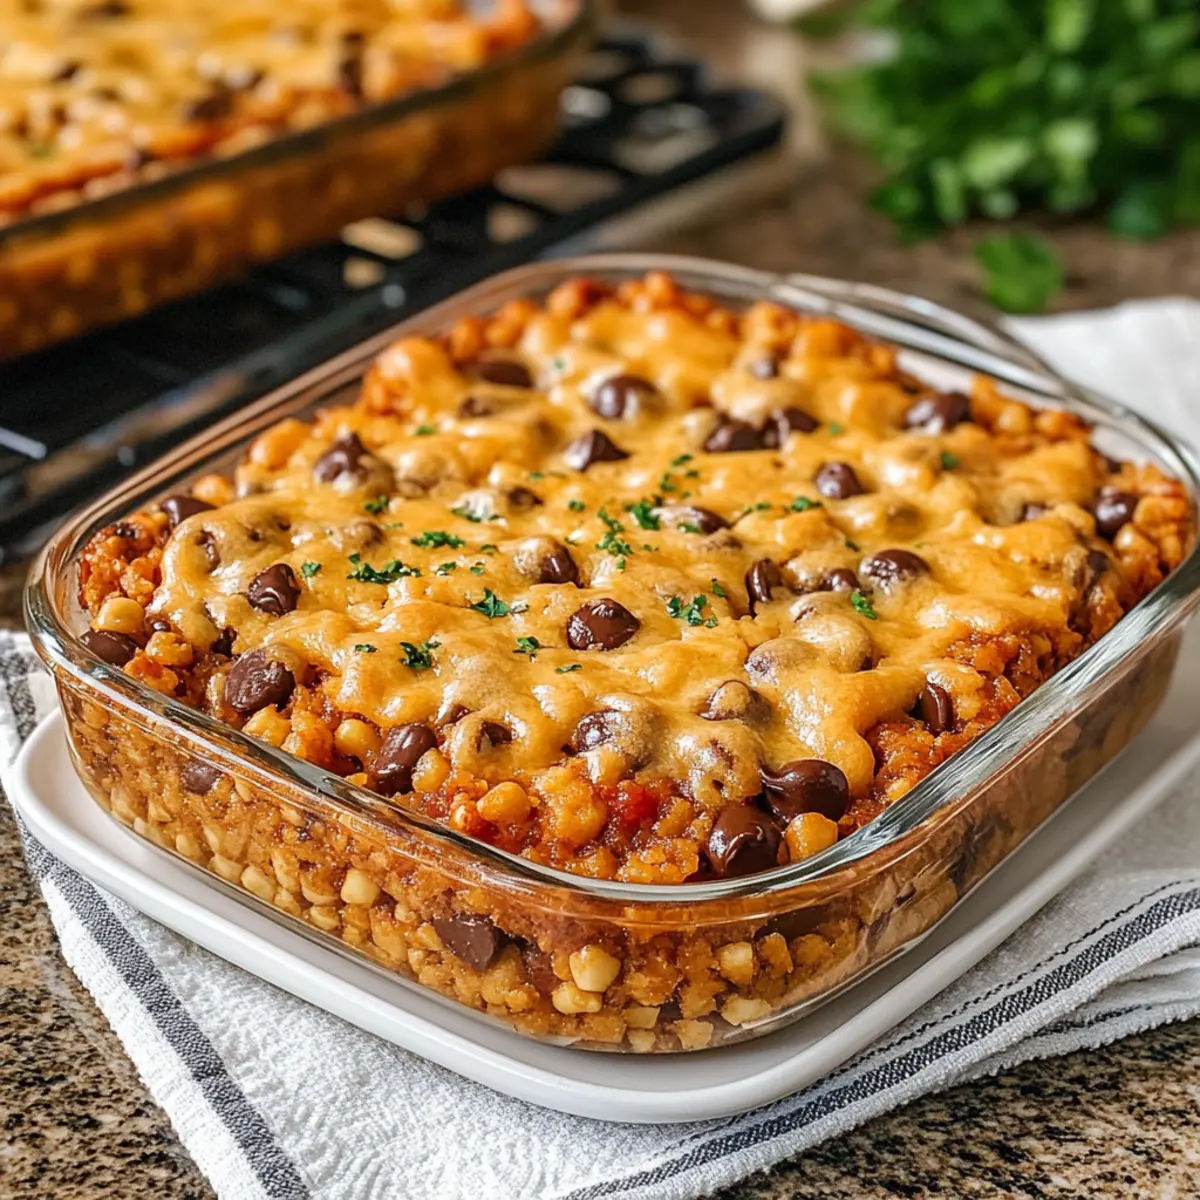
Tips for the Best Chocolate Chip Cookies
Butter Temperature: Make sure your butter is softened at room temperature, not melted; this helps achieve the perfect texture in your chocolate chip cookies.
Mixing Technique: Avoid overmixing the dough once you incorporate the flour; this can lead to tough cookies instead of the deliciously chewy centers you desire.
Chill for Chewiness: If you prefer a chewy texture, chilling the dough for at least 30 minutes is essential. Skipping this step may result in your cookies spreading too much.
Watch the Bake Time: Keep a close eye on your cookies as they bake; even a couple of minutes can make the difference between soft and crispy textures.
Cooling Matters: Allowing cookies to cool completely will firm them up; this step is crucial for achieving that ideal bite-sized goodness in your chocolate chip cookies.
How to Store and Freeze Classic Chocolate Chip Cookies
Airtight Container: Store your classic chocolate chip cookies in an airtight container at room temperature for up to 1 week to maintain freshness and flavor.
Freezer: For longer storage, freeze either the dough or the baked cookies. Place layers of cookies in an airtight freezer-safe bag or container, with parchment paper between them, and freeze for up to 3 months.
Reheating: To enjoy the cookies warm, simply reheat them in the oven at 350°F (175°C) for about 5 minutes or until warm. This will revive their deliciously chewy centers and crisp edges.
Cookie Dough Freezing: If you freeze the dough, scoop individual portions onto a baking sheet and freeze until firm. Then transfer them to a zip-top bag for up to 3 months, allowing you to bake fresh cookies whenever a craving strikes!
What to Serve with Ultimate Classic Chocolate Chip Cookies
Enjoy the warm, chocolatey aroma of freshly baked cookies while exploring delightful accompaniments that elevate your dessert experience.
- Cold Milk: Nothing beats a classic! A tall glass of cold milk pairs perfectly, balancing the sweetness and enriching the cookie’s flavor.
- Vanilla Ice Cream: A scoop of creamy vanilla ice cream creates a dreamy dessert sandwich when paired with a warm cookie. It’s an indulgent treat that everyone adores!
- Fresh Berries: The tartness of strawberries or raspberries cuts through the sweetness, adding a refreshing touch that complements each rich bite.
- Coffee or Espresso: A warm cup of coffee or espresso enhances the chocolate flavors, providing a comforting experience that’s perfect for sharing with friends.
- Chocolate Sauce Drizzle: An extra drizzle of chocolate sauce on top brings out the cookie’s decadent side, appealing to true chocolate lovers!
- Whipped Cream: A dollop of whipped cream adds a light, fluffy texture that balances the cookie’s chewy interior, making every mouthful a delightful surprise.
- Sweet Citrus Salad: A salad made from citrus fruits like oranges and grapefruits introduces brightness that cleanses the palate between cookies.
- Nutty Ice Cream: Consider pecan or hazelnut ice cream for a nutty twist; it harmonizes beautifully with the chocolate chips in your cookies.
Variations & Substitutions for Classic Chocolate Chip Cookies
Feel free to personalize your baking experience with these delightful twists that will spark your culinary creativity!
- Chewy Cookies: Chill the dough for 30 minutes before baking to achieve that irresistible chewy texture. It’s a game-changer!
- Crispy Cookies: Skip chilling the dough and bake for a minute or two longer for a delightful crisp. They’ll be golden and irresistible!
- Gluten-Free Delight: Substitute all-purpose flour with a 1:1 gluten-free flour blend. Everyone can join in on the cookie fun!
- Nutty Addition: Mix in chopped walnuts or pecans for a satisfying crunch that complements the chocolate wonderfully. The added texture will make your cookies even more exciting!
- Seasonal Flavor: Fold in a dash of cinnamon or pumpkin spice for a warm twist during the holidays. It’s a cozy addition that’ll have your home smelling divine!
- Chocolate Swap: Use white chocolate or even butterscotch chips for a different flavor profile. Experimenting with different chocolates can take your cookies to new heights.
- Dark Chocolate Bliss: Opt for dark chocolate chips instead of semi-sweet for a richer flavor. Your chocolate-loving friends will thank you!
- Milk Alternatives: If you’re dairy-free, use coconut oil or dairy-free butter for an equally scrumptious result. You won’t miss the dairy, trust me!
As you explore these variations, don’t forget to enjoy these cookies with a delightful glass of milk or pair them with a comforting dish like Caramelized Slow Rib for a memorable meal!
Make Ahead Options
These Classic Chocolate Chip Cookies are perfect for busy home cooks looking to save time! You can prepare the dough up to 24 hours in advance; simply mix the ingredients and chill the dough in plastic wrap to enhance flavor and maintain texture. If you wish to prep even further ahead, the dough can be frozen for up to 3 months—just scoop it into cookie-sized mounds and place them in an airtight container lined with parchment paper. When you’re ready to bake, no need to thaw—just add a couple of minutes to your baking time for freshly baked cookies that taste just as delicious as when made fresh!
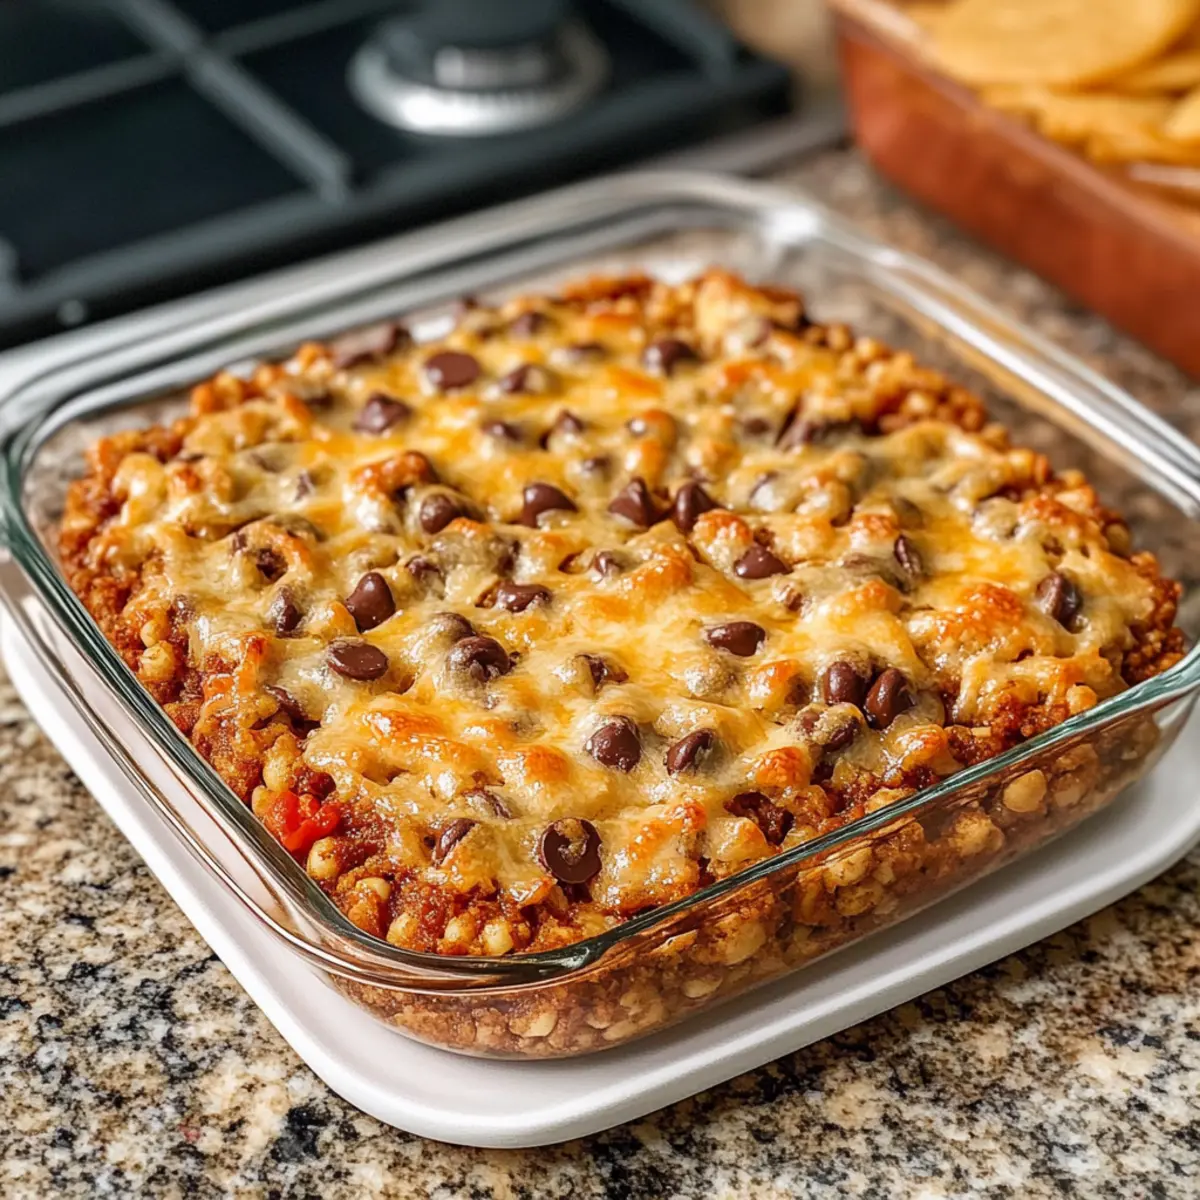
Classic Chocolate Chip Cookies Recipe FAQs
What is the best way to select ripe ingredients for my cookies?
Absolutely! For the best results, choose fresh ingredients: ensure your eggs are fresh (check the expiration date), and your butter should be at room temperature—soft but not melted. For flour, look for a fine texture without any lumps, and check chocolate chips for freshness, too; they should not have any discoloration or an off smell.
How should I store my chocolate chip cookies, and for how long do they stay fresh?
To keep your classic chocolate chip cookies fresh, store them in an airtight container at room temperature, where they will stay delicious for about 1 week. If you plan on enjoying them later, freeze them! Just ensure they are completely cool before placing them in a freezer-safe bag or container. They can last up to 3 months in the freezer, maintaining their delightful flavor!
Can I freeze the dough for chocolate chip cookies? If so, how?
Yes, you can definitely freeze the dough! First, scoop individual portions of the dough onto a baking sheet lined with parchment paper and freeze until firm, about 1-2 hours. Then, transfer the frozen cookie dough balls to a zip-top bag, separating them with parchment paper, so they don’t stick together. You can keep them frozen for up to 3 months. When you’re ready to bake, just preheat your oven and bake directly from the freezer; you may need to add an extra minute or two to the baking time.
What should I do if my cookies turn out harder than expected?
Very easy to troubleshoot! If your cookies are too hard, it could be due to overmixing the dough once you’ve added the flour, or baking them for too long. For future batches, make sure to mix just until combined and keep a close eye on the bake time, pulling them when they are light golden around the edges but still soft in the center. Chilling the dough for the recommended time also helps achieve that chewy texture.
Can I make these chocolate chip cookies gluten-free?
Absolutely! To create a gluten-free version of your classic chocolate chip cookies, simply replace all-purpose flour with a gluten-free flour blend. Make sure to choose a blend that includes xanthan gum, as this helps with structure. The rest of the recipe remains the same, ensuring everyone can enjoy these delightful treats! Just remember, gluten-free flour can sometimes absorb more moisture than all-purpose, so you might need to adjust the flour amount slightly.
Are there any dietary concerns I should consider?
Very important! If you’re baking for someone with food allergies, keep in mind that the classic chocolate chip cookie recipe contains common allergens like wheat (gluten), eggs, and dairy. To cater to various dietary needs, consider using allergy-friendly chocolate chips and substituting eggs with flaxseed meal or applesauce in the appropriate ratios. Always check labels on packaged items for potential allergens, especially for gluten-free chocolate chips.
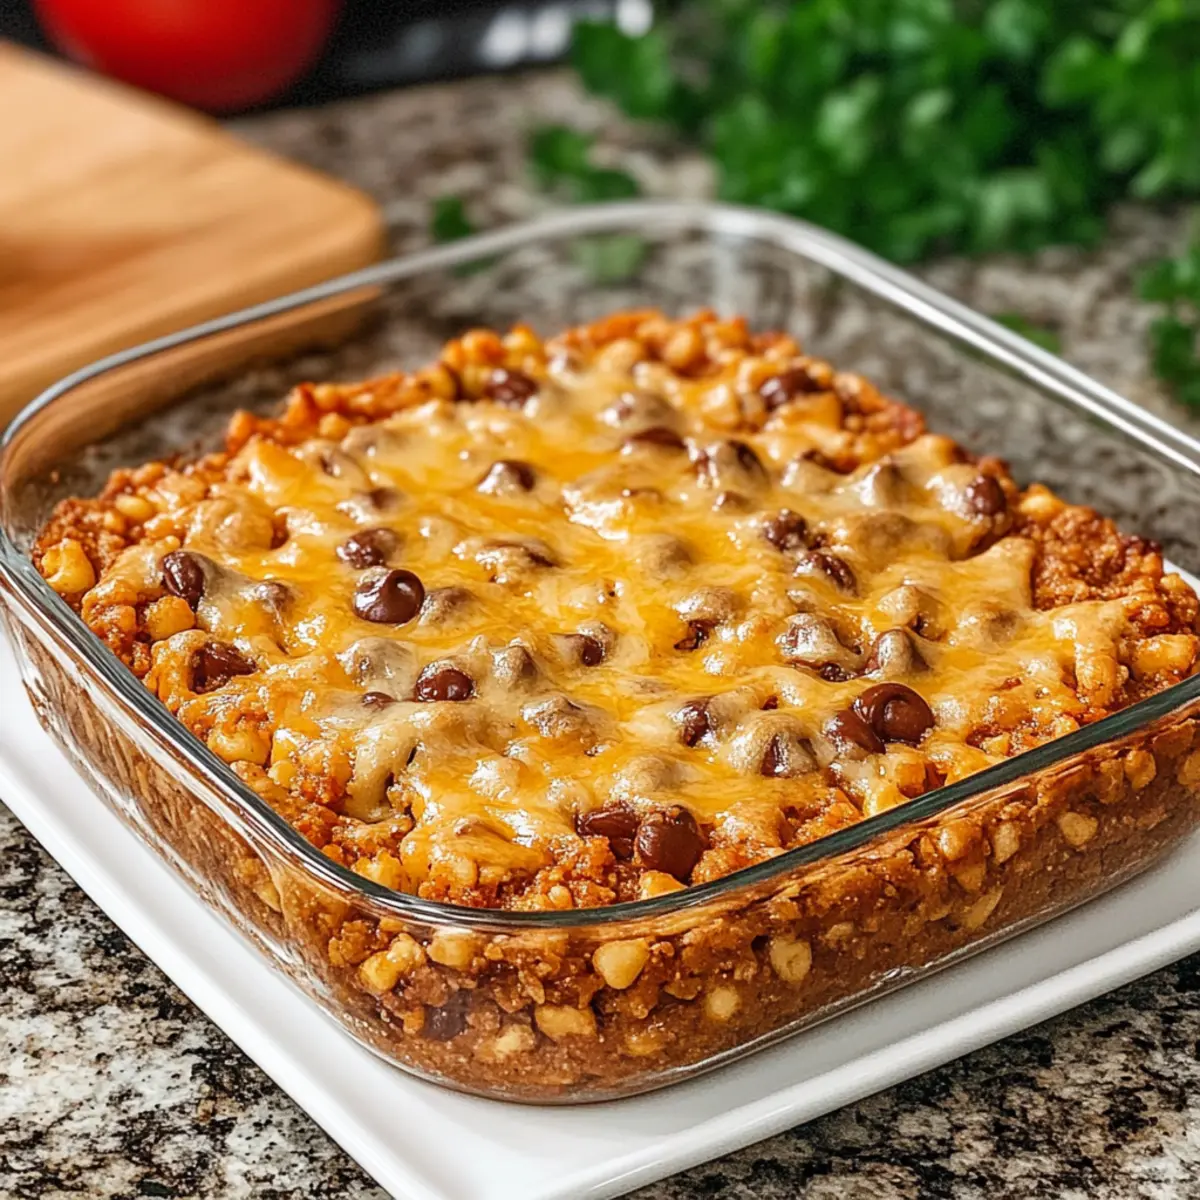
Comforting Amish Beef Macaroni Casserole for Family Bliss
Ingredients
Equipment
Method
- Preheat your oven to 350°F (175°C).
- Cook macaroni according to package instructions, drain, and set aside.
- In a large pot, cook ground beef, onion, and bell pepper over medium heat until beef is browned; drain excess fat.
- Stir in tomato sauce and macaroni, mixing well.
- Transfer mixture to a greased baking dish and top with cheese.
- Bake in preheated oven for about 20–25 minutes, until cheese is melted and bubbly.
- Let cool for 5 minutes before serving.
Leave a Reply