
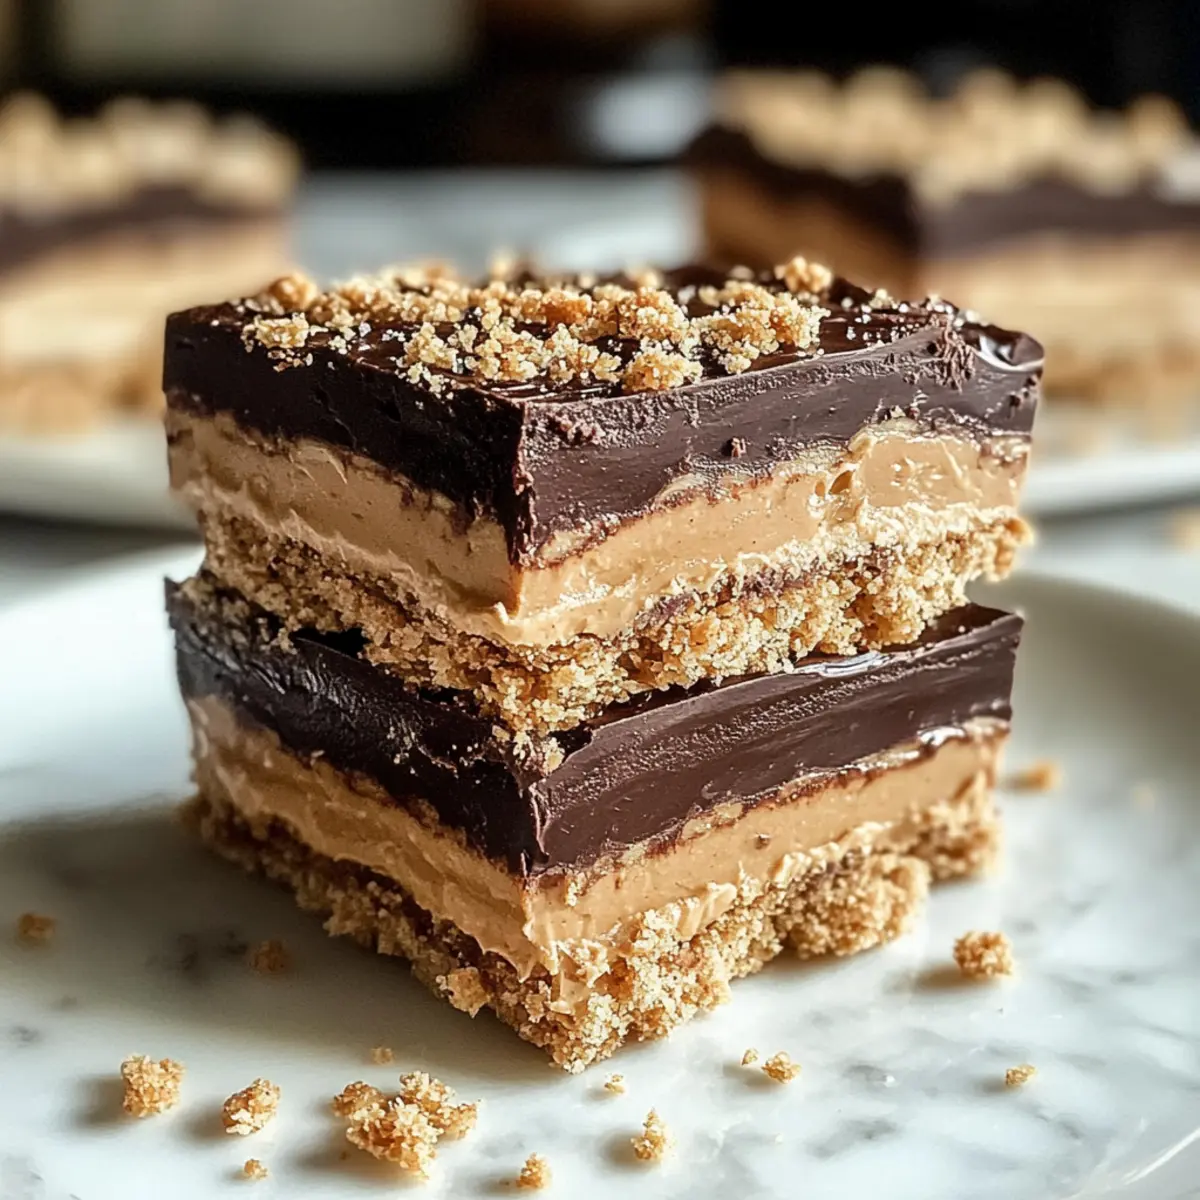
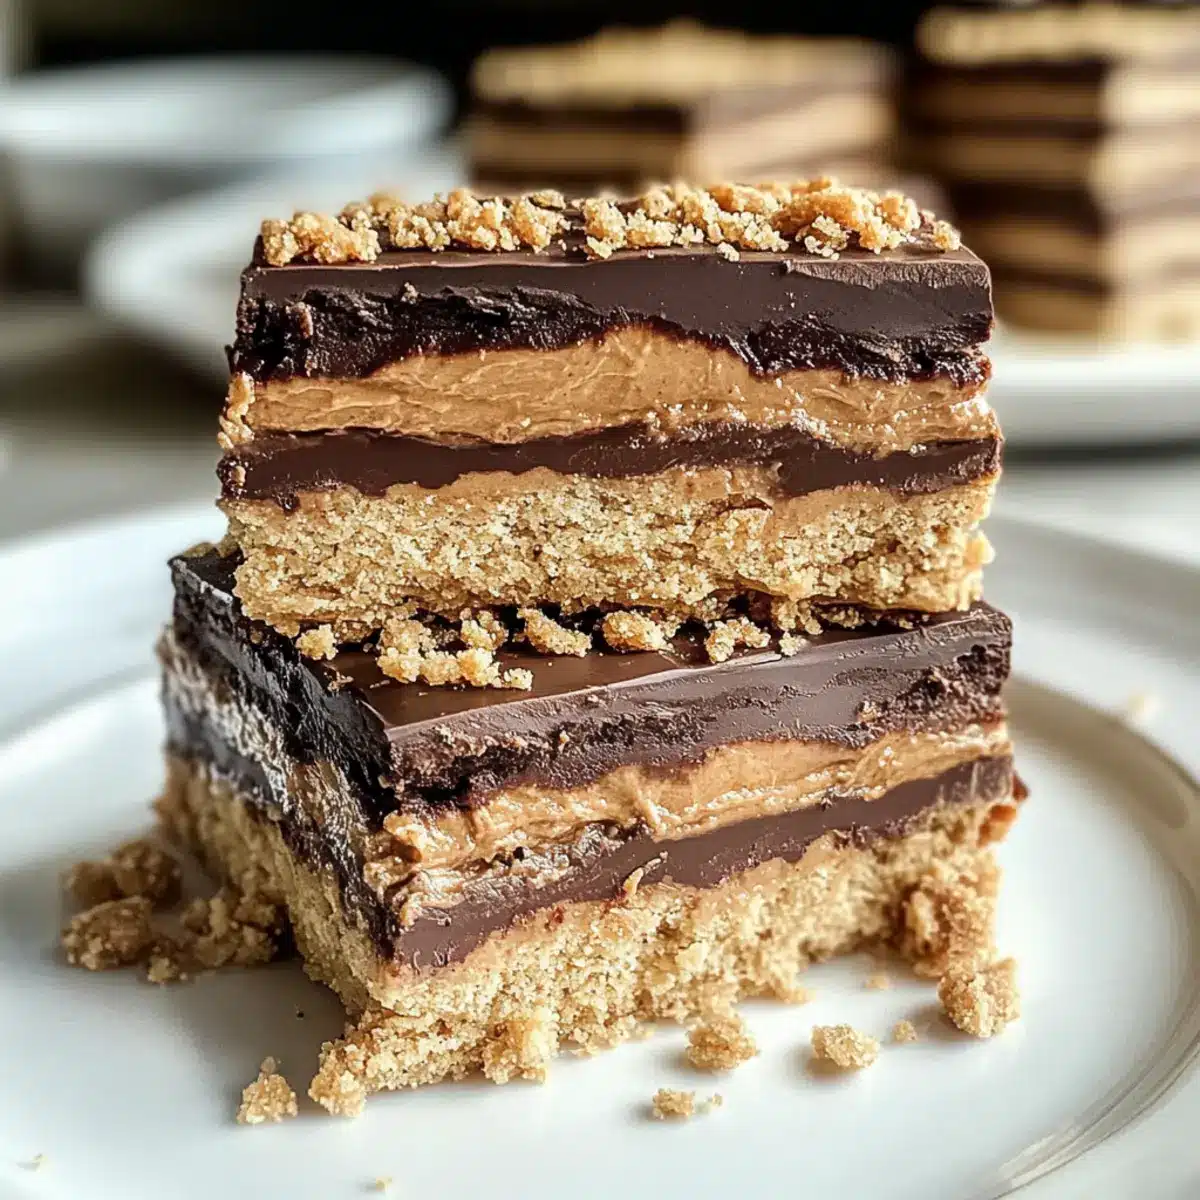
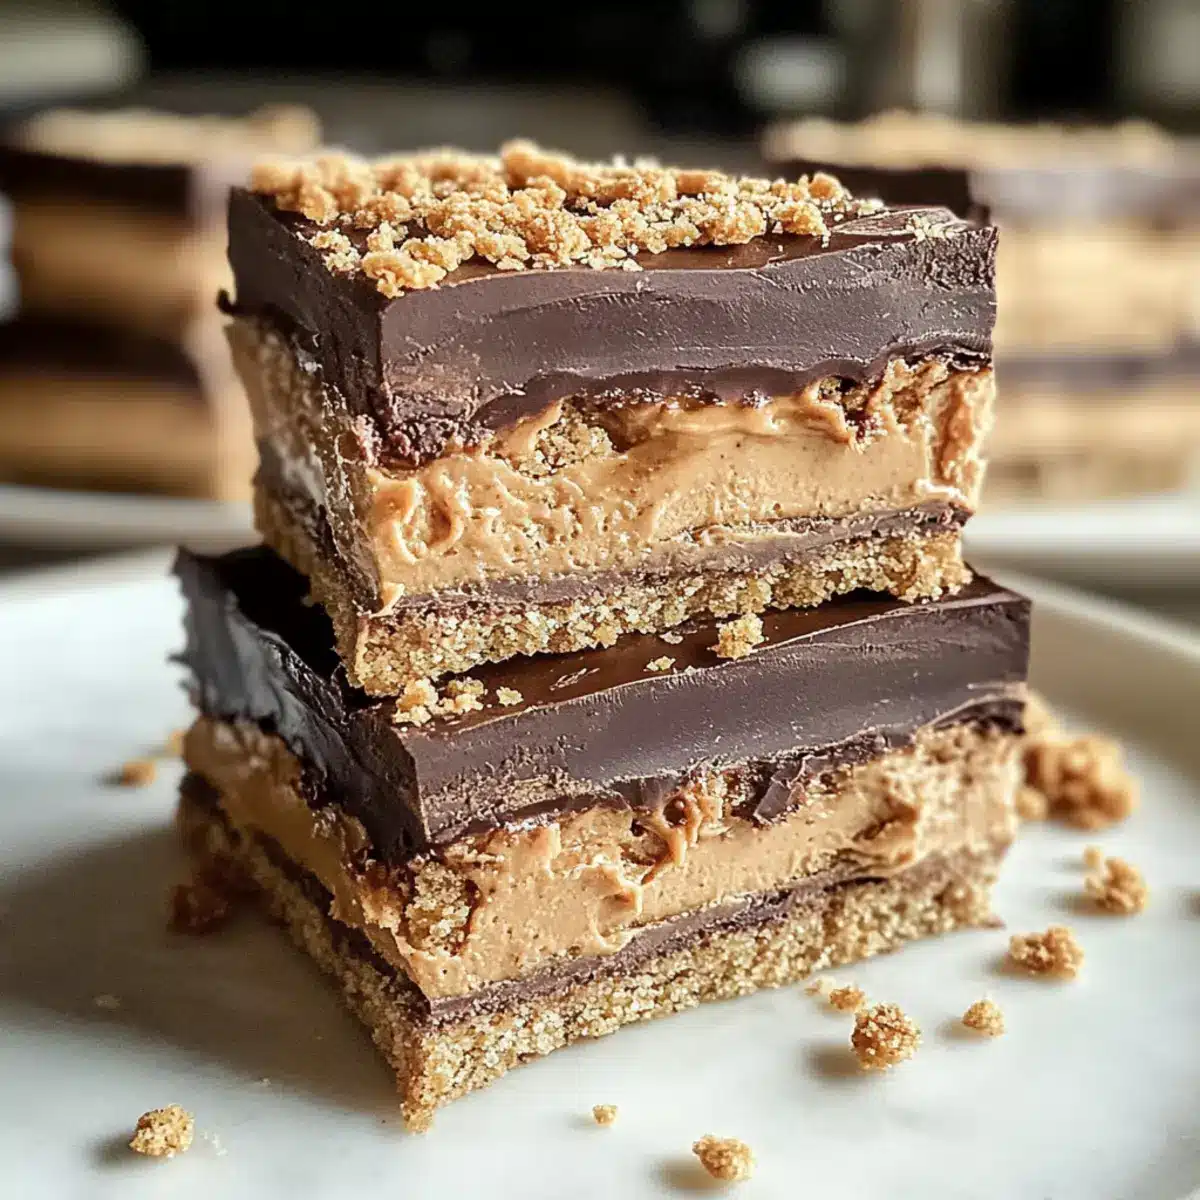
As I unwrapped that first bite of a Disneyland Peanut Butter Sandwich Bar, memories of theme park adventures flooded back—delightful days filled with laughter and indulgent treats. These no-bake bars capture all the magic of that iconic dessert, with a rich, creamy peanut butter filling and a luscious chocolate layer atop a crunchy graham cracker base. Best of all, this quick prep recipe requires just 30 minutes of your time, making it the perfect solution for both spontaneous gatherings and simple home indulges. Plus, with endless options for customizable toppings, you can make each batch uniquely yours. Ready to transport your taste buds back to those sunny Disneyland days? Let’s dive into creating these scrumptious bars together!
Why Will You Love This Recipe?
Quick and Effortless: This no-bake dessert is ready in just 30 minutes, perfect for those who want delicious treats without spending hours in the kitchen.
Nostalgic Flavor: Reminiscing about Disneyland? These bars capture that whimsical taste, delivering a delightful mix of creamy peanut butter and rich chocolate.
Customizable Delight: Feel free to switch out ingredients! Try using almond butter or experimenting with toppings like crushed nuts or mini marshmallows for a personal twist.
Crowd-Pleasing Treat: Ideal for gatherings, these bars are sure to impress and satisfy guests of all ages, much like our beloved Peanut Butter Spider Cookies.
Easy Storage: Store them in the fridge for a week or freeze for later, making it easy to have a sweet snack ready at a moment’s notice.
Versatile Pairings: These bars go wonderfully with a fresh fruit salad or a cold glass of chocolate milkshake, making them an all-around fantastic treat!
Disneyland Peanut Butter Sandwich Bars Ingredients
For the Crust
• Graham Crackers – Essential for a crunchy base; you can substitute with crushed digestive biscuits or vanilla wafers if needed.
For the Filling
• Peanut Butter – This creamy delight adds richness; choose smooth or crunchy based on your texture preference.
• Butter – Use softened butter to help bind the filling for that perfect, creamy consistency.
• Vanilla Extract – A dash of this enhances the overall flavor, making the bars more aromatic.
• Salt – Just a pinch balances out the sweetness; using sea salt can elevate the taste even further.
• Powdered Sugar – Acts as a sweetener and thickener, giving the peanut butter mixture its perfect texture.
For the Chocolate Layer
• Chocolate Chips – Melted for that decadent top layer; you can go for semi-sweet or milk chocolate based on your sweetness preference.
• Shortening – Optional, helps the chocolate set smoothly; if you prefer, you can replace it with extra chocolate.
These tasty Disneyland Peanut Butter Sandwich Bars are sure to create wonderful memories, just like those cherished moments spent at the park!
Step‑by‑Step Instructions for Disneyland Peanut Butter Sandwich Bars
Step 1: Prepare the Baking Dish
Start by spraying a 2-quart (8½ x 11) glass baking dish with non-stick spray to ensure your bars release easily after setting. This simple step is crucial for a clean finish. Set aside the dish while you prepare the other components of your Disneyland Peanut Butter Sandwich Bars.
Step 2: Create the Graham Cracker Base
Crush graham crackers into fine crumbs until you have about 1 ½ cups of crumbs, then reserve some crumbs for topping later. Lay six whole graham crackers flat across the bottom of your prepared baking dish. This creates a sturdy foundation for your delicious no-bake bars.
Step 3: Make the Peanut Butter Filling
In a mixing bowl, combine 1 cup of peanut butter, ½ cup of softened butter, 1 teaspoon of vanilla extract, and a pinch of salt. Use a hand mixer to blend these ingredients until smooth and creamy, then gradually fold in 1 ½ cups of powdered sugar until fully incorporated, resulting in a thick, velvety filling.
Step 4: Melt the Chocolate Layer
Place 1 cup of chocolate chips and 1 tablespoon of shortening in a microwave-safe bowl. Heat in the microwave for 30 seconds; then stir well. Repeat in 30-second intervals until the chocolate is completely melted and smooth. Be vigilant not to overheat; a gentle melting process keeps your chocolate glossy for the top layer.
Step 5: Assemble the First Layer
Pour about one-third of the melted chocolate mixture over the layer of graham crackers in the dish, spreading it evenly with a spatula. This layer of chocolate adds a delightful richness to the overall flavor of the Disneyland Peanut Butter Sandwich Bars.
Step 6: Add the Peanut Butter Mixture
Using a spatula, spread the creamy peanut butter filling over the chocolate layer, ensuring an even distribution. This step is essential for balancing the flavors. Press down gently to compact the filling slightly, creating a smooth surface ready for the next layer of chocolate.
Step 7: Drizzle More Chocolate
Drizzle another third of the remaining melted chocolate over the peanut butter layer. Use a spatula to gently spread it out, creating a beautiful chocolate layer on top. This addition not only enhances flavor but also gives those Disneyland Peanut Butter Sandwich Bars their irresistible appeal.
Step 8: Complete the Layers
Place six more whole graham crackers on top of the chocolate layer, aligning them neatly. Once this layer is added, pour the last portion of the melted chocolate over the top, ensuring complete coverage. To add an extra touch, sprinkle the reserved graham cracker crumbs over the chocolate for texture and crunch.
Step 9: Chill to Firm Up
Refrigerate your assembled bars for at least one hour to allow the layers to set properly. This chilling time is crucial for achieving perfect slices. When the time’s up, check that the chocolate has hardened but remains slightly soft to the touch before cutting.
Step 10: Slice and Serve
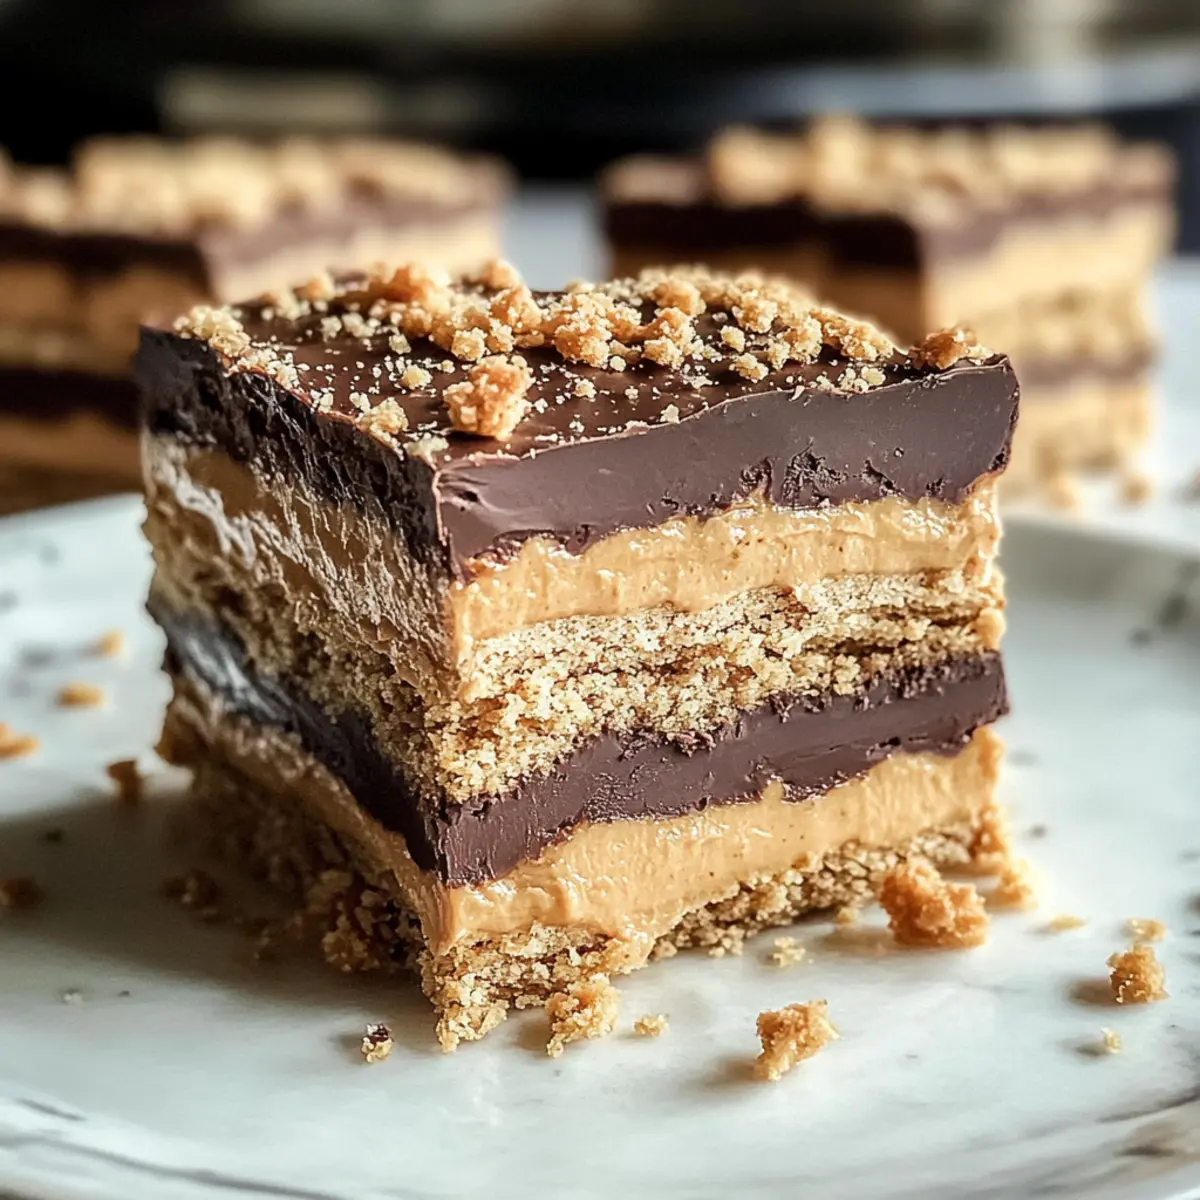
Once chilled, use a sharp knife to cut the Disneyland Peanut Butter Sandwich Bars into squares or rectangles. The clean cuts allow each piece to showcase the beautiful layers. Serve them chilled as your guests will love the creamy, crunchy, and delicious combination—perfect for gatherings or a delightful treat any time!
What to Serve with Disneyland Peanut Butter Sandwich Bars?
These delectable bars make dessert time magical, especially when paired with delightful accompaniments that elevate their flavors.
-
Fresh Fruit Salad: A vibrant mix of strawberries, oranges, and kiwis brings a refreshing burst that balances the rich sweetness of the bars.
-
Chocolate Milkshake: Creamy and indulgent, this classic drink echoes the bars’ chocolate layer, making for a nostalgic treat.
-
Whipped Cream: A dollop of light, fluffy whipped cream adds a luscious texture and complements the dessert’s creamy peanut butter filling.
-
Mini Marshmallow Toppings: Top the bars with miniature marshmallows for a playful touch, adding a chewy contrast against the crunchy base.
-
Cold Brew Coffee: The bold flavors of cold brew create a wonderful pairing, cutting through the sweetness and enhancing the snack experience.
-
Ice Cream Sundae: Serve alongside a scoop of vanilla or chocolate ice cream, allowing melt-in-the-mouth joy as ice cream mixes with the peanut butter and chocolate layers.
Disneyland Peanut Butter Sandwich Bars Variations
Feel free to let your creativity shine as you customize these delightful bars with personal twists that inspire your taste buds!
-
Nut-Free: Replace peanut butter with sunbutter or a seed butter for a nut-free option without sacrificing flavor.
-
Vegan Delight: Use plant-based butter and a dairy-free chocolate alternative to make a crowd-pleasing vegan version of these treats.
-
Almond Bliss: Swap peanut butter for almond butter for a nuttier flavor that pairs beautifully with a sprinkle of sea salt.
-
Crunchy Add-In: Mix in a half cup of chopped nuts or crushed pretzels into the filling for an unexpected crunch and delightful texture.
-
S’mores Mash-Up: Top your bars with mini marshmallows, graham cracker crumbles, and a drizzle of chocolate for a s’mores-inspired twist.
-
Caramel Swirl: Drizzle melted caramel over the chocolate layer for an indulgent sweet touch that adds depth to each bite.
-
Spicy Kick: For the adventurous, a pinch of cayenne pepper or chili powder in the peanut butter filling can create a surprising and tasty heat!
-
Flavor Infusion: Enhance the vanilla extract with a splash of almond or coconut extract for a unique flavor profile that wows the palate.
These fun variations can lead you to delightful discoveries; for more satisfying treats, you might also enjoy trying the scrumptious Cheesy Chicken Garlic Bread Sandwich or indulging in the rich flavors of Garlic Butter Steak Bites. Dive in and make these bars a delicious adventure!
How to Store and Freeze Disneyland Peanut Butter Sandwich Bars
Fridge: Keep the bars in an airtight container in the fridge for up to 1 week. This helps maintain their freshness and prevents them from absorbing other odors.
Freezer: For longer storage, wrap the bars individually in plastic wrap and place them in a freezer-safe container. They can be frozen for up to 3 months!
Reheating: When ready to enjoy, simply thaw in the fridge overnight or at room temperature for a couple of hours. No need to heat, as they’re delicious served chilled!
Serving Suggestion: To add some flair, consider garnishing with chocolate drizzle or chopped nuts right before serving. This way, your Disneyland Peanut Butter Sandwich Bars will look as delightful as they taste!
Make Ahead Options
These Disneyland Peanut Butter Sandwich Bars are a fantastic option for meal prep enthusiasts! You can prepare the peanut butter filling and chocolate layers up to 24 hours in advance, storing them separately in airtight containers in the refrigerator to maintain their creamy texture and rich flavors. To keep the graham crackers crispy, assemble the bars just before serving. When you’re ready, layer the fillings onto the crackers, drizzle the chocolate on top, and refrigerate for about an hour to set. This way, you can enjoy delicious homemade dessert bars on busy weeknights with minimal effort, while savoring the nostalgic taste reminiscent of your favorite Disneyland treat!
Expert Tips for Disneyland Peanut Butter Sandwich Bars
-
Smooth Chocolate: Ensure you melt chocolate chips slowly, stirring every 30 seconds. Overheating can lead to a grainy texture instead of that glossy finish.
-
Perfect Peanut Butter Mix: For a smoother filling, mix your peanut butter, butter, and sugar thoroughly before adding any additional ingredients. This avoids clumps in your delicious peanut butter mixture.
-
Chilling Time: Refrigerate your bars for at least one hour, but longer is even better! This allows all flavors to meld beautifully and ensures neat slices when cutting.
-
Use a Sharp Knife: For clean cuts, always use a sharp knife. Wipe the blade clean between cuts to keep each piece looking gorgeous and presentable.
-
Customization Options: Don’t hesitate to get creative! Try adding chopped nuts or sprinkles above the chocolate layer for added crunch and fun. Enjoy making your Disneyland Peanut Butter Sandwich Bars uniquely yours!
Disneyland Peanut Butter Sandwich Bars Recipe FAQs
How do I choose the right ripeness and type of ingredients?
When selecting peanut butter, pick a brand that you enjoy, whether smooth or crunchy—both work wonderfully! For graham crackers, opt for those that are fresh, without any dark spots or signs of staleness. If using butter, ensure it’s softened at room temperature for easy mixing.
How should I store my Disneyland Peanut Butter Sandwich Bars?
Keep these bars in an airtight container in the fridge for up to 1 week. This helps preserve their fresh taste! If you plan to keep them longer, wrapping them individually in plastic wrap and placing them in a freezer-safe container will allow you to store them for up to 3 months.
Can I freeze Disneyland Peanut Butter Sandwich Bars?
Absolutely! To freeze, follow these steps:
- Once completely cooled, wrap each bar individually in plastic wrap.
- Place them in a freezer-safe container or bag.
- Label with the date for reference.
When you’re ready to enjoy, simply thaw them overnight in the fridge or at room temperature for a couple of hours.
What should I do if my chocolate layer doesn’t melt smoothly?
If your chocolate appears grainy or is not melting smoothly, it’s likely overheated. To fix this next time, melt it in shorter intervals (30 seconds at a time) while stirring frequently until it’s completely melted. Consider adding a splash of vegetable oil or additional shortening to help smooth it out.
Are there any dietary considerations for making these bars?
Great question! If anyone in your home has nut allergies, you can substitute the peanut butter with sunbutter or a seed-based spread. Always check the labels on chocolate chips and other ingredients to ensure they meet dietary restrictions. Enjoy these bars comfortably knowing they can be customized for everyone!
What if I want to make these bars healthier?
For a healthier twist, use natural peanut butter with no added sugars or oils. You can also substitute some of the powdered sugar for a sugar alternative or use less sugar overall. Consider adding nutritional ingredients like flaxseeds or chia seeds into the peanut butter mixture for a boost!
Delightful Disneyland Peanut Butter Sandwich Bars You’ll Love
Ingredients
Equipment
Method
- Spray a 2-quart glass baking dish with non-stick spray and set aside.
- Crush graham crackers into fine crumbs, reserving some for topping, and lay some whole crackers flat at the bottom of the dish.
- In a mixing bowl, combine peanut butter, softened butter, vanilla extract, and salt; blend until smooth, then fold in powdered sugar.
- Melt chocolate chips and shortening in a microwave-safe bowl, stirring every 30 seconds until smooth.
- Pour a third of the melted chocolate over the graham crackers, spreading it evenly.
- Spread the peanut butter filling over the chocolate layer and press down gently.
- Drizzle another third of the melted chocolate over the peanut butter layer and spread gently.
- Align six more whole graham crackers on top and pour the last portion of melted chocolate over for coverage.
- Refrigerate for at least one hour until set, then slice into squares or rectangles.
- Serve chilled.
Leave a Reply