
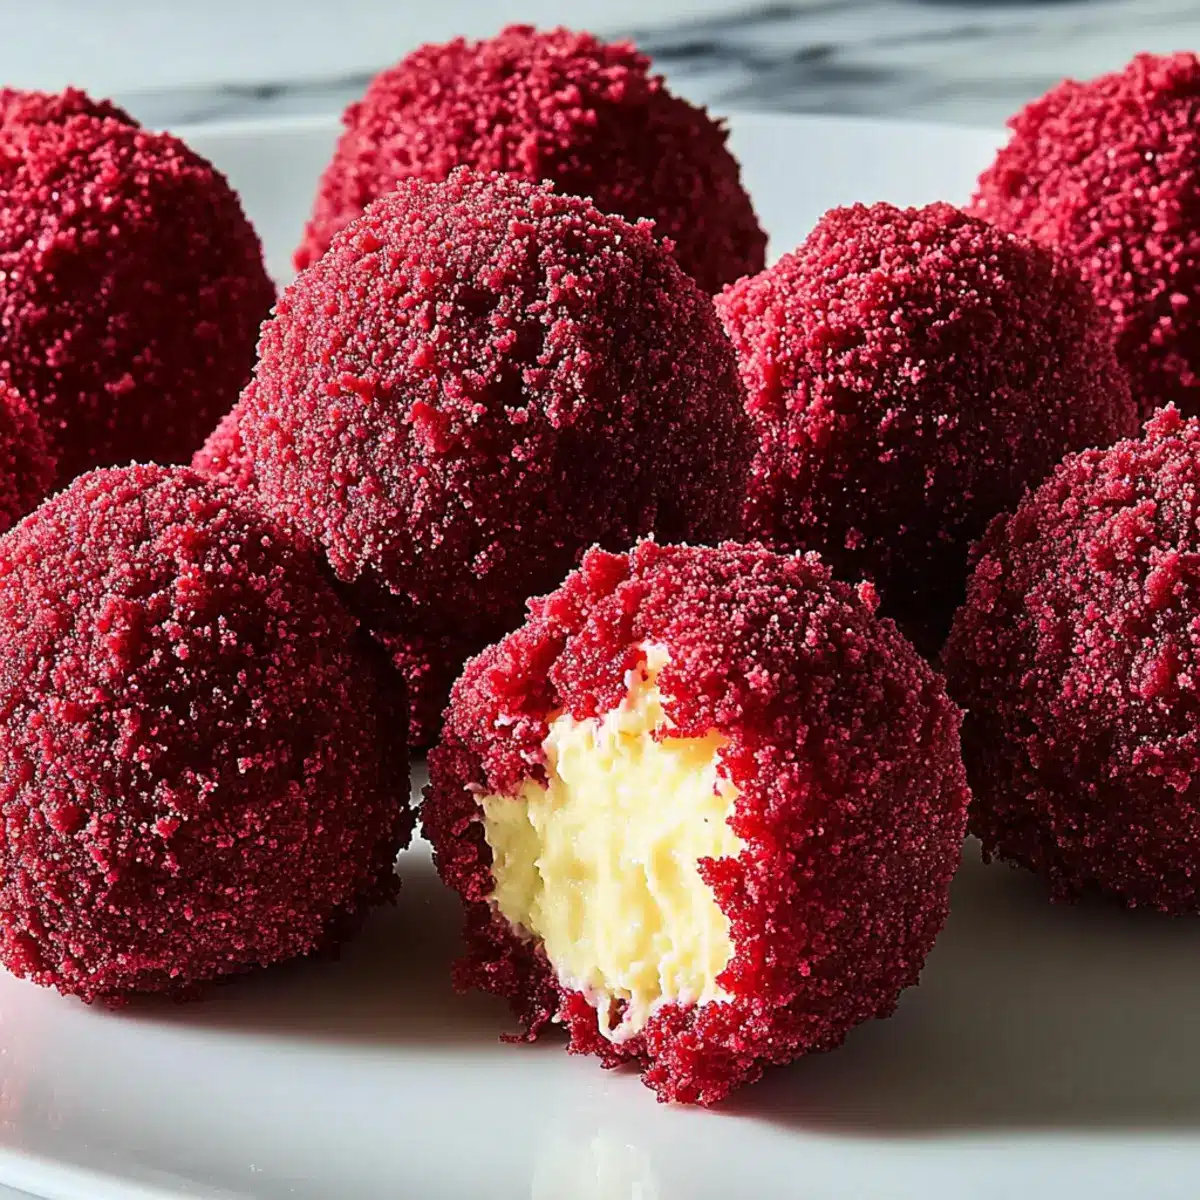
As I rummaged through my pantry last week, the vibrant red from a half-used box of red velvet cake mix caught my eye, sparking an idea for a sweet escape. Enter the No-Bake Red Velvet Cheesecake Bites – a delightful little treat that blends the richness of cheesecake with the charm of classic red velvet. Realizing that this dessert requires just 15 minutes and zero oven time, I couldn’t resist creating these quick, irresistible bites. Not only are they delightfully simple to prepare, but they’re also a versatile treat that fits seamlessly into any occasion, whether you’re hosting a gathering or just craving something sweet at home. Curious how these little gems can brighten your dessert table or satisfy your sweet tooth? Let’s dive in!
Why Are These Red Velvet Cheesecake Bites Special?
Quick and Easy: Prepare these bites in just 15 minutes without turning on the oven, making them the perfect last-minute dessert!
Versatile and Fun: Customize them with various coatings like crushed nuts or sprinkles, giving you endless possibilities to suit any occasion.
Creamy Delight: Each bite is a delightful blend of soft cheesecake richness and the classic flavor of red velvet, creating a treat that is both indulgent and light.
Perfect for Sharing: Whether it’s game night or a cozy gathering, these bites are a showstopper that will impress your guests and have them coming back for more!
For more delicious no-bake treats, check out my Banana Pudding Cheesecake or Chocolate Raspberry Cheesecake. You won’t be disappointed!
Red Velvet Cheesecake Bites Ingredients
For the Cheesecake Mixture
- Cream Cheese (16 ounces) – Use room temperature cream cheese for a smooth and creamy consistency.
- Butter (4 tablespoons) – Opt for softened butter to easily blend into the mixture.
- Powdered Sugar (1/2 cup) – Sweeten to your liking; feel free to adjust for a less sweet treat.
- Vanilla Extract (1 teaspoon) – Enhances flavor; consider swapping for almond extract for a twist.
For the Coating
- Red Velvet Cake Mix (1 cup) – Use to enhance flavor and give a delightful coating; choose a homemade mix if preferred.
- Graham Crackers (2 cups, crushed) – Provides a crunchy, sweet exterior; substitute with gluten-free options if needed.
These Red Velvet Cheesecake Bites are perfect for a quick yet indulgent dessert experience that everyone will love!
Step‑by‑Step Instructions for Red Velvet Cheesecake Bites
Step 1: Prepare the Cheesecake Mixture
In a mixing bowl, combine 16 ounces of room temperature cream cheese and 4 tablespoons of softened butter. Using an electric mixer, beat them together until the mixture is smooth and fluffy, about 2-3 minutes. Gradually add in 1/2 cup of powdered sugar and 1 teaspoon of vanilla extract, mixing until everything is well incorporated. Set this creamy concoction aside for now.
Step 2: Crush the Graham Crackers
While the cheesecake mixture sits, take 2 cups of graham crackers and place them in a sturdy ziplock bag. Use a rolling pin or your hands to crush the crackers into fine crumbs, achieving a texture similar to sand. Once crushed, pour the crumbs into a separate bowl, ready to coat our delightful Red Velvet Cheesecake Bites.
Step 3: Combine the Cake Mix
Next, take 1 cup of red velvet cake mix and add it to the bowl with the cream cheese mixture. Gently fold the cake mix into the creams using a spatula until evenly distributed and you have a beautifully colored mixture. Ensure there are no lumps visible, as you want a smooth and delicious filling for your bites.
Step 4: Form the Bites
Now it’s time to create your Red Velvet Cheesecake Bites! Using a small cookie scoop or your hands, take portions of the cheesecake mixture and roll them into small balls, about 1 inch in diameter. Place the balls on a parchment-lined baking sheet to keep them from sticking. Once formed, they will need to chill in the refrigerator for about 30 minutes to firm up.
Step 5: Coat the Bites
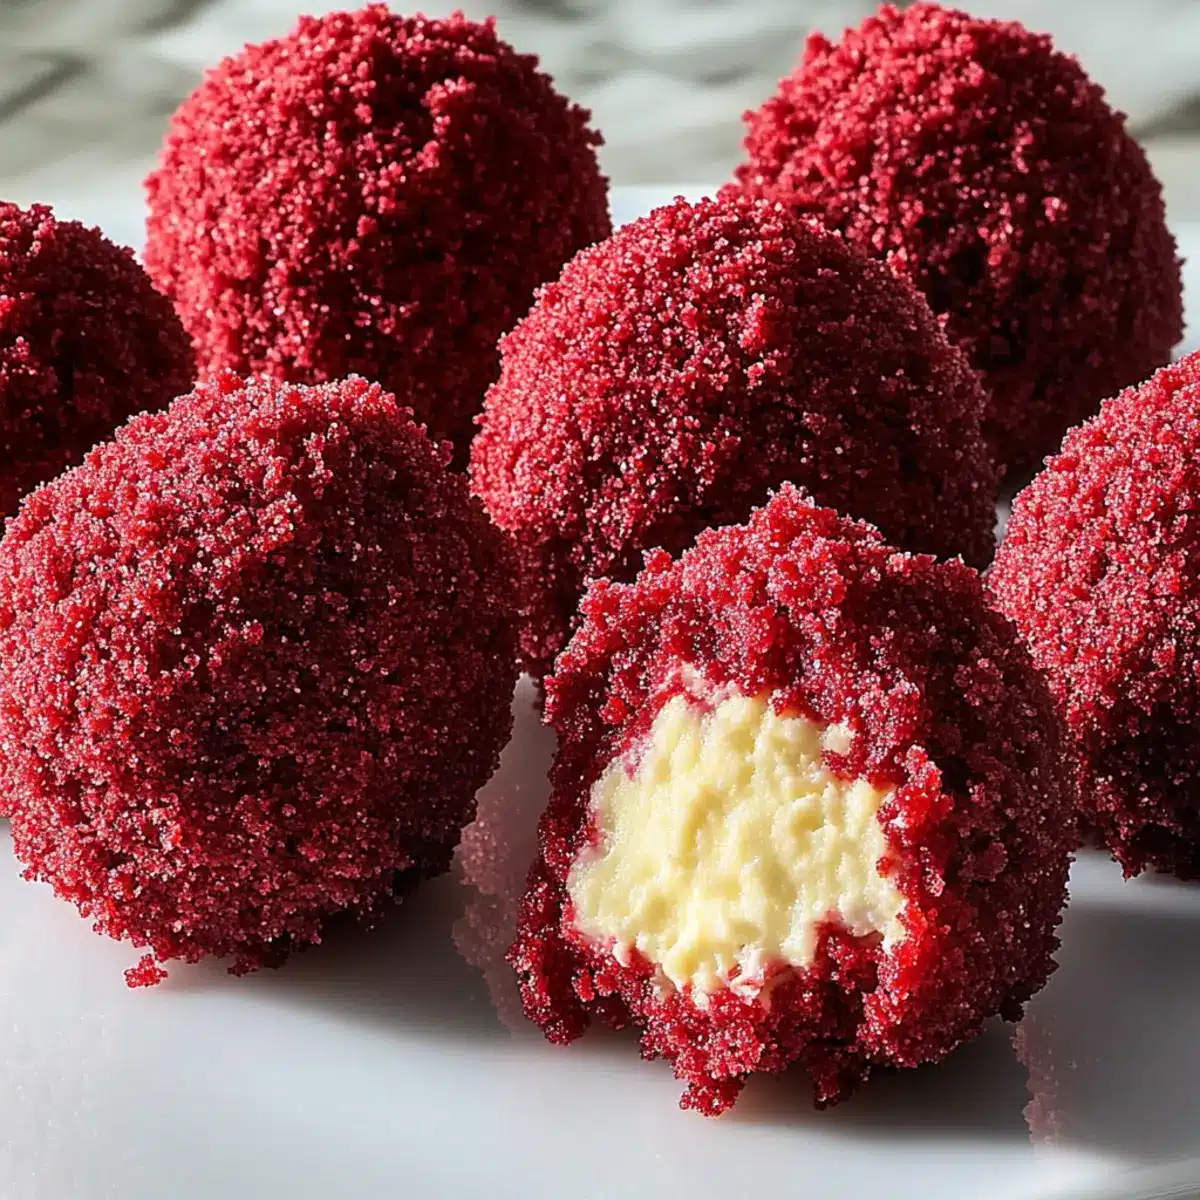
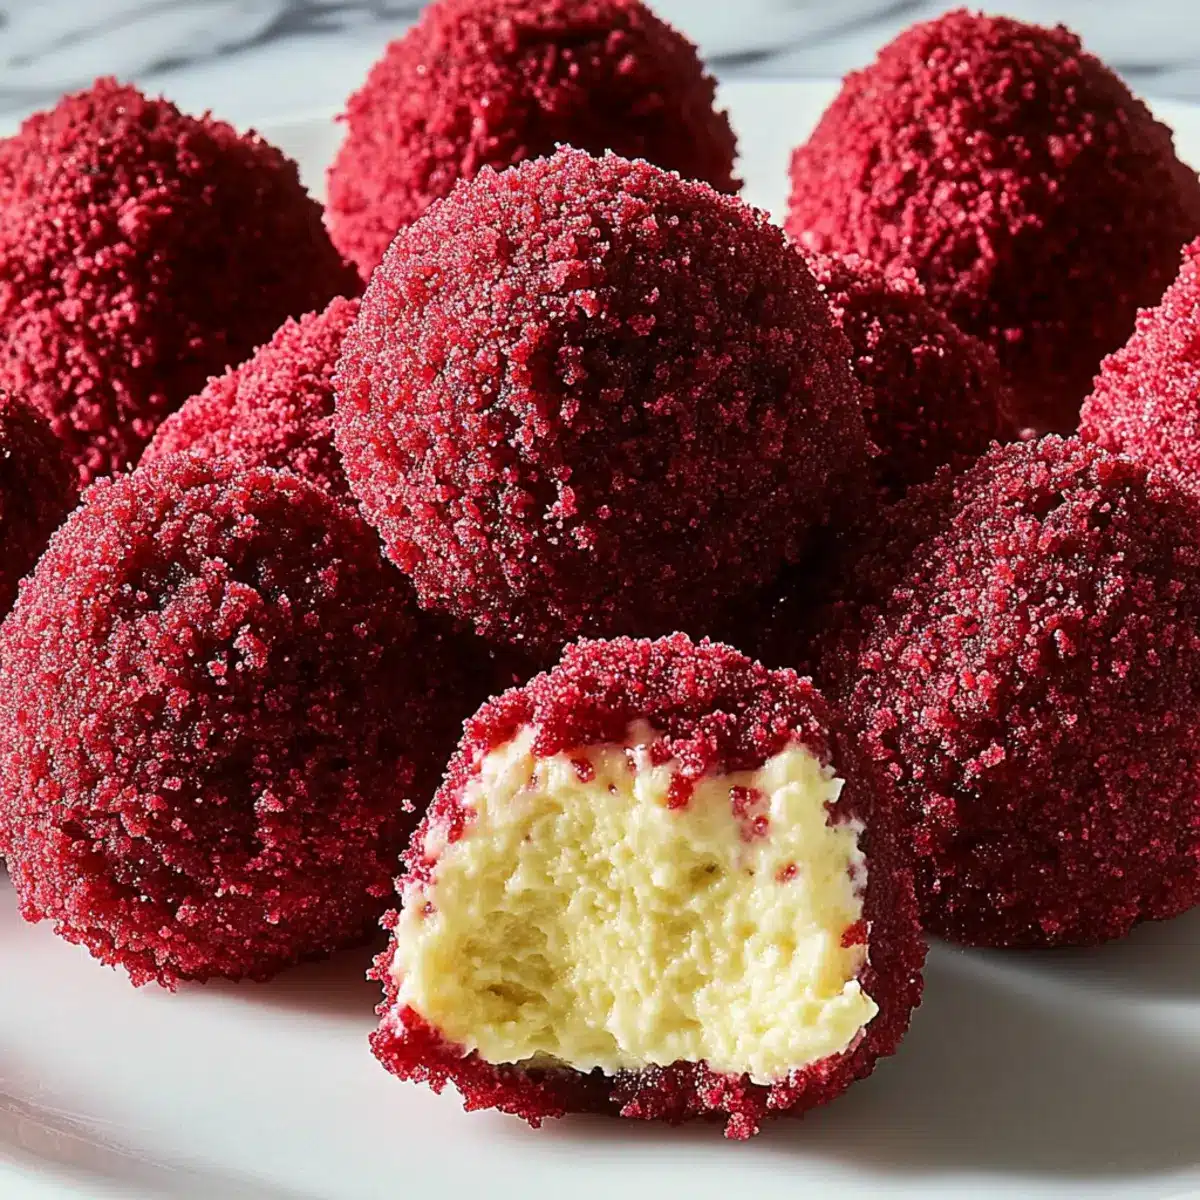
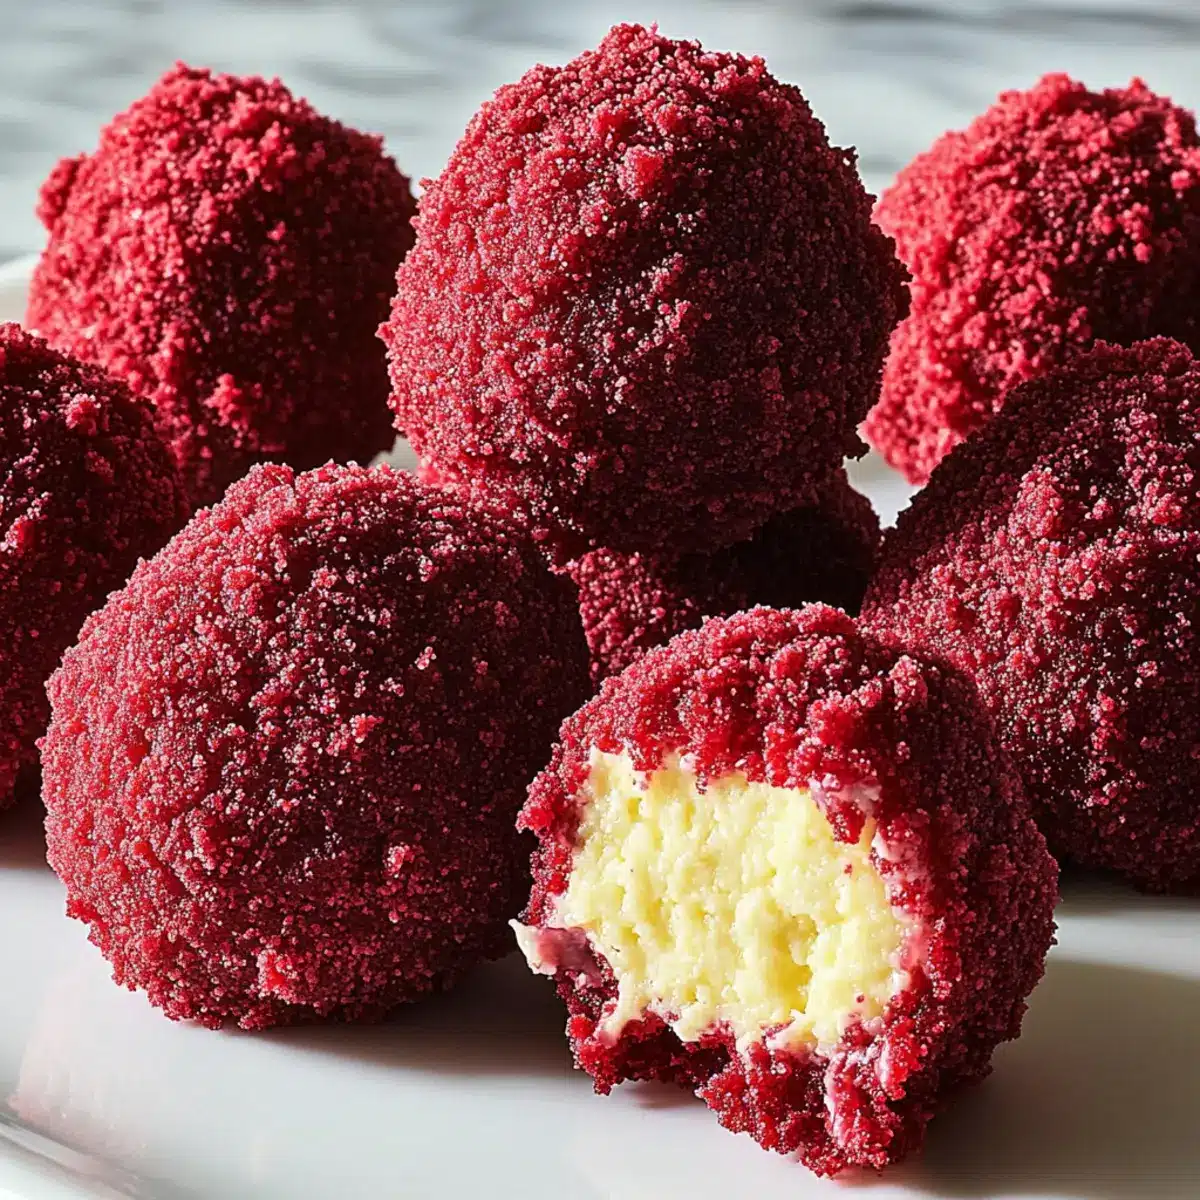
After chilling, remove the bites from the refrigerator. Roll each chilled ball in the crushed graham cracker mixture until fully coated, pressing lightly to ensure the crumbs adhere well. Feel free to coat them generously for a pleasing texture and visual appeal. Each bite should be completely covered, creating an irresistible exterior.
Step 6: Chill and Serve
Once coated, place the Red Velvet Cheesecake Bites back onto the parchment-lined baking sheet and refrigerate them for an additional 30 minutes. This will help the coating set and keep the bites firm. Once chilled and ready to enjoy, serve these decadent treats on a platter, and watch them disappear at your next gathering!
Storage Tips for Red Velvet Cheesecake Bites
-
Fridge: Store your Red Velvet Cheesecake Bites in an airtight container for up to 5 days. This keeps them fresh and maintains their delightful texture.
-
Freezer: Freeze the bites in a single layer on a baking sheet, then transfer them to a freezer-safe bag for up to 3 months. This method preserves their flavors beautifully.
-
Thawing: When ready to enjoy, thaw the bites in the fridge for several hours or overnight before serving. This ensures they regain their creamy texture without becoming too soft.
Make Ahead Options
These Red Velvet Cheesecake Bites are fantastic for meal prep, allowing you to indulge while saving time on busy days! You can prepare the cheesecake mixture and form the bites up to 24 hours in advance. Simply roll them into balls and refrigerate in an airtight container; this helps maintain their creamy texture. To serve, just roll the chilled bites in crushed graham crackers just before your guests arrive; this ensures they stay fresh and delicious. If you want to prep even further ahead, you can freeze the coated bites for up to 3 months. Thaw in the fridge overnight before serving for the best quality!
Expert Tips for Red Velvet Cheesecake Bites
-
Room Temperature Ingredients: Use all ingredients at room temperature to ensure a smooth consistency in your cheesecake mixture, avoiding lumps.
-
Cake Crumbling: Be sure to crumble the red velvet cake evenly; large chunks can make it difficult to shape your bites, leading to uneven texture.
-
Chill Time: Don’t skip the chilling steps! Proper refrigeration helps the bites hold their shape and makes rolling easier.
-
Generous Coating: Roll the bites generously in the crushed graham crackers and cake mix for that beautiful, irresistible appearance and extra crunch.
-
Flavor Variations: Add in chocolate chips or try different extracts to experiment with unique flavor profiles for your Red Velvet Cheesecake Bites.
Red Velvet Cheesecake Bites Variations
Feel free to put your own spin on these delightful bites and create a version that tantalizes your taste buds!
- Gluten-Free: Substitute regular graham crackers with gluten-free ones to accommodate dietary needs without sacrificing flavor.
- Nutty Delight: Roll the bites in finely chopped nuts for added crunch and richness. Almonds or pecans complement the red velvet beautifully.
- Cocoa Boost: Mix in a tablespoon of cocoa powder into the cheesecake mixture for an extra chocolatey treat that adds depth to the flavor.
- Flavor Infusion: Experiment with flavored extracts like orange or mint instead of vanilla for a unique twist that brightens up the bites.
- Mini Cheesecake Cups: Instead of rolling them, layer the cheesecake mixture in mini cups for an elegant presentation. Top with a dollop of whipped cream for flair.
- Spicy Kick: Add a pinch of cayenne pepper or cinnamon to the cheesecake mixture, giving a warm, spicy touch to each bite that surprises the palate.
- Fruity Addition: Gently fold in fresh raspberries or chopped strawberries into the cheesecake mixture for a fruity burst that pairs perfectly with the red velvet.
- Decadent Chocolate Coat: Dip the finished bites in melted dark chocolate for a truly indulgent treat that encases the creamy center in a rich chocolate shell.
If you’re curious about more delicious desserts, try my Velvet Strawberry Cheesecake or check out the fun and sweet Strawberry Cheesecake Dessert Tacos for your next gathering!
What to Serve with No-Bake Red Velvet Cheesecake Bites
Indulging in these delightful bites can be made even sweeter with the perfect accompaniments that enhance their rich flavors.
-
Fresh Fruit Salad: Bright and refreshing, a mix of seasonal fruits adds a lightness that balances the dessert’s richness.
-
Chocolate-Covered Strawberries: The sweet, juicy strawberries coated in chocolate offer a luxurious touch that pairs beautifully with the cheesecake’s creaminess.
-
Whipped Cream: Light and airy, freshly whipped cream complements the decadent cheesecake bites, adding a delightful contrast in texture.
-
Espresso or Coffee: Brewed coffee’s slight bitterness cuts through the sweetness, making each bite even more enjoyable with a warm beverage.
-
Vanilla Ice Cream: A scoop of vanilla ice cream enriches the indulgence; its creamy texture and contrasting coolness elevate the flavors to new heights.
-
Chocolate Sauce Drizzle: A rich chocolate sauce drizzled over the bites enhances their visual appeal and adds an extra layer of decadence.
-
Nutty Granola: A sprinkle of granola introduces a crunchy texture and nutty flavor, adding an enjoyable contrast to the soft, creamy bites.
-
Sparkling Water with Lime: Refreshing and zesty, this drink clears the palate and complements the dessert’s sweetness without overwhelming the senses.
These pairings work in harmony with your No-Bake Red Velvet Cheesecake Bites, creating a memorable dessert experience perfect for any occasion!
Red Velvet Cheesecake Bites Recipe FAQs
How do I choose the right red velvet cake mix?
Absolutely! When selecting a red velvet cake mix, look for one with a vibrant color and minimal added preservatives. You can also opt for a homemade red velvet cake to enjoy a personal touch. Just make sure it’s fully cooled before crumbling into the mixture.
How should I store leftover Red Velvet Cheesecake Bites?
To keep your bites fresh, store them in an airtight container in the refrigerator for up to 5 days. If you notice them getting a bit soft, simply pop them back into the fridge for a little while to firm up before serving.
Can I freeze Red Velvet Cheesecake Bites?
Yes, you can! Freeze the bites in a single layer on a baking sheet for about 1 hour until firm. Then, transfer them to a freezer-safe bag, where they can last for up to 3 months. When you’re ready to enjoy, thaw them in the refrigerator for a few hours or overnight for the best texture.
What if my cheesecake mixture is too soft to roll into balls?
Very! If your mixture feels too soft, I recommend chilling it for an additional 15-30 minutes in the fridge to firm it up. If it’s still too soft after chilling, you can add a bit more crushed graham crackers or cake mix to help solidify it further.
Are there any allergy considerations for this recipe?
Definitely! If you’re preparing these bites for guests, be mindful of allergies. They contain cream cheese and butter, which are dairy products, and graham crackers, which often contain gluten. You can substitute gluten-free graham crackers for those with gluten allergies and make sure to check the cream cheese for any potential allergens.
How long can I keep the Red Velvet Cheesecake Bites in the freezer?
Absolutely! When stored properly, your Red Velvet Cheesecake Bites can stay fresh in the freezer for up to 3 months. Just make sure to allow them to cool completely before freezing and follow the thawing instructions when you’re ready to savor them!
Delicious Red Velvet Cheesecake Bites You Can Make in Minutes
Ingredients
Equipment
Method
- In a mixing bowl, combine 16 ounces of room temperature cream cheese and 4 tablespoons of softened butter until smooth and fluffy.
- Gradually add 1/2 cup of powdered sugar and 1 teaspoon of vanilla extract, mixing until well incorporated.
- Crush 2 cups of graham crackers in a sturdy ziplock bag until fine crumbs are achieved.
- Combine 1 cup of red velvet cake mix with the cream cheese mixture, folding gently until evenly mixed.
- Roll the mixture into small balls, about 1 inch in diameter, and place on a parchment-lined baking sheet.
- Chill the formed bites in the refrigerator for about 30 minutes to firm up.
- Coat each chilled ball in the crushed graham cracker mixture until fully covered, then place back on the sheet.
- Refrigerate for an additional 30 minutes, then serve these delightful treats.
Leave a Reply