
As I opened the freezer door, a wave of anticipation washed over me; I knew my latest creation was waiting. This No-Bake Peanut Butter Cup Ice Cream Pie is more than just a dessert—it’s a creamy, dreamy indulgence that marries the rich flavors of peanut butter and chocolate in a way that will leave your sweet tooth dancing with joy. With just 15 minutes of prep and zero baking required, this delightful treat is not only perfect for busy evenings but also a guaranteed crowd-pleaser for any gathering. Plus, it’s a vegetarian dessert that can easily cater to gluten-free diets with a few simple substitutions. Are you ready to whip up this effortless delight that’ll have everyone asking for seconds? Let’s dive in!
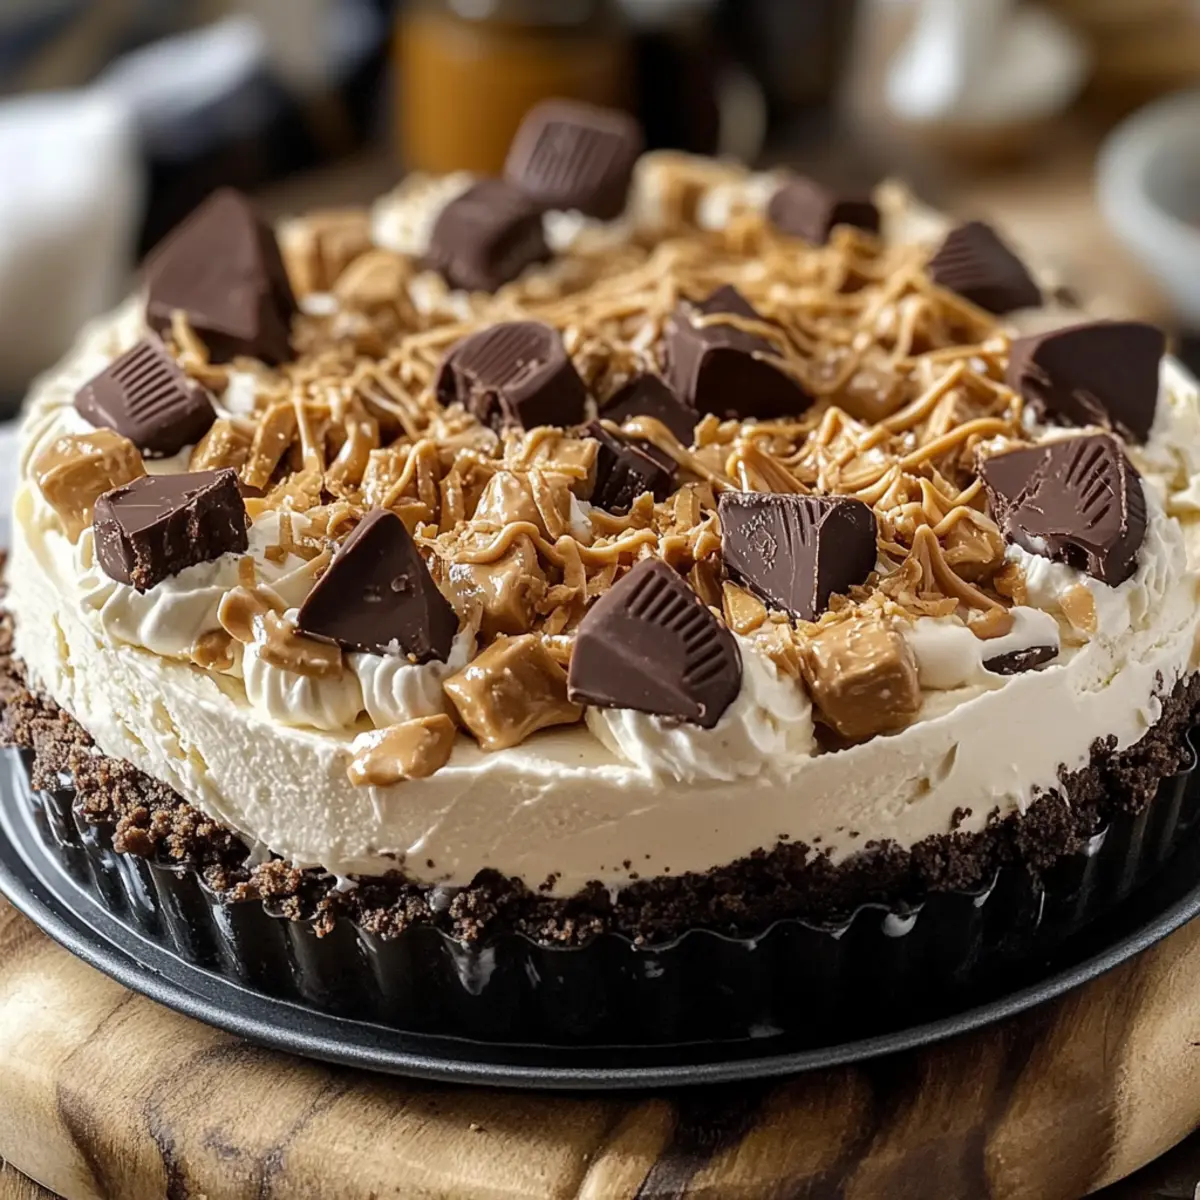
Why is this dessert a must-try?
Creamy Delight: The combination of smooth vanilla ice cream and creamy peanut butter creates a velvety texture that melts in your mouth.
Effortless Preparation: With just 15 minutes of prep time, this no-bake pie is a breeze to make.
Customizable: Substitute with different mix-ins or crusts to cater to everyone’s taste—how about trying it with graham cracker crust or adding some crushed cookies for crunch?
Gluten-Free Friendly: Easily adapt the recipe using gluten-free alternatives, ensuring all your guests can indulge.
Arrive and Impress: This stunning ice cream pie is bound to be a showstopper at gatherings, ensuring everyone goes home with a smile!
Elevate your dessert game today and consider pairing it with a scoop of Pistachio Ice Cream for a delightful combination!
Peanut Butter Cup Ice Cream Pie Ingredients
• Here’s everything you need for a delightful treat!
For the Filling
- Vanilla Ice Cream – A creamy base; choose your favorite brand for the best flavor.
- Creamy Peanut Butter – Adds rich flavor; chunky peanut butter can be used for texture.
- Whipped Topping – Lightens up the mixture; homemade whipped cream provides a fresher taste.
- Mini Peanut Butter Cups – Excellent for sweet, chocolatey bites; substitute with regular-sized peanut butter cups if preferred.
For the Crust
- Chocolate Cookie Crust – Delivers a sweet, chocolatey foundation; you can swap it for a graham cracker crust for variation.
For the Topping
- Chocolate Syrup – A delicious drizzled finishing touch; optional but adds extra flavor and appeal.
With these ingredients, you’ll create a Peanut Butter Cup Ice Cream Pie that’s simply irresistible!
Step‑by‑Step Instructions for Peanut Butter Cup Ice Cream Pie
Step 1: Mix Ice Cream and Peanut Butter
In a large mixing bowl, scoop out about 4 cups of vanilla ice cream and add 1 cup of creamy peanut butter. Using an electric mixer on medium speed, blend the mixture until it’s smooth and well combined, which should take about 2-3 minutes. You’ll know it’s ready when the peanut butter is evenly distributed, creating a delightful, creamy base for your Peanut Butter Cup Ice Cream Pie.
Step 2: Fold in Whipped Topping
Next, gently fold in 2 cups of whipped topping into the peanut butter and ice cream mixture. Use a spatula for this task, working slowly to maintain the lightness and airiness of the whipped topping. Keep folding until you see no white streaks, which should take about 1-2 minutes, ensuring the filling remains fluffy and perfect for your ice cream pie.
Step 3: Add Mini Peanut Butter Cups
Now, take 1 cup of chopped mini peanut butter cups and carefully fold them into the mixture. This adds delicious chocolatey bites throughout your pie. Stir gently to distribute the pieces evenly without deflating the fluffy filling, which should only take about 1 minute. Once incorporated, your filling is ready for the crust.
Step 4: Pour into Crust
Pour the creamy filling into your pre-made chocolate cookie crust, smoothing the top with a spatula until it’s even. Make sure to fill the crust generously, leaving no gaps for a perfectly set Peanut Butter Cup Ice Cream Pie. Once the filling is evenly spread, it’s time to move on to the final touches.
Step 5: Drizzle with Chocolate Syrup
Before freezing, take your chocolate syrup and generously drizzle it over the top of the pie. Aim for an even coverage to enhance both flavor and presentation. You can create fun patterns or simply cover the surface, allowing the chocolate to complement the creamy filling beautifully.
Step 6: Freeze the Pie
Cover the pie with plastic wrap to keep it fresh and place it in the freezer. Allow it to freeze for at least 4 hours, or overnight for best results, ensuring the filling becomes firm and sliceable. You’ll know it’s ready when the pie feels solid to the touch and releases a delightful chocolatey aroma.
Step 7: Serve the Pie
Finally, when it’s time to serve, let the pie sit at room temperature for about 5-10 minutes. This softens the edges slightly for easier slicing. Use a sharp knife for clean cuts, and for an extra touch, garnish each slice with additional chocolate syrup or whipped cream if desired. Enjoy your homemade Peanut Butter Cup Ice Cream Pie!
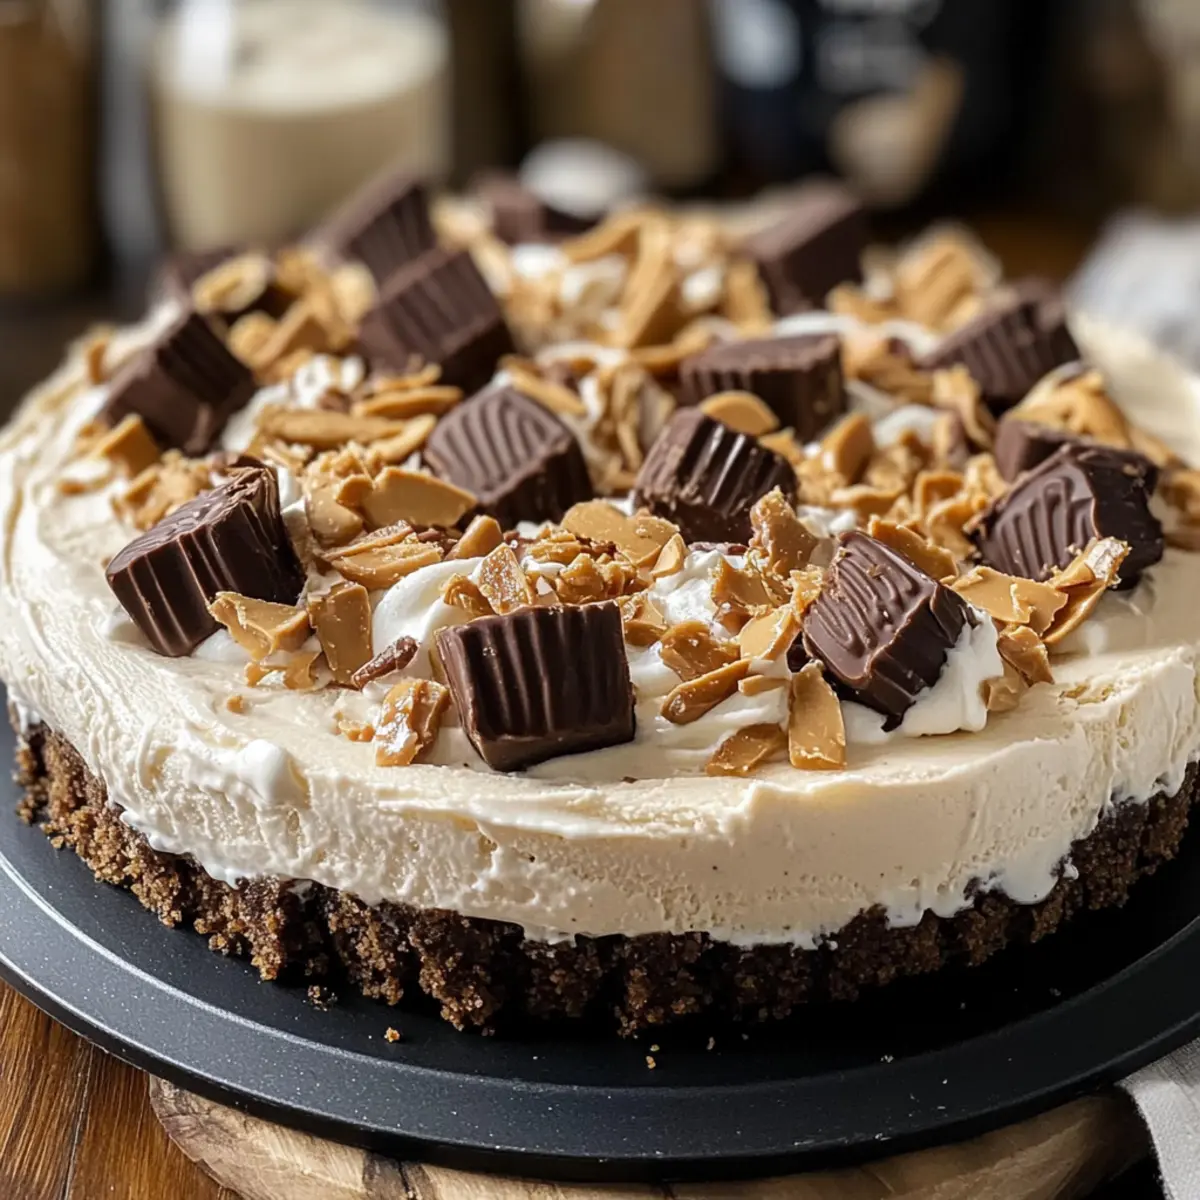
How to Store and Freeze Peanut Butter Cup Ice Cream Pie
Fridge: Keep your Peanut Butter Cup Ice Cream Pie tightly covered in the refrigerator for up to 3 days if you’re planning to enjoy it soon after making. This helps maintain its creamy texture.
Freezer: For longer storage, place the pie in the freezer, wrapped tightly in plastic wrap or foil, where it can last for up to a week. This helps prevent freezer burn and keeps it delightful.
Thawing: When ready to indulge, transfer the pie to the fridge for several hours or let it sit at room temperature for about 10 minutes to make slicing easier and bring back the creamy goodness.
Reheating: There’s no need to reheat this dessert! Simply slice and serve straight from the freezer or let it soften slightly as mentioned for the best texture.
Peanut Butter Cup Ice Cream Pie Variations
Feel free to get creative and make this pie uniquely yours! Each variation promises to bring a delightful twist to your dessert experience.
- Dairy-Free: Swap vanilla ice cream for coconut or almond milk-based ice cream to create a deliciously creamy pie suitable for dairy-free diets.
- Crunchy Alternative: Use chunky peanut butter instead of creamy for a fabulous, textural surprise in every bite. It adds delightful crunch alongside the smoothness!
- Gluten-Free: Substitute the chocolate cookie crust with a gluten-free graham cracker crust. Everyone can join the fun with this simple swap.
- Cookie Dough Delight: Consider mixing in some edible cookie dough for a fun twist. It adds a chewy richness that pairs beautifully with the creamy filling.
- Syrup Upgrade: Replace regular chocolate syrup with homemade fudge sauce for an irresistibly rich topping. Your taste buds will thank you for this extra layer of indulgence!
- Minty Fresh: Add peppermint extract to the creamy mixture for a refreshing mint chocolate flavor. This unique spin is perfect for mint lovers!
- Nutty Crunch: Toss in some chopped nuts, like peanuts or pecans, into the filling for both flavor and crunch. This will elevate your pie’s texture and taste!
- Frozen Fun: For a fruity twist, fold in crushed strawberries or banana slices before pouring the filling into the crust. It’s like having a chocolate-covered fruit treat!
There’s so much you can do with this recipe! If you want to explore more delightful treats, you might also enjoy serving your pie with a scoop of Pistachio Ice Cream or even some Iced Pumpkin Cream for that extra festive cheer!
What to Serve with Peanut Butter Cup Ice Cream Pie?
As you prepare to savor each slice of this creamy delight, think about how to elevate your dessert experience into a full meal celebration.
-
Fresh Fruit Salad: Bursting with color and vitamins, a fruit salad offers a refreshing contrast to the rich pie, balancing sweetness with tangy bites.
-
Chocolate-Covered Strawberries: These decadent, bite-sized treats provide a luxurious touch that echoes the pie’s chocolate essence, making for an elegant, indulgent pairing.
-
Coffee or Espresso: The warmth of coffee complements the chill of the pie while its rich flavor enhances the dessert’s decadent notes, creating a delightful contrast.
-
Whipped Cream with Nuts: A dollop of whipped cream sprinkled with crushed nuts adds an extra layer of texture and flavor, making each bite even more delightful.
-
Mint Chocolate Chip Ice Cream: For a minty twist, serving this alongside the pie refreshes the palate while harmonizing with the chocolatey peanut butter goodness.
-
Chocolate Sauce Drizzle: Serve slices with an extra drizzle of chocolate sauce to intensify that chocolate experience, taking the indulgence of the pie to the next level.
With these delightful pairings, your Peanut Butter Cup Ice Cream Pie will become a star attraction at any gathering!
Expert Tips for Peanut Butter Cup Ice Cream Pie
-
Mix Well: Ensure the peanut butter is fully blended with the ice cream to avoid clumps in your Peanut Butter Cup Ice Cream Pie.
-
Gentle Folding: When adding whipped topping, fold gently to maintain fluffiness; overmixing can cause a dense filling.
-
Smart Storing: Cover the pie tightly with plastic wrap while freezing to prevent ice crystals from forming and maintain creaminess.
-
Perfect Slicing: Let the pie sit at room temperature for a few minutes before slicing to achieve clean, beautiful cuts.
-
Crust Choices: Feel free to experiment with crusts—graham cracker works wonderfully for a different flavor profile!
Make Ahead Options
This Peanut Butter Cup Ice Cream Pie is a fantastic choice for meal prep aficionados! You can prepare the filling (including the mixed ice cream and peanut butter) up to 24 hours in advance, keeping it refrigerated in an airtight container to maintain its creamy texture. The pie can then be assembled the day before your gathering—simply pour the filling into the chocolate cookie crust, drizzle with chocolate syrup, and freeze overnight. For best results, cover the pie with plastic wrap to prevent freezer burn. When ready to serve, let the pie sit at room temperature for about 5-10 minutes for easier slicing, ensuring you enjoy every bit of this delightful dessert just as deliciously as if it were freshly made!
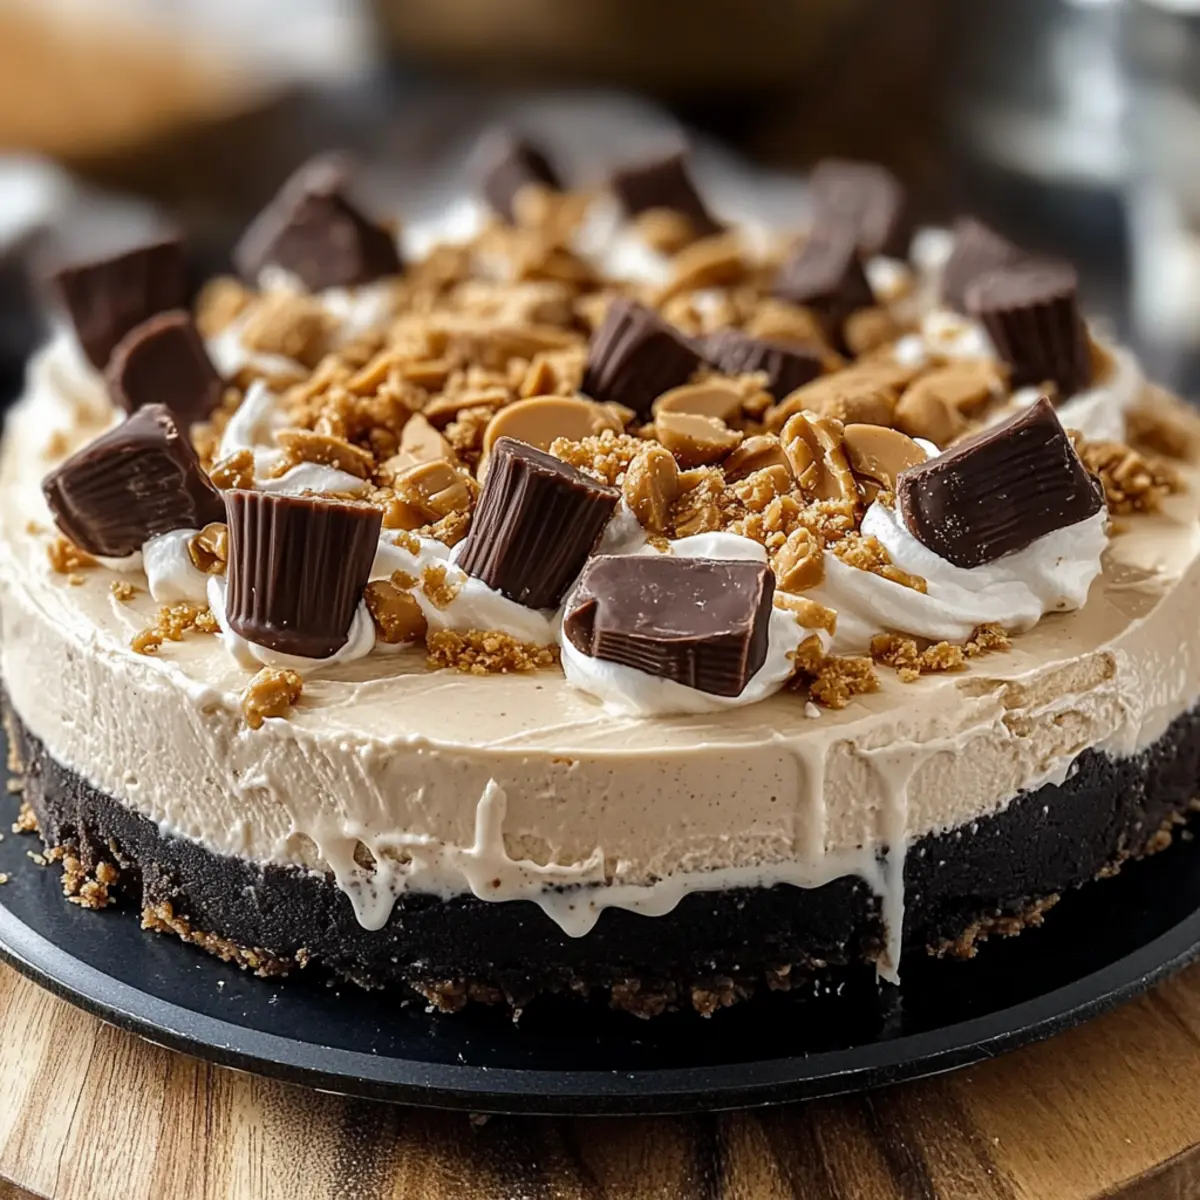
Peanut Butter Cup Ice Cream Pie Recipe FAQs
What kind of vanilla ice cream should I use?
Absolutely use your favorite brand! The flavor and quality of the vanilla ice cream significantly impact the pie. I often opt for a premium ice cream for a richer taste, but even standard brands can work wonderfully.
How long can I store the pie in the freezer?
You can keep your Peanut Butter Cup Ice Cream Pie in the freezer for up to a week. Just be sure to wrap it tightly in plastic wrap or foil to prevent freezer burn. If you want to enjoy it longer, consider wrapping it in an airtight container for up to a month!
Can I freeze left over pie slices individually?
Yes, indeed! To freeze individual slices, wrap each slice securely in plastic wrap and then place them in a freezer-safe bag or container. They can be stored this way for up to 3 months. Just thaw them in the refrigerator overnight or let them sit at room temperature for a few minutes before enjoying!
What if my pie filling is too runny?
If your pie filling turns out runny, it’s usually due to overmixing the whipped topping or using ice cream that wasn’t firm enough. For a solution, try refreezing it for a few additional hours. Make sure your ice cream is softened at just the right temperature (let it sit at room temperature for about 5 minutes) before mixing to achieve that delightful creamy consistency.
Are there any allergies I should consider with this recipe?
Yes, this Peanut Butter Cup Ice Cream Pie contains common allergens such as dairy and peanuts. For nut allergies, consider substituting with sunbutter or a different nut-free buttery spread. Always ensure that your ingredients, such as cookie crusts and toppings, do not contain gluten or any unwanted allergens if catering to others with dietary restrictions.
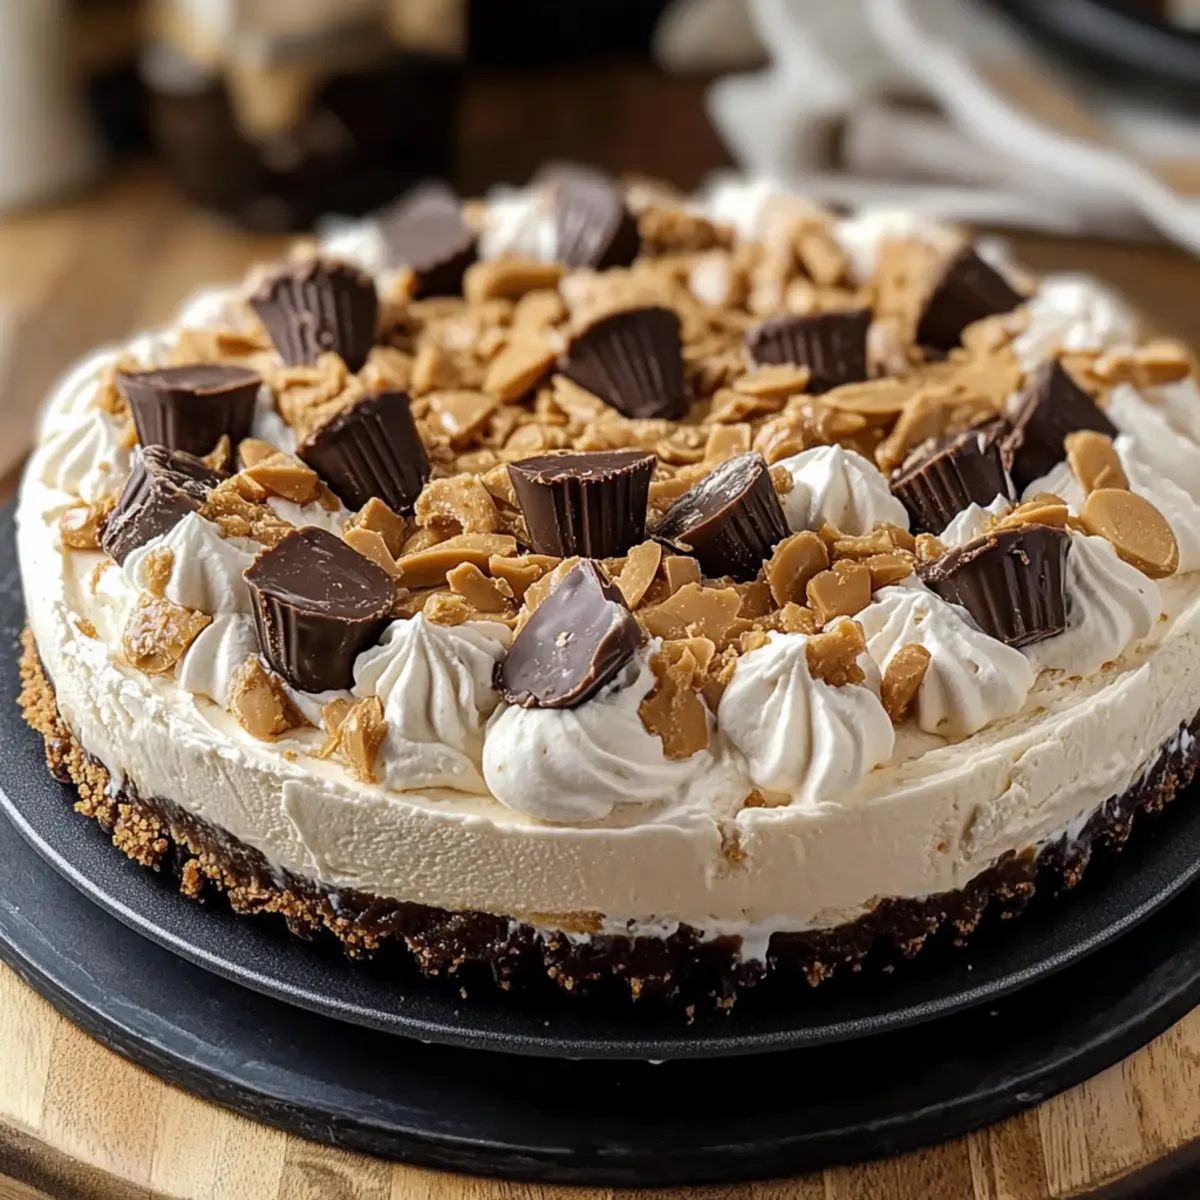
Peanut Butter Cup Ice Cream Pie
Ingredients
Equipment
Method
- In a large mixing bowl, scoop out about 4 cups of vanilla ice cream and add 1 cup of creamy peanut butter. Blend until smooth, about 2-3 minutes.
- Gently fold in 2 cups of whipped topping into the peanut butter and ice cream mixture. Use a spatula, being careful to maintain the lightness.
- Fold in 1 cup of chopped mini peanut butter cups, stirring gently to distribute without deflating the fluffy filling.
- Pour the filling into the pre-made chocolate cookie crust and smooth the top with a spatula.
- Drizzle chocolate syrup over the top of the pie, aiming for even coverage.
- Cover the pie with plastic wrap and place it in the freezer for at least 4 hours.
- Before serving, let the pie sit at room temperature for 5-10 minutes for easier slicing.
Leave a Reply