
The moment I pulled open the fridge door, a wave of sweetness hit me like a fragrant breeze, whispering promises of indulgence. My No-Bake Icebox Cake, with its layers of velvety whipped vanilla cream, crisp chocolate wafers, and fresh strawberries, was just waiting to charm anyone who set eyes on it. This dessert is a game-changer—not only does it come together in no time, but it also offers a delightful, refreshing contrast in textures that will have your family and friends reaching for seconds. Perfect for those warm days or last-minute gatherings, it’s both simple enough for beginner cooks and sophisticated enough to impress. I assure you, this easy dessert is about to become your go-to sweet treat! Ready to dive in and whip one up for yourself?
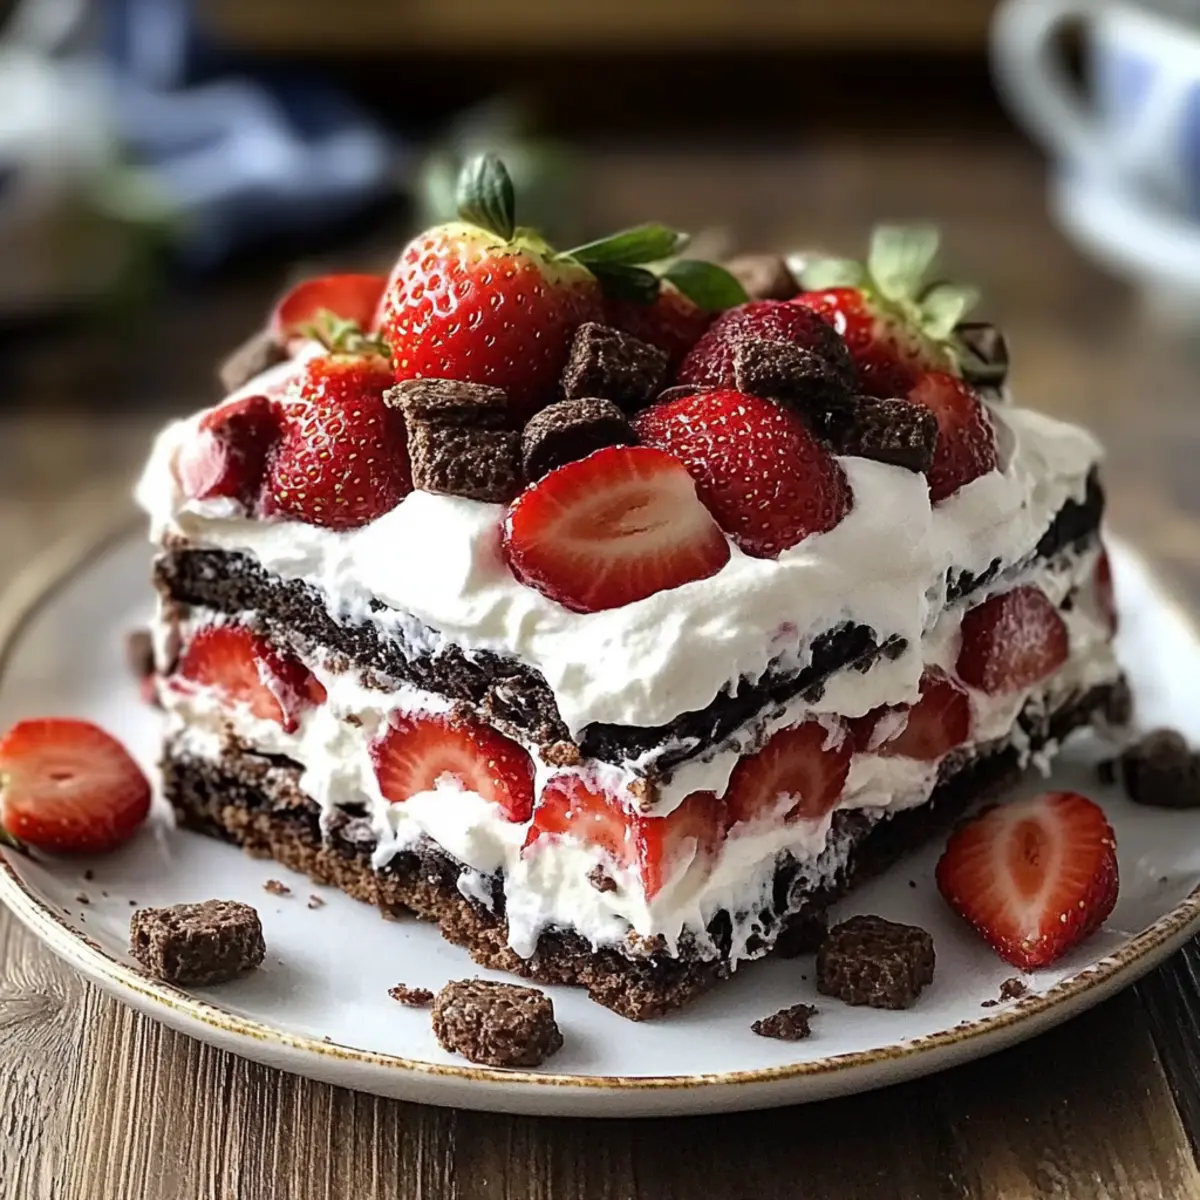
Why is No-Bake Icebox Cake a Must-Try?
Simplicity at its finest: This dessert requires no baking, making it perfect for even the most novice cooks!
Flavor explosion: The combination of rich whipped vanilla cream and fresh strawberries provides a delightful burst of taste that’s utterly irresistible.
Crowd-pleaser: It’s a refreshing treat your family and friends will love, ensuring that there are no leftovers.
Versatile options: Feel free to switch up the chocolate wafers for graham crackers or throw in some crushed cookies for added texture!
Time-saving: With minimal prep and just chilling time needed, you can quickly whip this up and enjoy the compliments that follow.
Craving something sweet? Try pairing it with my Oreo Poke Cake for a double dose of dessert delight!
No-Bake Icebox Cake Ingredients
• Get ready to create a dessert masterpiece!
For the Whipped Cream
- Heavy Cream – Adds richness and creaminess; use cold, straight from the fridge for the best results.
- Granulated Sugar – Sweetens the whipped cream; adjust to your preferred sweetness level.
- Vanilla Extract – Provides flavor depth; opt for pure vanilla extract for authentic taste.
For the Cake Layers
- Chocolate Wafer Cookies – Serve as the base, providing a lovely crunch; you can substitute with graham crackers or vanilla wafers if you like.
- Sliced Strawberries – Fresh fruit adds a burst of flavor; feel free to swap with other berries like raspberries or blueberries if desired.
Get these ingredients ready, and you’ll be on your way to creating your very own No-Bake Icebox Cake that’s sure to impress!
Step‑by‑Step Instructions for No-Bake Icebox Cake
Step 1: Prepare the Whipped Cream
In a chilled mixing bowl, combine heavy cream, granulated sugar, and vanilla extract. Using an electric mixer, beat the mixture on high speed for about 3–4 minutes, or until stiff peaks form. You’ll know it’s ready when the cream holds its shape and looks fluffy. This luscious whipped cream will be the star of your No-Bake Icebox Cake!
Step 2: Spread the First Layer
Grab a loaf pan and spread a thin layer of whipped cream evenly at the bottom. This layer creates a creamy base to anchor the layers of chocolate wafers above. Be sure to cover the entire base for a smooth starting point in your No-Bake Icebox Cake.
Step 3: Layer the Chocolate Wafers
Carefully layer chocolate wafers over the whipped cream, breaking them if needed to fit snugly. It’s important to create a complete layer without any gaps. Press gently to ensure they adhere, providing a crunchy texture that contrasts beautifully with the creamy layers.
Step 4: Add More Whipped Cream
Spread a generous layer of whipped cream over the chocolate wafers, covering them completely. Use a spatula to smooth the cream evenly, ensuring every edge is coated. This will not only enhance flavor but also create a lovely, layered effect in your No-Bake Icebox Cake.
Step 5: Continue the Layering Process
Repeat the process of layering: add another layer of chocolate wafers, followed by more whipped cream. Aim for an alternating pattern until you either use up your ingredients or reach the top of the loaf pan, ending with a final layer of whipped cream to create a beautiful finish.
Step 6: Chill the Cake
Cover the loaf pan tightly with plastic wrap and place it in the refrigerator. Allow the No-Bake Icebox Cake to chill for at least 4 hours, or overnight if possible. This resting time will let the flavors meld and the cookies soften, creating a delightful texture.
Step 7: Add Final Touches
Once chilled, remove the cake from the fridge and uncover it. Before serving, generously top the cake with fresh sliced strawberries, allowing their vibrant color and sweetness to shine. Cut into portions and serve for a refreshing and indulgent dessert experience that your guests will love.
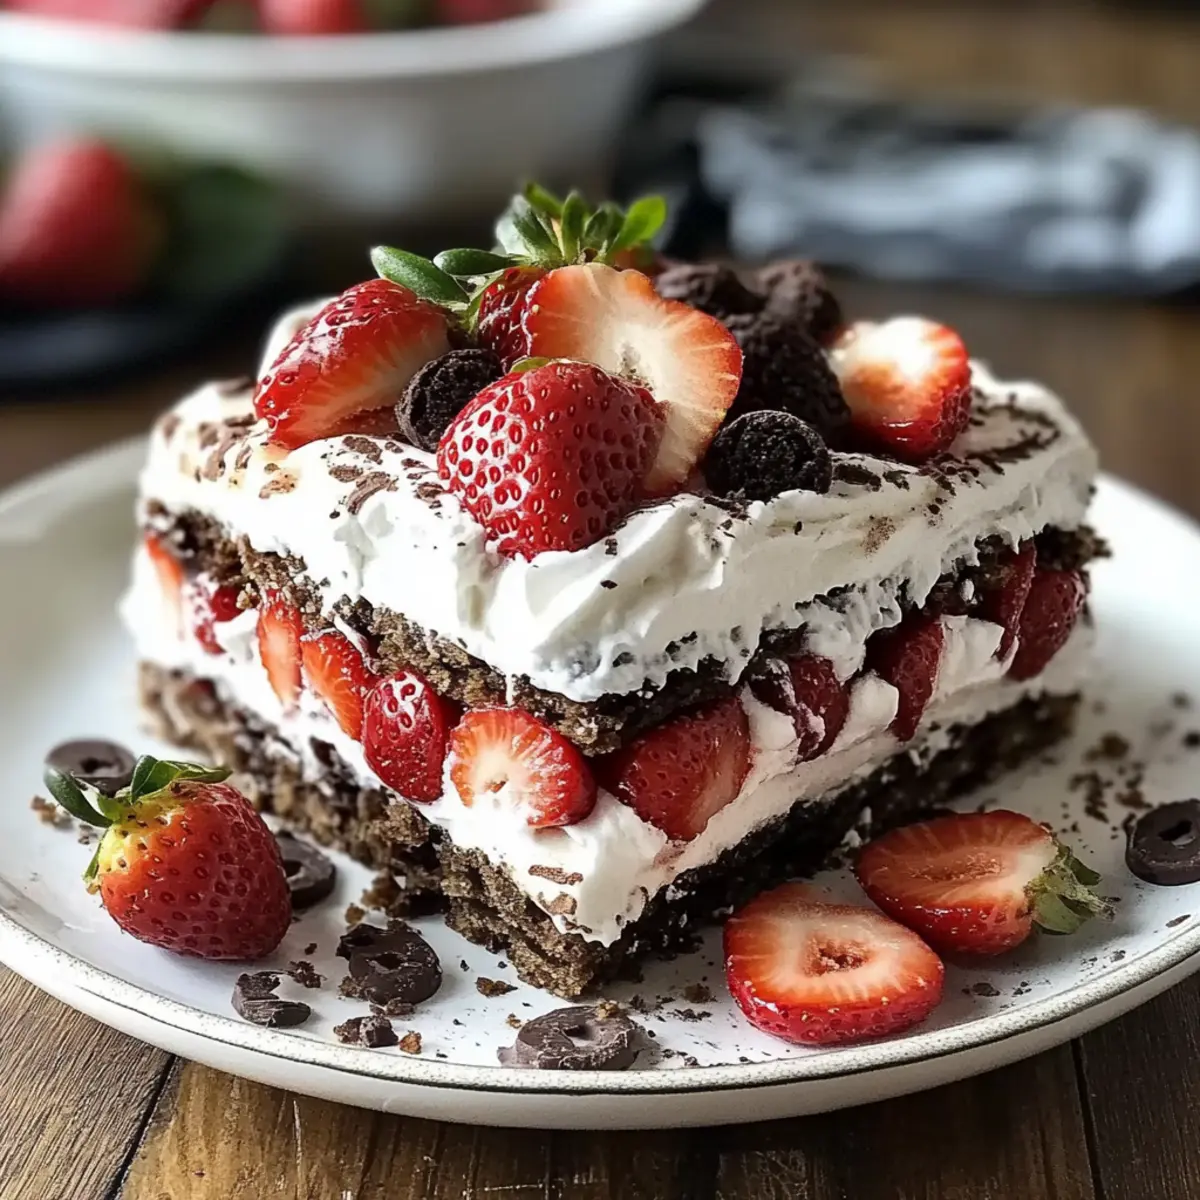
No-Bake Icebox Cake Variations
Feel free to explore your culinary creativity with this delightful dessert by customizing it to match your taste!
- Graham Crackers: Swap chocolate wafers for graham crackers to create a simpler, sweeter flavor profile. They lend a lovely contrast yet still provide that lovely crunch!
- Flavor Boost: Add a splash of flavored extract, like almond or lemon, to the whipped cream for a refreshing layer of complexity. It’s a subtle twist that could surprise your taste buds!
- Berry Medley: Use a mix of fresh berries such as blueberries, raspberries, and kiwi to top the cake for a colorful, fruity explosion. Each bite becomes a little adventure with different flavors!
- Nutty Crunch: Sprinkle crushed nuts, like pecans or almonds, between the layers for added crunch and a nutty flavor that beautifully complements the creaminess.
- Chocolate Lovers: Drizzle melted chocolate or caramel sauce over each whipped cream layer for a decadent touch that elevates the cake to a whole new level.
- Spicy Kick: For a unique twist, add a pinch of cayenne or cinnamon to the cream for an unexpected warmth that contrasts with the sweetness.
- Coffee Flavor: Add a teaspoon of instant coffee granules to the whipped cream mixture for a mocha-inspired icebox cake that coffee lovers will adore. It’s a fusion of rich dessert and energizing flavor!
- Coconut Twist: Incorporate toasted coconut flakes in your layers or top the cake, adding a tropical flair that transforms this dessert into an exotic treat!
As you create your No-Bake Icebox Cake, consider pairing it with a slice of my Chocolate Tuxedo Cake for an indulgent dessert feast that your family and friends won’t forget!
Make Ahead Options
These No-Bake Icebox Cakes are perfect for meal prep, allowing you to indulge in delightful desserts without last-minute stress! You can prepare the whipped cream and layer it with the chocolate wafers up to 24 hours in advance. Simply follow the instructions until the chilling step, cover the loaf pan tightly with plastic wrap, and refrigerate. To maintain the cake’s quality, make sure to keep it airtight, as freshness is key for preventing the wafers from becoming soggy. When you’re ready to serve, just add the sliced strawberries on top, slice, and enjoy a satisfyingly creamy dessert that tastes just as delicious, all with minimal effort on busy weeknights!
What to Serve with No-Bake Icebox Cake
The perfect dessert deserves an equally enticing spread to accompany it, amplifying the joy of your meal.
-
Fresh Berries: A medley of blueberries, raspberries, and strawberries adds a burst of freshness, complementing the creamy layers beautifully. Their natural sweetness enhances the overall flavor profile of the cake.
-
Mint Infused Iced Tea: Refreshing and vibrant, this drink echoes the fresh fruit notes in your cake. It provides a nice contrast to the dessert’s richness, inviting a cooling sensation with each sip.
-
Chocolate Dipped Biscotti: Crunchy and chocolaty, biscotti can add a delightful crunch alongside the dessert’s softness. They’re a perfect finger food to enjoy alongside your sweet treat.
-
Pineapple Coconut Salad: Light and tropically inspired, this salad brings acidity and brightness to balance the textures of the cake. The tropical sweetness of pineapple plays off the creaminess of the dessert.
-
Crème Fraîche: A dollop of this tangy cream adds a sophisticated touch, enhancing the layers of the icebox cake. Its slight tanginess provides a perfect contrast to the sweetness, leaving your guests wanting more.
-
Coffee or Espresso: The rich bitterness of coffee offers a wonderful pairing, cutting through the sweetness of the icebox cake while providing a perfect endnote to a delightful meal.
Expert Tips for No-Bake Icebox Cake
-
Chill Everything: Ensure your mixing bowl and beaters are chilled before whipping the cream to achieve the perfect fluffy texture.
-
Layer Wisely: Avoid overloading the layers; keep them thin for a balanced texture. This will help each bite delightfully meld together.
-
Store Smartly: If you have leftovers, place the cake in an airtight container to maintain freshness, but aim to finish it within two days to prevent the cookies from getting too soft.
-
Fruit Freshness: Use fresh strawberries on top right before serving for the best visual appeal and taste—this ensures the fruit stays vibrant and juicy!
-
Experiment with Flavors: Don’t hesitate to substitute or add flavors—such as almond or hazelnut extract—into the whipped cream for a twist on the classic No-Bake Icebox Cake!
How to Store and Freeze No-Bake Icebox Cake
Room Temperature: Keep the No-Bake Icebox Cake in a cool, dry place for up to 2 hours if serving at room temperature. Avoid direct sunlight to prevent melting.
Fridge: Store leftovers in an airtight container in the refrigerator for up to 2 days. The whipped cream will remain fresh, but the chocolate wafers may soften slightly.
Freezer: For longer storage, freeze individual slices wrapped tightly in plastic wrap and then in foil for up to 1 month. Thaw in the fridge overnight before serving for the best texture.
Reheating: No need to reheat—enjoy it chilled right from the fridge! If frozen, ensure to let it thaw completely for the best taste experience.
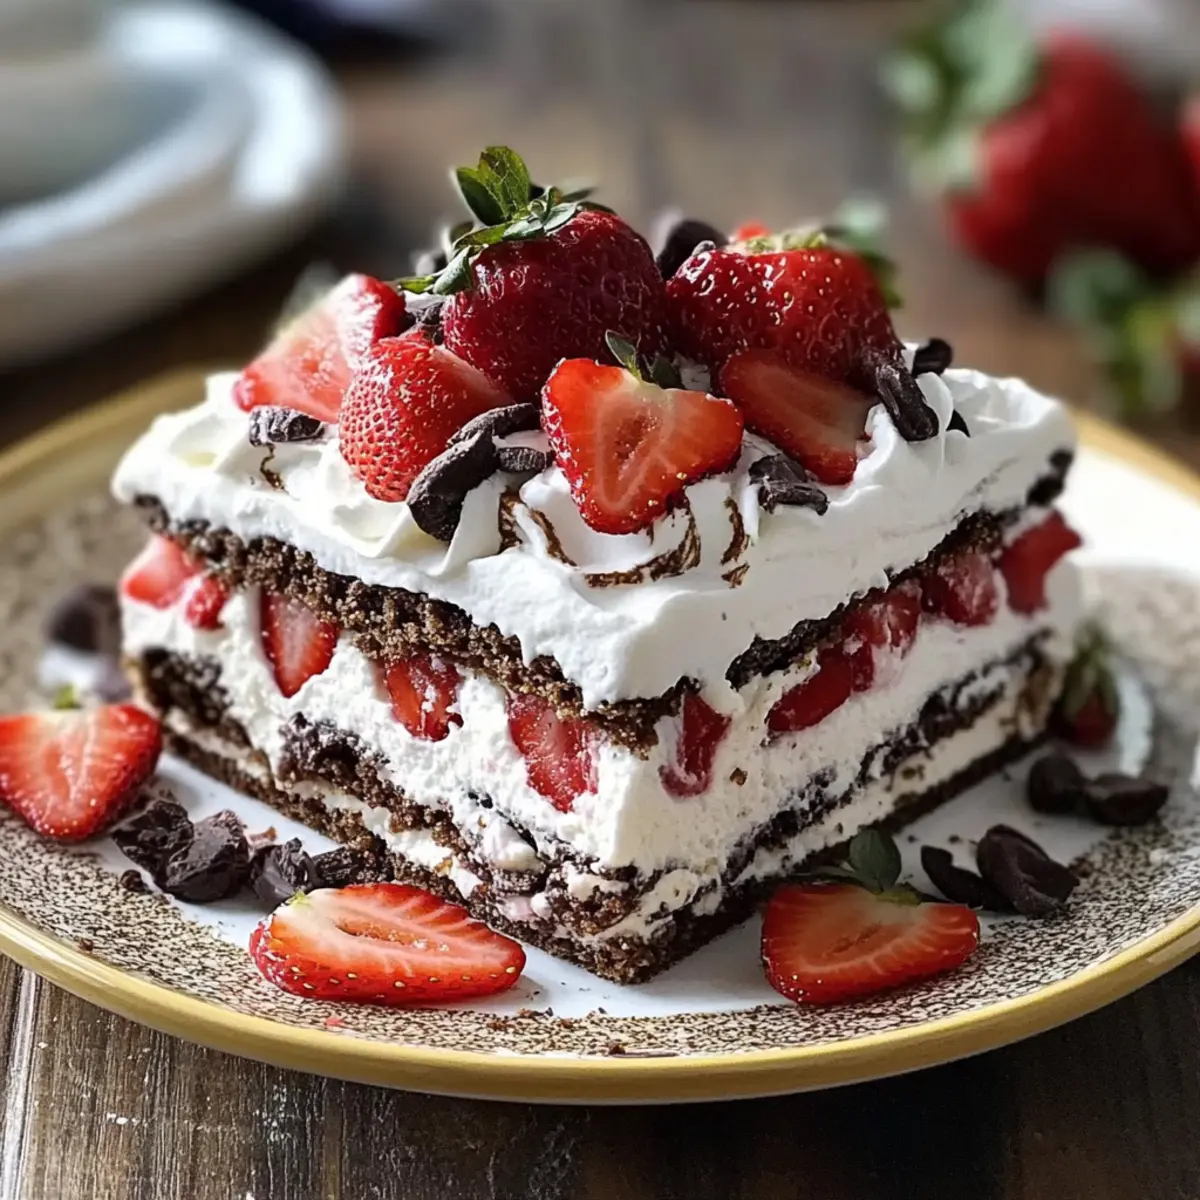
No-Bake Icebox Cake Recipe FAQs
How do I select ripe strawberries for my No-Bake Icebox Cake?
Absolutely! Choose strawberries that are bright red, firm, and free from bruises or dark spots. If possible, smell them; ripe strawberries should have a sweet fragrance. Avoid those that are overly soft or have dark spots all over, as they may not taste as delightful in your dessert.
What is the best way to store leftovers of this No-Bake Icebox Cake?
To store your cake, place it in an airtight container and keep it in the refrigerator for up to 2 days. This will help maintain the freshness of the whipped cream, although the chocolate wafers may soften. If you know you won’t finish it right away, consider freezing slices for later enjoyment.
Can I freeze my No-Bake Icebox Cake? If so, how?
Yes, you can freeze your No-Bake Icebox Cake! Wrap individual slices tightly in plastic wrap, followed by aluminum foil, and store them in the freezer for up to 1 month. When you’re ready to enjoy a slice, simply let it thaw in the fridge overnight for best results. This way, you’ll have a delightful dessert waiting just for you!
What can I do if my whipped cream didn’t whip properly?
If your whipped cream hasn’t reached stiff peaks, it may be because the cream was slightly warm or the mixing bowl wasn’t chilled enough. To remedy this, chill your mixing bowl and beaters in the freezer for about 10 minutes before whipping the cream again. Additionally, ensure you’re using heavy cream. If it’s still not thickening, you can add a tablespoon of powdered sugar and mix again to help stabilize it.
Are there any dietary considerations I should be aware of?
Great question! If you’re serving this No-Bake Icebox Cake to friends or family with dietary restrictions, consider checking for allergies to dairy or gluten. The chocolate wafers contain gluten, so you might want to replace them with a gluten-free alternative, like gluten-free cookies or graham crackers. Also, if using whipped cream, some may require lactose-free options or non-dairy alternatives like coconut or almond whipped topping.
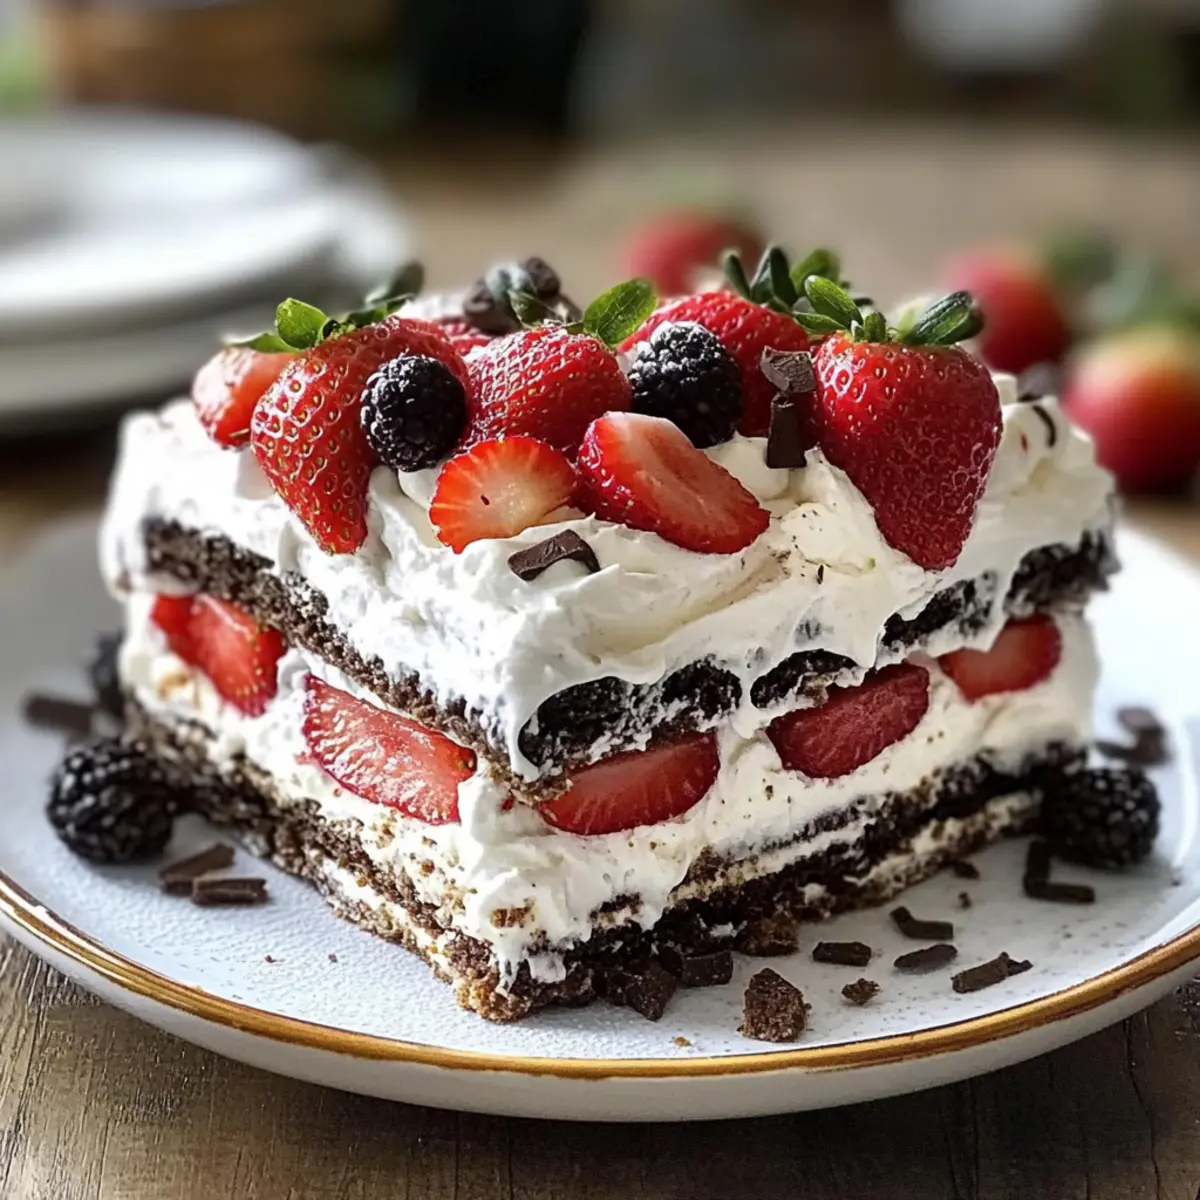
Delicious No-Bake Icebox Cake with Strawberries and Cream
Ingredients
Equipment
Method
- In a chilled mixing bowl, combine heavy cream, granulated sugar, and vanilla extract. Beat on high speed until stiff peaks form.
- Spread a thin layer of whipped cream in the bottom of a loaf pan.
- Layer chocolate wafers over the whipped cream, breaking them if needed.
- Spread a generous layer of whipped cream over the chocolate wafers.
- Continue layering with chocolate wafers and whipped cream until all ingredients are used.
- Cover and chill in the refrigerator for at least 4 hours.
- Top with fresh sliced strawberries before serving.
Leave a Reply