
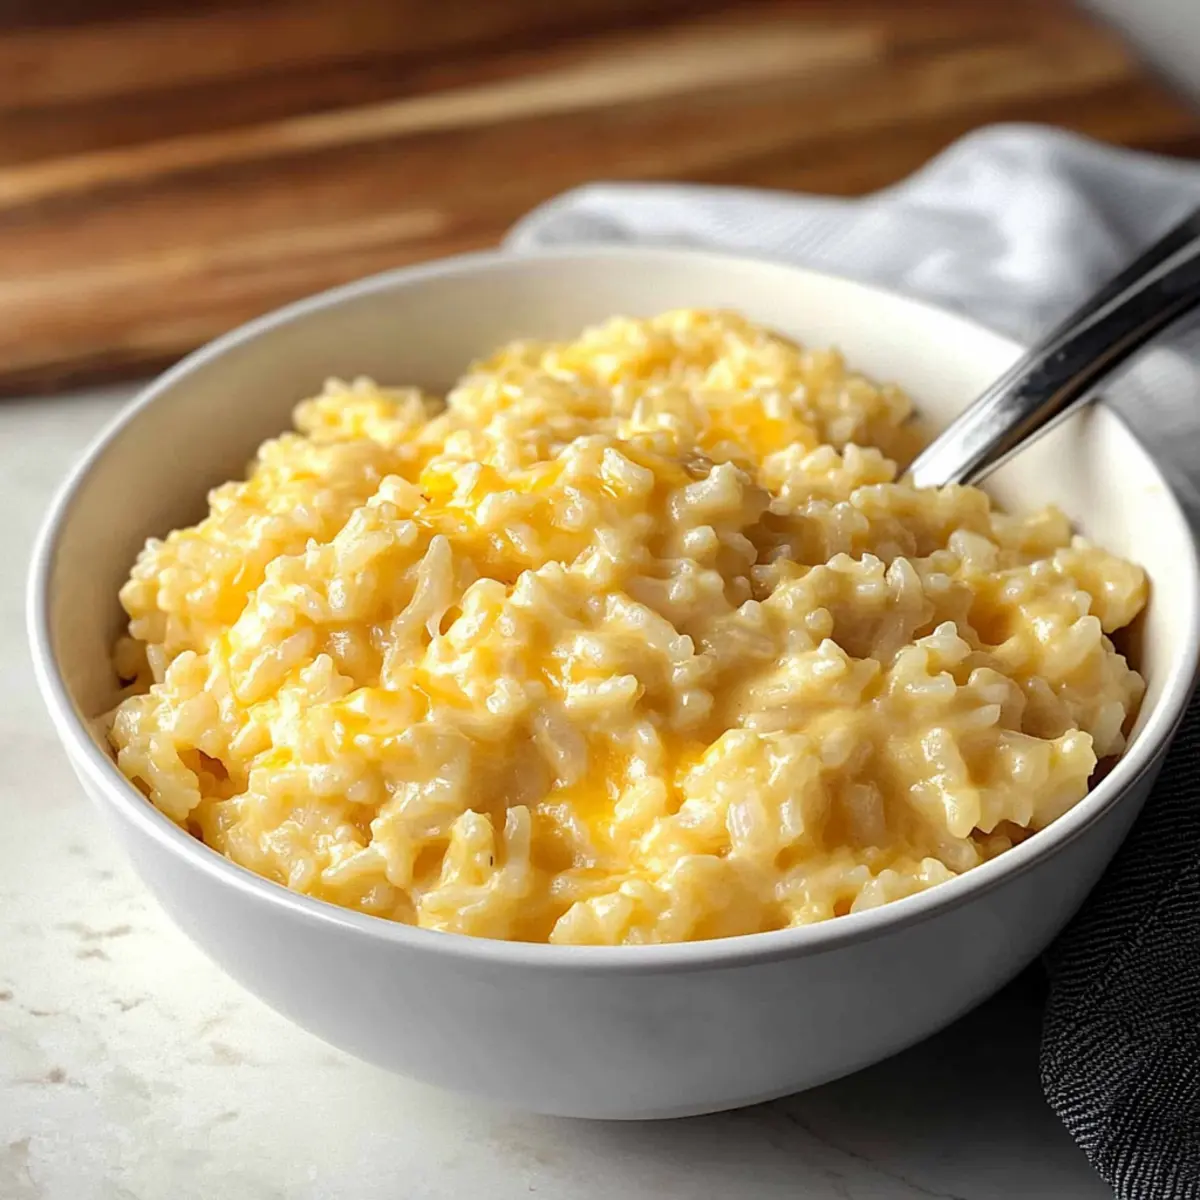
As I stirred the pot, the aroma of onions sautéing in butter filled my kitchen, instantly pulling me back to family dinners from my childhood. This Creamy Cheesy Rice is everything you’d want in a comfort food side—simple, satisfying, and oh-so-creamy. With just a handful of ingredients, you can create this easy stovetop recipe that pairs perfectly with any main dish and elevates weeknight meals. Whether you’re looking to whip up a quick side or indulge in creativity by adding proteins like shredded chicken or seasonal vegetables like broccoli, this cheesy rice adapts beautifully. Ready to enjoy a taste that might just become a staple in your home? Let’s dive into the creamy goodness!
Why is Cheesy Rice so Irresistible?
Comforting, creamy goodness: This dish embodies the essence of comfort food, satisfying both your taste buds and your soul.
Quick and easy: With minimal prep and just a few pantry staples, you’ll have a delicious side ready in no time.
Versatile additions: Feel free to personalize your cheesy rice by incorporating your favorite ingredients like shredded chicken or veggies, making it a go-to for any occasion.
Crowd-pleaser: Whether it’s a family dinner or a casual get-together, this recipe is sure to impress! Pair it with oven-baked ribs or baked chicken drumsticks for a complete meal that everyone will love.
Cheesy Rice Ingredients
For the Rice Base
• Long Grain White Rice – This forms the delightful foundation of your cheesy rice. Note: Avoid using instant or brown rice for the best texture.
• Unsalted Butter – Adds a rich, creamy flavor while sautéing the onion; substitute with margarine for a dairy-free option.
• Onion – Infuses savory depth into the dish; can be swapped with onion powder if you’re in a pinch.
• Chicken Broth – Provides moisture and helps develop the savory profile; opt for low-sodium broth for better salt control.
For the Creaminess
• Whole Milk – Ensures your cheesy rice is deliciously creamy; non-dairy milk works too, but the flavor will vary.
• Paprika – Adds a dash of color and mild spice; choose smoked paprika for an extra flavor twist.
• Salt and Pepper – Essential for enhancing the overall flavors; adjust according to your taste preference.
For the Cheesy Goodness
• Sharp Cheddar Cheese – This is your star ingredient, bringing that cheesy flavor and creamy texture; try other cheeses like Monterey Jack or Pepper Jack for a fun twist.
Step‑by‑Step Instructions for Cheesy Rice
Step 1: Rinse the Rice
Begin by rinsing 1 cup of long grain white rice in a fine mesh sieve under cold water until the water runs clear. This process removes excess starch, ensuring your Cheesy Rice turns out fluffy rather than sticky. Allow the water to drain while you prepare the next steps.
Step 2: Sauté the Onion
In a medium-sized saucepan over medium heat, melt 3 tablespoons of unsalted butter. Add 1 finely diced onion and sauté for 3-4 minutes, stirring occasionally, until the onion becomes soft and lightly browned. This step infuses flavor into your rice, providing a savory base for the creamy goodness to come.
Step 3: Combine Ingredients
Once the onion is ready, add the rinsed rice to the saucepan and stir for about 1 minute to toast the rice lightly. Then, pour in 2 cups of chicken broth, 1 cup of whole milk, and season with 1 teaspoon of paprika, and salt and pepper to taste. Mix everything well to ensure the ingredients are evenly distributed.
Step 4: Cook the Rice
Increase the heat slightly to bring the mixture to a gentle simmer. Once bubbling, immediately cover the saucepan with a tight-fitting lid and reduce the heat to very low. Allow the Cheesy Rice to cook undisturbed for 18-20 minutes, until the rice is tender and most of the liquid has been absorbed. Avoid lifting the lid during this time to maintain consistent steam.
Step 5: Incorporate the Cheese
After the cooking time is up, remove the saucepan from the heat and let it sit covered for an additional 5 minutes. This resting period allows the flavors to meld. Then, uncover and stir in 1 cup of shredded sharp cheddar cheese, fluffing the rice with a fork until the cheese is thoroughly melted and creamy.
Step 6: Serve and Enjoy
Your delicious Cheesy Rice is now ready to serve! Scoop it onto plates as a comforting side dish that beautifully complements any main course. Feel free to customize with cooked proteins or seasonal vegetables for an added twist, making it perfect for any occasion.
Cheesy Rice Variations & Substitutions
Feel free to get creative with this delicious recipe and make it your own!
- Dairy-Free: Substitute whole milk with oat or almond milk and use dairy-free cheese for a delicious alternative that everyone can enjoy.
- Protein-Packed: Add cooked shredded chicken or diced ham for a heartier dish that turns your cheesy rice into a satisfying meal. Tasty and filling, it’s a great option for a busy weeknight!
- Veggie-Lover’s Twist: Incorporate chopped broccoli or frozen peas halfway through cooking for added nutrients and a colorful pop on your plate. You might just find your kids asking for more veggies!
- Flavor Boost: Swap the sharp cheddar cheese for Gruyère or smoked Gouda to create a gourmet twist that will impress your family or guests. It’s an adventure in flavor that takes comfort food to the next level!
- Spice It Up: Add a pinch of cayenne pepper or diced jalapeños for a kick of heat that brings excitement to each bite. Perfect for those who crave a little adventure in their meals!
- Herb Infusion: Stir in fresh herbs like parsley or chives just before serving to brighten up the dish with vibrant flavors. It’s like a breath of fresh air on your plate!
- Cheesy Pasta: For a fun twist, use cooked pasta instead of rice, combining it with cheese for a creamy dish reminiscent of macaroni and cheese. Kids and adults alike will love this comforting classic!
- Mixed Cheeses: Blend cheeses like Monterrey Jack, Pepper Jack, or even a spicy feta for a multitude of creamy flavors in every mouthful. Each bite will tell a cheesy story!
For more inspiration, try adding a side of Oven Baked Cheesy tacos for a deliciously satisfying meal!
Make Ahead Options
Busy home cooks will love how easy it is to make Cheesy Rice ahead of time! You can prepare the rice base (steps 1-3) up to 24 hours in advance by following the initial instructions and then refrigerating it in an airtight container. When you’re ready to serve, simply add the chicken broth, milk, and seasoning, and cook as directed. To maintain the dish’s creaminess, store it with a bit of extra milk to prevent it from drying out. Finish by stirring in the cheese just before serving for that gooey, melty goodness everyone craves. You’ll have a delightful, comforting side ready with minimal effort, perfect for those busy weeknights!
What to Serve with Creamy Cheesy Rice?
Let your imagination run wild as you pair this delightful side with comforting mains and fresh flavors.
- Oven-Baked Ribs: Tender, juicy ribs slathered in barbecue sauce create a smoky contrast to the rich cheesy rice, igniting the taste buds.
- Baked Chicken Drumsticks: These crispy, flavorful chicken pieces complement the creamy rice perfectly, resulting in a homestyle feast everyone will enjoy.
- Grilled Tenders: Marinated and grilled chicken tenders add a smoky flair, making for a crowd-pleasing combination alongside the cheesy rice.
- Steamed Broccoli: Bright green broccoli offers a crisp texture and earthy flavor that beautifully balances the creaminess of the rice dish.
- Garlic Bread: Warm, buttery garlic bread serves as the perfect vehicle for soaking up the cheesy goodness while adding delightful crunch.
- Fresh Garden Salad: A light and zesty salad refreshes the palate, providing a crisp contrast that elevates this comforting meal to new heights.
- Apple Crisp: End on a sweet note with this warm dessert, where the fruity softness pairs delightfully with the savory cheesy rice.
The right pairings can transform a simple dish into a delightful culinary experience—each bite a joyful reminder of home-cooked comforts!
Expert Tips for Cheesy Rice
• Use Long Grain Rice: Only use long grain white rice for fluffy results; instant or brown rice won’t yield the same texture.
• Don’t Skip Rinsing: Rinsing the rice removes excess starch, preventing it from becoming sticky. Always rinse until the water runs clear.
• Keep the Lid On: Avoid lifting the lid during cooking to trap steam; this is essential for perfectly tender cheesy rice.
• Monitor Liquid Levels: If the rice looks dry before the cooking time is completed, add a splash of water and lower the heat to prevent sticking.
• Experiment with Cheese: Try different cheeses like Monterey Jack or Gruyère for a unique twist on your cheesy rice. Each lends its own flavor profile to this comforting dish!
How to Store and Freeze Cheesy Rice
Fridge: Store leftover cheesy rice in an airtight container in the refrigerator for up to 3-4 days. This helps maintain its creamy texture and flavor.
Freezer: For longer storage, freeze cheesy rice in a tightly sealed container for up to 2 months. Allow it to cool completely before freezing to prevent freezer burn.
Reheating: Thaw frozen cheesy rice overnight in the fridge. Reheat gently on the stove over low heat, adding a splash of milk to restore creaminess, or microwave in short intervals, stirring often.
Avoiding Texture Changes: To keep your cheesy rice creamy upon reheating, avoid overheating, which can cause the cheese to separate. Enjoy this comforting dish at its best!
Cheesy Rice Recipe FAQs
What kind of rice should I use for Cheesy Rice?
Absolutely! Long grain white rice is the best choice for this dish as it cooks up fluffy and separate, creating the perfect texture. Avoid using instant or brown rice, as they don’t yield the same creamy results.
How long can I store leftover Cheesy Rice?
Very! Leftover cheesy rice can be kept in a tightly sealed container in the refrigerator for up to 3-4 days. Make sure it’s cooled completely before sealing to maintain its creamy texture.
Can I freeze Cheesy Rice, and how do I do it?
Of course! To freeze, allow the cheesy rice to cool completely, then transfer it to a tightly sealed container or freezer bag, ensuring to remove as much air as possible. It can be stored for up to 2 months. When you’re ready to enjoy it, thaw it overnight in the fridge before reheating.
What if my Cheesy Rice turns out dry when cooking?
Don’t fret! If at any point you find that the mixture looks dry before the cooking time is up, simply add a small splash of water, cover, and continue cooking on low heat. This way, you will keep the rice from sticking and achieve the creamy consistency you desire.
Can my pets eat Cheesy Rice?
It’s best to leave the cheesy rice for human consumption only. Ingredients like onions and excessive dairy are not suitable for pets. However, if you’re looking to share a safe alternative with your furry friend, consider cooking plain rice without any additives.
How can I make Cheesy Rice healthier?
You can easily adapt the recipe to suit dietary preferences! Substitute whole milk with a non-dairy option like almond or oat milk for a lighter version. Additionally, by adding veggies like broccoli or peas during cooking, you’ll not only enhance the nutrition but also add a colorful twist to your dish. Happy cooking!
Creamy Cheesy Rice Recipe: Comfort Food You'll Crave
Ingredients
Equipment
Method
- Rinse the rice in a fine mesh sieve under cold water until the water runs clear. Allow to drain.
- Melt butter in a saucepan over medium heat. Add diced onion and sauté for 3-4 minutes until soft and lightly browned.
- Add rinsed rice and toast lightly for about 1 minute. Pour in chicken broth, milk, paprika, salt, and pepper. Mix well.
- Increase heat to bring to a simmer, then cover and reduce heat to low. Cook undisturbed for 18-20 minutes until rice is tender.
- After cooking, let sit covered for 5 minutes. Stir in cheddar cheese until melted and creamy.
- Serve and enjoy your Cheesy Rice as a comforting side dish!
Leave a Reply