
As I took my first bite of Bolo de Mandioca, I was instantly transported to vibrant Brazilian festivals bursting with laughter and joy. This traditional cassava cake, known for its delightful moistness and gentle sweetness, has a way of wrapping you in warmth, making it the perfect treat for any occasion. What I love about this simple recipe is its adaptability; whether you’re hoping to impress guests at a festive gathering or just craving a comforting afternoon snack, this gluten-free delight has you covered. Plus, with options to make it a classic “Mané Pelado” or top it with coconut, the versatile flavors cater to everyone’s taste. Are you ready to conjure up your own slice of Brazilian tradition?
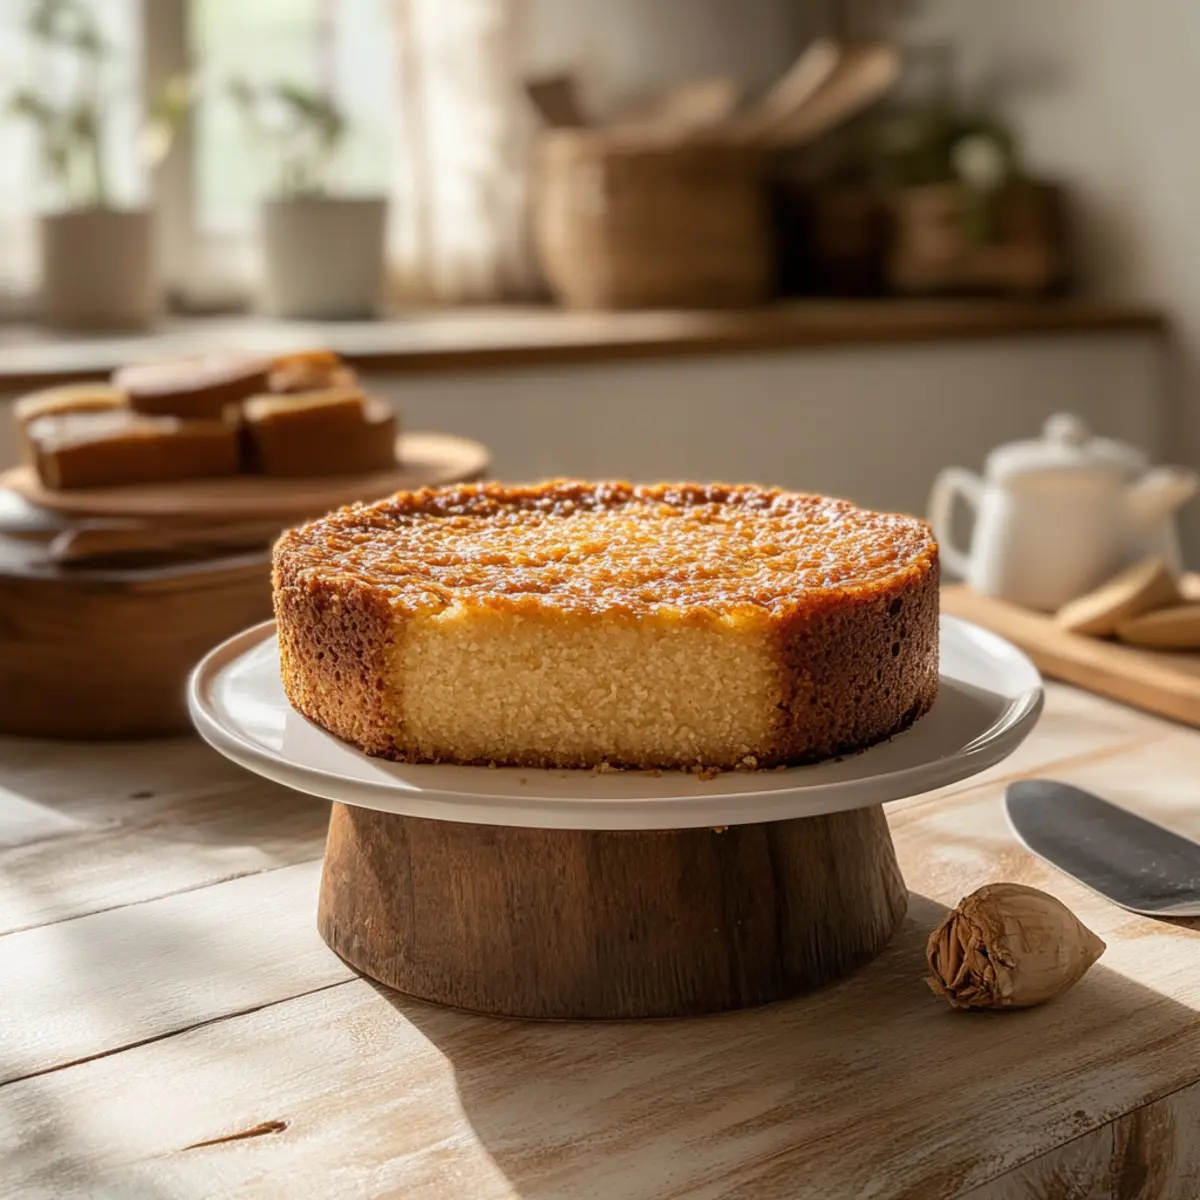
Why will you fall in love with cassava cake?
Simplicity at its Best: This recipe is easily accessible, requiring only a few straightforward steps that anyone can master.
Wholesome, Gluten-Free Delight: Made from cassava, the cake is a fantastic gluten-free option, perfect for those with dietary restrictions.
Moist, Delicious Flavor: With its dense, moist texture and subtle sweetness, this cake pairs wonderfully with coffee or tea, making it an ideal afternoon treat.
Versatile Options: Create your perfect version by choosing between the classic “Mané Pelado” or the coconut-topped variation, ensuring there’s something for everyone in your family.
Perfect for Gatherings: Whether you’re celebrating a festive occasion or simply looking to satisfy a sweet craving, this cake is sure to impress your guests just like a Peanut Butter Cake or even an Oreo Poke Cake.
Cassava Cake Ingredients
• Here’s everything you need to create this delightful cassava cake!
For the Cake
- Mandioca (Cassava) – This is the star ingredient for texture; fresh cassava works best but frozen or grated cassava is a great substitute.
- Ovos (Eggs) – Essential for binding, offering richness; substitute with flaxseed meal mixed with water for a vegan option.
- Leite de Coco (Coconut Milk) – Adds moisture and a subtle coconut flavor; opt for regular milk if you prefer no coconut.
- Açúcar (Sugar) – Provides the necessary sweetness; consider using brown sugar for a deeper, more complex flavor.
- Manteiga (Butter) – Contributes richness to your cake; you can use clarified butter or coconut oil as alternatives.
For Topping (Optional)
- Coconut Flakes – These can be sprinkled on top for extra texture and flavor if you’re going for the coconut-topped variation.
Step‑by‑Step Instructions for Cassava Cake
Step 1: Preheat and Prepare
Begin by preheating your oven to 180°C (350°F). While it heats up, grease a rectangular baking pan with butter or cooking spray, ensuring even coverage to prevent the cassava cake from sticking. This essential step not only prepares the pan for baking but also sets the mood for a wonderful baking experience!
Step 2: Boil the Cassava
Peel and chop the fresh mandioca (cassava) into large chunks. Place them in a pot of salted boiling water and cook for about 20-25 minutes, or until tender enough to be easily pierced with a fork. Once cooked, drain the mandioca and allow it to cool slightly before mashing thoroughly in a mixing bowl to achieve a smooth consistency essential for your cassava cake.
Step 3: Mix the Ingredients
In your mixing bowl with the mashed cassava, add the eggs, coconut milk, sugar, and melted butter. Using a whisk or an electric mixer, blend these ingredients together until completely combined and smooth. This should take about 3–4 minutes. The mixture should be well incorporated without lumps, creating the perfect texture for your cassava cake.
Step 4: Pour and Bake
Pour the well-mixed batter into your prepared baking pan, spreading it out evenly with a spatula. Place the pan in the preheated oven and bake for 50-60 minutes. You’ll know the cassava cake is done when the top is golden brown and a toothpick inserted in the center comes out clean—an inviting indication of a perfectly baked treat!
Step 5: Cool and Serve
Allow the cake to cool in the pan on a wire rack for about 15 minutes. Once cooled slightly, you can gently remove it from the pan and let it cool completely. Slice the cassava cake and serve it warm or at room temperature, enjoying its delightful texture and sweet flavor, perfect for any gathering or a cozy afternoon snack!
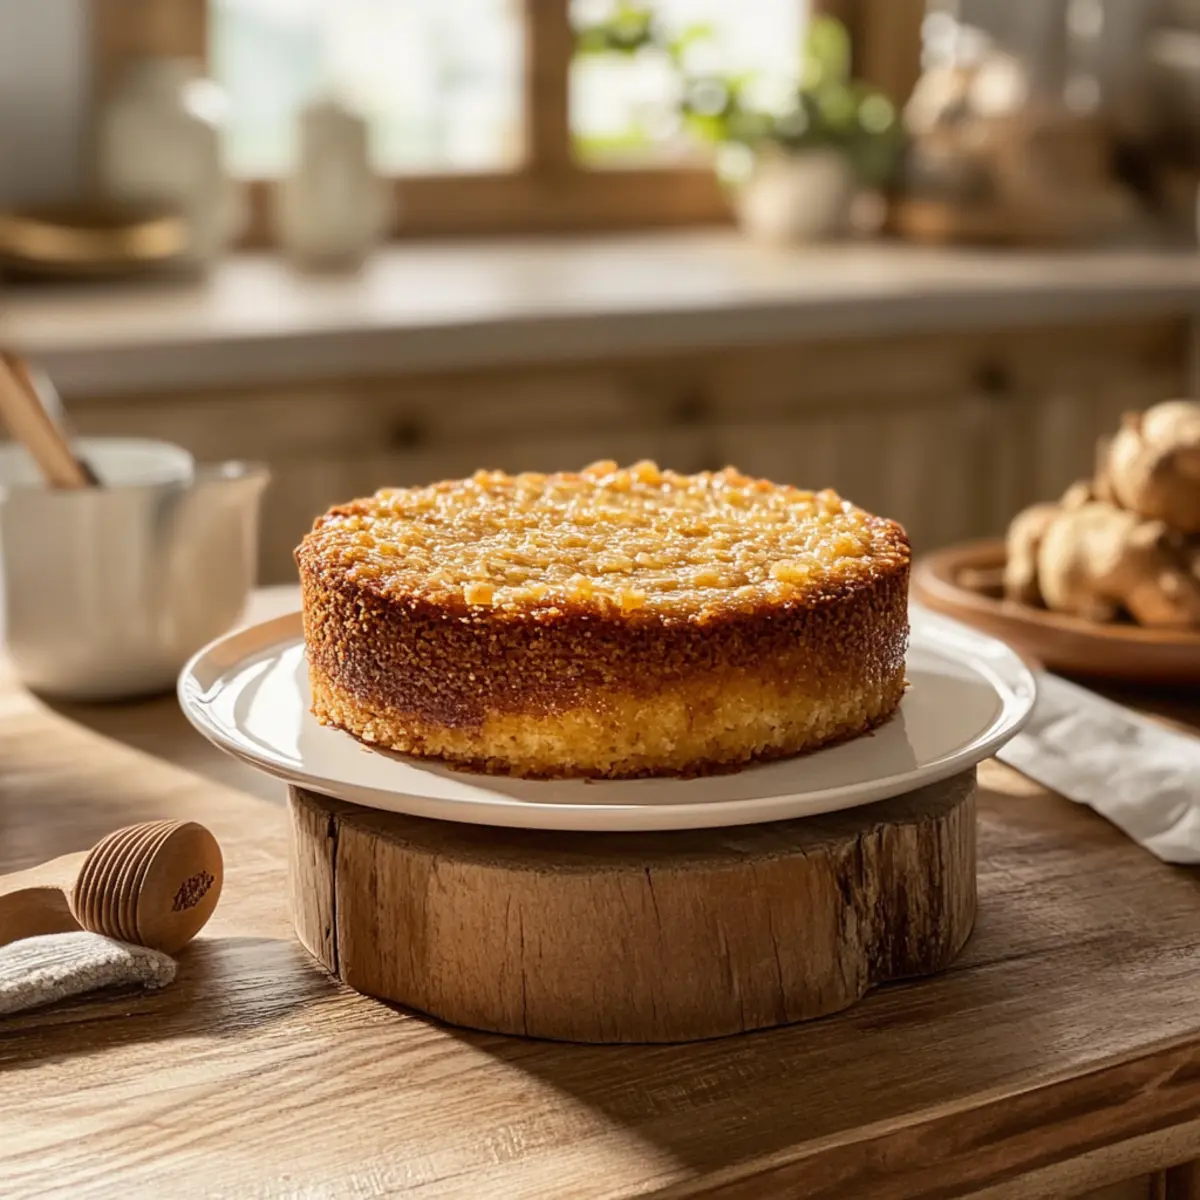
How to Store and Freeze Cassava Cake
Room Temperature: Keep the cassava cake in an airtight container at room temperature for up to 3 days to maintain its delightful moistness.
Fridge: If you want to extend its shelf life, refrigerate the cake for up to a week. Just be aware that refrigeration might slightly change the texture; it can become firmer.
Freezer: For longer storage, wrap individual slices in plastic wrap and then in aluminum foil. Freeze for up to 3 months, making it a great option for quick future treats.
Reheating: To enjoy frozen cassava cake, simply defrost in the fridge overnight and reheat in the microwave for about 20-30 seconds, or until warm.
Cassava Cake Variations & Substitutions
Feel free to let your creativity shine with these delightful twists that will make this cassava cake your own masterpiece!
- Dairy-Free: Substitute coconut milk with almond or oat milk for a dairy-free version that’s equally moist and tasty.
- Vegan: Replace eggs with a flaxseed meal mixed with water for a completely vegan delight that still holds its fluffy texture.
- Tropical Twist: Add shredded coconut or chocolate chips into the batter for an extra burst of flavor and a fun surprise with every bite.
- Citrus Brightness: Zest an orange or lime into the batter for a refreshing citrus hint that brightens the cake, making it even more irresistible.
- Spice It Up: Mix in a dash of cinnamon or nutmeg for a warm, homey spice blend that complements the sweetness perfectly.
- Nutty Addition: Toss in some crushed walnuts or pecans for added crunch and a new texture that will delight your palate.
- Layered Delight: Divide the batter and layer it with a cream cheese frosting between the cassava cake layers for an indulgent treat that’s akin to a celebration cake.
- Festive Toppings: For a whimsical touch, mix in colorful sprinkles on top if you’re planning to serve it at a party, bringing festivity to your baking table.
As you explore these variations, why not pair your cassava cake with a warm cup of coffee or hot chocolate? It’s a delightful pairing that echoes the charm of a cozy afternoon together, just like those enjoyed with a comforting slice of Chocolate Tuxedo Cake. Enjoy your baking adventure!
What to Serve with Bolo de Mandioca?
There’s something truly special about pairing this moist, fragrant cake with contrasting flavors and textures.
- Brazilian Coffee: The rich, bold flavors of freshly brewed coffee make a perfect companion, enhancing the cake’s subtle sweetness.
- Creamy Coconut Rice: The creamy texture and tropical flavor pair beautifully and celebrate the cake’s coconut undertones, creating a harmonious experience.
- Tropical Fruit Salad: A refreshing mix of pineapple, mango, and papaya adds brightness and acidity, balancing the cake’s dense sweetness.
- Cheese Platter: Serve with a variety of cheeses such as a mild queijo minas or sharp aged cheese for an intriguing sweet and savory contrast.
- Spiced Hot Chocolate: Rich hot chocolate with hints of cinnamon deepens the indulgence, making it a cozy treat for any gathering.
- Coconut Flakes Topping: Sprinkling your cake with toasted coconut flakes adds textural crunch and enhances its tropical flavor.
- Chai or Herbal Tea: A warm cup of chai or a floral herbal tea creates a calming experience, transitioning your taste buds from sweetness to spice.
- Chocolate Ganache: Drizzling warm chocolate ganache over the cake not only adds a rich depth but also creates a stunning presentation.
- Cinnamon Sugar Dusting: A light sprinkle of cinnamon and sugar on top elevates the cake’s aroma and adds a dash of warmth, making each bite even more inviting.
Make Ahead Options
Bolo de Mandioca is a fantastic option for meal prep that saves you precious time during busy weeknights! You can prepare the batter up to 24 hours in advance; simply follow the initial steps of boiling and mashing the mandioca, and combine all the ingredients in a mixing bowl. Once mixed, cover the bowl with plastic wrap and refrigerate until you’re ready to bake. For optimal freshness, store the prepared batter in the fridge and bake it the next day. Just remember to give it a good stir before pouring it into the baking pan. With these make-ahead tips, you’ll enjoy a delicious cassava cake that’s just as delightful as when freshly made!
Helpful Tricks for Cassava Cake
-
Fresh Cassava Focus: Always opt for fresh mandioca for the best texture. Frozen or grated cassava is a suitable backup but may alter the cake’s moisture level.
-
Avoid Overmixing: Mix just until ingredients are combined. Overmixing can lead to a denser cassava cake that lacks the fluffy texture we crave.
-
Cool Before Slicing: Allow the cake to cool before cutting to achieve clean slices. This rest period helps the cake set and enhances its moistness.
-
Check for Doneness: Insert a toothpick in the center; it should come out clean when the cake is fully baked. If it comes out wet, bake a little longer.
-
Customize Toppings: Feel free to add coconut flakes or nuts on top for extra flavor and texture, personalizing your delicious cassava cake!
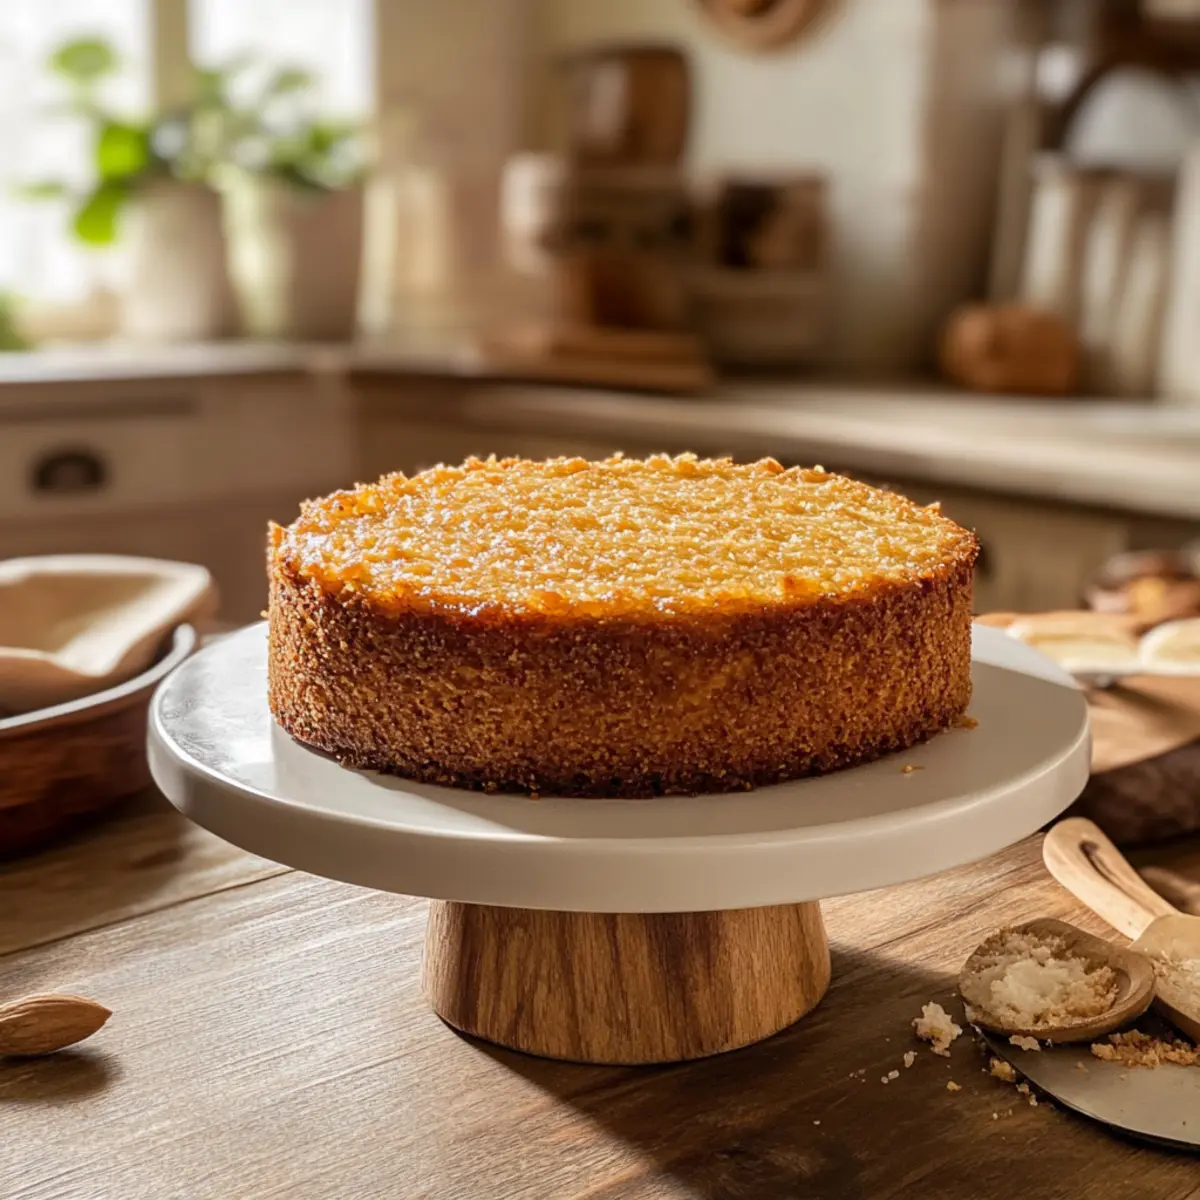
Cassava Cake Recipe FAQs
How do I choose ripe cassava for my cake?
Absolutely! Look for fresh cassava that feels firm and has smooth, unblemished skin. Avoid any with dark spots or soft areas, which can indicate spoilage. Fresh cassava should be heavy for its size, indicating a good moisture content.
What’s the best way to store leftover cassava cake?
You can keep your delicious cassava cake in an airtight container at room temperature for up to 3 days. If you’d like to extend its shelf life, refrigerate it for up to a week, though it may become firmer. To preserve the cake’s moistness, I recommend letting it cool completely before storing.
Can I freeze cassava cake, and if so, how?
Certainly! To freeze, wrap individual slices tightly in plastic wrap, then in aluminum foil for extra protection. This keeps them fresh and prevents freezer burn, allowing you to enjoy your cassava cake for up to 3 months. When you’re ready to enjoy, simply defrost in the fridge overnight and reheat in the microwave for 20-30 seconds.
What if my cassava cake turns out dense?
Very! If your cake ends up denser than expected, it could be due to overmixing the batter. Be sure to mix just until combined, ensuring the ingredients are evenly distributed without incorporating too much air. Additionally, confirm that your mandioca is fully cooked and mashed until smooth for the ideal texture.
Is cassava cake suitable for my gluten-free guests?
Absolutely! This cassava cake is naturally gluten-free due to its main ingredient, cassava. It’s a fantastic option for those with gluten sensitivities or celiac disease, making it a delightful treat everyone can enjoy. Just double-check the ingredients you use, like baking powder, to ensure they’re gluten-free as well.
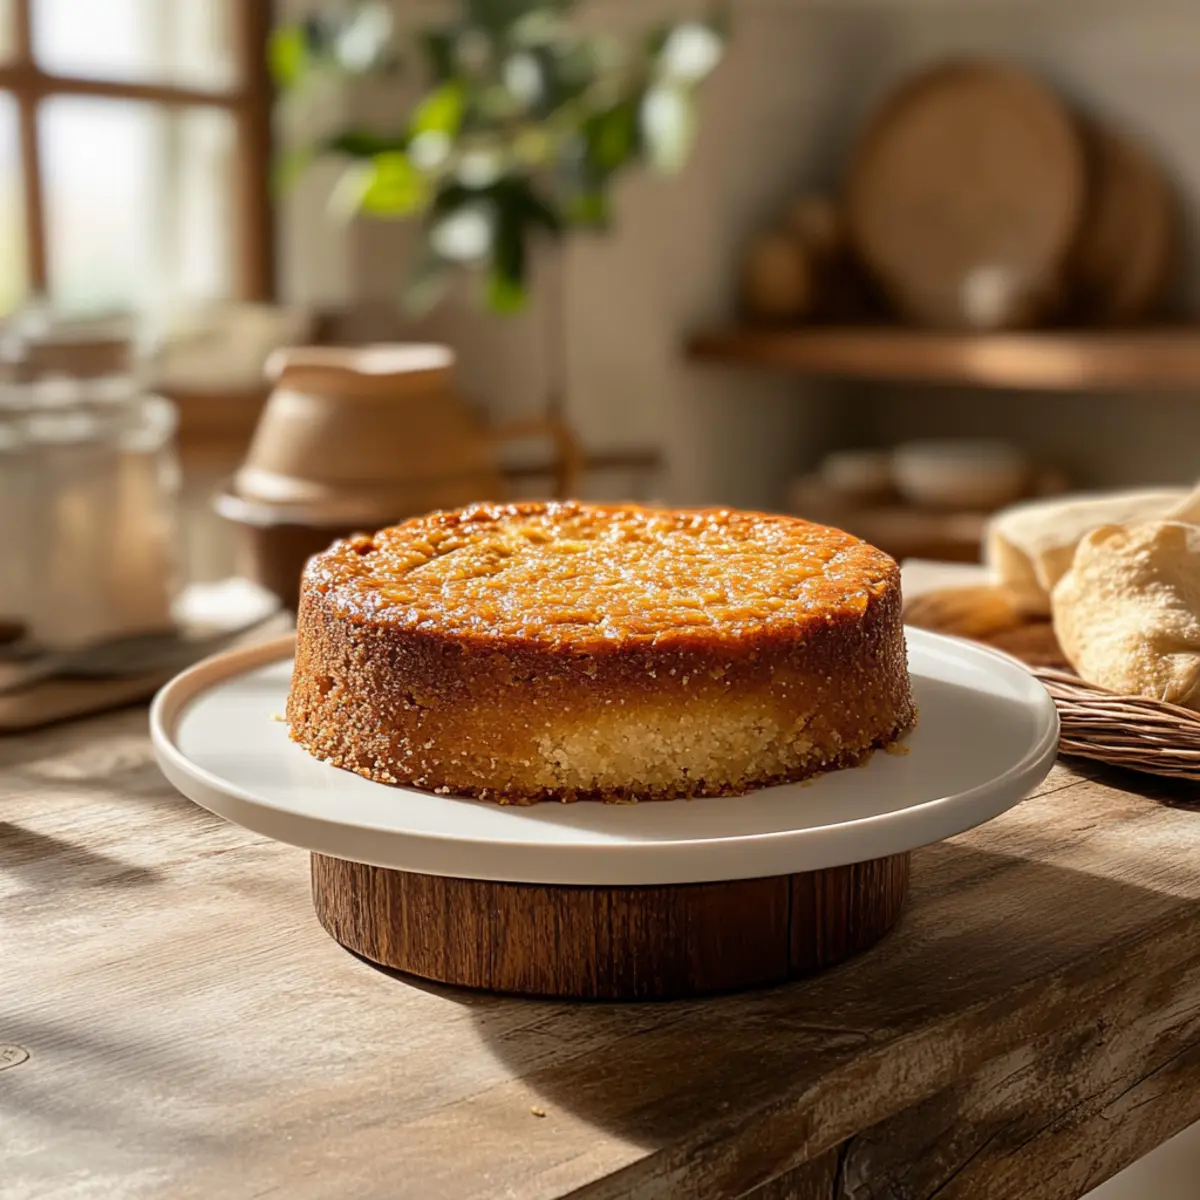
Irresistible Cassava Cake to Sweeten Your Day at Home
Ingredients
Equipment
Method
- Preheat your oven to 180°C (350°F) and grease a rectangular baking pan.
- Peel and chop the mandioca into large chunks, boil in salted water for 20-25 minutes until tender, then mash.
- In the mixing bowl with the mashed cassava, add the eggs, coconut milk, sugar, and melted butter. Blend until smooth.
- Pour the batter into the prepared baking pan and bake for 50-60 minutes until the top is golden brown.
- Allow the cake to cool for 15 minutes before removing from the pan. Let it cool completely before slicing.
Leave a Reply