
As I sifted through my kitchen drawers in search of the perfect dessert recipe, I stumbled upon a collection of memories clinging to the pages of my beloved old cookbook. Among them, the iconic Banana Cream Bars caught my eye, a nostalgic nod to sun-kissed summer days and family gatherings. These bars are a delightful combination of a tender, buttery crust, layered generously with creamy vanilla pudding and fresh banana slices. The best part? They come together in under an hour and chill to heavenly perfection, making them an instant crowd-pleaser at potlucks and parties. Whether you’re trying to impress guests or simply treating yourself, these Banana Cream Bars are the ultimate homemade dessert that effortlessly elevate any occasion. Ready to take the plunge into this sweet nostalgia? Let’s dive in!
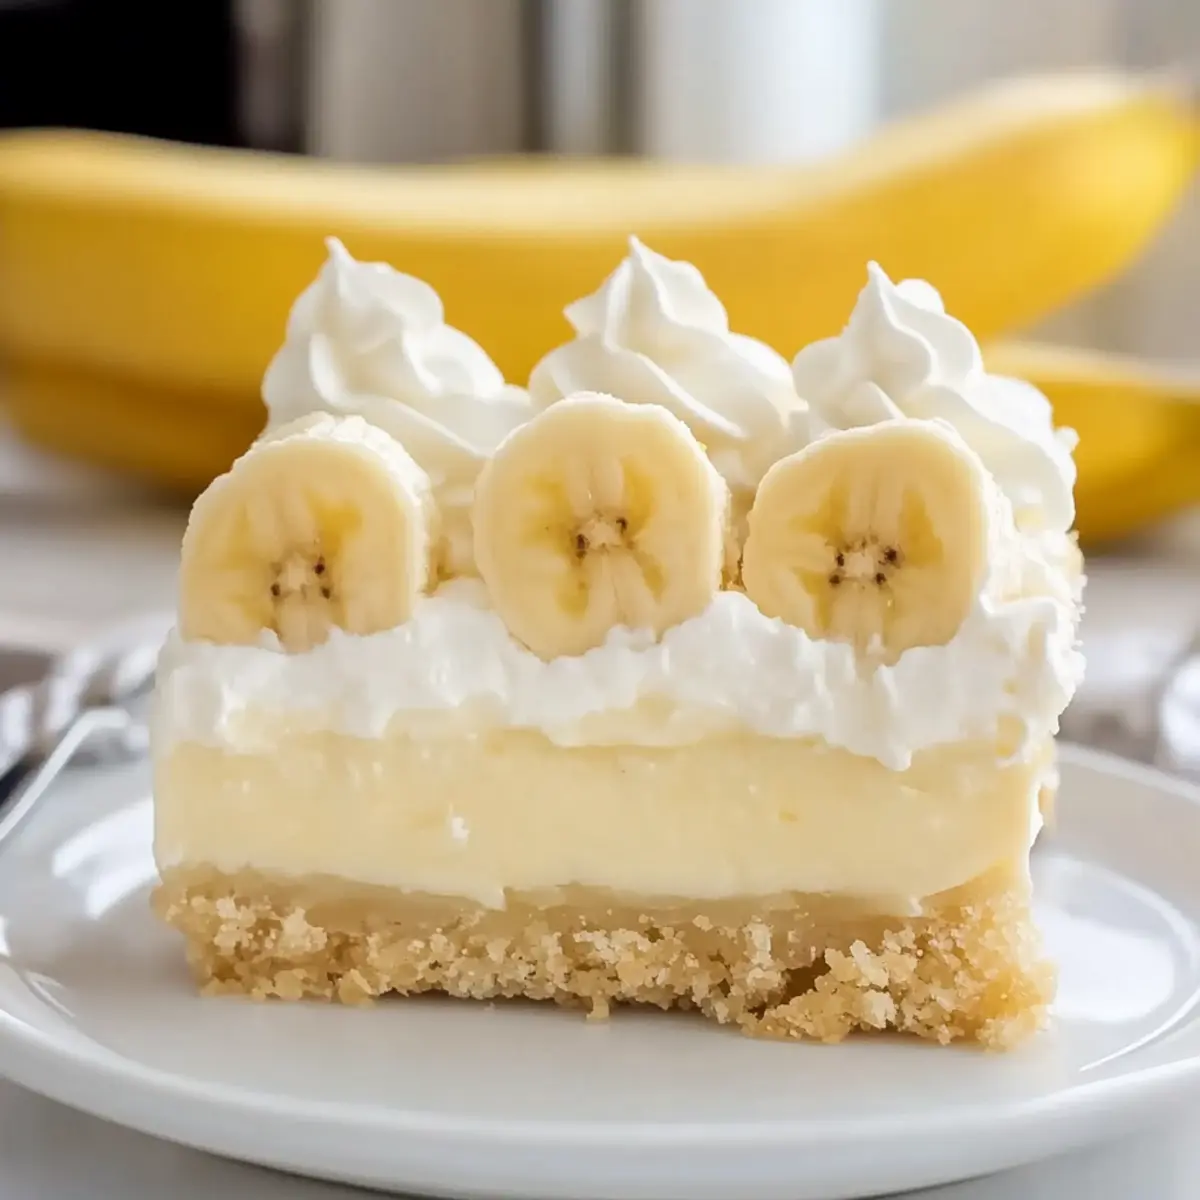
Why are Banana Cream Bars a must-try?
Irresistibly creamy and rich, these bars blend nostalgic flavors with modern convenience. Quick prep makes them a favorite for busy weeknights or last-minute gatherings. Versatility shines through as they can adapt to gluten-free diets easily. Refreshing taste balances sweet and creamy, perfect for any season. Crowd-pleaser status means they’ll be the star at potlucks or family brunches, just like my Cajun Chicken Spaghetti that can grace your table for a complete meal! Enjoy these decadent treats with a glass of iced tea for the ultimate summer indulgence.
Banana Cream Bars Ingredients
For the Crust
• 2 cups flour – Provides structure and body to the bars for a tender shortbread-like crust.
• 3/4 cup cold unsalted butter, cubed – Enriches the crust; keeping it cold ensures flaky layers and a rich taste.
• 2/3 cup powdered sugar – Adds subtle sweetness and a smooth texture; dissolves for a melt-in-your-mouth consistency.
• Pinch of salt – Enhances overall flavor and balance, rounding sweetness while intensifying buttery notes.
For the Pudding Layer
• 1 can sweetened condensed milk, 14 ounces – Contributes concentrated sweetness and creaminess, thickening the custard layer.
• 2 1/2 cups whole milk – Creates a creamy, pourable base that controls custard thickness and adds richness.
• 2 (3.4-ounce) boxes instant vanilla pudding mix – Quickly thickens and flavors the custard without cooking for a stable, aromatic filling.
For the Assembly
• 2 large or 3 small ripe bananas, sliced – Introduces natural sweetness and texture, complementing the rich filling.
• 16 ounces frozen whipped topping, thawed – Lightens and finishes the bars with a fluffy, creamy layer for visual appeal.
These Banana Cream Bars are not just a treat – they’re a slice of nostalgia made easy! Enjoy making this gluten-free dessert that’s perfect for summer gatherings!
Step‑by‑Step Instructions for Banana Cream Bars
Step 1: Preheat and Prepare
Begin by preheating your oven to 350°F (175°C). Grab a 13×9 inch baking pan and spray it with cooking spray, then line the bottom and sides with parchment paper for easy removal of your delicious Banana Cream Bars once baked.
Step 2: Make the Crust
In a food processor, combine 2 cups of flour, 3/4 cup of cubed cold unsalted butter, 2/3 cup of powdered sugar, and a pinch of salt. Pulse the mixture until it resembles coarse sand, then transfer it into the prepared pan. Press the mixture firmly into an even layer and bake for about 20 minutes, or until the crust turns a beautiful golden brown. Allow it to cool completely.
Step 3: Prepare the Pudding Layer
In a large mixing bowl, whisk together one 14-ounce can of sweetened condensed milk and 2 1/2 cups of whole milk until fully integrated. Next, sprinkle in the contents of two 3.4-ounce boxes of instant vanilla pudding mix. Whisk vigorously for about two minutes, or until the mixture thickens to a creamy consistency, turning into the perfect filling for your Banana Cream Bars.
Step 4: Layer the Ingredients
Once the crust has cooled completely, spread half of the prepared pudding mixture evenly over it. Layer sliced bananas on top, providing a generous and even distribution for delightful bites. Then, pour the remaining pudding mixture over the bananas, smoothing it out to create a nice top layer that will meld beautifully with the crust and fruit.
Step 5: Chill and Set
Cover the assembled Banana Cream Bars with plastic wrap and refrigerate for at least 2-3 hours. This chilling time allows the layers to set properly, enhancing the flavors and ensuring a deliciously firm texture for slicing. For the best results, consider chilling overnight.
Step 6: Finish with Whipped Topping
After the bars have set, remove them from the refrigerator. Spread a generous layer of thawed whipped topping over the pudding layer, creating a fluffy finish that adds both flavor and visual appeal. Use a spatula to smooth it out, ensuring it covers the entire surface.
Step 7: Slice and Serve
Carefully lift the Banana Cream Bars from the pan using the parchment paper edges. Place them on a cutting board and use a sharp knife to slice them into squares for serving. For a decorative touch, consider adding a few extra banana slices on top before serving these delightful treats to your friends or family.
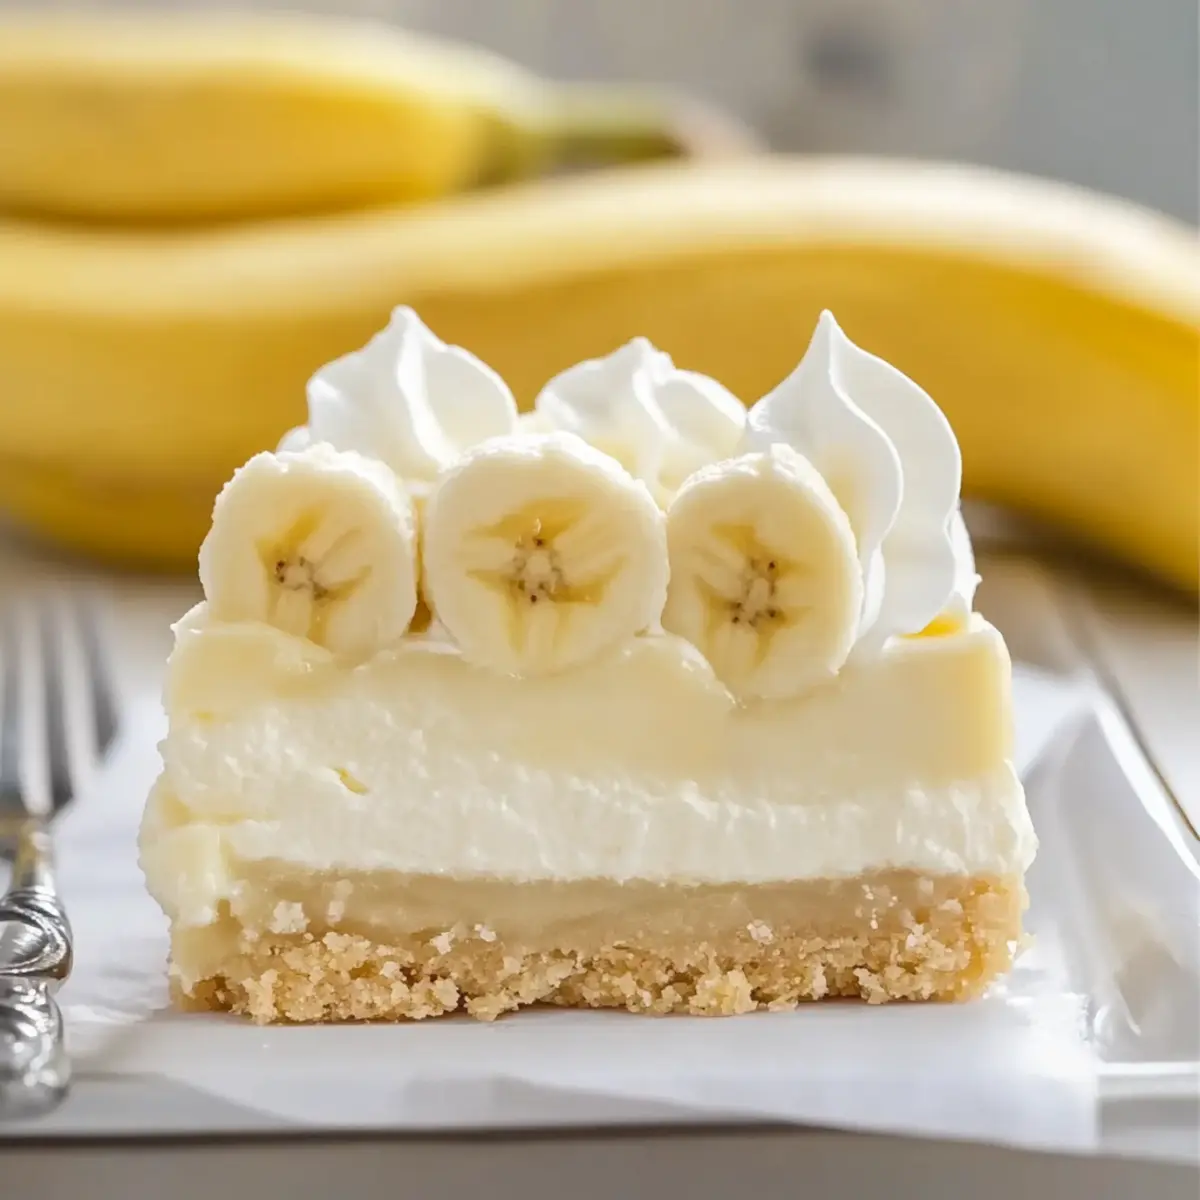
Variations & Substitutions for Banana Cream Bars
Feel free to explore your creativity and customize these delicious Banana Cream Bars to suit your taste and dietary preferences!
-
Chocolate Twist: Substitute vanilla pudding with chocolate pudding for a decadent chocolate-banana combination that will delight any chocolate lover.
-
Graham Cracker Crust: Use crushed graham crackers in place of flour for a quicker crust option that brings a hint of nostalgia with every bite.
-
Nutty Delight: Add chopped walnuts or pecans to the crust for a delightful crunch that pairs wonderfully with the creamy filling.
-
Dairy-Free: Swap the milk and whipped topping for almond or coconut milk and a dairy-free whipped cream alternative; it’s an indulgent treat that everyone can enjoy!
-
Flavor Burst: Mix in a teaspoon of almond or coconut extract into the pudding layer for a unique twist on flavor that elevates every slice.
-
Fruity Fusion: Layer in additional fruits such as strawberries or kiwi along with the banana slices; their vibrant flavors and colors create a refreshing surprise.
-
Caramel Drizzle: Finish your bars with a drizzle of caramel sauce on top, adding an extra layer of sweetness that complements the banana beautifully.
-
Spicy Kick: For a little heat, sprinkle a dash of cinnamon or nutmeg over the bananas before layering the pudding; it will warm your heart and tantalize your taste buds!
These variations not only make your Banana Cream Bars unique but also cater to different preferences, just like my Pistachio Ice Cream enhances summer festivities! Dive in and enjoy these sweet alterations!
Expert Tips for Banana Cream Bars
• Cold Butter Needed: Ensure your butter is cold and cubed for a flaky crust. Room temperature butter can lead to a greasy texture.
• Whisk Well: Always whisk the pudding mix thoroughly for a full two minutes. Underwhisking can result in runny filling, ruining your Banana Cream Bars.
• Chill Time Matters: Refrigerate the bars long enough to set, ideally overnight. This prevents messy slices and ensures the layers hold together beautifully.
• Sharp Knife Technique: Use a sharp knife, warmed briefly in hot water, for clean cuts. This helps to maintain a beautiful presentation without squashing layers.
• Experiment with Toppings: Don’t hesitate to add a sprinkle of crushed vanilla wafers or a drizzle of caramel on top for an extra flair and crunch!
Storage Tips for Banana Cream Bars
Fridge: Store Banana Cream Bars in an airtight container in the refrigerator for up to 3 days. This keeps the bars fresh and creamy while avoiding mess.
Freezer: Individually wrap slices of Banana Cream Bars in plastic wrap and store in a freezer-safe container for up to 1 month. Thaw overnight in the fridge before serving for the best texture.
Reheating: For best results, serve the bars chilled. If you prefer a slightly softer texture, let them sit at room temperature for about 15 minutes before enjoying.
Make-Ahead: These bars can be prepared a day in advance, making them perfect for gatherings or parties. Just be sure to refrigerate them until it’s time to serve!
Make Ahead Options
These Banana Cream Bars are perfect for meal prep enthusiasts! You can create the crust and pudding layers up to 24 hours in advance, storing them separately in the refrigerator to maintain their freshness. To prep, bake the crust and allow it to cool completely before wrapping it tightly in plastic wrap. Prepare the pudding layer and refrigerate it as well. When you’re ready to serve, simply layer your sliced bananas and whipped topping over the chilled crust and pudding, and then refrigerate the assembled bars for at least 2-3 hours to set. This way, you’ll have delicious, ready-to-enjoy Banana Cream Bars without the last-minute rush!
What to Serve with No-Bake Banana Cream Bars?
These delightful bars create an irresistible, sweet spread that will make any gathering feel special.
-
Iced Tea: A refreshing glass of iced tea complements the creamy sweetness and balances flavors beautifully; opt for a lightly brewed option for a perfect pairing.
-
Lemonade: The tartness of freshly squeezed lemonade perfectly offsets the rich and sweet layers of the bars, creating a delightful contrast on your palate.
-
Pineapple Chunks: Juicy, refreshing pineapple adds a tropical twist that pairs well with the banana flavors and enhances the dessert’s overall freshness.
-
Chocolate Drizzle: A rich chocolate drizzle provides an indulgent contrast, enhancing the creaminess of the pudding while adding a touch of decadence.
-
Mini Fruit Cups: Light, colorful fruit cups with fresh berries and citrus create a bright, fresh element that complements the bars and offers textural contrast.
-
Coffee or Espresso: The bold flavors of coffee, especially when enjoyed warm, bring out the rich notes of the bars, providing a cozy and inviting treat.
-
Vanilla Ice Cream: A scoop of creamy vanilla ice cream served alongside the bars adds temperature contrast and enhances the overall dessert experience.
-
Nuts or Granola: A sprinkle of chopped nuts or granola on top adds a satisfying crunch, providing textural contrast to the smoothness of the bars.
-
Whipped Cream: For a fun twist, serve extra whipped cream on the side for those who love that fluffy texture; it elevates the indulgence factor, making these bars even more delightful!
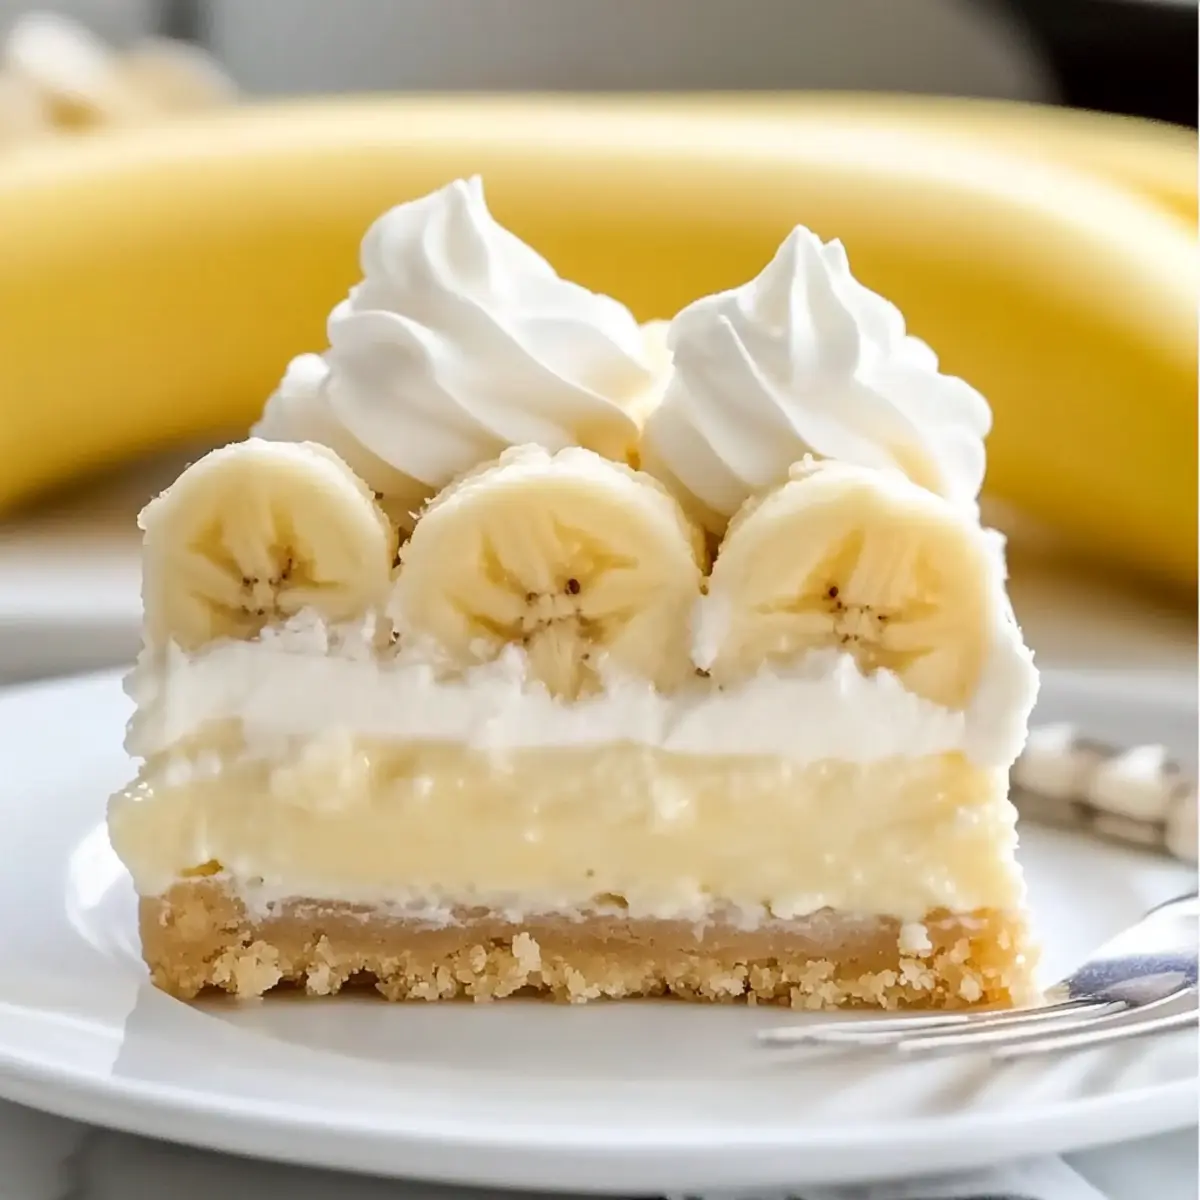
Banana Cream Bars Recipe FAQs
What should I look for when selecting bananas?
When choosing bananas for your Banana Cream Bars, opt for ripe bananas. Look for fruit that is slightly soft to the touch and has a vibrant yellow color with a few brown speckles. These characteristics indicate peak sweetness and flavor, which will enhance your dessert.
How should I store leftover Banana Cream Bars?
Store any leftover Banana Cream Bars in an airtight container in the refrigerator for up to 3 days. This will keep the bars fresh and maintain their creamy texture. For optimal flavor, serve them chilled straight from the fridge!
Can I freeze Banana Cream Bars?
Absolutely! To freeze Banana Cream Bars, wrap individual slices in plastic wrap and place them in a freezer-safe container. They can be stored in the freezer for up to 1 month. To enjoy, simply thaw overnight in the refrigerator before serving.
What if my pudding filling doesn’t thicken?
If your pudding layer doesn’t thicken properly, it might be due to underwhisking. Be sure to whisk the pudding mix and liquids for a full two minutes as specified in the recipe. If the pudding still seems runny, you can whisk in a bit of extra pudding mix to help it set.
Are Banana Cream Bars suitable for gluten-free diets?
Yes! You can easily make Banana Cream Bars gluten-free by substituting the all-purpose flour with a gluten-free flour blend. Just ensure any other ingredients, like the whipped topping or pudding mixes, are also gluten-free to make this dessert safe for those with gluten sensitivities.
Can I make these bars a day ahead?
Definitely! In fact, making Banana Cream Bars a day ahead is often recommended. Preparing them in advance gives the layers time to set and meld together, enhancing flavor and texture. Just store them in the fridge until you’re ready to serve!
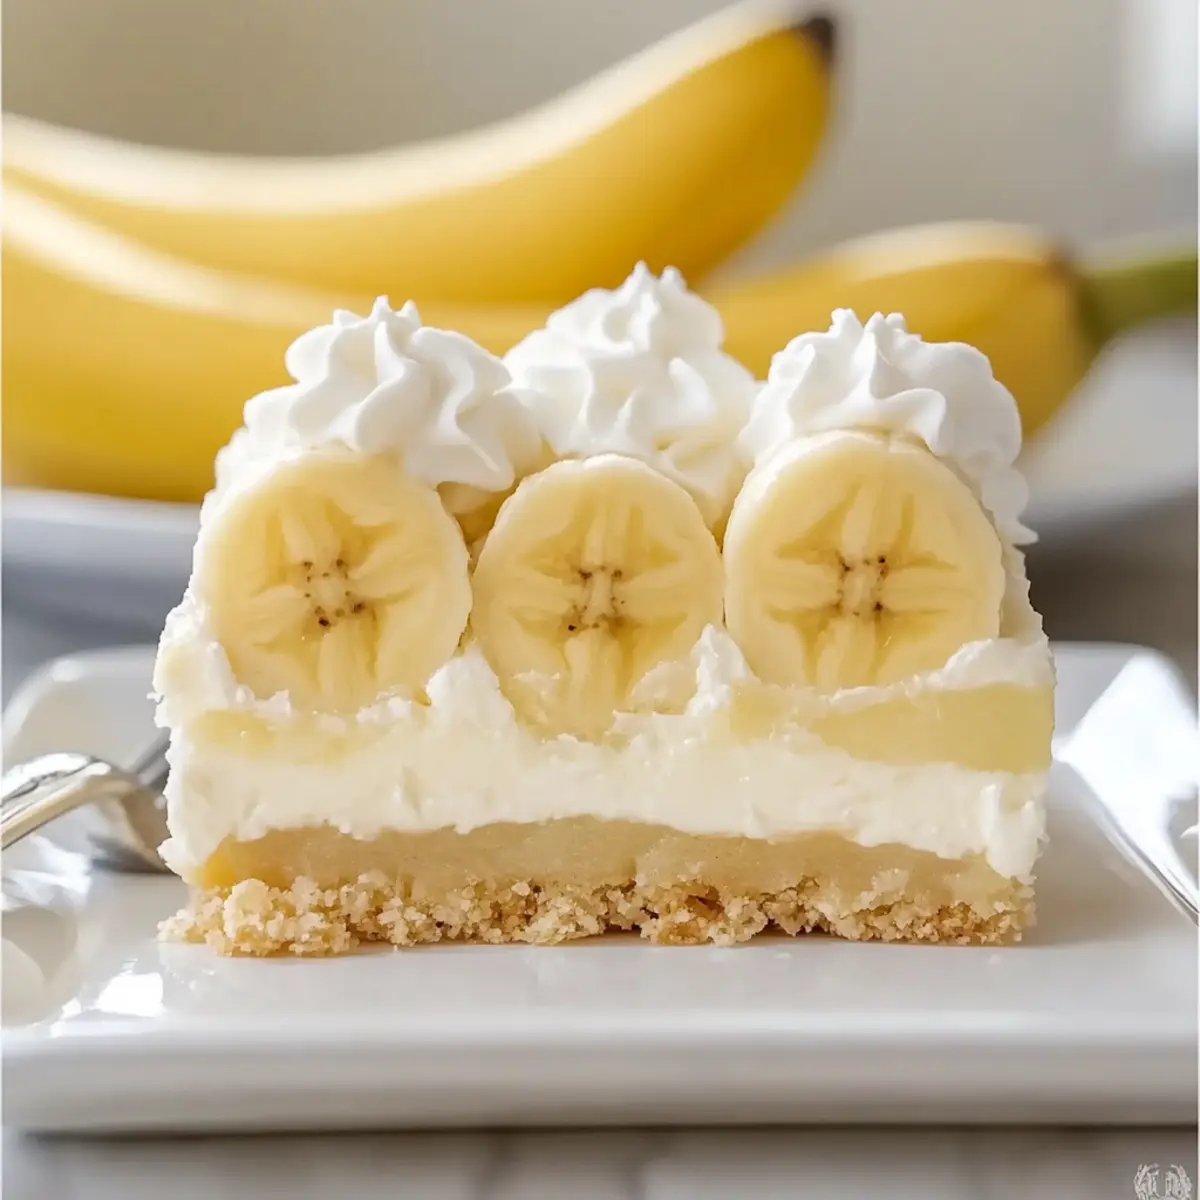
Irresistibly Creamy Banana Cream Bars for Easy Summer Treats
Ingredients
Equipment
Method
- Preheat your oven to 350°F (175°C) and prepare a 13x9 inch baking pan.
- Combine flour, cold butter, powdered sugar, and salt in a food processor. Pulse until coarse sand, then press into the pan and bake for 20 minutes.
- In a bowl, whisk sweetened condensed milk and whole milk. Add pudding mix and whisk until thick.
- Spread half of the pudding on the cooled crust, layer sliced bananas, and top with remaining pudding.
- Cover and refrigerate for at least 2-3 hours to set properly.
- After chilling, spread whipped topping over the pudding layer.
- Lift the bars from the pan and slice into squares for serving.
Leave a Reply