
There’s something magical about no-bake desserts, and this Heaven On Earth Cake is proof. As I assembled this Divine Layered Cherry Dream, the delightful layers of airy angel food cake, creamy vanilla pudding, and luscious cherry pie filling blended into a tempting treat that feels like a warm hug for your taste buds. Not only does it look stunning on the table, but it also takes minimal effort, making it perfect for potlucks or summer BBQs when you want to impress without the stress. Plus, you can whip it up ahead of time, allowing the flavors to meld and making your hosting duties a breeze. I’m curious: are you ready to bring a slice of heaven to your kitchen?
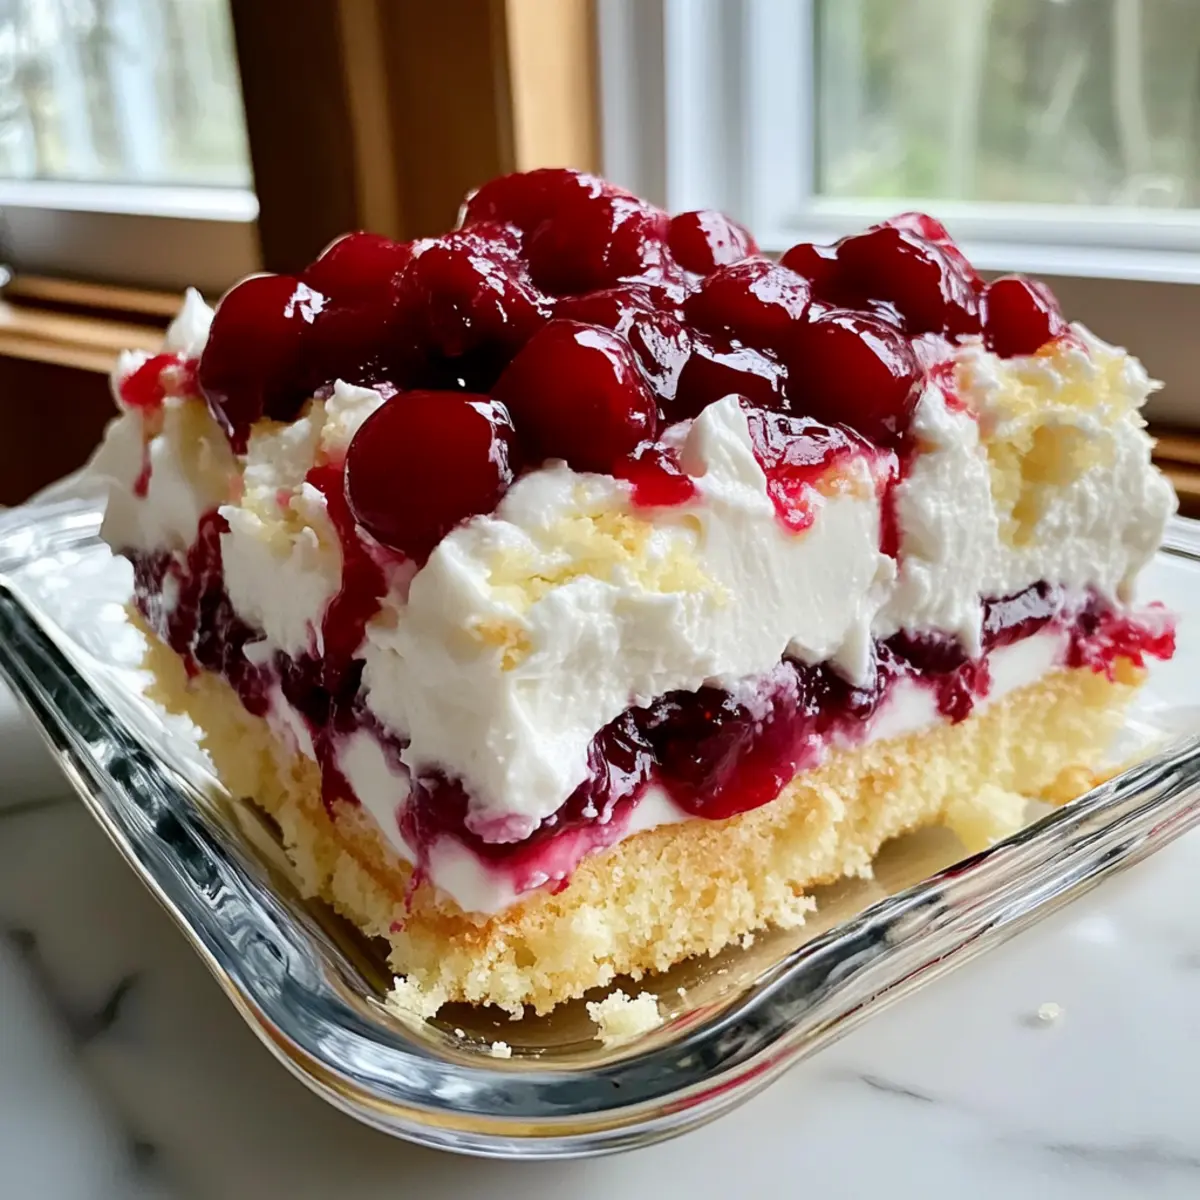
Why is this dessert a must-try?
Effortless Preparation: This no-bake marvel is incredibly easy to make, requiring only a few simple ingredients that come together in a flash.
Irresistible Harmony: The lightness of the angel food cake perfectly balances the rich, creamy pudding and sweet cherry filling, creating a flavor experience that’s both comforting and luxurious.
Visual Appeal: With vibrant layers and a beautiful presentation, this cake isn’t just delicious—it’s a showstopper at any gathering!
Versatile Options: Feel free to customize the flavors by swapping out the cherry filling for blueberries or strawberries, allowing you to impress guests with unique variations.
Make-Ahead Delight: This dessert saves time for busy days; it can be prepared in advance, ensuring you have more moments to enjoy with family and friends. Plus, the flavors get even better after chilling!
Divine Layered Cherry Dream Ingredients
• Here’s everything you need to create this tasty masterpiece!
For the Cake Base
- Angel Food Cake – Provides a light, airy texture; torn into cubes enhances pudding absorption.
For the Creamy Layer
- Instant Vanilla Pudding Mix – Essential for that luscious creamy layer; make sure to use instant for proper setting.
- Cold Whole Milk – Contributes to a rich, creamy texture; avoid alternative milks for best results.
- Sour Cream – Adds a delightful tanginess to the pudding; Greek yogurt is a perfect substitute for a similar result.
For the Cherry Topping
- Cherry Pie Filling – Delivers a burst of sweet flavor and glossy finish; feel free to swap with other fruit fillings for a unique twist.
For the Final Touch
- Whipped Topping – Lightens the dessert and adds creaminess; opt for stabilized topping for best performance.
- Toasted Slivered Almonds – Brings a delightful crunch and nuttiness; optional, but adds an appealing texture contrast.
Step‑by‑Step Instructions for Divine Layered Cherry Dream
Step 1: Prepare the Angel Food Cake Base
Begin by tearing the angel food cake into 1-inch cubes, aiming for a fluffy texture to enhance absorption. Place half the cubes in the bottom of a 9×13 inch glass baking dish, lightly pressing them down to create an even base. This serves as the initial layer of your Divine Layered Cherry Dream, ensuring stability for the subsequent ingredients.
Step 2: Add the Cherry Filling
Spoon half of the cherry pie filling over the cake cubes, spreading it evenly with a spatula. Aim for a smooth distribution, allowing the sweet cherry topping to seep between the cake pieces and create a burst of flavor with each bite. This layer not only adds sweetness but also a vibrant pop of color to your dessert.
Step 3: Whisk Together the Pudding Mix
In a mixing bowl, combine the instant vanilla pudding mix with cold whole milk and sour cream, whisking until thickened, approximately 2 minutes. Ensure there are no lumps for a smooth, creamy layer that binds the cake and cherries together. This mixture will bring a rich texture to your Divine Layered Cherry Dream, so don’t rush this step!
Step 4: Spread the Pudding Mixture
Pour the thickened pudding mixture over the layer of cherries and cake, using a spatula to smooth it out evenly. This creamy layer is key to achieving the dessert’s rich flavor, filling in gaps and creating a seamless transition between the cake and fruit. The pudding should create a luscious base for the next cake layers, giving your dessert depth.
Step 5: Layer with Remaining Cake Cubes
Top the pudding layer with the remaining angel food cake cubes, spreading them out evenly to cover the cream. Lightly press them down to allow the pudding to slightly absorb into the cake. This builds the height of your Divine Layered Cherry Dream, enhancing the visual appeal of the finished dessert while keeping it light and airy.
Step 6: Add Whipped Topping
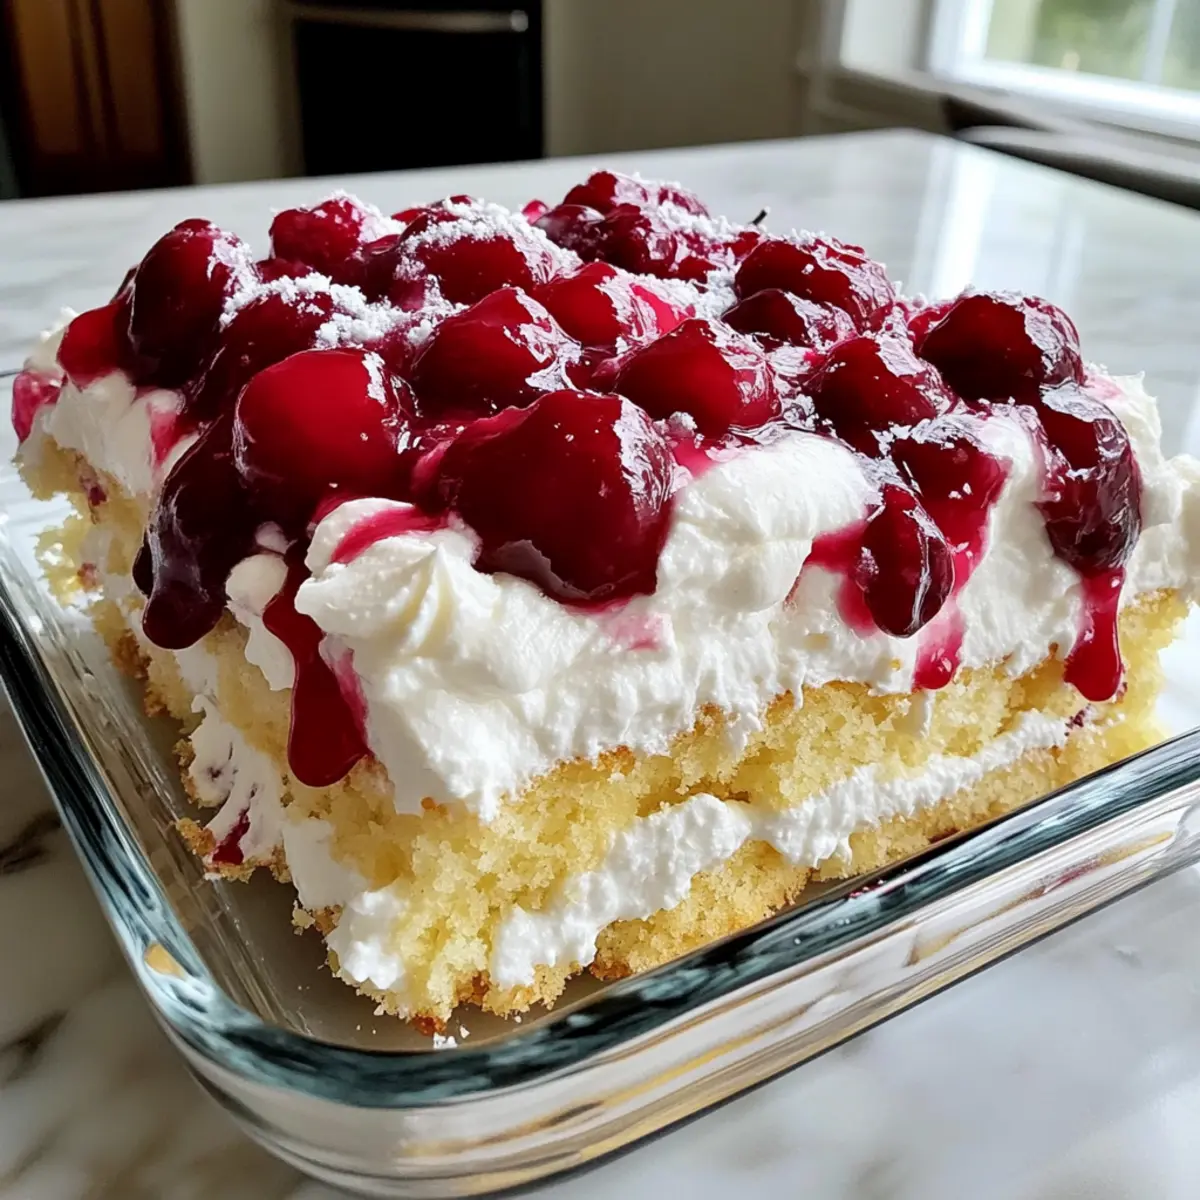
Spread the whipped topping evenly across the top layer of cake, covering it completely to create a smooth, creamy finish. Use a spatula for an elegant touch, ensuring the topping seals in all the delicious layers beneath. The whipped topping lightens the dessert, adding a wonderful creaminess that balances the sweetness of the cherry pie filling.
Step 7: Finish with Cherry Topping and Chill
Dollop the remaining cherry pie filling on top of the whipped layer, gently swirling it with a knife for a marbled effect. This creates an inviting presentation for your Divine Layered Cherry Dream. Once you’ve finished assembling, cover the dish with plastic wrap and refrigerate for at least 4 hours to allow flavors to meld and the dessert to set properly for serving.
Step 8: Garnish and Serve
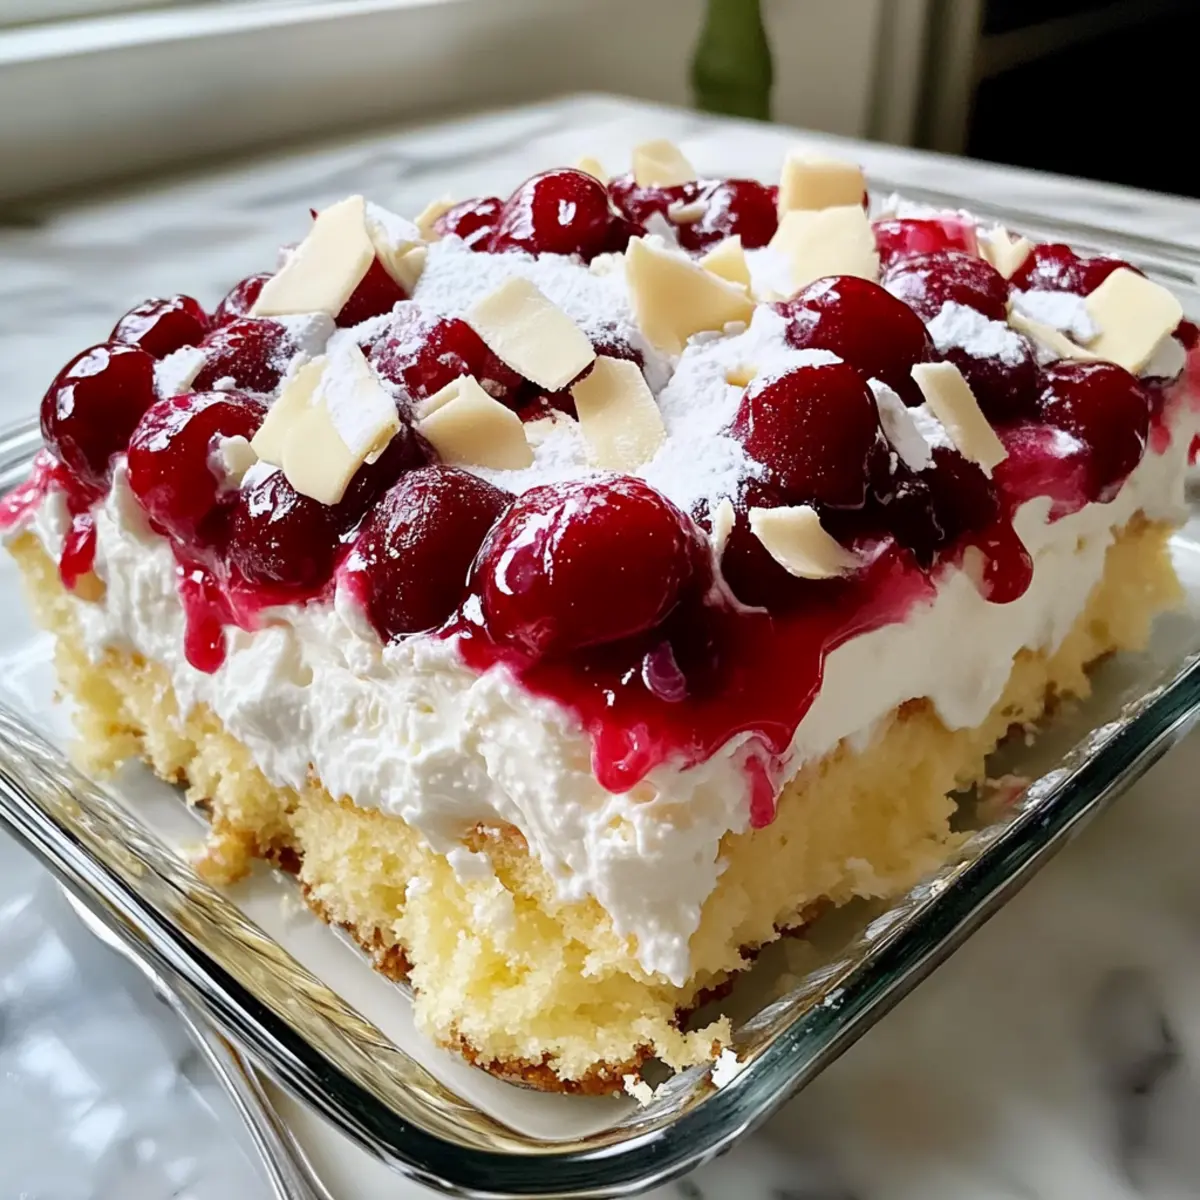
Before serving, scatter toasted slivered almonds atop the dessert for a delightful crunch that complements the soft layers below. The contrast in texture makes your Divine Layered Cherry Dream even more enticing. Once ready, slice into squares, serve chilled, and enjoy this stunning no-bake treat at your next gathering!
What to Serve with Divine Layered Cherry Dream
There’s nothing quite like the delightful layering of flavors and textures in this gorgeous dessert, and pairing it with the right dishes makes a complete meal that truly sings.
-
Grilled Chicken Breasts: Juicy and tender, the lightness of grilled chicken complements the cake’s sweet richness without overshadowing it.
-
Classic Garden Salad: Fresh greens and crunchy veggies enhance the meal’s overall freshness, balancing the dessert’s creaminess beautifully.
-
Roasted Vegetables: Caramelized veggies add depth and savory warmth, providing a lovely textural contrast against the cake’s airy layers.
-
Lemon Herb Quinoa: Light and zesty, this dish brings a refreshing brightness that enhances the rich flavors of the Divine Layered Cherry Dream.
-
Sparkling Lemonade: The fizzy, tart refreshment of a chilled sparkling lemonade cuts through the cake’s sweetness, making for an invigorating beverage pairing.
-
Iced Tea with Mint: A classic choice, the refreshing flavors of iced tea—especially with a hint of mint—perfectly complement the fruity cherry layers.
-
Chocolate Chip Cookies: For those who love variety, these warm cookies offer a delightful sweet contrast and can be enjoyed alongside this chilled treat.
-
Vanilla Ice Cream: A scoop of creamy vanilla ice cream on the side adds a luscious richness that pairs beautifully with the cherries, taking your dessert experience to the next level.
-
Fruit Salad: A light and refreshing fruit salad brings additional flavors to your meal, enhancing those sweet cherry notes and adding colorful appeal.
Divine Layered Cherry Dream Variations
Feel free to experiment and personalize this delightful dessert to match your taste!
-
Berry Bliss: Substitute cherry pie filling with your choice of blueberry, raspberry, or strawberry filling for a fresh twist. Each berry brings its own unique sweetness to the layered delight.
-
Creamy Upgrade: Swap sour cream for mascarpone cheese to bring a sophisticated richness to your pudding layer. The mascarpone adds a velvety texture that makes each bite feel indulgent.
-
Homemade Base: For superior flavor, use homemade angel food cake instead of store-bought. Not only is it more delicious, but it also brings a personal touch to your creation. Making your cake can be a fun activity that adds to the overall experience!
-
Dairy-Free Delight: Use coconut milk and dairy-free whipped topping for a fabulous vegan version. The tropical flavor of coconut complements the cherries beautifully, creating a guilt-free indulgence for everyone to enjoy!
-
Nutty Flavor: Mix in a handful of chopped walnuts or pecans into the pudding layer for a delightful crunch and nutty flavor. It adds a surprising depth and texture contrast that can elevate your dessert.
-
Chocolate Drizzle: For chocolate lovers, a drizzle of melted dark chocolate over the top adds a wonderful contrast to the sweetness of the cherries. This extra layer of richness makes each bite even more tempting.
-
Citrus Zing: Add a teaspoon of lemon or orange zest to the pudding mixture for a refreshing citrus twist. The bright flavors work harmoniously with the cherries and uplift the overall dessert experience.
-
Spicy Kick: For the adventurous palates, sprinkle some cinnamon or nutmeg in the pudding to give it a subtle warmth. It’s a lovely way to create deeper flavors and offer something unexpected to your guests.
Don’t hesitate to customize your Divine Layered Cherry Dream! With endless variations, it’s easy to surprise your family with new flavors each time you make this delightful treat.
Expert Tips for Divine Layered Cherry Dream
-
Tear, Don’t Slice: Instead of slicing the angel food cake, tear it into cubes. This increases the surface area, allowing for better pudding absorption and flavor enhancement.
-
Whisk Thoroughly: When preparing the pudding mixture, whisk until completely smooth. Lumps can compromise the creamy texture of your Divine Layered Cherry Dream, so take the time to get it right.
-
Chill Properly: Be sure to refrigerate the cake for at least 4 hours. This chilling time is crucial for flavors to meld and the cake to set, ensuring each slice holds its form beautifully.
-
Easy Layering: For even easier assembly, use a large spatula to spread the layers. This helps keep things neat, especially when adding the whipped topping and cherry filling on top.
-
Garnish for Crunch: Don’t skip the toasted slivered almonds! They add a wonderful crunch that balances the creamy layers of your dessert and elevates its overall presentation.
How to Store and Freeze Divine Layered Cherry Dream
Fridge: Keep this delight covered in the refrigerator for up to 3-4 days. This ensures freshness and lets the flavors meld even further, making each slice as delicious as the first.
Freezer: Although best enjoyed fresh, you can freeze portions for up to 2 months. Wrap tightly in plastic wrap and then in aluminum foil to prevent freezer burn. Thaw in the fridge overnight before serving.
Reheating: This dessert is best served chilled, so no reheating is necessary. Enjoy the refreshing layers straight from the fridge for the ultimate no-bake experience!
Make Ahead Options
These Divine Layered Cherry Dream cakes are perfect for busy cooks looking to save time! You can prepare the angel food cake, pudding mixture, and cherry filling up to 24 hours in advance. Simply store the separate components in airtight containers in the refrigerator to maintain freshness. When you’re ready to assemble, layer the cake cubes, cherries, and pudding as instructed, topping it with whipped cream and cherry filling. After assembling, cover and refrigerate for at least 4 hours (or overnight) to allow the flavors to meld beautifully. This prep-ahead strategy not only saves time but ensures your dessert is just as delicious when served, giving you more moments to enjoy with family and friends!
Divine Layered Cherry Dream Recipe FAQs
What type of cherries should I use for the filling?
Absolutely use a good-quality cherry pie filling for that perfect blend of sweetness and tartness! If you prefer to use fresh cherries, opt for sweet Bing cherries, pitting and slicing them beforehand. You could also explore other fruit fillings like blueberry or strawberry for a delightful variation on the flavor.
How long can the Divine Layered Cherry Dream be stored in the fridge?
You can keep this refreshing dessert covered in the refrigerator for up to 3-4 days. As it sits, the flavors meld beautifully, and you’ll find that each slice tastes even better the next day. Just remember to cover it well to maintain freshness!
Can I freeze this dessert, and if so, how?
Yes! You can freeze portions of the Divine Layered Cherry Dream for up to 2 months. To do this, wrap individual servings tightly in plastic wrap, then place them in an airtight container or wrap in aluminum foil to avoid freezer burn. When you’re ready to enjoy, simply thaw the portions in the refrigerator overnight—incredibly easy!
What should I do if my pudding layer is lumpy?
Oh no! If you find lumps in your pudding layer, don’t fret. Simply transfer the mixture to a blender or food processor and blend until smooth. If you prefer not to use electrical equipment, you can push the pudding through a fine-mesh sieve. This will help achieve that silky-smooth consistency that makes your Divine Layered Cherry Dream even more delightful.
Can I make this dessert gluten-free?
Very! To create a gluten-free Divine Layered Cherry Dream, simply substitute the angel food cake with a gluten-free version. Nowadays, many grocery stores offer gluten-free cakes, or you can make your own from scratch using gluten-free flour blends. Just be sure to check that your pudding mix and other ingredients are also gluten-free!
Is this dessert safe for pets or anyone with allergies?
Notably, this dessert isn’t safe for pets—especially cherries, as they can be toxic to dogs. Ingredients like whipped topping can also be high in sugar and not suited for them. For those with allergies, be mindful of the common allergens in this recipe, such as dairy, gluten (in store-bought cake), and nuts (if using slivered almonds). Always check labels and consider alternatives to cater to dietary restrictions!
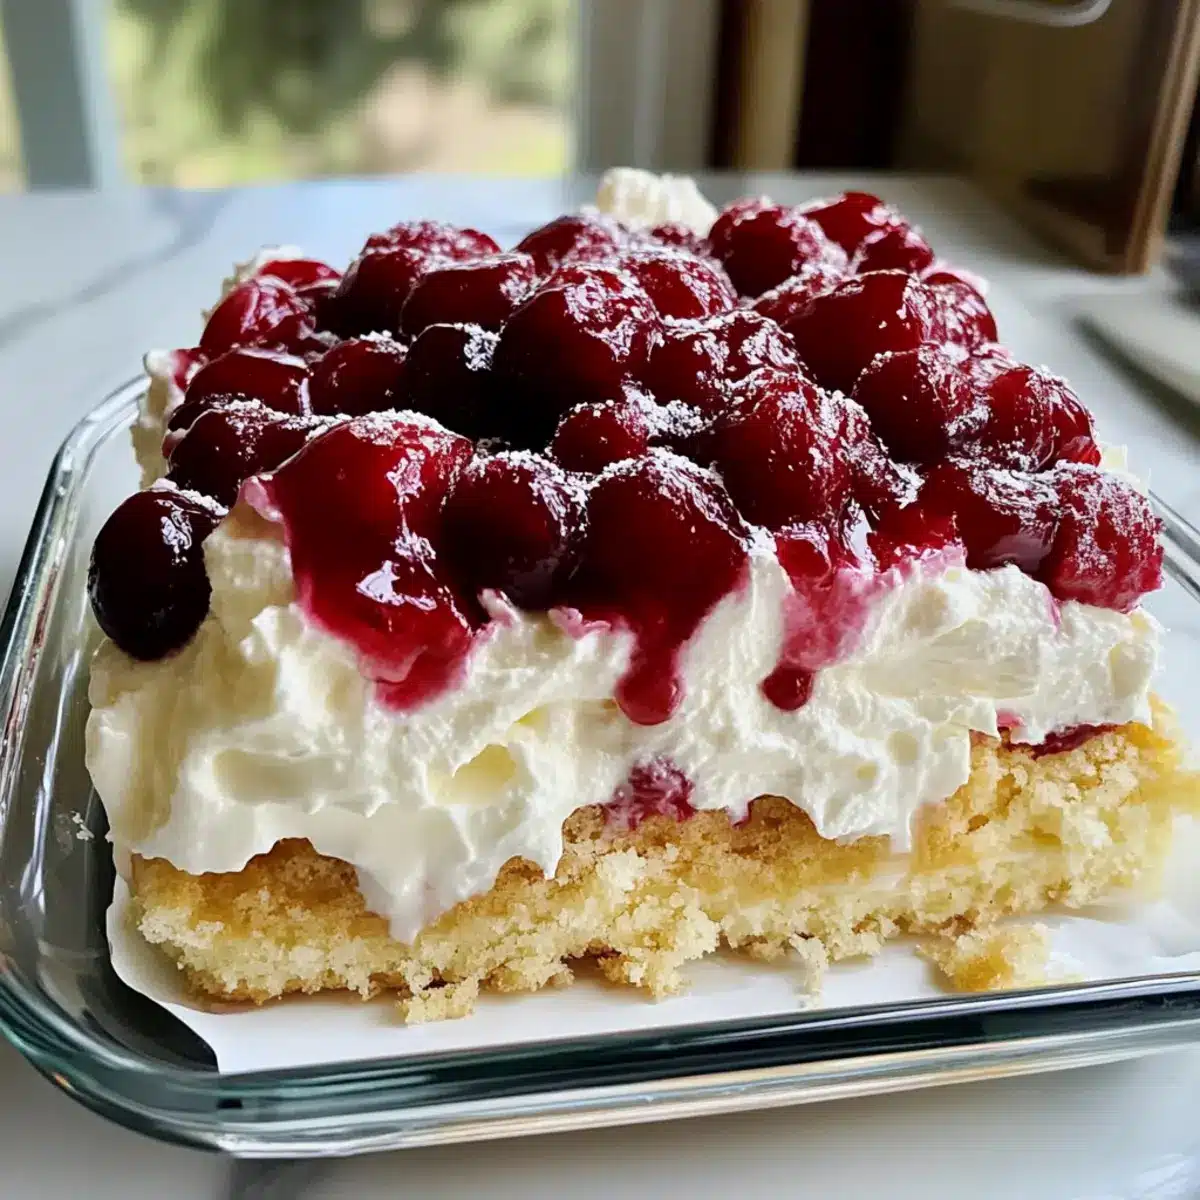
Divine Layered Cherry Dream: Effortless No-Bake Bliss
Ingredients
Equipment
Method
- Tear the angel food cake into 1-inch cubes and place half in the bottom of a 9x13 inch glass baking dish.
- Spoon half of the cherry pie filling over the cake cubes and spread evenly.
- In a mixing bowl, whisk together the instant vanilla pudding mix, cold whole milk, and sour cream until thickened.
- Pour the pudding mixture over the layer of cherries and cake, smoothing it out evenly.
- Top with the remaining angel food cake cubes, lightly pressing them down.
- Spread the whipped topping evenly across the top layer of cake.
- Dollop the remaining cherry pie filling on top and swirl for a marbled effect.
- Cover with plastic wrap and refrigerate for at least 4 hours.
- Garnish with toasted slivered almonds before serving.
- Slice into squares, serve chilled, and enjoy!
Leave a Reply