
As the sun sets on a warm July evening, that burst of colorful fireworks in the sky always sparks joy, doesn’t it? And just as they light up the night, my No-Bake Red, White, and Blue Jello Cups bring a festive cheer to any summer gathering. This easy dessert is not only visually stunning with its vibrant layers but it’s also a breeze to whip up, meaning more time for celebration and less time in the kitchen. The creamy Cool Whip center combined with fruity flavors creates a delightful treat that’s sure to impress and satisfy both kids and adults alike. Ready to make this patriotic dessert a star of your next BBQ? Let’s dive into the recipe and make some sparkly memories!
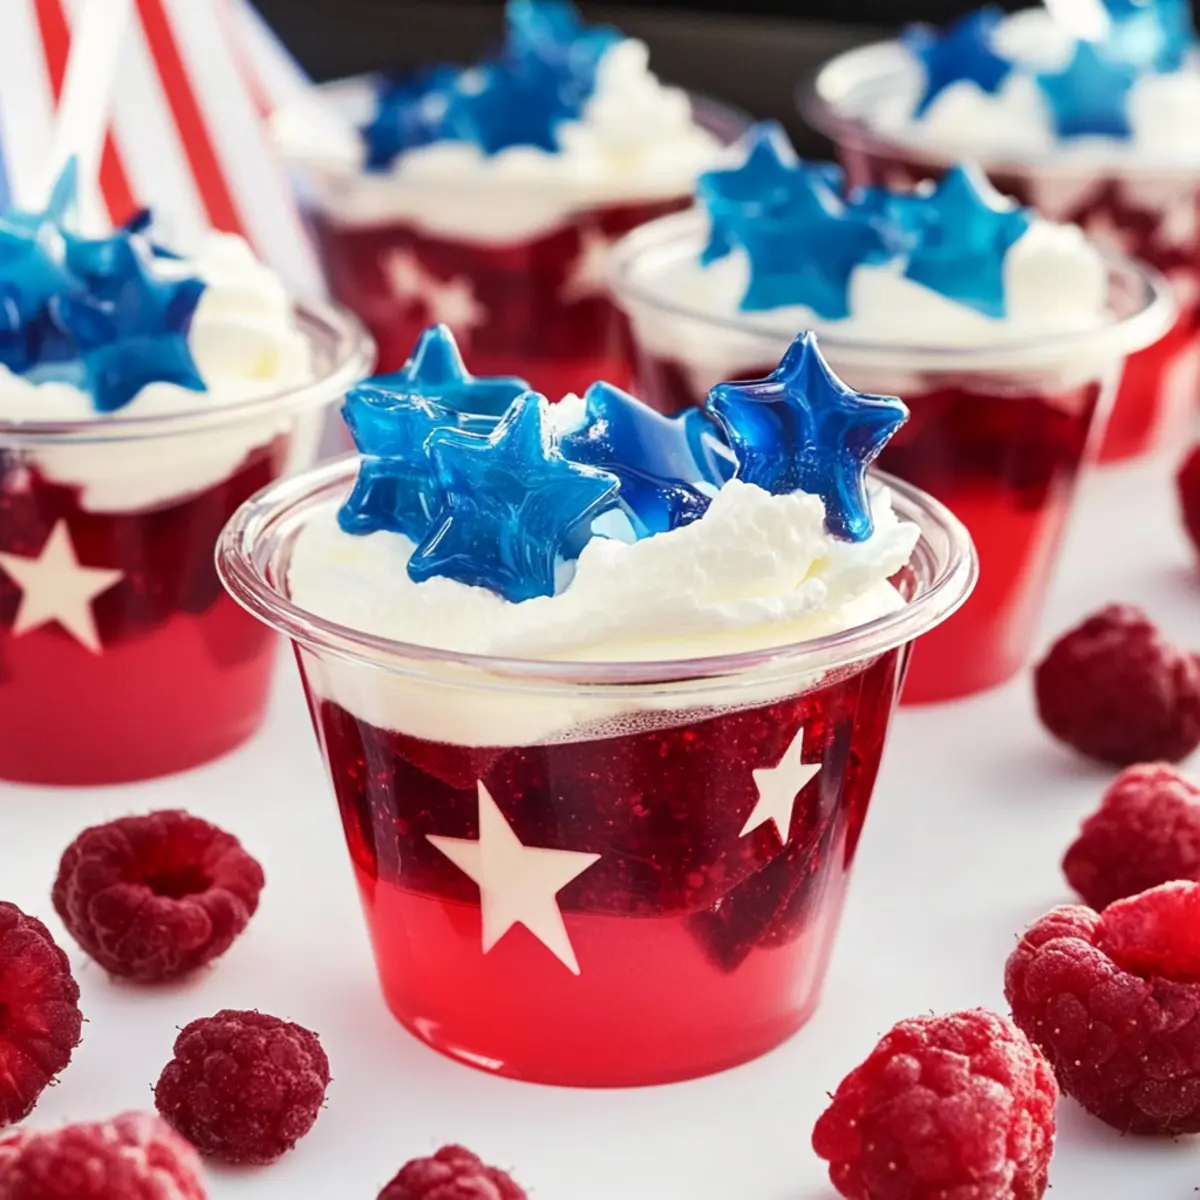
Why are these Jello Cups a must-try?
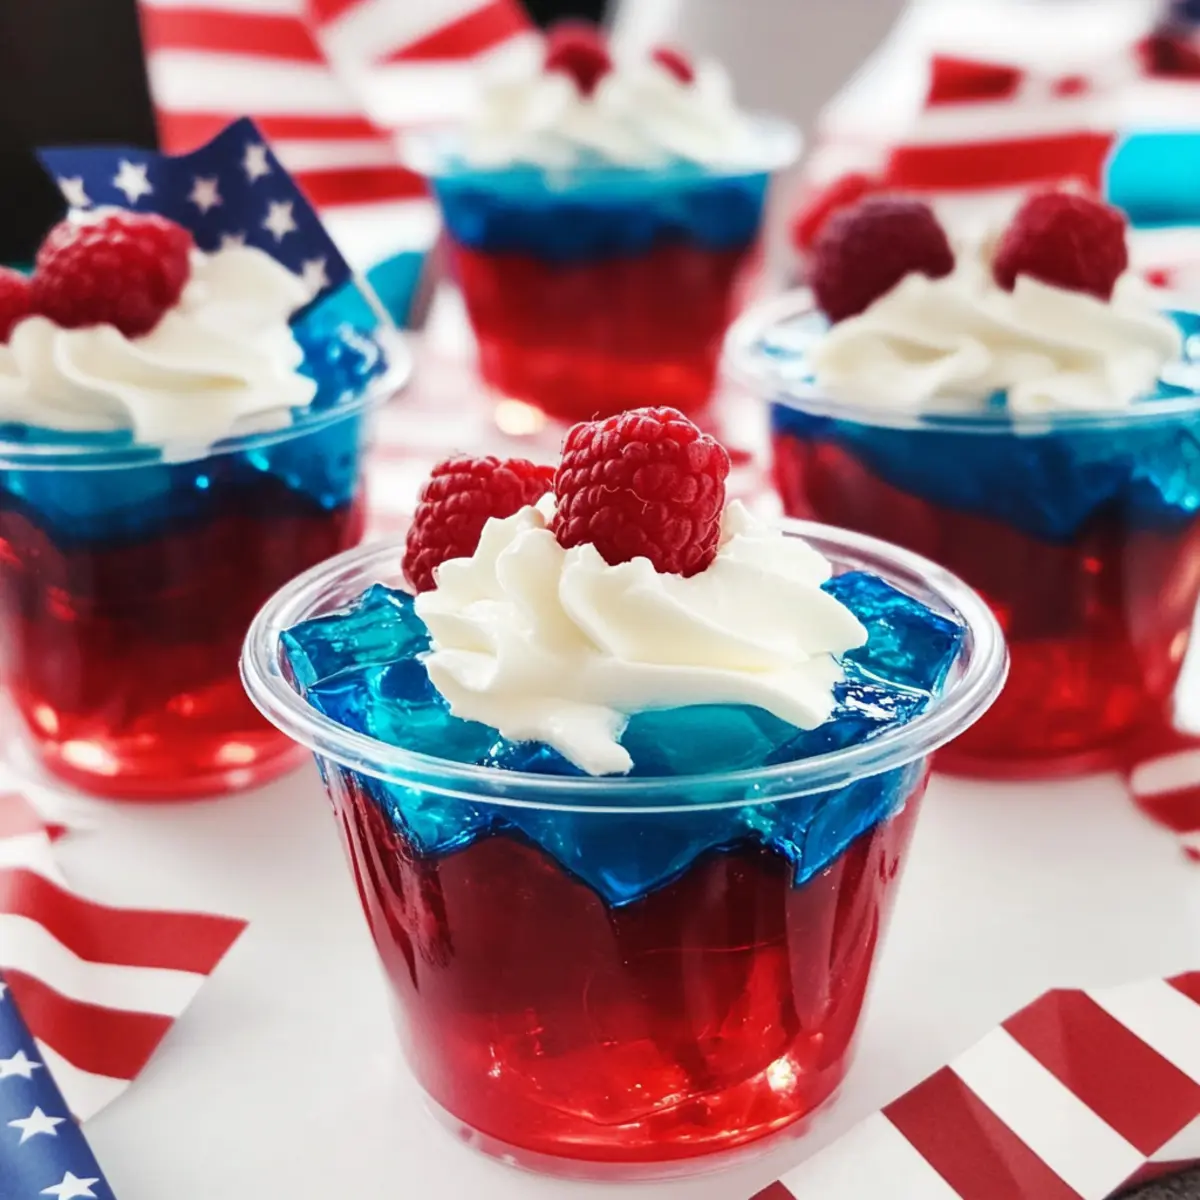
Visually Stunning: The vibrant colors of the red, white, and blue layers make these Jello Cups a showstopper at any summer gathering. Your guests will be reaching for their phones to snap pictures!
Easy Preparation: With just a few simple steps, this no-bake dessert comes together in a flash. Spend less time in the kitchen and more time enjoying the sunshine with your loved ones.
Deliciously Light: Each cup is a guilt-free treat, hovering around only 12 calories. It’s a sweet way to indulge without overdoing it, perfect for summer celebrations.
Customizable: Feel free to experiment with flavors by incorporating different Jellos or even switching to whipped coconut cream for a dairy-free version. If you love fun twists, check out my Sweet Sticky Steak for a savory complement!
Crowd-Pleasing Treat: These Jello Cups are sure to be a hit among all ages, making them a fantastic dessert choice for BBQs, picnics, or family gatherings. Don’t be surprised if you get asked for the recipe!
Red, White and Blue Jello Cups Ingredients
For the Blue Layer
• Berry Blue Jello – 1 (6 oz) package, this bright blue layer is essential for visual appeal.
For the Red Layer
• Raspberry Jello – 1 (6 oz) package, this bold red layer complements the blue flavor beautifully.
For the Creamy Center
• Cool Whip – 1 (8 oz) container, enhances richness and adds a delightful creamy texture to each cup.
Step‑by‑Step Instructions for Red, White and Blue Jello Cups
Step 1: Prepare the Blue Layer
Begin by dissolving the Berry Blue Jello powder in 2 cups of boiling water, stirring until fully dissolved. Transfer the liquid to a glass pan and let it cool for about 10 minutes. Once slightly set, refrigerate the pan for 1-2 hours until the Jello is firm to the touch, creating the beautiful blue layer for your Red, White and Blue Jello Cups.
Step 2: Prepare the Red Layer
While the blue layer is setting, prepare the Raspberry Jello by mixing the powder with 2 cups of boiling water, stirring until completely dissolved. Pour this vibrant red mixture into another glass pan and allow it to cool for 10 minutes. Refrigerate this pan as well for 1-2 hours until fully firm, ensuring the layers will hold their distinct colors.
Step 3: Cube the Jello Layers
Once both the berry blue and raspberry layers are set, take them out of the refrigerator. Use a sharp knife to cut each Jello layer into 1-inch cubes. This step is essential for assembling your Red, White and Blue Jello Cups, as it allows you to easily layer the cubes in the cups, creating a stunning visual effect.
Step 4: Assemble the Blue Layer in Cups
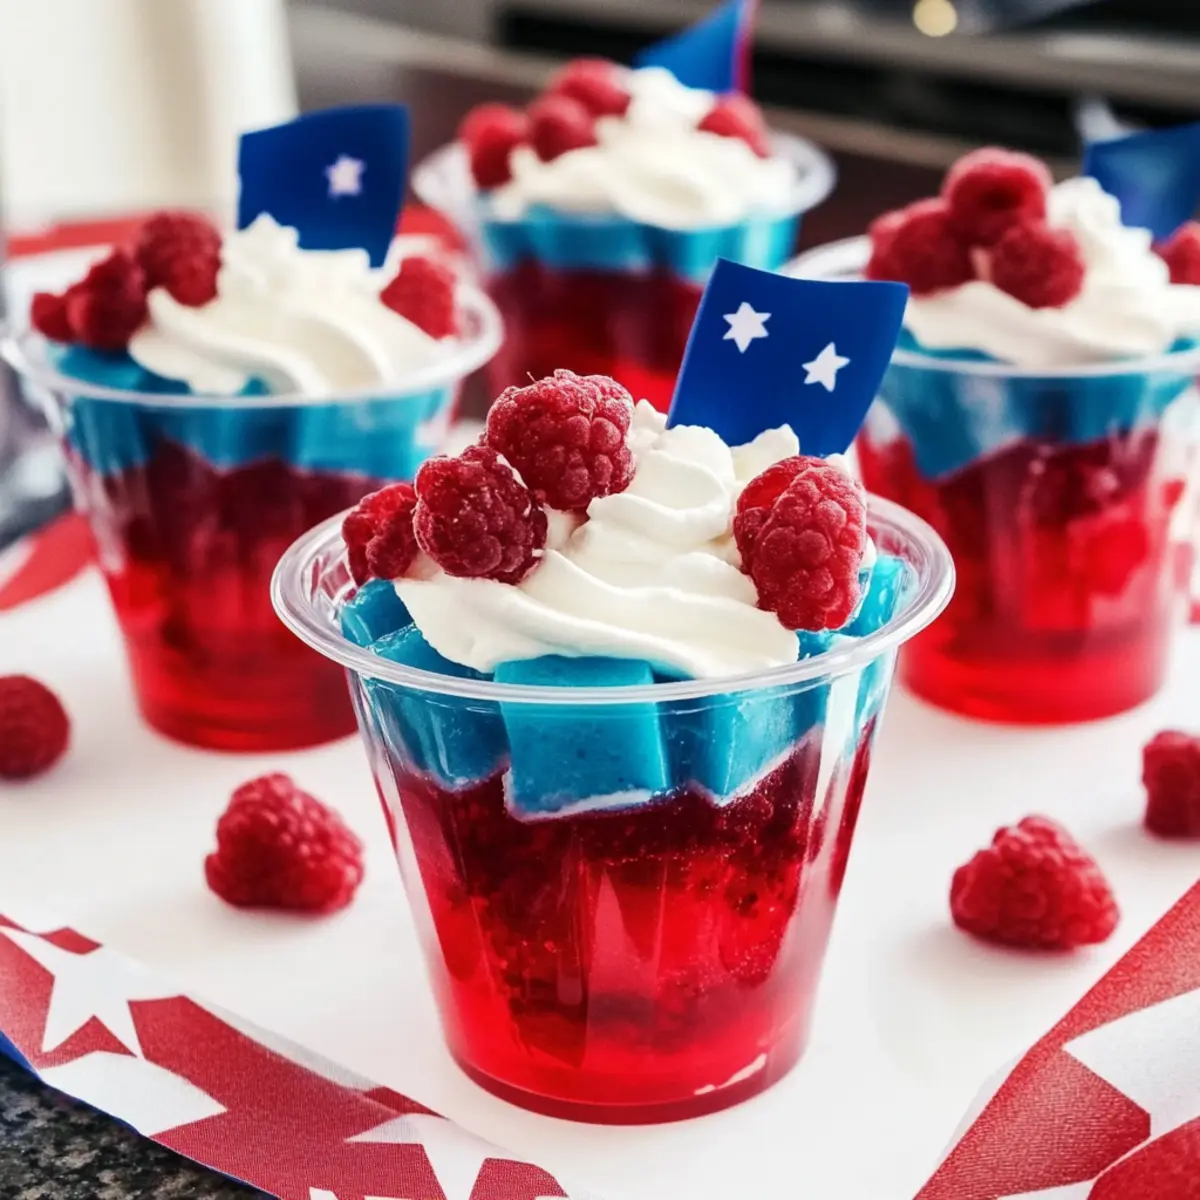
Grab seven clear plastic cups to showcase the layers beautifully. Evenly divide the blue Jello cubes among the cups, filling each one about a third full. This blue foundation will be the first eye-catching layer in your Red, White and Blue Jello Cups, setting the stage for the creamy middle layer.
Step 5: Add Cool Whip
Next, add the Cool Whip to each cup, filling them until they are two-thirds full. Ensure the Cool Whip is fluffy and at room temperature for easy scoopability. This creamy layer will contrast nicely with the firm fruity layers, making each bite of your Red, White and Blue Jello Cups delightful.
Step 6: Top with the Red Layer
Finally, fill each cup with the raspberry Jello cubes until they are completely full. Gently press down if necessary to pack them in nicely. This colorful layering creates a festive appeal, making your Red, White and Blue Jello Cups a vibrant centerpiece for your summer gatherings.
Step 7: Chill and Garnish
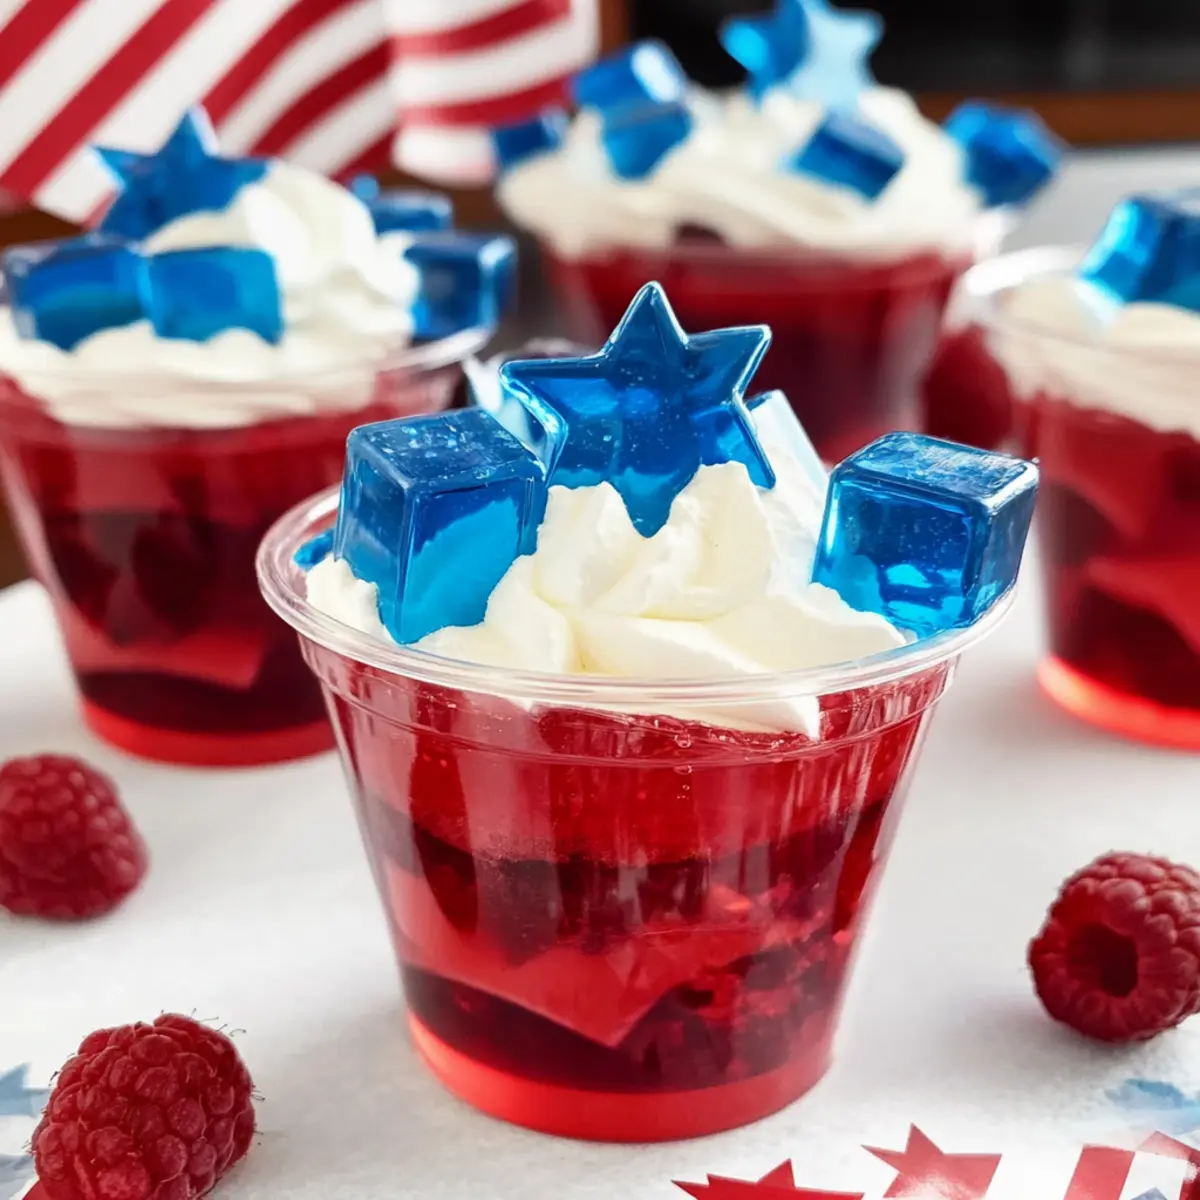
Place the completed cups back in the refrigerator for at least 30 minutes to allow everything to set together nicely. Once ready to serve, consider garnishing with festive elements like star-shaped sprinkles or fresh berries to enhance the celebrating spirit of your Red, White and Blue Jello Cups!
Expert Tips for Red, White and Blue Jello Cups
• Complete Set Time: Allow each jelly layer to set completely before adding the next. This prevents colors from blending and keeps the layers distinct.
• Use Clear Cups: Opt for clear cups to showcase the vibrant layers. This makes your Red, White and Blue Jello Cups even more visually appealing!
• Easy Cool Whip Scoop: Let Cool Whip sit at room temperature for a few minutes before adding it to the cups. This little trick makes scooping smooth and easy.
• Mix Up Flavors: Feel free to switch out the Jello flavors for your favorite combinations. Just remember to keep the color scheme in mind for that festive look!
• Garnish for Flair: Consider adding fresh berries or colorful sprinkles on top for a delightful finish. It enhances the aesthetic and adds a bit of fun to your Red, White and Blue Jello Cups!
Red, White and Blue Jello Cups Variations
Feel free to get creative and personalize your Jello Cups to suit your taste or the occasion!
-
Flavor Swap: Substitute orange or grape Jello for a fun twist on flavors. Perfect for fall festivities or any gathering!
-
Dairy-Free Delight: Use whipped coconut cream instead of Cool Whip for a delicious dairy-free option that still maintains that creamy texture.
-
Add Fresh Fruit: Layer in some fresh blueberries or raspberries between the Jello and Cool Whip for an extra burst of flavor and texture.
-
Alcohol-Infused: For the adults, add a splash of vodka or a liqueur to the Jello before it sets for a grown-up version of these festive treats.
-
Mini Jello Cups: Create bite-sized versions by using mini plastic cups for a fun, appetizer-style presentation at gatherings, perfect for mingling!
-
Layered Parfaits: Instead of cubes, alternate spoonfuls of Jello and Cool Whip in a tall glass for a beautiful parfait presentation. It’s stunning and adds a delightful texture.
-
Spicy Kick: Add a pinch of cayenne pepper to the melted Jello for a surprising kick, then serve alongside a sweet dessert, like my Ghoul Gheroni Cheese, for flavor comedy!
-
Nutty Crunch: Consider topping your Jello Cups with crushed nuts or granola for added crunch and a different flavor profile at your next BBQ!
Feel free to experiment with these variations to make your Red, White, and Blue Jello Cups truly your own!
What to Serve with Red, White, and Blue Jello Cups
Pair your festive Jello Cups with these delightful accompaniments to enhance your summer gatherings.
-
Fresh Fruit Salad: A colorful mix of seasonal fruits complements the sweetness of the Jello, adding a refreshing crunch with every bite.
-
Grilled BBQ Chicken: The smoky flavor of grilled chicken balances the sweet layers beautifully, creating a satisfying contrast that your guests will love.
-
Crispy Potato Wedges: Seasoned, crunchy potato wedges provide a hearty texture that makes your dessert feel even more indulgent.
-
Patriotic Punch: A refreshing drink made with lemonade and blue sports drink reflects the Jello colors while keeping everyone hydrated.
-
Vanilla Ice Cream: Creamy vanilla ice cream pairs perfectly with the fruity Jello, adding a luxurious creaminess that elevates the dessert experience.
-
Cool Mint Sprigs: A few sprigs of fresh mint act as a light garnish and offer a burst of refreshing flavor that enhances the festive aesthetic.
-
Chocolate-Covered Strawberries: These sweet treats add an elegant touch to your party and deliciously balance the fruity Jello Cups with rich chocolate.
How to Store and Freeze Red, White and Blue Jello Cups
Fridge: Store Jello Cups in the refrigerator, covered with plastic wrap, for up to 3 days to maintain freshness and texture.
Freezer: It’s best not to freeze these cups, as freezing can alter the texture of Jello and Cool Whip, leading to a less desirable consistency upon thawing.
Make-Ahead: You can assemble the Red, White and Blue Jello Cups a day in advance; just keep them well-covered in the fridge until it’s time to serve.
Reheating: No reheating is necessary; simply enjoy them chilled straight from the fridge for a refreshing treat!
Make Ahead Options
These delightful Red, White, and Blue Jello Cups are perfect for meal prep, saving you time on busy days! You can prepare the blue and red Jello layers up to 24 hours in advance; just ensure they are completely set and stored in the refrigerator. For the assembly, layer the Jello cubes and Cool Whip just a few hours before serving to maintain the fresh texture. The Cool Whip should be added last to prevent it from being too soft before serving. Rest assured, these Jello Cups will be just as delicious and visually stunning, making it easier for you to enjoy time with family and friends!
Red, White and Blue Jello Cups Recipe FAQs
How do I select the best Jello flavors for these cups?
Absolutely! When choosing Jello flavors, opt for vibrant colors that complement each other. Berry Blue and Raspberry are classic choices that not only match the festive theme, but also offer a delicious fruity combination. If you’re feeling adventurous, consider orange or lime for the layers while ensuring you’re still adhering to the red, white, and blue color palette.
What is the best way to store Red, White and Blue Jello Cups?
For optimal freshness, store your Jello Cups in the refrigerator, covered with plastic wrap or a lid. They can stay deliciously fresh for up to 3 days. Keeping them well-covered will help maintain the texture and prevent any flavors from absorbing unwanted odors.
Can I freeze these Jello Cups?
It’s best not to freeze your Red, White and Blue Jello Cups. Freezing can change the texture of both Jello and Cool Whip, resulting in a less appealing consistency when thawed. Instead, prepare them a day ahead and chill them in the fridge for easy serving!
What if my Jello layers don’t set properly?
Very! If your Jello layers seem to be taking longer to set, make sure you’re giving them enough time—usually about 1-2 hours is ideal. If they still seem off, try checking that you’re using the correct ratio of water to powder based on package instructions. If all else fails, remember that you can always remelt and try setting them again!
Are these Jello Cups suitable for dietary restrictions?
Yes! This recipe is vegetarian-friendly, and you can substitute the Cool Whip with whipped coconut cream for a dairy-free option. Just be cautious about any allergies to specific Jello brands, as some contain allergens. Always check the packaging for detailed ingredient information before serving to ensure everyone can enjoy this festive treat.
Colorful Red, White and Blue Jello Cups for Summer Fun
Ingredients
Equipment
Method
- Dissolve Berry Blue Jello in 2 cups of boiling water, stir until fully dissolved, cool for 10 minutes, and refrigerate for 1-2 hours until firm.
- Prepare Raspberry Jello by mixing with 2 cups of boiling water, and refrigerate after cooling for 10 minutes until firm.
- Cut both Jello layers into 1-inch cubes for layering.
- Divide blue Jello cubes among 7 cups, filling each about a third full.
- Add Cool Whip to each cup until two-thirds full.
- Top each cup with raspberry Jello cubes, packing them in tightly.
- Refrigerate the cups for at least 30 minutes before serving.
Leave a Reply