
As I stood in my kitchen, the sizzling sound of hot oil bubbling away instantly transported me back to my favorite fast-food haunt. However, instead of the drive-thru, I was crafting something even better: Crispy Homemade Waffle Fries that rival those beloved Chick-fil-A style fries! These delightful morsels not only bring the crunch but also include a gluten-free twist, making them perfect for everyone at the table. With simple ingredients and a quick prep time of just over an hour, they’re a fantastic way to ditch the fast food routine and treat yourself to a satisfying snack or side dish. Now, who’s ready to explore the magic of homemade fries that can easily turn any meal into a crispy celebration?
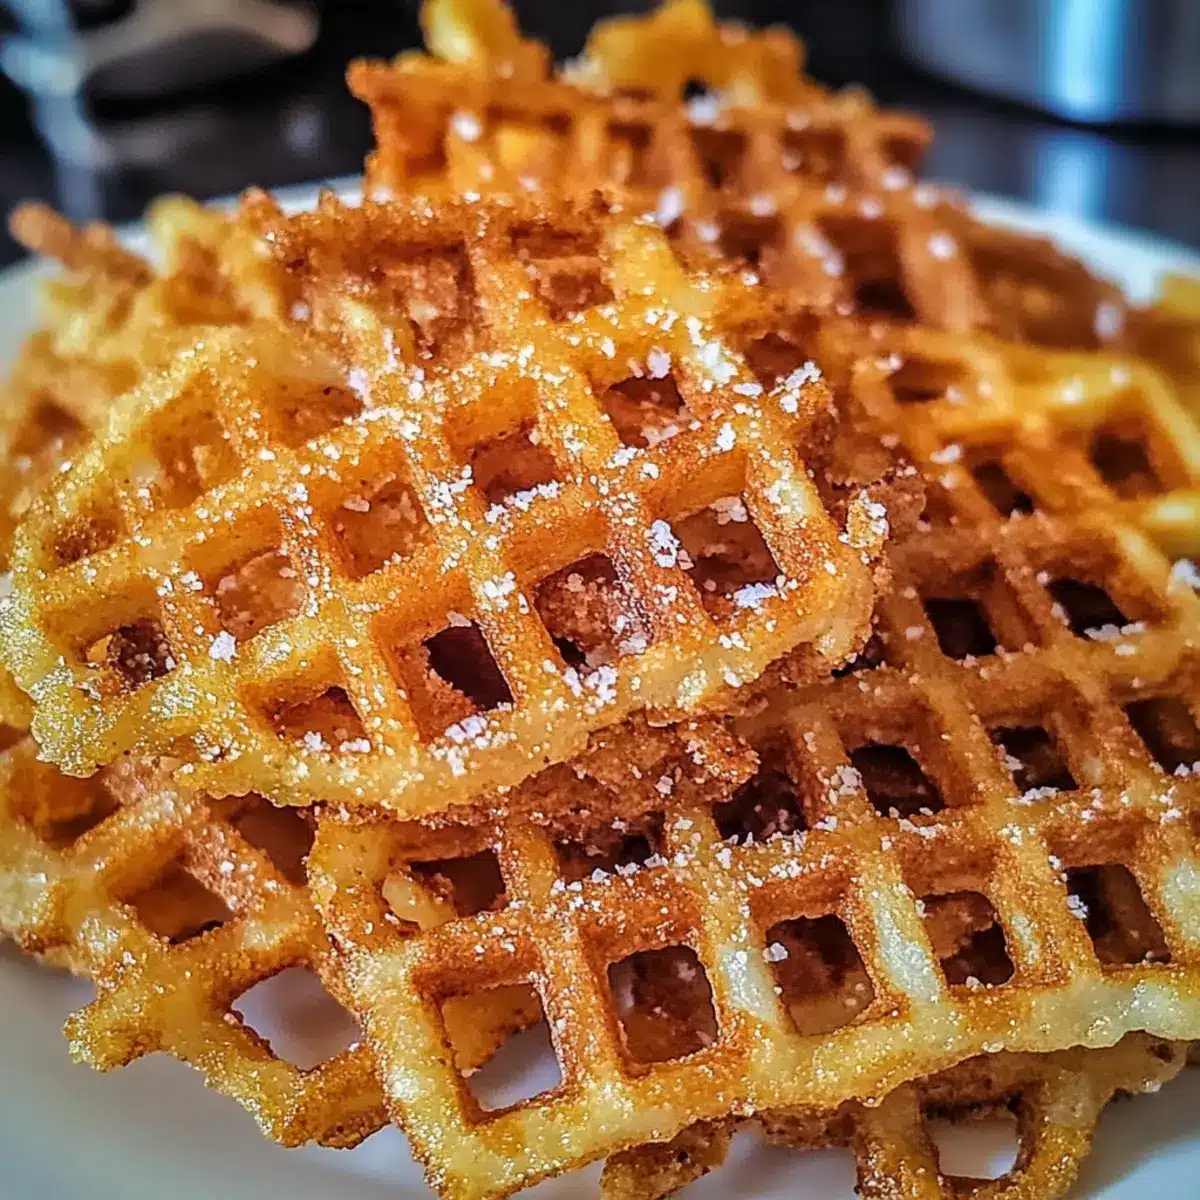
Why Are These Waffle Fries Irresistible?
Crispy Texture: The double frying technique guarantees that every bite is the perfect balance of crunch and softness.
Gluten-Free Option: Using rice flour means everyone can enjoy these tasty treats without worry.
Quick Preparation: Just over an hour is all it takes to whip up a batch that’s sure to impress.
Crowd-Pleaser: Whether for a casual family dinner or a party, these fries are a guaranteed hit with guests.
Looking for more delicious homemade options? Try pairing them with Homemade Pumpkin Milk or serving as a side with Pistachio Ice Cream for a delightful treat.
Homemade Waffle Fries Ingredients
• Get ready to fry up deliciousness!
For the Fries
- Large russet potatoes – Essential for crispy texture and flavor; select firm potatoes without blemishes.
- Cold water – Helps soak out excess starch, which is crucial for achieving that desired crispiness.
- White vinegar – Aids in maintaining crispiness during soaking; it enhances the fry’s crunchiness.
For the Coating
- Rice flour – Key for that perfect crunchy coating; easily a gluten-free option. Substitute with a gluten-free blend if needed.
- Modified food starch – Provides a light and crisp crust; cornstarch can be used in its place as well.
- Dextrin/Dextrose (optional) – Adds to the crunch; feel free to omit if it’s unavailable.
- Xanthan gum – Ensures the batter sticks well to the fries for an amazing texture.
- Baking powder – Contributes to a lighter, fluffier batter that’s divine.
- Fine salt – Enhances the overall flavor of your homemade waffle fries.
For Frying
- Canola oil – Ideal for frying; it mimics the beloved flavor profile of Chick-fil-A’s fries.
- Flaky sea salt – Perfect for sprinkling on hot fries to add an extra burst of flavor.
Get ready to indulge in the joy of crispy homemade waffle fries that will satisfy your cravings!
Step‑by‑Step Instructions for Crispy Chick-fil-A Style Waffle Fries
Step 1: Slice Potatoes
Start by scrubbing and peeling your large russet potatoes, if you prefer them without skin. Using a waffle cutter, slice them into ¼-inch thick waffle shapes to ensure even cooking. Arrange the slices on a clean surface, making sure they’re ready for soaking in water, which helps enhance the crispiness of your homemade waffle fries.
Step 2: Soak Fries
Place the sliced fries in a large bowl filled with cold water and add a splash of white vinegar. Allow them to soak for anywhere between 30 minutes to 2 hours. This soaking process removes excess starch, ensuring each fry becomes wonderfully crispy once fried. Keep an eye on the time, as longer soaking equals crisper results!
Step 3: Prepare Coating
In a mixing bowl, combine the rice flour, modified food starch, optional dextrin, xanthan gum, baking powder, and fine salt. Whisk in enough cold water to reach a smooth batter consistency. This coating is the secret to achieving that delightful crunch on your crispy homemade waffle fries, so make it nice and smooth.
Step 4: Dry Fries
Once soaking is complete, drain the fries and pat them dry thoroughly with paper towels. It’s crucial to remove as much moisture as possible to achieve maximum crispiness when frying. Make sure each piece is dried well; wet fries can result in soggy waffle fries instead of the crispy treats you desire.
Step 5: Coat Fries
Toss the dried fries in your prepared batter until they are evenly coated. Make sure each fry is generously covered, but allow excess batter to drip off back into the bowl. This step is vital for creating a thin, crispy layer on your homemade waffle fries, which will yield that perfect crunch.
Step 6: Heat Oil
In a deep pot, heat enough canola oil to fully submerge the fries, bringing it to a temperature of 325°F (165°C). Use a kitchen thermometer to monitor the temperature closely, ensuring the oil is hot enough for frying. This temperature is essential for that first fry, leading to tender fries without browning too much.
Step 7: First Fry
Carefully add the battered fries in batches to the hot oil, frying them for about 3 to 4 minutes. You’re looking for them to be tender but not browned at this stage; they will puff up slightly. Once cooked, remove them and drain on a wire rack to keep them crisp, avoiding sogginess.
Step 8: Rest Fries
Let the fries rest for 10 minutes after the first fry. This resting period allows moisture to escape, setting the stage for that ultimate texture you’re aiming for with your homemade waffle fries. Trust the process; it’s worth the wait for that additional crispiness!
Step 9: Second Fry
Increase the oil temperature to 375°F (190°C) before frying the rested fries in batches once more. Cook them for an additional 2 to 3 minutes until they transform into a beautiful golden-brown color and achieve that irresistible crunch. Keep a watchful eye during this stage for optimal crispiness.
Step 10: Season and Serve
As soon as your crispy homemade waffle fries are out of the hot oil, sprinkle them with flaky sea salt for an added burst of flavor. Plating them right away ensures maximum enjoyment, accompanied by your favorite dipping sauces. Get ready to savor the delightful taste and texture, a homemade version that rivals the best!

Homemade Waffle Fries Variations
Feel inspired to put your own spin on these flavorful waffle fries with these delightful variations!
-
Herb-Infused:
Add dried herbs like rosemary or thyme to the batter for an aromatic twist. Freshly chopped herbs can create a beautiful aroma and unique flavor, enhancing your homemade fries further! -
Spicy Kick:
Mix in some cayenne pepper or chili powder to the coating for a zesty crunch. This little kick will elevate your waffle fries and awaken your taste buds! -
Cheesy Delight:
Sprinkle grated cheese like parmesan or cheddar over the fries just after they’ve been seasoned. As they cool slightly, the cheese will melt and adhere, creating a toasty, cheesy flavor. -
Alternative Flours:
Use chickpea flour instead of rice flour for a nutty taste. This gluten-free option not only keeps the fries crispy but also adds a tasty twist, perfect for those looking to try something new! -
Vegan Version:
Swap canola oil for vegetable oil and ensure your batter only includes plant-based ingredients. These crispy treats will still shine in flavor while being completely vegan-friendly! -
Sweet Potato Waffle Fries:
Change things up by using sweet potatoes instead of russet potatoes. This adds a naturally sweet flavor and beautiful color to your fries that everyone will love. -
Garlic Powder Infusion:
Adding garlic powder to your dry mixture spices things up and brings a wonderful aroma. Pair with your favorite dipping sauce to complement that garlic goodness. -
Zesty Lemon:
Squeeze fresh lemon juice over hot fries just before serving. This brightens up the flavors and offers a refreshing contrast to the crispy delight.
No matter which creative path you choose, these variations guarantee a memorable fry experience that’s sure to impress everyone at the table! If you enjoy experimenting, you may want to try pairing these flavorful fries with a glass of Homemade Pumpkin Milk or serving them alongside a scoop of Pistachio Ice Cream for a unique meal that satisfies every craving!
Make Ahead Options
Preparing these crispy homemade waffle fries ahead of time is a real game-changer for busy weeknights! You can slice and soak the russet potatoes up to 24 hours in advance, simply immersing them in cold water with white vinegar to keep them fresh and crispy. For the batter, combine the dry ingredients in advance and store it in an airtight container. When you’re ready to enjoy your homemade waffle fries, just dry the soaked fries and coat them with the batter before frying. This method ensures they maintain their delicious crunch, allowing you to whip up a satisfying snack or side dish with minimal fuss!
What to Serve with Crispy Homemade Waffle Fries
Elevate your homemade waffle fries experience by pairing them with delicious complements that bring out their crunch and flavor!
- Creamy Dipping Sauces: Rich options like homemade ranch or zesty chipotle mayo enhance the fries’ savoriness with every bite.
- Juicy Grilled Chicken: A flavorful grilled chicken breast offers a hearty contrast to the crispy fries and makes for a satisfying meal.
- Fresh Garden Salad: A light, crunchy salad with cucumbers and tomatoes balances the richness of the fries and adds a refreshing bite.
- Classic Hamburger: Serve alongside a juicy burger to create the ultimate comfort food combination, perfect for gatherings.
- Tasty Sliders: Mini sliders filled with your choice of meat or veggies are delightful alongside waffle fries, making them a great finger food combo.
- Savory Chili: A bowl of chili with spices and beans warms up the meal, and the fries can be dipped right into the rich sauce.
- Cold Beverages: Pair with a fizzy soda or a light beer that complements the saltiness while offering a refreshing lift.
- Chocolate Milkshake: Indulge your sweet tooth with a thick chocolate milkshake that pairs wonderfully with the crunch of the fries.
Tips for the Best Homemade Waffle Fries
- Uniform Slicing: Cut your potatoes evenly to ensure all fries cook at the same rate, preventing some from being undercooked while others are overdone.
- Soaking Time: Don’t rush the soaking process; letting the fries sit for up to 2 hours in cold water with vinegar significantly enhances their crispiness, making them the best homemade waffle fries.
- Pat Dry Thoroughly: After soaking, make sure to dry the fries completely with paper towels. Excess moisture can lead to soggy fries, ruining that coveted crunch.
- Monitor Oil Temperature: Always use a kitchen thermometer to check oil temperature while frying. This helps achieve that perfect golden color and crisp texture without burning.
- Double Fry for Perfection: Follow the two-step frying technique: fry first at 325°F for tenderness, then at 375°F for a crispy finish. This method is key to achieving heavenly waffle fries!
How to Store and Freeze Homemade Waffle Fries
Fridge: Store leftover homemade waffle fries in an airtight container for up to 3 days; they can be enjoyed again but may lose some crispiness.
Freezer: For longer storage, freeze your waffle fries in a single layer on a baking sheet for a few hours, then transfer to a zip-top bag, where they can last for up to 2 months.
Reheating: To restore crunch, reheat from frozen in an air fryer at 400°F for about 3-5 minutes or until crispy. You can also use an oven, placing them on a baking sheet to maintain the texture.
Serving Suggestion: Once reheated, sprinkle with flaky sea salt for an added flavor boost and dive back into your homemade waffle fries!
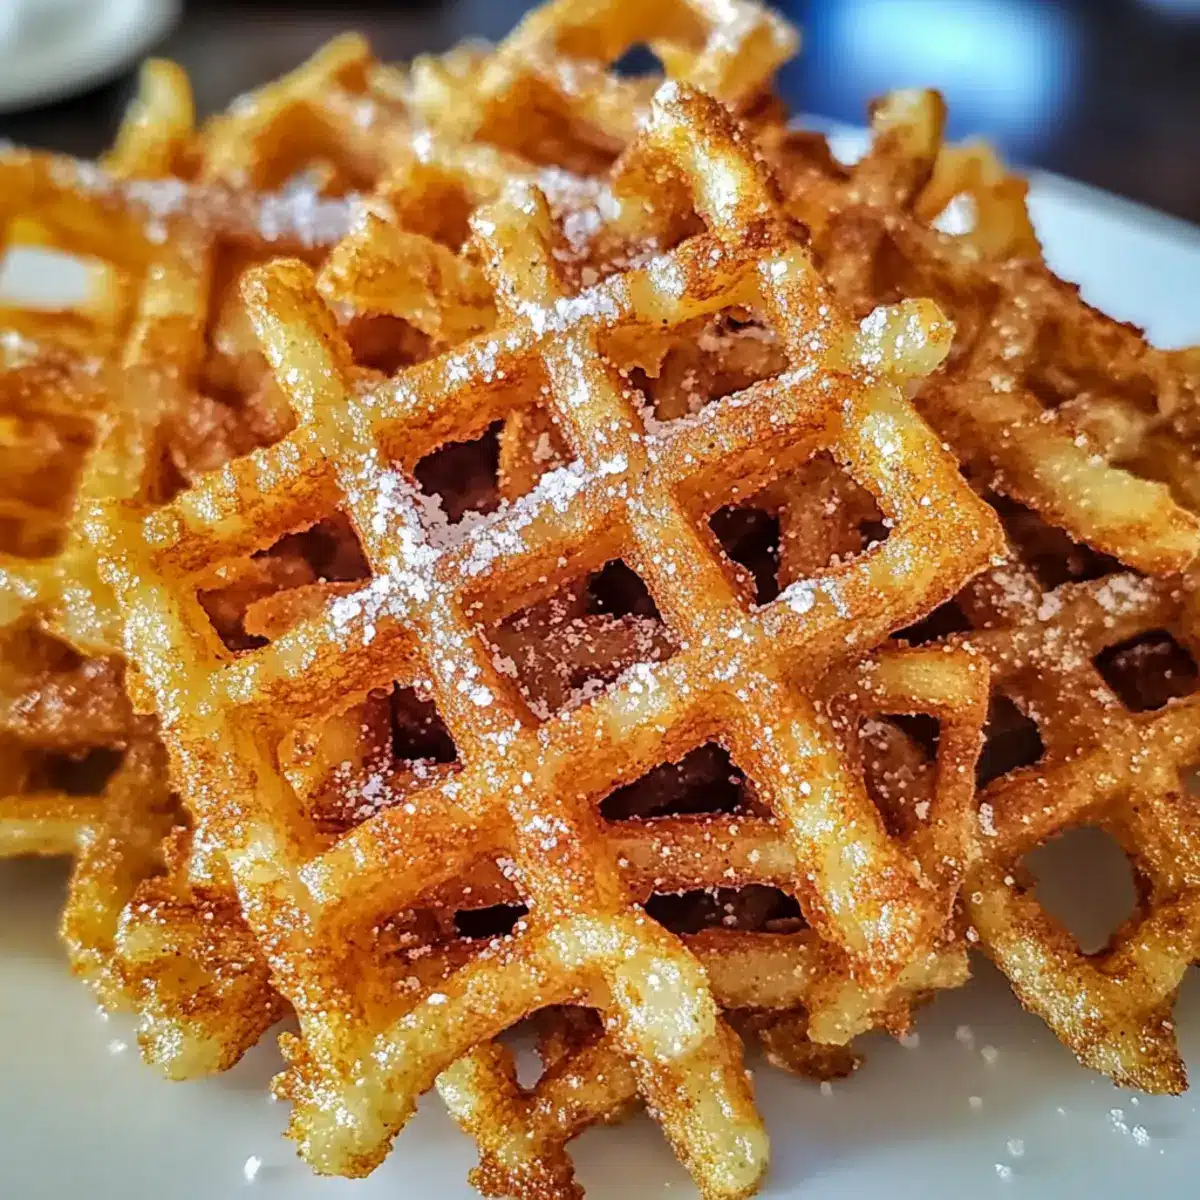
Crispy Chick-fil-A Style Waffle Fries Recipe FAQs
How can I select the perfect potatoes for making waffle fries?
Absolutely! When choosing large russet potatoes, look for ones that are firm and smooth, with no dark spots or blemishes. These attributes ensure a creamy, fluffy interior, which is crucial for achieving the ideal crispy texture in your homemade waffle fries.
How should I store leftover waffle fries?
To savor your delicious homemade waffle fries later, store them in an airtight container in the fridge for up to 3 days. If you prefer to keep them longer, you can freeze them. Just place the cooked fries in a single layer on a baking sheet for a few hours, then transfer to a zip-top bag. They can last up to 2 months in the freezer while maintaining their delightful crunch!
What’s the best way to reheat frozen waffle fries?
To restore your waffle fries to their crispy glory, reheat them directly from frozen in an air fryer set at 400°F for about 3-5 minutes. For an oven method, spread them out on a baking sheet and heat at 400°F until they get crispy again. This technique revives their crunchiness beautifully, just like when they were freshly made!
Why aren’t my waffle fries crispy, and how can I fix them?
Very! If your fries aren’t turning out crispy, the culprits might be excess moisture or not using the double-fry method. Be sure to soak your potatoes adequately and dry them thoroughly before adding coating. The double fry is essential: first fry at a lower temperature (325°F) to cook through, let them rest, and then fry again at a higher temperature (375°F) for that ultimate crunch!
Can I make these waffle fries gluten-free?
For sure! Using rice flour as the coating for these waffle fries makes them gluten-free and delicious. You can also substitute it with a gluten-free blend without compromising that satisfying crunch everyone loves. Enjoy these fries with peace of mind, knowing they fit your dietary needs while being incredibly tasty!
Can I feed leftover waffle fries to my pet?
It’s best to avoid sharing waffle fries with your pets. While potatoes are generally safe for dogs in moderation, the seasonings, oil, and potential additives in your homemade fries can cause digestive upset. It’s always wise to stick to pet-safe foods and enjoy your crispy homemade waffle fries all to yourself!

Crispy Homemade Waffle Fries to Satisfy Your Cravings
Ingredients
Equipment
Method
- Start by scrubbing and peeling your large russet potatoes. Using a waffle cutter, slice them into ¼-inch thick waffle shapes.
- Place the sliced fries in a large bowl filled with cold water and add a splash of white vinegar. Allow them to soak for 30 minutes to 2 hours.
- In a mixing bowl, combine the rice flour, modified food starch, optional dextrin, xanthan gum, baking powder, and fine salt. Whisk in enough cold water to reach a smooth batter consistency.
- Once soaking is complete, drain the fries and pat them dry thoroughly with paper towels.
- Toss the dried fries in your prepared batter until they are evenly coated and allow excess batter to drip off.
- In a deep pot, heat enough canola oil to fully submerge the fries, bringing it to a temperature of 325°F (165°C).
- Carefully add the battered fries to the hot oil, frying them for about 3 to 4 minutes until tender but not browned.
- Let the fries rest for 10 minutes after the first fry to allow moisture to escape.
- Increase the oil temperature to 375°F (190°C) and fry the rested fries for an additional 2 to 3 minutes until golden-brown.
- Sprinkle the fries with flaky sea salt immediately after frying and serve with your favorite dipping sauces.
Leave a Reply