
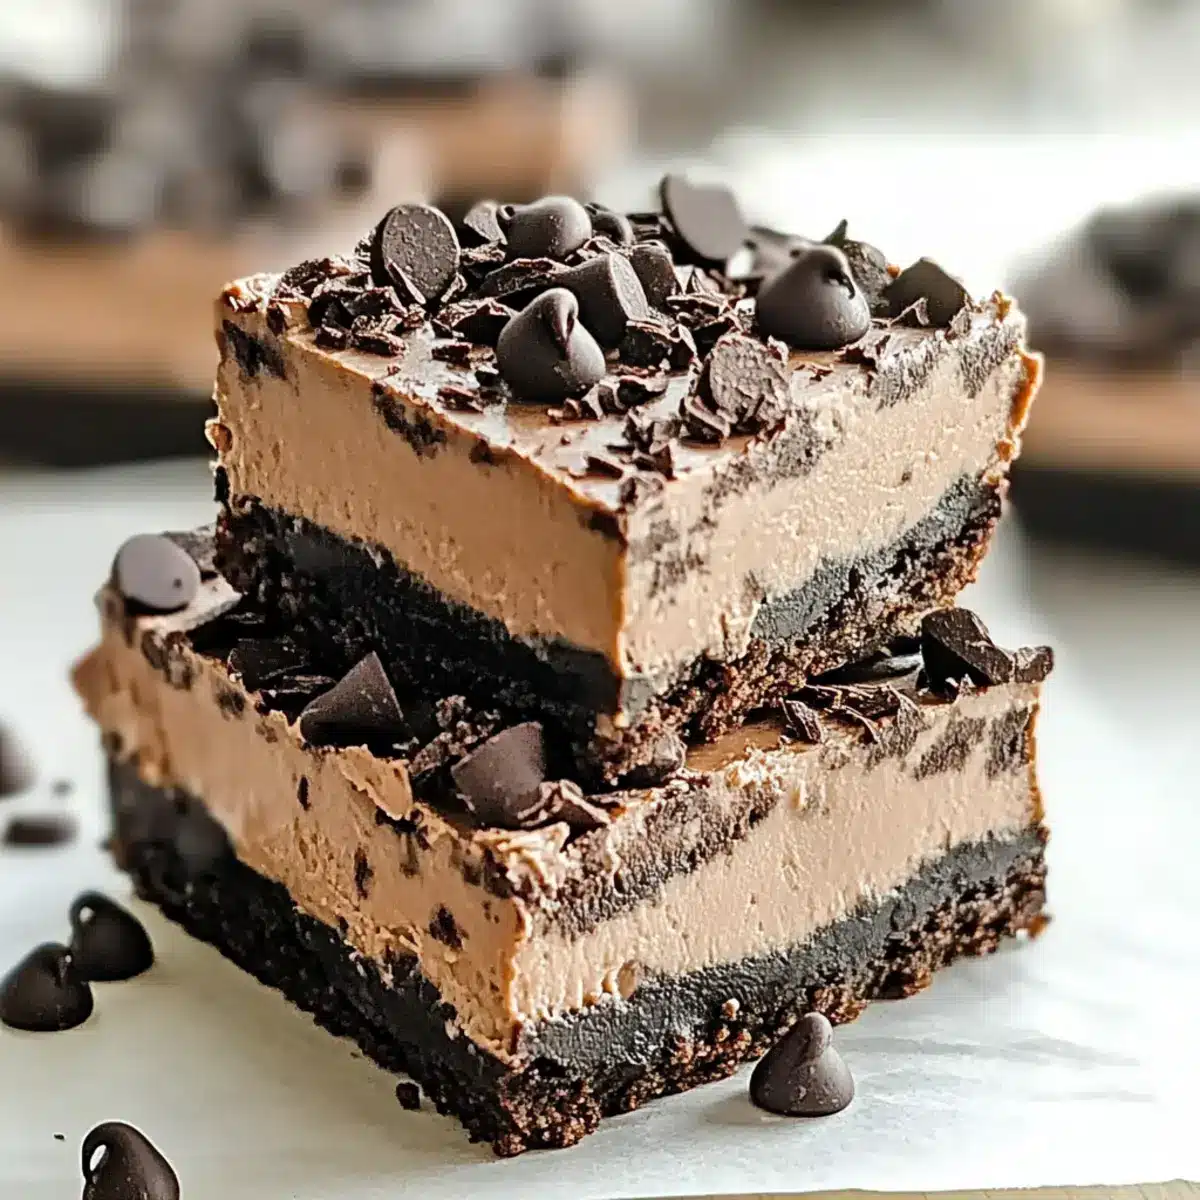
As the summer heat sets in, the last thing you want is to be sweating over a hot stove. Enter these luscious Chocolate No Bake Cheesecake Bars—where indulgence meets ease! With just a 10-minute prep time, this delightful dessert lets you savor chocolate richness without turning up the oven. The creamy filling pairs perfectly with a crunchy Oreo crust, creating a texture that everyone loves. Not only are these bars a quick dessert for gatherings, but they’re also fantastic for meal prepping since they allow the flavors to deepen when made ahead. Imagine pulling them from the fridge, the perfect sweet treat to share with friends on a balmy evening. Ready to dive into a world of sweet possibilities? Let’s get making!
Why are these bars a must-try?
Simplicity reigns supreme with just 10 minutes of prep time required. Indulgent chocolate flavors shine through in every bite, making it a chocoholic’s dream. Customizable variations, like adding hazelnut spread or fresh berries, ensure these bars will suit any palate. Make-ahead convenience means more time to relax and enjoy. Crowd-pleaser status is guaranteed at any gathering, just like these Chewy Chocolate Chip cookies! Your friends and family will love this no-bake delight that’s fresh, creamy, and oh-so-decadent.
Chocolate No Bake Cheesecake Bars Ingredients
Get ready to indulge in a dessert that’s as delicious as it is easy to prepare!
For the Crust
• Oreo Cookies – Provides a sweet, chocolatey crust; can be substituted with chocolate wafer cookies for a different twist.
• Unsalted Butter – Binds the crust together for a perfect crunch; make sure it’s melted for the best results.
For the Filling
• Dark Chocolate – The star of the show, adding rich flavor; avoid using chips and opt for a sturdy chocolate bar for melting.
• Brick-style Cream Cheese – Ensures a creamy texture; full-fat will give you the best consistency and taste.
• Heavy Whipping Cream – Creates a light and fluffy filling; keep it rich by avoiding low-fat alternatives.
• Baileys Irish Cream or Kahlua – Optional but enhances flavor beautifully; can be swapped with brewed coffee for a kick.
• Salt – Just a pinch can enhance the chocolate flavor and balance the sweetness.
For Garnishing
• Mini Semi-Sweet Chocolate Chips – Adds delightful texture and extra sweetness to your finished bars.
Now, gather these ingredients and prepare to impress with your homemade Chocolate No Bake Cheesecake Bars! Enjoy the process, and soon enough, everyone will be asking for seconds!
Step‑by‑Step Instructions for Chocolate No Bake Cheesecake Bars
Step 1: Prepare the Pan
Start by lining a 9×9-inch pan with aluminum foil, leaving an overhang for easy removal later. Lightly spray the foil with cooking spray to prevent sticking. This step ensures your irresistible Chocolate No Bake Cheesecake Bars will come out of the pan smoothly once set.
Step 2: Make the Crust
Crush 24 Oreo cookies into fine crumbs using a food processor or a zip-top bag and a rolling pin. Combine the crumbs in a mixing bowl with melted unsalted butter and dark chocolate until well mixed. This mixture should be crumbly yet hold together when pressed, forming a solid base for your cheesecake bars.
Step 3: Press the Crust
Transfer the crust mixture into the prepared pan and evenly press it down using the back of a measuring cup or your hands. Aim for a firm, even layer across the bottom of the pan, ensuring no gaps remain. This crunch layer is crucial to the overall texture of your Chocolate No Bake Cheesecake Bars.
Step 4: Beat the Cream Cheese
In a large mixing bowl, add softened brick-style cream cheese. Beat it with an electric mixer on medium speed for 2-3 minutes until it becomes light and fluffy. This step is essential for a smooth filling that will elevate your creamy cheesecake bars to new heights of decadence.
Step 5: Melt Chocolate & Cream
In a microwave-safe bowl, combine chopped dark chocolate and heavy whipping cream. Heat in the microwave in 30-second intervals, stirring well each time until the mixture is melted and smooth. Aim for a glossy consistency without any lumps, as this will be incorporated into your cheesecake filling.
Step 6: Combine Mixtures
Allow the melted chocolate mixture to cool for a couple of minutes, then pour it into the bowl of whipped cream cheese. Gently mix until there are no streaks remaining. You can also add optional flavors like Baileys Irish Cream or Kahlua at this point for added richness, combining everything until smooth.
Step 7: Spread Filling
Spoon the creamy filling over the cooled crust in the pan. Using a spatula, spread it evenly, smoothing out the top for a professional finish. This layer of filling will contribute to the luscious texture of your Chocolate No Bake Cheesecake Bars, creating an irresistible treat.
Step 8: Garnish & Chill
Sprinkle mini semi-sweet chocolate chips over the top of the filling, adding to the visual appeal and flavor. Cover the pan with plastic wrap and refrigerate for at least 3 hours, or ideally overnight. A good chilling time allows the flavors to meld and the filling to set properly for perfect slicing.
Step 9: Slice & Serve
Once chilled, remove the bars from the pan using the foil overhang. Place on a cutting board and slice into squares with a sharp knife for neat edges. Serve these delectable Chocolate No Bake Cheesecake Bars chilled for maximum enjoyment, and watch as they delight friends and family alike!
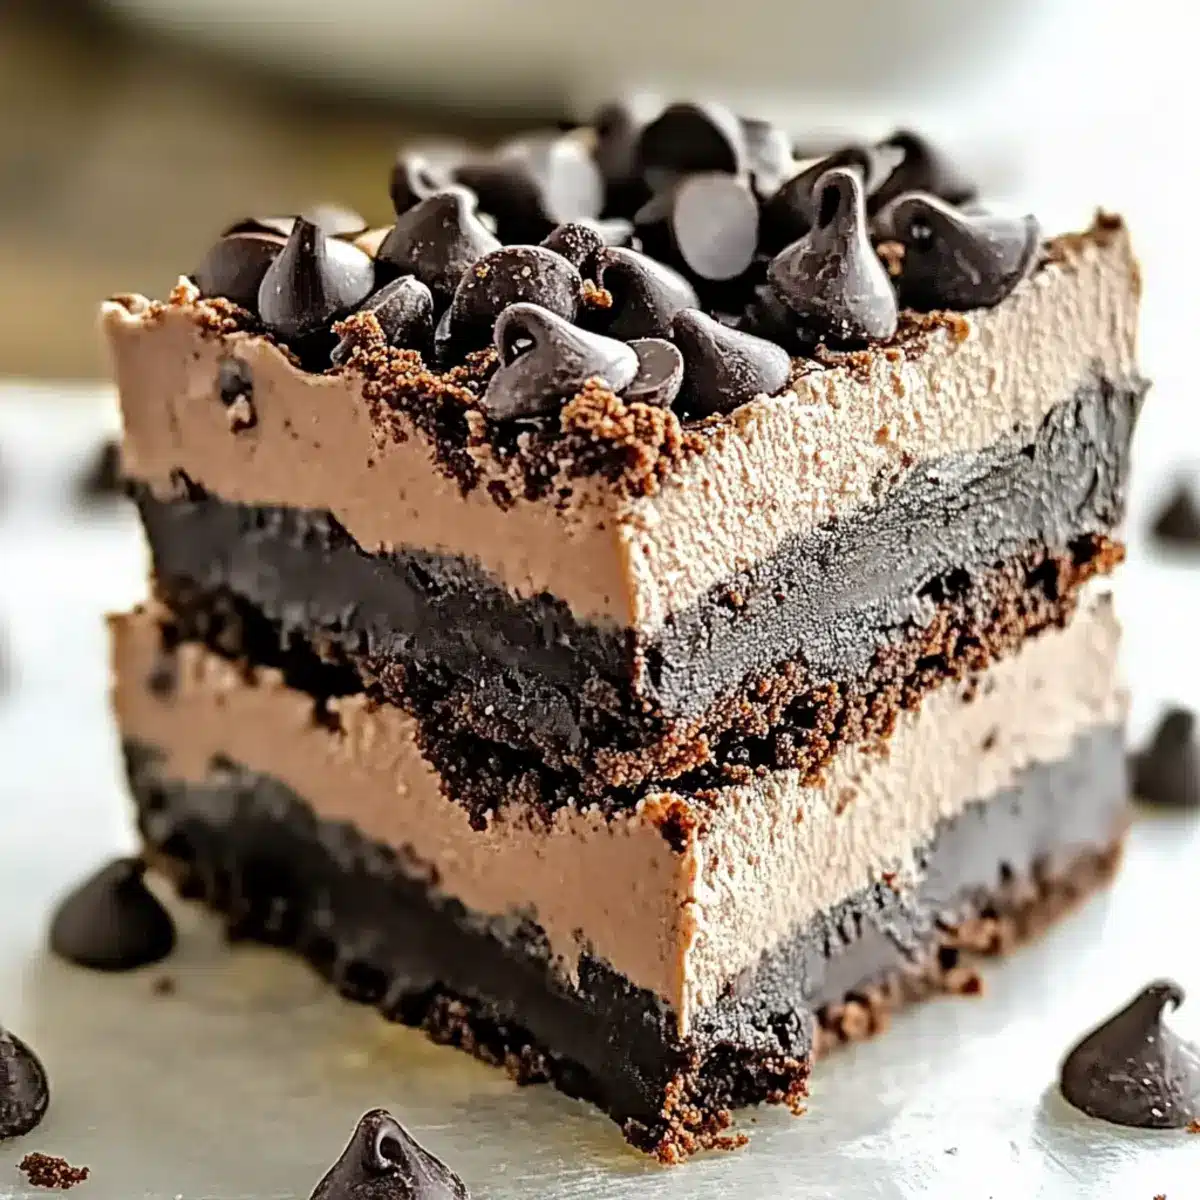
How to Store and Freeze Chocolate No Bake Cheesecake Bars
Fridge: Store your Chocolate No Bake Cheesecake Bars in an airtight container for up to 10 days, ensuring they remain fresh and delightful for each serving.
Freezer: These bars can be frozen for up to 3 months! Wrap them individually or in portions using plastic wrap or aluminum foil, then place them in a freezer-safe container.
Thawing: To enjoy frozen bars, simply transfer them from the freezer to the fridge and allow them to thaw overnight before serving. This gentle method preserves their creamy texture.
Reheating: There’s no need to reheat these bars! Enjoy them chilled right from the fridge for a refreshing treat that’s perfect for any occasion.
Make Ahead Options
These Chocolate No Bake Cheesecake Bars are a dream for meal prep! You can make the crust (crushed Oreo cookies and melted butter) up to 24 hours in advance and store it in the pan, covered with plastic wrap. The creamy filling can also be prepared in advance, ready to be spread over the crust up to 3 days ahead of serving. Just remember to chill the bars for at least 3 hours, or preferably overnight, to allow the flavors to meld beautifully. For the best quality, keep them refrigerated and cover tightly to prevent drying out. When it’s time to serve, simply lift them from the pan using the foil overhang, slice, and delight in the rich chocolaty goodness!
What to Serve with Chocolate No Bake Cheesecake Bars
These indulgent treats call for delightful companions that elevate the experience and add balance to their rich flavors.
-
Fresh Berries: Strawberries, raspberries, or blueberries bring a burst of tartness that contrasts beautifully with the sweetness of the bars. Their vibrant colors also lend a refreshing touch to your dessert plate.
-
Whipped Cream: A dollop of freshly whipped cream adds a light, airy texture that enhances each decadent bite. It’s like a soft pillow for your cheesecake bars, making each forkful a little slice of heaven.
-
Espresso or Coffee: A warm cup of rich espresso or a steaming mug of coffee complements the chocolate’s depth while offering a wonderful contrast to the creamy sweetness. Perfect for elevating your dessert experience!
-
Chocolate Drizzle: A drizzle of melted chocolate on top not only enhances the visual appeal but intensifies the chocolate richness, creating a luxurious finish to your bars.
-
Chocolate Ice Cream: Scoops of chocolate ice cream make for a delightful combination, adding a different texture and serving as a cool contrast to the creamy cheesecake bars.
-
Caramel Sauce: Swirls of caramel sauce introduce a delightful sweetness that beautifully offsets the rich chocolate. Drizzle some on top or serve it on the side for added indulgence.
-
Nutty Topping: Chopped nuts, such as hazelnuts or pecans, provide a pleasant crunch, enhancing flavors while contributing to the texture of your dessert experience.
Expert Tips for Chocolate No Bake Cheesecake Bars
• Chill Time Matters: Allow the bars to chill for at least three hours, but overnight is best for flavors to meld and achieve the right texture.
• Quality Ingredients: Use high-quality dark chocolate for the filling to ensure a rich and satisfying flavor that elevates your Chocolate No Bake Cheesecake Bars.
• Avoid Overmixing: When combining the melted chocolate with cream cheese, mix just until smooth. Overmixing can make the filling lose its light texture.
• Texture Check: If the filling seems too soft after combining, check the chilling time. Adding more cream cheese can also help achieve the right density.
• Garnish Wisely: Don’t skimp on toppings! Mini chocolate chips add texture and sweetness, enhancing the delightful presentation of your bars.
Chocolate No Bake Cheesecake Bars Variations
Feel free to bring your creativity into the kitchen by customizing these delightful bars to suit your palate!
-
Graham Cracker Crust: Swap the Oreo crust for a graham cracker base, mixed with cocoa powder for a classic touch. It adds a slight crunch with a different flavor profile.
-
Nutty Twist: Add a delicious layer of hazelnut spread instead of Baileys or Kahlua. This subtle change introduces a unique flavor that complements the chocolate.
-
Flavor Infusions: Try incorporating extracts like vanilla or almond in the filling. These flavors add depth and richness, making each bite even more enticing.
-
Different Chocolate Types: Experiment with semi-sweet or milk chocolate for varying sweetness and flavor dynamics. Each type offers a new experience, which can be a fun twist if you’re feeling adventurous.
-
Caramel Drizzle: Top the bars with a decadent drizzle of caramel sauce for an extra layer of sweetness. It’s a sure crowd-pleaser!
-
Spicy Kick: A pinch of cayenne pepper can create a surprising warmth that cuts through the chocolate richness. If you love a little heat, this variation will delight your taste buds!
-
Fruit Enhancement: Fresh berries like raspberries or strawberries on top add a pop of color and acidity, enhancing the dessert experience. You can’t go wrong with a bit of freshness!
-
Mini Cupcake Version: Bake individual servings using muffin tins. These bite-sized delights offer convenience and make for an adorable presentation at parties.
If you love the chocolatey richness in these bars, you might also enjoy our Decadent Chocolate Strawberry Overnight Oats for breakfast or a Chocolate Raspberry Cheesecake for special occasions!
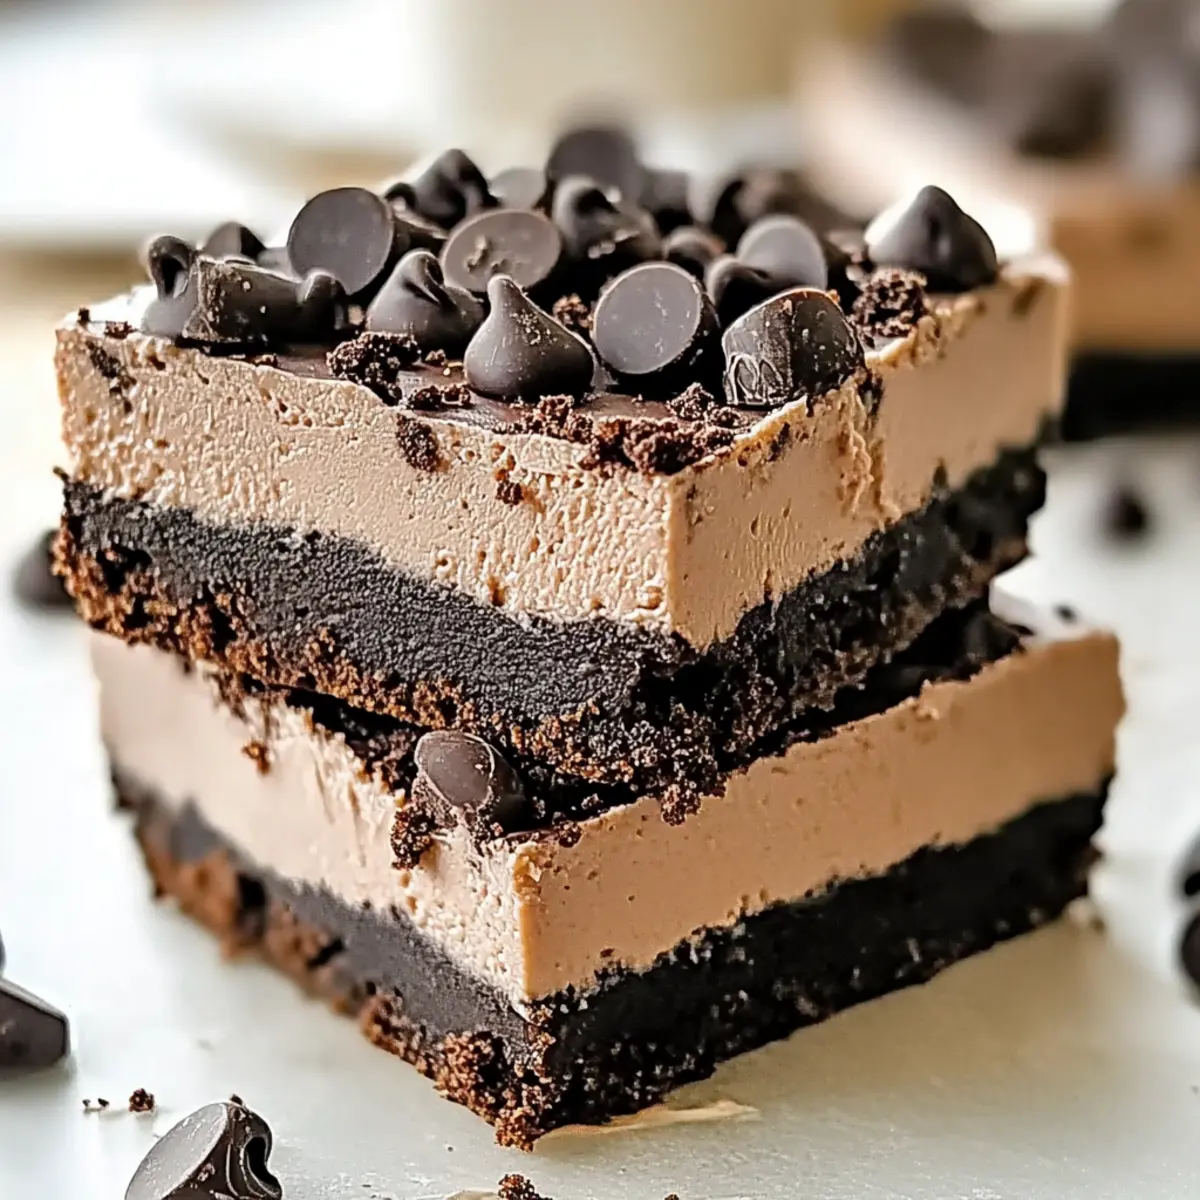
Chocolate No Bake Cheesecake Bars Recipe FAQs
What type of chocolate should I use for the filling?
I recommend using high-quality dark chocolate bars rather than chocolate chips, as they melt smoother and provide a richer flavor. Look for a chocolate bar with at least 60% cocoa content for that indulgent, chocolate-rich taste in your Chocolate No Bake Cheesecake Bars.
How should I store the cheesecake bars?
For optimal freshness, store your Chocolate No Bake Cheesecake Bars in an airtight container in the fridge for up to 10 days. If you want to keep them longer, they can be frozen for up to 3 months, wrapped individually or in portions with plastic wrap and then placed in a freezer-safe container.
Can I freeze these cheesecake bars?
Absolutely! To freeze your Chocolate No Bake Cheesecake Bars, wrap them tightly in plastic wrap or aluminum foil, and place them in a freezer-safe container. When you’re ready to enjoy them, just transfer the bars to the fridge and let them thaw overnight—this way, they retain their creamy texture and flavor.
What can I do if my filling is too soft?
If you find that your cheesecake filling is too soft, don’t worry! Ensure you’ve chilled the bars for ample time—at least 3 hours, but overnight is best. If it still doesn’t set, try adding a little more cream cheese to thicken it, and re-chill until it firms up.
Are there any dietary adaptations for the cheesecake bars?
Certainly! For a gluten-free option, substitute the Oreo cookies with gluten-free chocolate wafers. If you’re looking for a dairy-free alternative, consider using a plant-based cream cheese and coconut cream for the filling. Always check the ingredient lists to cater to allergies and dietary needs!
How can I customize the flavors of these cheesecake bars?
The beauty of these Chocolate No Bake Cheesecake Bars lies in their versatility! You can mix in different flavoring extracts like vanilla or almond for an extra layer of flavor. Additionally, swap out the Baileys Irish Cream or Kahlua for brewed coffee or your favorite liqueur to enhance the creamy filling. Let your creativity shine!
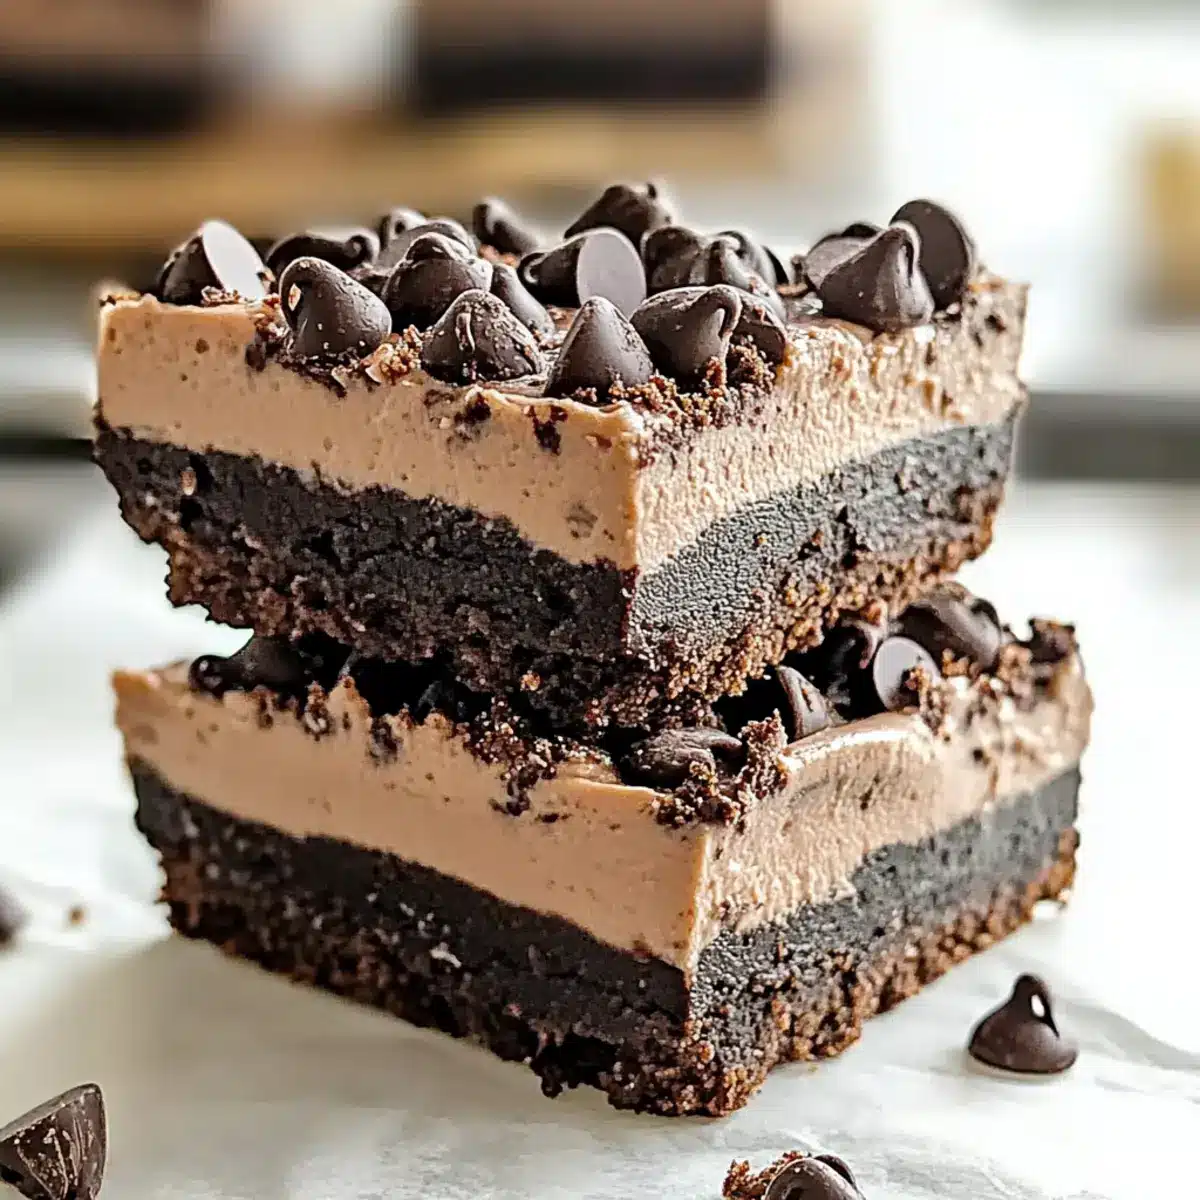
Decadent Chocolate No Bake Cheesecake Bars You’ll Love
Ingredients
Equipment
Method
- Prepare the pan by lining a 9x9-inch pan with aluminum foil, leaving an overhang for easy removal later. Spray with cooking spray.
- Crush 24 Oreo cookies into fine crumbs and mix with melted unsalted butter and dark chocolate.
- Press the crust mixture into the prepared pan evenly using a cup or hands.
- Beat softened brick-style cream cheese with an electric mixer until light and fluffy.
- Melt chopped dark chocolate with heavy whipping cream in a microwave-safe bowl until smooth.
- Combine the melted chocolate mixture with the cream cheese, mixing until no streaks remain.
- Spread the creamy filling over the cooled crust and smooth out the top with a spatula.
- Sprinkle mini semi-sweet chocolate chips over the top. Cover with plastic wrap and refrigerate for at least 3 hours.
- Remove from the pan using the foil overhang, slice into squares, and serve chilled.
Leave a Reply