
As the sun begins to set on the 4th of July, the smell of grilled burgers and the laughter of friends fill the air, signaling the perfect time to unveil colorful creations that will steal the spotlight at your summer gathering. Enter the delightful world of 4th of July Fudge—a quick, no-bake dessert that combines festive flair with easy prep. Whether you’re joining a potluck or hosting an intimate barbecue, this creamy, vibrant fudge is sure to dazzle your guests and keep their taste buds dancing. It not only brings a stunning array of red, white, and blue to your dessert table but also offers a deliciously sweet escape from the usual fare. So, which flavor twist will you choose for your own patriotic masterpiece?
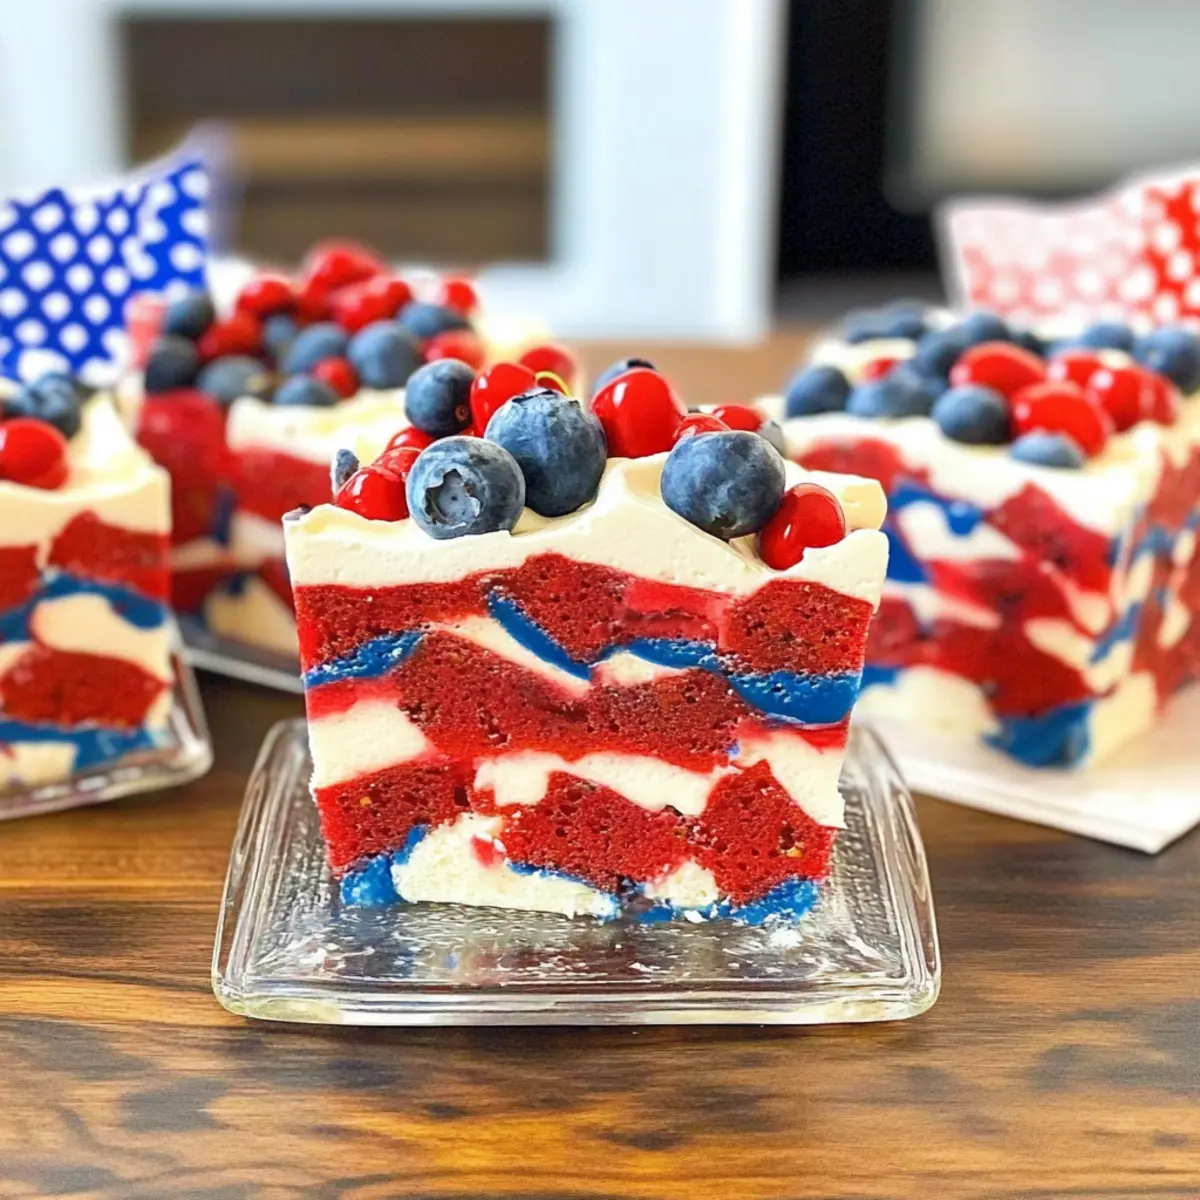
Why is 4th of July Fudge a Must-Try?
Vibrant Colors: This fudge showcases bold hues of red, white, and blue that will capture everyone’s attention at your celebration.
No-Bake Delight: This treat is perfect for busy hosts—no baking required! Just a little mixing and chilling will leave you with a mouthwatering dessert.
Customizable Flavors: Get creative! You can add your favorite extracts or sprinkles to make the recipe truly your own.
Crowd-Pleasing Appeal: Everyone loves fudge! It’s a universally cherished treat that will delight both kids and adults alike.
Quick Prep: With easy-to-follow steps, you can have this fudge ready in no time—perfect for last-minute gatherings.
Make your celebration even sweeter by mixing in ingredients from the Red, White, and Blue 4th of July Dessert Collection to create a truly unique menu!
4th of July Fudge Ingredients
• Below is everything you need for this colorful treat!
For the Fudge Base
- Sweetened Condensed Milk – This creamy base adds richness and sweetness essential for fudge.
- White Chocolate Chips – Provides a smooth texture; you can swap for milk chocolate if preferred.
- Butter – Ensures a velvety finish; margarine can be used as a substitute for a dairy-free option.
For the Color
- Red Food Coloring – Adds a vibrant hue; gel food coloring works best for rich tones.
- Blue Food Coloring – Similarly, use gel for a bright, eye-catching blue shade.
For the Toppings
- Sprinkles – Patriotic sprinkles will elevate the visual appeal; feel free to use any themed colors.
- Fresh Berries – Add a fresh element; strawberries and blueberries will beautifully complement the fudge.
Mix these ingredients together, and you’ll be on your way to creating a mouthwatering 4th of July Fudge that everyone will want to share!
Step‑by‑Step Instructions for 4th of July Fudge
Step 1: Prepare the Ingredients
Start by gathering all your ingredients for the 4th of July Fudge. You will need a medium saucepan, a mixing bowl, and a spatula. Measure out your sweetened condensed milk, white chocolate chips, and butter, placing them within reach. This will make the process smoother and faster, ensuring you can efficiently whip up this colorful treat.
Step 2: Melt the Base
In the medium saucepan, combine the sweetened condensed milk, white chocolate chips, and butter over low heat. Stir continuously for about 5-7 minutes until the mixture is fully melted and smooth, without any lumps. Look for a glossy, velvety texture that signals it’s ready for the next step.
Step 3: Color the Fudge
Once your fudge base is smooth, divide it evenly into two bowls. Add red food coloring to one bowl and blue food coloring to the other, mixing thoroughly to achieve vibrant hues. If using gel food coloring, a small amount goes a long way. You want the colors to be rich and bright, embodying the spirit of Independence Day.
Step 4: Layer the Colored Fudge
Line an 8×8 inch baking dish with parchment paper for easy removal. Begin by pouring half of the red fudge mixture into the dish, spreading it evenly with your spatula. Next, gently spoon the entire white fudge mixture over the red layer, smoothing it out carefully to maintain the layers’ integrity.
Step 5: Final Layer and Chill
Pour the blue fudge mixture over the white layer, taking care to spread it evenly. Once all layers are in place, use a knife to create a swirl effect for added flair. Then, sprinkle patriotic sprinkles on top for that festive touch. Cover the baking dish with plastic wrap and refrigerate for at least 2 hours or until the fudge is firm.
Step 6: Cut and Serve
Once set, remove the fudge from the baking dish by lifting the parchment paper edges. Place it on a cutting board and use a sharp knife to cut it into squares. Look for clean edges to ensure each piece is visually appealing. Arrange them beautifully on a platter, ready to delight your friends and family during your 4th of July celebration.
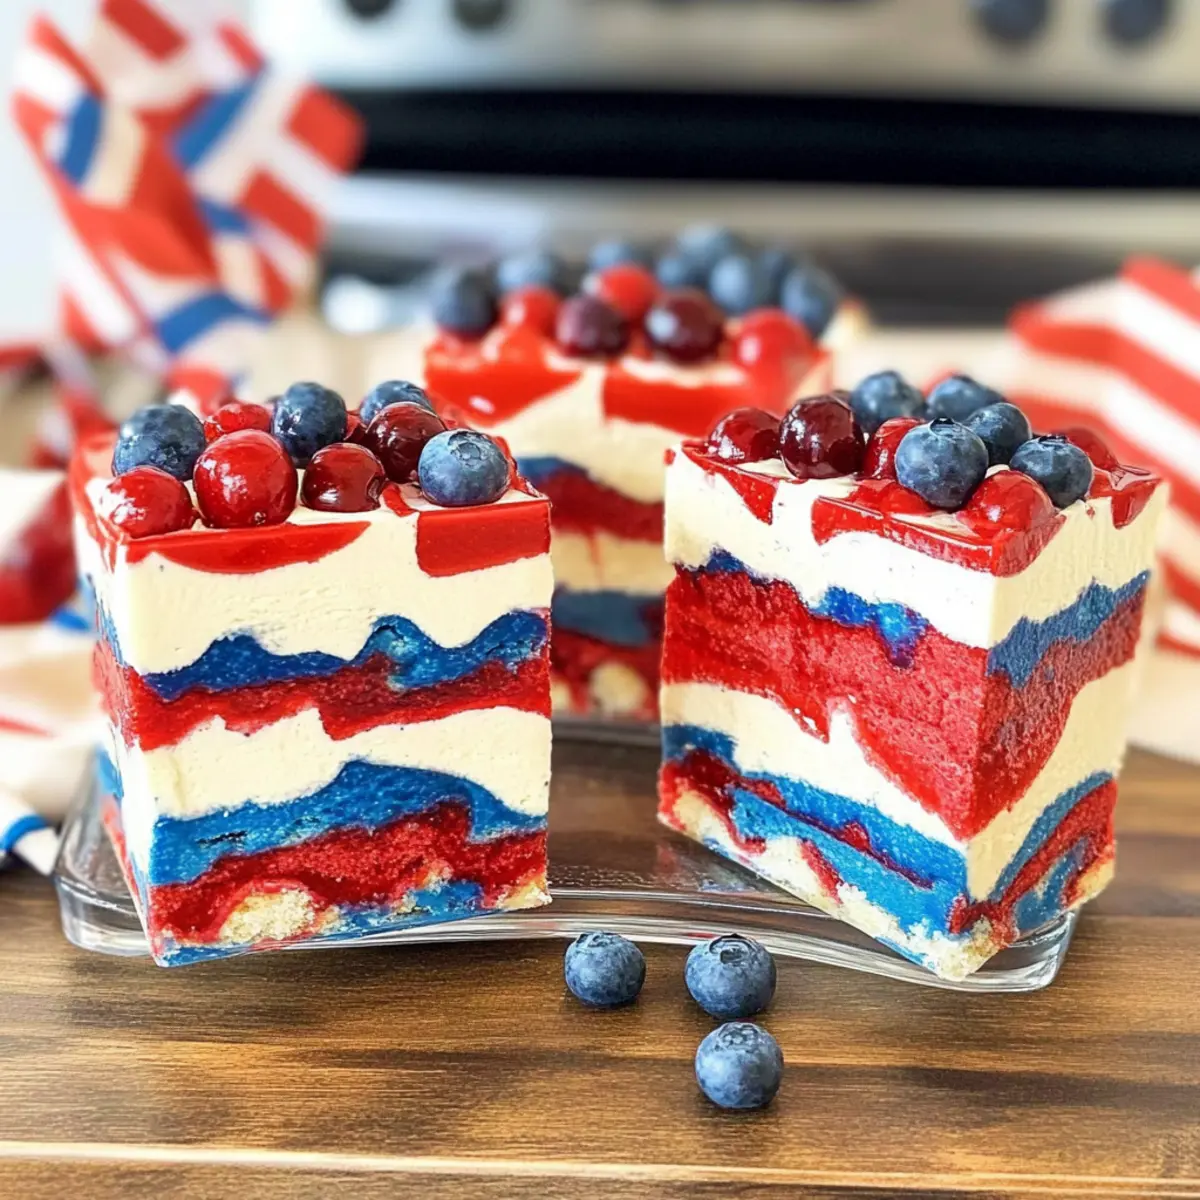
Make Ahead Options
These colorful 4th of July Fudge squares are perfect for meal prep! You can prepare the fudge base up to 24 hours in advance. Simply follow the melting and layering steps, but instead of chilling the fully assembled fudge, cover it tightly with plastic wrap and refrigerate. Be sure to keep it well-sealed to maintain its creamy texture and prevent drying out. When you’re ready to serve, simply remove it from the fridge, slice into squares, and add those festive sprinkles for a final touch. This make-ahead method ensures that you can spend more quality time with friends and family on the 4th while still offering a delicious, homemade dessert!
How to Store and Freeze 4th of July Fudge
Room Temperature: Keep the fudge in an airtight container at room temperature for up to 3 days if you’re planning to enjoy it within a short period.
Fridge: For longer freshness, store the fudge in the fridge in an airtight container, where it will last for up to 2 weeks, maintaining its flavor and texture.
Freezer: You can freeze your 4th of July fudge for up to a month. Wrap it tightly in plastic wrap and then place it in a freezer-safe container. Thaw in the fridge overnight before serving.
Reheating: There’s no need to reheat fudge; simply cut and serve directly from the fridge or at room temperature for the best texture!
4th of July Fudge Variations
Feel free to get creative with your 4th of July fudge, making it even more delightful and personalized for your summer celebration!
-
Nutty Delight: Add chopped walnuts or pecans into the fudge mixture for a crunchy texture that complements the creamy base beautifully.
-
Chocolate Swirls: Incorporate ribbons of melted dark or milk chocolate throughout the fudge for a delicious twist. Swirl it gently for a striking visual effect.
-
Fruit Infusion: Layer in fresh fruit like diced strawberries or blueberries before the final layer of fudge sets for a fresh, juicy burst in every bite.
-
Flavor Extracts: Experiment with flavor by adding a teaspoon of mint or almond extract for a fragrant twist that enhances the sweet creaminess.
-
Vegan Option: Swap sweetened condensed milk with full-fat coconut milk and use dairy-free chocolate chips for a guilt-free treat everyone can enjoy!
-
Coconut Bliss: Stir in shredded coconut to the white fudge layer for a tropical twist that adds both flavor and texture.
-
Spicy Heat: Sprinkle a touch of cayenne or a few drops of hot sauce into the fudge for a surprising kick that contrasts with the sweetness—perfect for adventurous guests!
-
Layered Trifle: Instead of cutting into squares, layer fudge pieces in a glass with whipped cream and fruits for a stunning presentation that tastes as good as it looks.
Gather your loved ones and enjoy a world of flavors—from the classic recipe to vibrant additions that reflect your personal touch. Happy celebrating!
Expert Tips for 4th of July Fudge
-
Use Gel Colorings: Gel food coloring provides richer hues and doesn’t affect the texture of your fudge. Avoid liquid colors to maintain the creamy consistency!
-
Swirl It Up: For a fun twist, use a toothpick to create swirls between the layers. This adds visual interest and makes your 4th of July fudge even more stunning.
-
Cooling Time: Be patient! Let the fudge chill for at least 2 hours to ensure it sets properly; cutting too soon can lead to messy pieces.
-
Storage Wisdom: Keep any leftovers in an airtight container in the fridge. Properly stored, your fudge can last up to two weeks, perfect for snacking!
-
Flavor Creativity: Experiment with flavors by adding different extracts, like vanilla or almond, to enhance the taste of your fudge while keeping it deliciously patriotic!
What to Serve with Colorful 4th of July Fudge?
As you prepare to dazzle your guests, think about pairing this vibrant dessert with delightful accompaniments that enhance the festive spirit.
-
Fresh Fruit Salad: A mix of juicy melons and berries adds a refreshing contrast to the sweetness of the fudge, making it a perfect palate cleanser.
-
Vanilla Ice Cream: Creamy and smooth, a scoop of vanilla ice cream offers a delightful contrast in temperature and texture.
-
Patriotic Punch: A thirst-quenching drink made from lemonade, blueberries, and sliced strawberries preserves the red, white, and blue theme while refreshing guests.
-
Grilled Peaches: Serve these sweet, smoky fruits for a warm, caramelized sweetness that pairs beautifully with the rich fudge.
-
Chocolate Dipped Strawberries: These add an elegant touch and combine the flavors of fruity freshness with decadent chocolate, which complements the fudge well.
-
Sparkling Water with Lime: For a light and fizzy drink option, sparkling water infused with lime elevates the dining experience while cleansing the palate.
Consider pairing these options to create a memorable dessert spread that everyone will love!
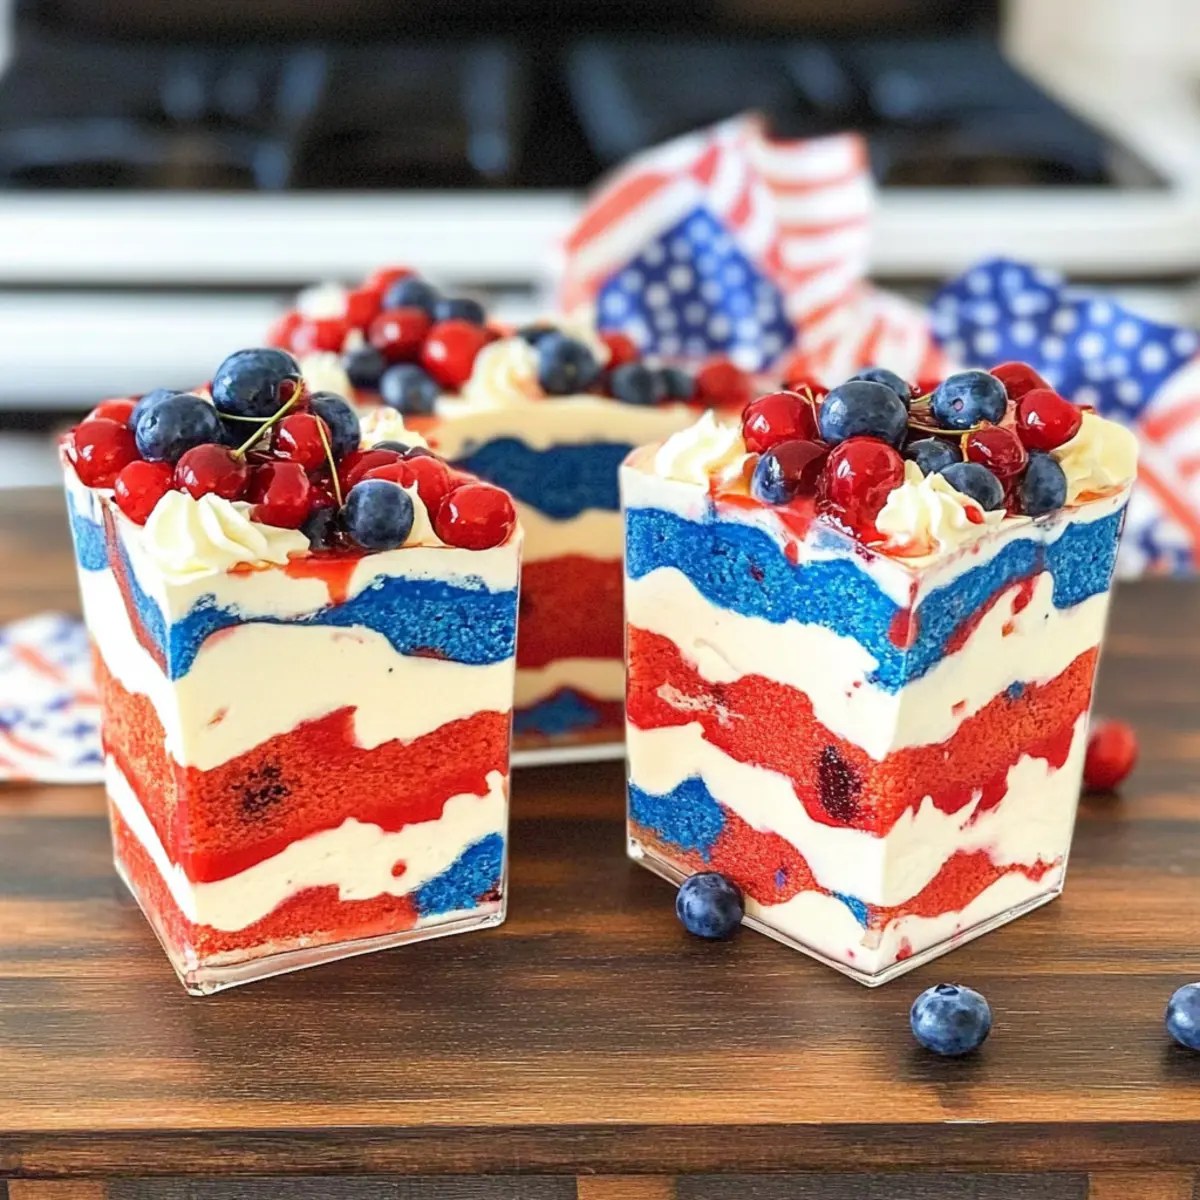
4th of July Fudge Recipe FAQs
What type of food coloring should I use for vibrant hues?
I recommend using gel food coloring, as it provides rich, bright colors without altering the consistency of your fudge. Liquid food coloring may work, but it could lead to a thinner texture. Just a small amount of gel goes a long way!
How should I store leftover 4th of July fudge?
To keep your fudge fresh, store it in an airtight container at room temperature for up to 3 days if you’ll enjoy it soon. For extended freshness, transfer it to the refrigerator where it can last for up to 2 weeks without losing its delightful flavor and texture.
Can I freeze 4th of July fudge?
Absolutely! You can freeze your fudge for up to a month. Simply wrap it tightly in plastic wrap and place it in a freezer-safe container. When you’re ready to enjoy it, thaw it in the fridge overnight. This way, it will retain its delicious taste and smooth texture.
What should I do if my fudge isn’t setting properly?
If your fudge isn’t setting, be patient and allow it more chilling time in the refrigerator—aim for at least 2 hours. If it’s still soft after that, you may need to try again with a new batch, ensuring that you’ve used the right ratios of sweetened condensed milk and chocolate. Also, double-check that you melted everything thoroughly for a smooth mix!
Can I add other flavors or ingredients to the fudge?
Yes! Get creative by incorporating different extracts like vanilla or almond for added flavor. You can also mix in chopped nuts, crushed cookies, or even seasonal candies to provide unique twists while keeping with the patriotic theme of your 4th of July fudge!
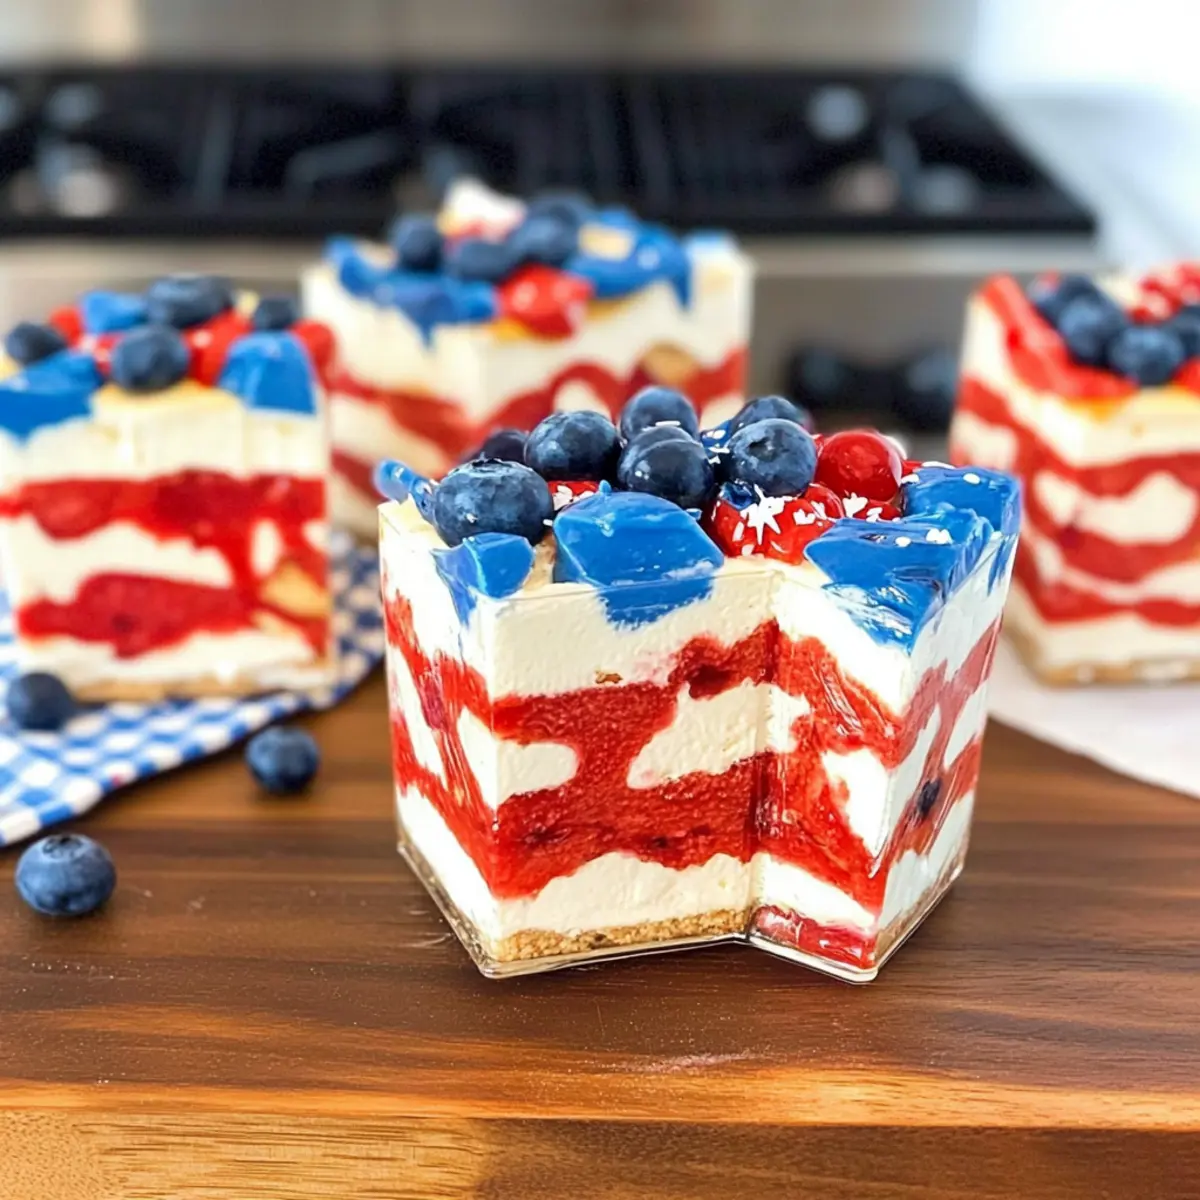
Colorful 4th of July Fudge You'll Want to Share with Friends
Ingredients
Equipment
Method
- Gather all your ingredients for the 4th of July Fudge.
- Combine sweetened condensed milk, white chocolate chips, and butter in a saucepan. Melt over low heat, stirring for 5-7 minutes until smooth.
- Divide the mixture into two bowls, adding red food coloring to one and blue to the other. Mix well.
- Line an 8x8 baking dish with parchment paper. Pour half of the red mixture, followed by the white mixture, and finish with the blue.
- Use a knife to swirl the layers and sprinkle patriotic sprinkles on top. Cover and refrigerate for at least 2 hours.
- Remove from the dish using parchment, cut into squares, and serve.
Leave a Reply