
The delightful crunch of a perfectly fried chicken breast, nestled in a warm tortilla, is enough to make anyone stop in their tracks. That’s the beauty of the Ultimate Crispy Caesar Wrap—an easy, go-to recipe that transforms your weeknight dinners from ordinary to extraordinary in just 20 minutes. Not only is it a delicious alternative to takeout, but this dish can also be tailored to fit gluten-free diets, ensuring everyone at the table is satisfied. With creamy Caesar dressing and a sprinkle of fresh Parmesan, this wrap delivers a comforting taste experience that’s as satisfying to make as it is to eat. Wondering how to create this whirlwind of flavor and crunch? Let’s dive in!
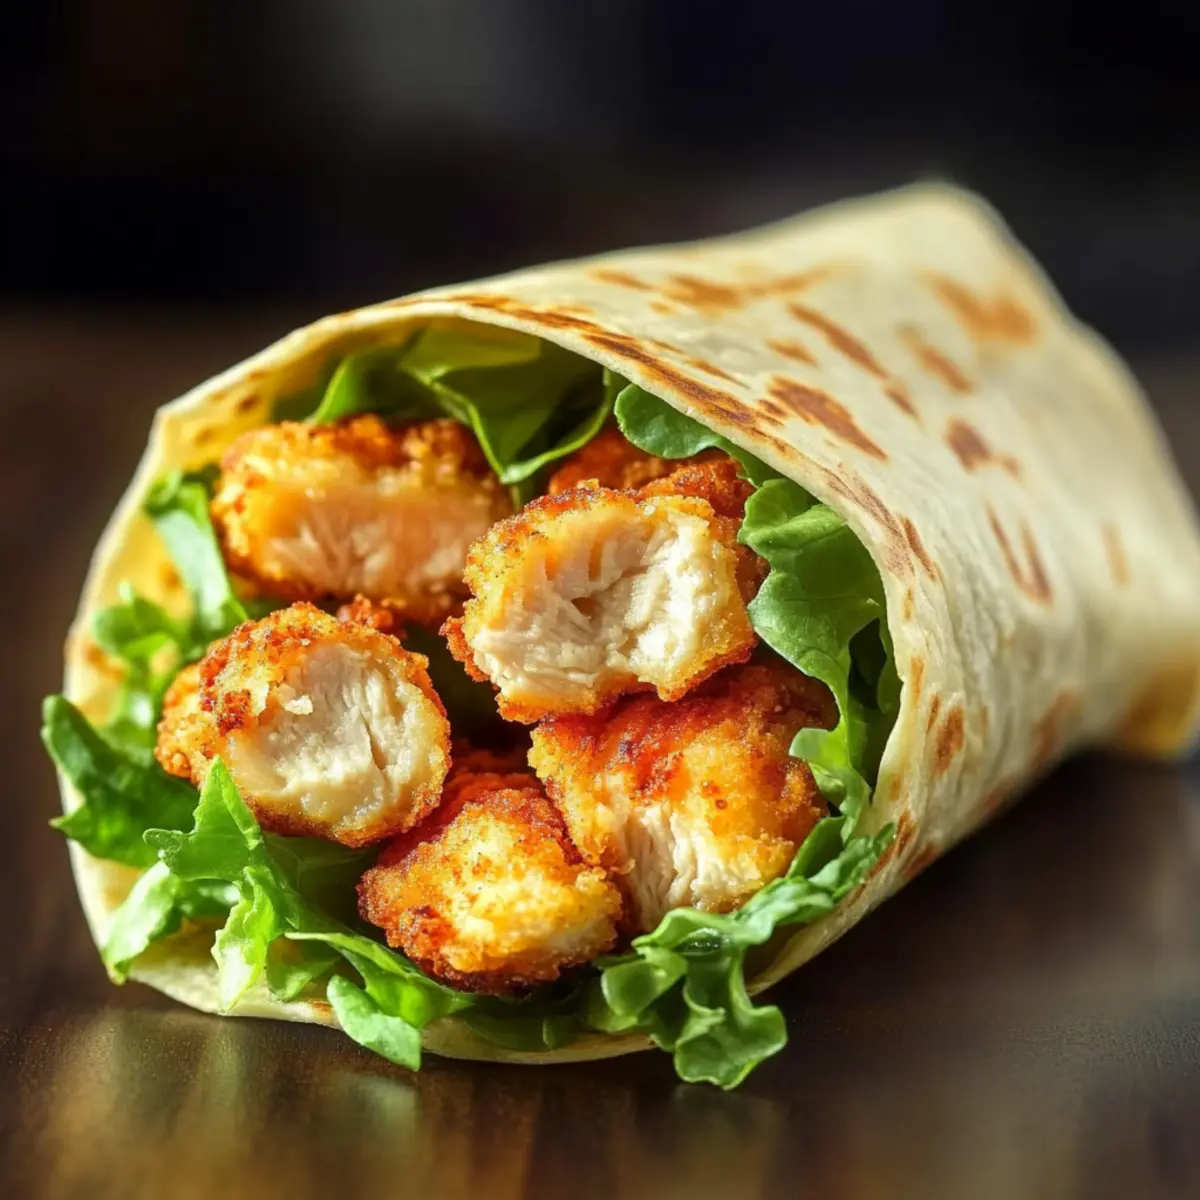
Why is the Ultimate Crispy Caesar Wrap a Must-Try?
Crispy Goodness: The air-fried chicken brings an incredible crunch that tantalizes your taste buds.
Quick Delight: Whip this up in just 20 minutes—perfect for busy weeknights!
Customizable Flavor: Easily adapt with gluten-free tortillas or different dressings for a personal touch.
Crowd-Pleasing Appeal: This wrap is not just a hit with adults; kids adore it too! Serve with sweet potato fries for an extra tasty meal.
Healthy and Satisfying: Fresh lettuce and high-quality ingredients ensure a deliciously wholesome option, going far beyond fast food’s offerings.
Ultimate Crispy Caesar Wrap Ingredients
For the Wrap
- Tortillas – Use gluten-free tortillas for a gluten-free option to suit everyone’s diet.
- Chicken Breasts – Provides protein; cook to 165°F (74°C) for the juiciest results.
- Garlic – Fresh minced garlic enhances the flavors, adding a delightful aroma to your wrap.
For the Dressing
- Caesar Dressing – A creamy dressing that elevates the flavor; opt for a high-quality or homemade version.
- Parmesan Cheese – Use freshly grated for a rich, salty finish that complements the wrap perfectly.
For the Crunch
- Lettuce – Romaine is best for that satisfying crunch and freshness; any salad greens work in a pinch!
Ready to create the Ultimate Crispy Caesar Wrap? Let’s wrap up dinner bliss!
Step‑by‑Step Instructions for Ultimate Crispy Caesar Wrap
Step 1: Prepare the Chicken
Start by seasoning your chicken breasts with salt, pepper, and minced garlic for a flavor boost. Preheat your air fryer to 400°F (200°C) and cook the chicken for 8-10 minutes, flipping halfway through, until it reaches an internal temperature of 165°F (74°C). Look for a golden, crispy exterior as the visual cue that it’s time to remove the chicken from the air fryer.
Step 2: Slice the Chicken
Once your chicken is perfectly cooked, let it rest for a few minutes to keep it juicy. Slice the chicken breasts into thin strips, allowing the warm, crispy pieces to be ready for layering inside your Ultimate Crispy Caesar Wrap. The aroma will whisk you away to flavor town as you prepare to assemble this delightful wrap.
Step 3: Assemble the Wraps
Lay out your tortillas on a clean surface and spread a generous amount of creamy Caesar dressing over each one. Layer the fresh lettuce evenly across the tortillas, followed by the sliced chicken and a sprinkle of freshly grated Parmesan cheese. Make sure to distribute the ingredients evenly for a satisfying bite with every roll of the wrap.
Step 4: Roll and Secure
Carefully roll the tortillas tightly, ensuring all the delicious fillings are enclosed. You can choose to cut the wraps in half for easier handling or secure them with a toothpick for perfect presentation. This step transforms your components into a compact bundle of flavor, ready to be savored.
Step 5: Serve Immediately
Your Ultimate Crispy Caesar Wraps are all set to be enjoyed! Serve them immediately while they’re warm and crispy. Pair them with sweet potato fries or a simple salad for a complete meal. The delightful crunch and creamy texture are sure to please anyone at your table, making this dinner a standout choice.
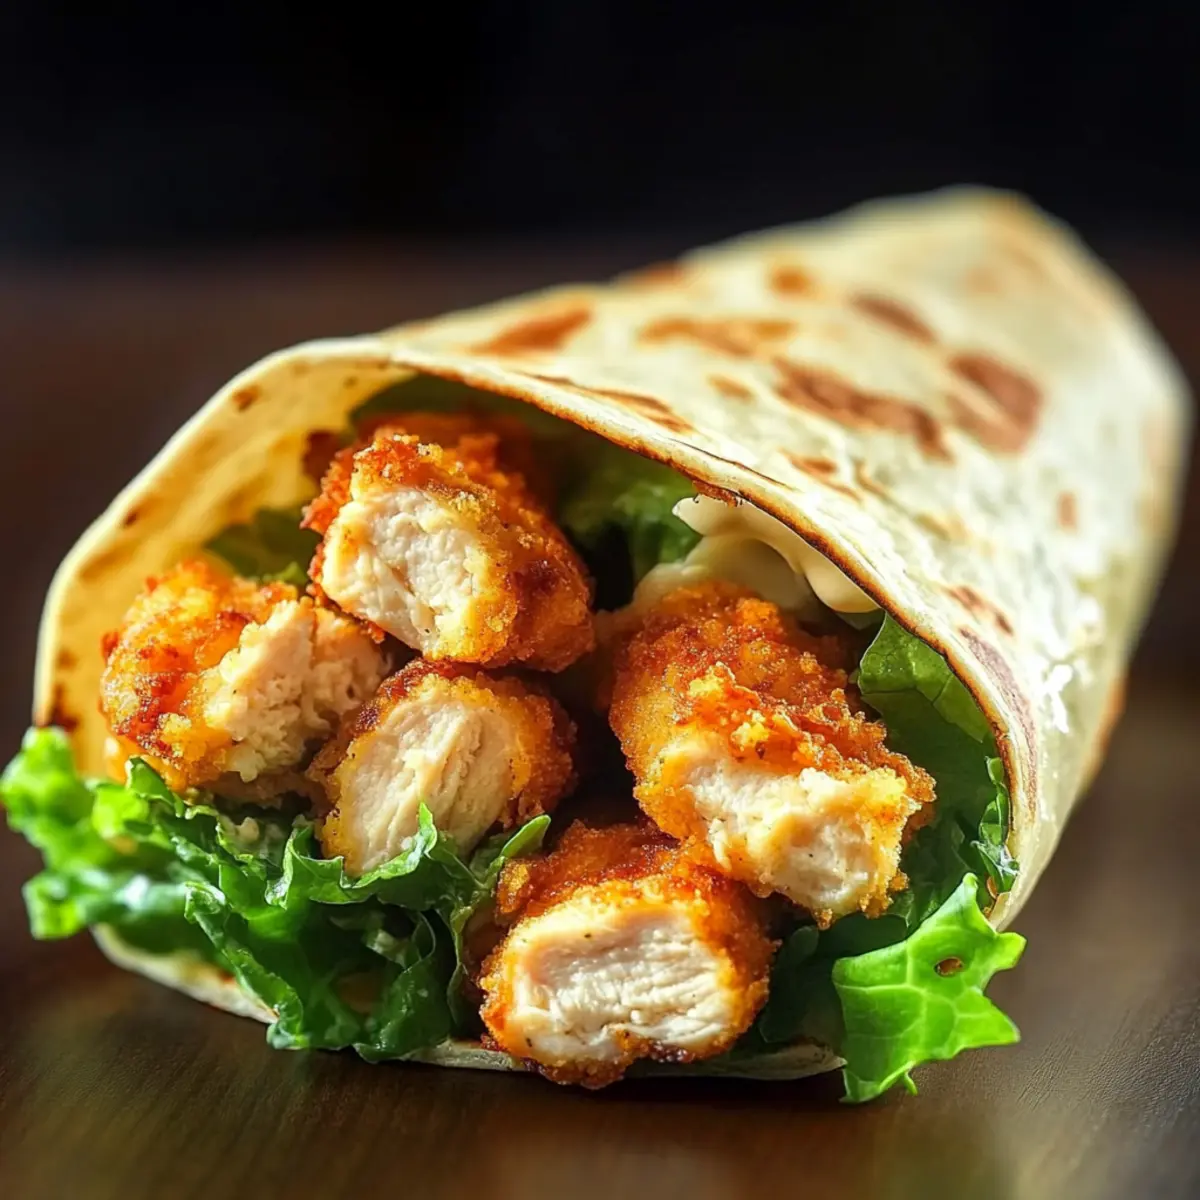
Expert Tips for the Best Ultimate Crispy Caesar Wrap
- Chicken Perfection: Use a meat thermometer to ensure your chicken reaches 165°F (74°C) without overcooking, keeping it juicy and tender.
- Flavorful Dressing: For the best taste, opt for high-quality Caesar dressing or make your own; it can make all the difference in this wrap.
- Pepping Up Lettuce: Always choose fresh, crisp romaine lettuce for the ideal crunchy texture; avoid wilting greens for a delightful bite.
- Tortilla Choice: If going gluten-free, check package labels when selecting tortillas to ensure they’re safe and tasty for your dietary needs.
- Make-Ahead Magic: Prep the chicken and sauce a day in advance for a quick dinner assembly that simplifies your weeknight cooking routine.
Ultimate Crispy Caesar Wrap Variations
Feel free to get creative and make this wrap your own—your taste buds will thank you!
-
Gluten-Free: Swap regular tortillas for gluten-free varieties to enjoy the same delightful crunch without concern.
-
Protein Change: Substitute chicken with grilled shrimp or tofu for a fantastic vegetarian twist. Both options offer refreshing flavors, making your wrap a delicious getaway.
-
Dressing Switch-Up: Change Caesar dressing to your favorite ranch or honey mustard for a flavor variation that’s just as delightful. This simple swap can give your wrap a completely different vibe!
-
Extra Crunch: Add crispy bacon bits or crunchy croutons for that extra texture and flavor explosion. It creates a layered experience that’ll leave you craving more.
-
Spice it Up: Incorporate sliced jalapeños or a drizzle of sriracha for a bit of heat. This kick transforms the wrap into a fiery feast, catering to those who love a spicy challenge.
-
Herbal Infusion: Stir in fresh herbs like basil or chives with the lettuce for a burst of freshness. The aromatic notes will elevate your wrap to new heights.
-
Cheese Varieties: Experiment with different cheeses, like feta or cheddar, for a uniquely rich flavor. Each cheese brings something special to the table, enriching your overall dining experience.
-
Vegetable Packed: Toss in diced cucumbers or tomatoes for extra freshness and crunch. This addition not only adds color but also rejuvenates the wrap with a burst of juiciness.
For more delightful recipes like these, check out my Crispy Chicken Caesar Sandwich or indulge in the sweet goodness of Pumpkin Cake Cozy— both are family favorites to try!
Make Ahead Options
These Ultimate Crispy Caesar Wraps are excellent for meal prep, making busy weeknights a breeze! You can prepare the chicken up to 24 hours in advance; just cook it to 165°F (74°C), let it cool, and store it in an airtight container in the refrigerator. Additionally, you can slice the chicken and prep the greens, keeping them separate to maintain freshness and crunch. To reassemble, simply layer the ingredients on tortillas with Caesar dressing and Parmesan right before serving for that fresh taste. This way, the wraps stay just as delicious, ensuring your family enjoys a satisfying meal with minimal effort!
What to Serve with Ultimate Crispy Caesar Wrap
Transform your weeknight dinner into a feast by pairing your wraps with delightful sides that enhance every crunchy bite.
-
Sweet Potato Fries: These crispy fries offer a sweet contrast to the savory wrap, making each bite even more enjoyable. They add a satisfying texture that’s perfect for dipping!
-
Caesar Salad: A classic companion, this fresh salad echoes the wrap’s flavors while adding extra crunch and creaminess. Toss in some croutons for an added crunch that mirrors the wrap’s theme.
-
Garlic Bread: The buttery, garlicky goodness of garlic bread is the perfect pairing for soaking up any remnants of delicious dressing. It creates a comforting vibe that’s hard to resist!
-
Coleslaw: A tangy, crunchy coleslaw adds freshness alongside the wrap. Its vibrant colors and zesty dressing bring together the meal like a lively celebration on your plate.
-
Roasted Veggies: Seasoned perfectly, roasted vegetables pair wonderfully, adding a medley of flavors and vibrant colors. Their tenderness will complement the wrap’s crunchy bite beautifully.
-
Sparkling Water or Lemonade: For a refreshing drink, sparkling water with a splash of lemon or a homemade lemonade brings a zesty contrast that’s both thirst-quenching and delightful.
-
Fruit Salad: A light, fruity dessert like a vibrant fruit salad rounds off the meal perfectly, offering something sweet and refreshing to cleanse your palate after the savory wrap.
These pairings will elevate your Ultimate Crispy Caesar Wrap experience, bringing warmth and joy to your dinner table!
Storage Tips for Ultimate Crispy Caesar Wrap
- Fridge: Keep leftovers in an airtight container for up to 3 days. This preserves freshness and flavor, making it easy to enjoy your Ultimate Crispy Caesar Wrap later.
- Freezer: For longer storage, wrap each assembled wrap in plastic wrap and place them in a freezer-safe bag. They can be frozen for up to 2 months without losing flavor.
- Reheating: When it’s time to enjoy, reheat in the oven at 350°F (175°C) for about 10-15 minutes for the best crispiness. Avoid microwaving in wraps to maintain texture.
- Make-Ahead: Prep and assemble the wraps a day ahead, storing them in the fridge to save time on busy nights!
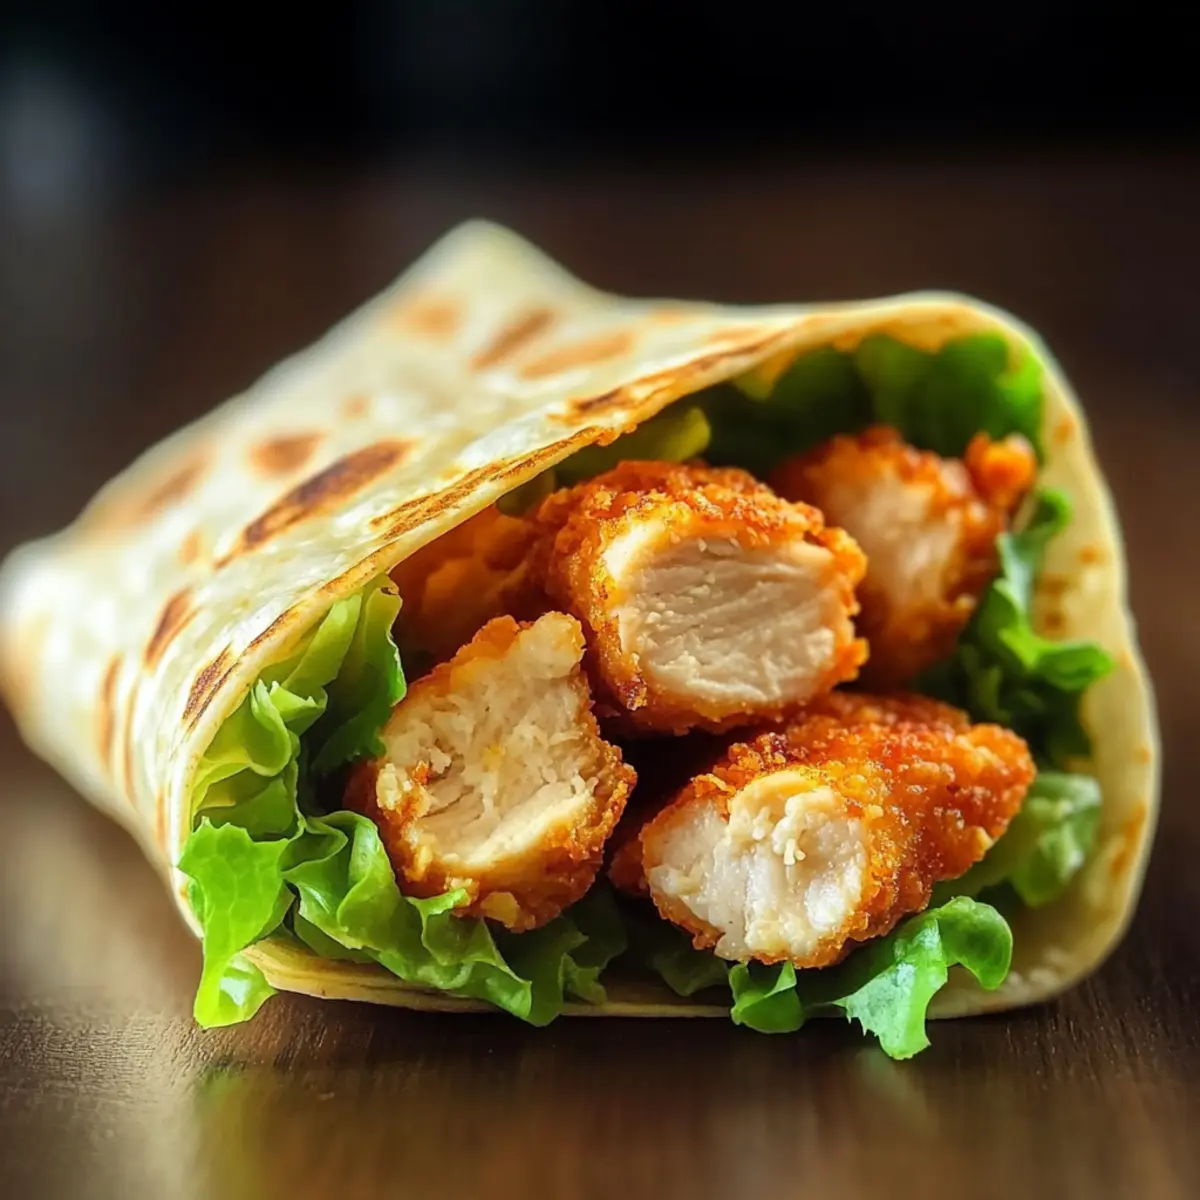
Ultimate Crispy Caesar Wrap Recipe FAQs
What type of tortillas should I use for the Ultimate Crispy Caesar Wrap?
Using gluten-free tortillas is a great choice for a gluten-free option. Look for brands that have simple ingredients for the best flavor and texture. If you’re not avoiding gluten, a soft flour or corn tortilla also works beautifully!
How long can I store the cooked chicken for my wraps?
Cooked chicken can be refrigerated for up to 3 days. Ensure it’s placed in an airtight container to maintain its juiciness and flavor. This way, you can easily assemble your Ultimate Crispy Caesar Wrap for a quick meal.
Can I freeze the Ultimate Crispy Caesar Wrap?
Absolutely! To freeze, wrap each assembled wrap in plastic wrap tightly and then place them into a freezer-safe bag. They can stay in the freezer for up to 2 months. To reheat, just remove the plastic wrap and bake them in the oven at 350°F (175°C) for about 10-15 minutes to revive their crispy texture.
What should I do if my chicken turns out dry?
If your chicken is dry, don’t worry! Next time, use a meat thermometer to ensure it reaches the perfect internal temperature of 165°F (74°C) without overcooking. Also, try adding more flavorful marinades or sauces when seasoning your chicken before cooking—it adds moisture and enhances flavor!
Is there a vegetarian option for the Ultimate Crispy Caesar Wrap?
Yes, I often make these wraps with grilled tofu or chickpea patties instead of chicken for a delightful vegetarian twist! Simply season and cook your chosen protein and follow the same steps to assemble your wraps. It’s just as satisfying and delicious!
Can I prepare the Ultimate Crispy Caesar Wrap a day in advance?
Very much so! You can prep the chicken and sauces a day ahead to save time. Just keep everything in separate containers in the fridge. Assemble the wraps right before serving to keep the ingredients fresh and bursting with flavor!
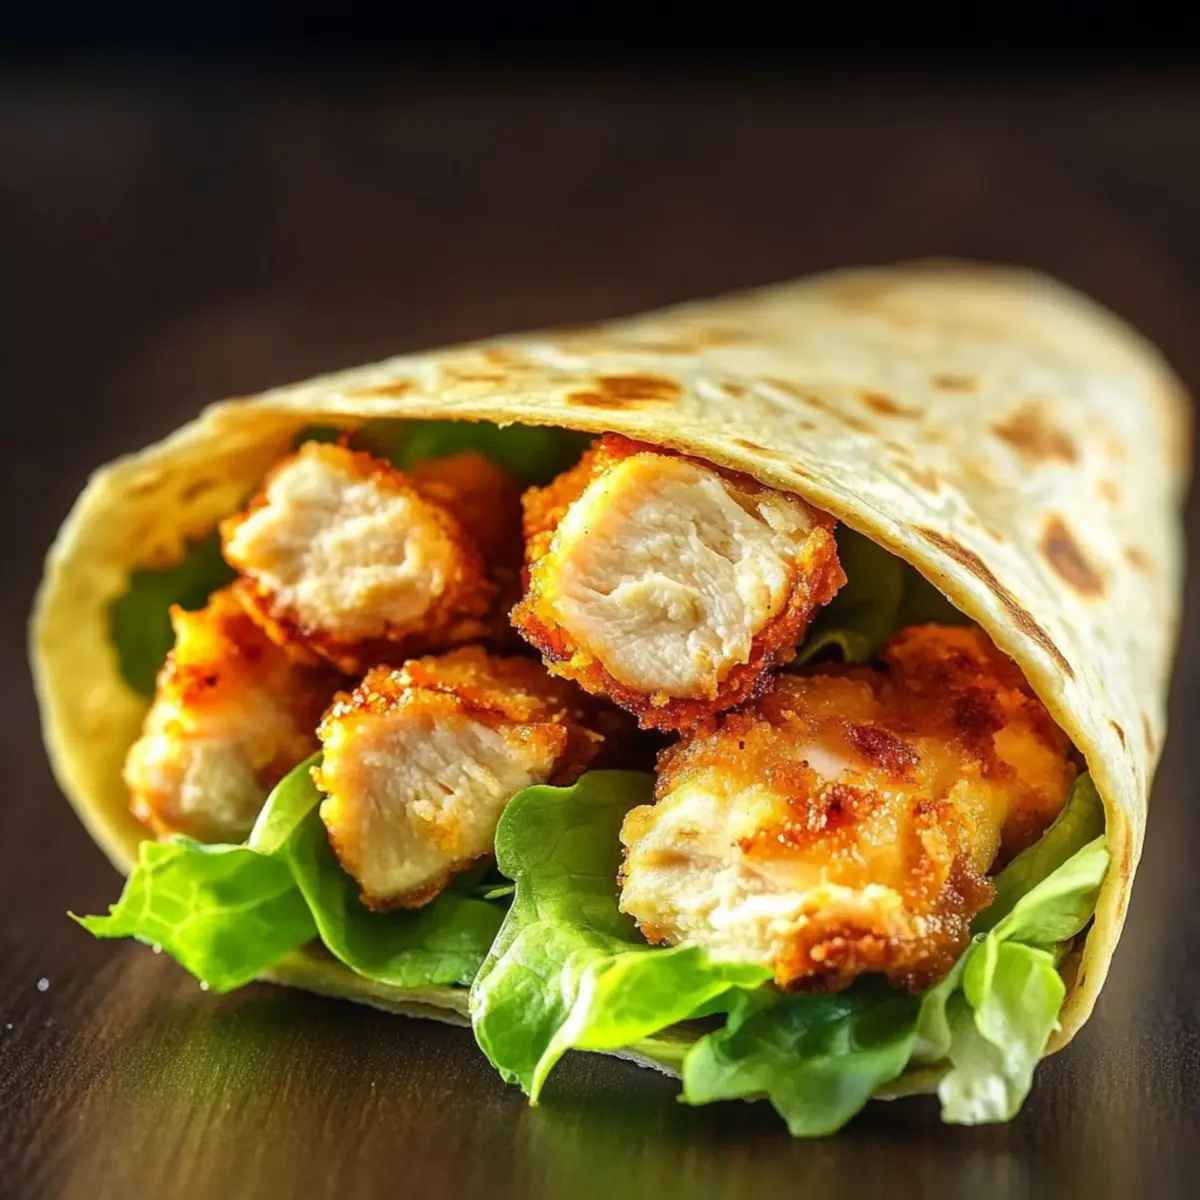
Ultimate Crispy Caesar Wrap: Wrap Up Your Dinner Bliss
Ingredients
Equipment
Method
- Season chicken breasts with salt, pepper, and minced garlic. Preheat air fryer to 400°F (200°C) and cook chicken for 8-10 minutes until cooked through.
- Let the chicken rest for a few minutes before slicing into thin strips.
- Spread Caesar dressing over each tortilla. Layer lettuce, sliced chicken, and Parmesan cheese.
- Roll the tortillas tightly and secure if needed. Cut in half for easier handling.
- Serve immediately with sweet potato fries or a salad.
Leave a Reply