
As I stood in my kitchen surrounded by a mix of flour and cookie crumbs, a brilliant idea struck me—why not marry the beloved Oreo cookie with a light, luscious mousse? This Easy No-Bake Oreo Mousse is my go-to dessert for any occasion, and it requires only a handful of ingredients. The best part? You’ll have an impressive treat ready in no time, perfect for entertaining friends or enjoying a cozy night in. Each spoonful provides a satisfying crunch from the Oreos, mingling beautifully with a creamy, airy texture that’s simply irresistible. Plus, you can whip it up in three easy steps! Curiosity piqued? Let’s dive into the magic of this delightful dessert!
Why is Oreo Mousse a Must-Try?
Decadent, creamy flavor: Each bite of this mousse offers a rich, cookies-and-cream experience that’s hard to resist.
No-bake simplicity: With just a few ingredients and zero baking involved, making this dessert is a breeze.
Versatile variations: You can easily customize it—you might try a gluten-free Oreo mousse or even switch up the flavor with mint extract!
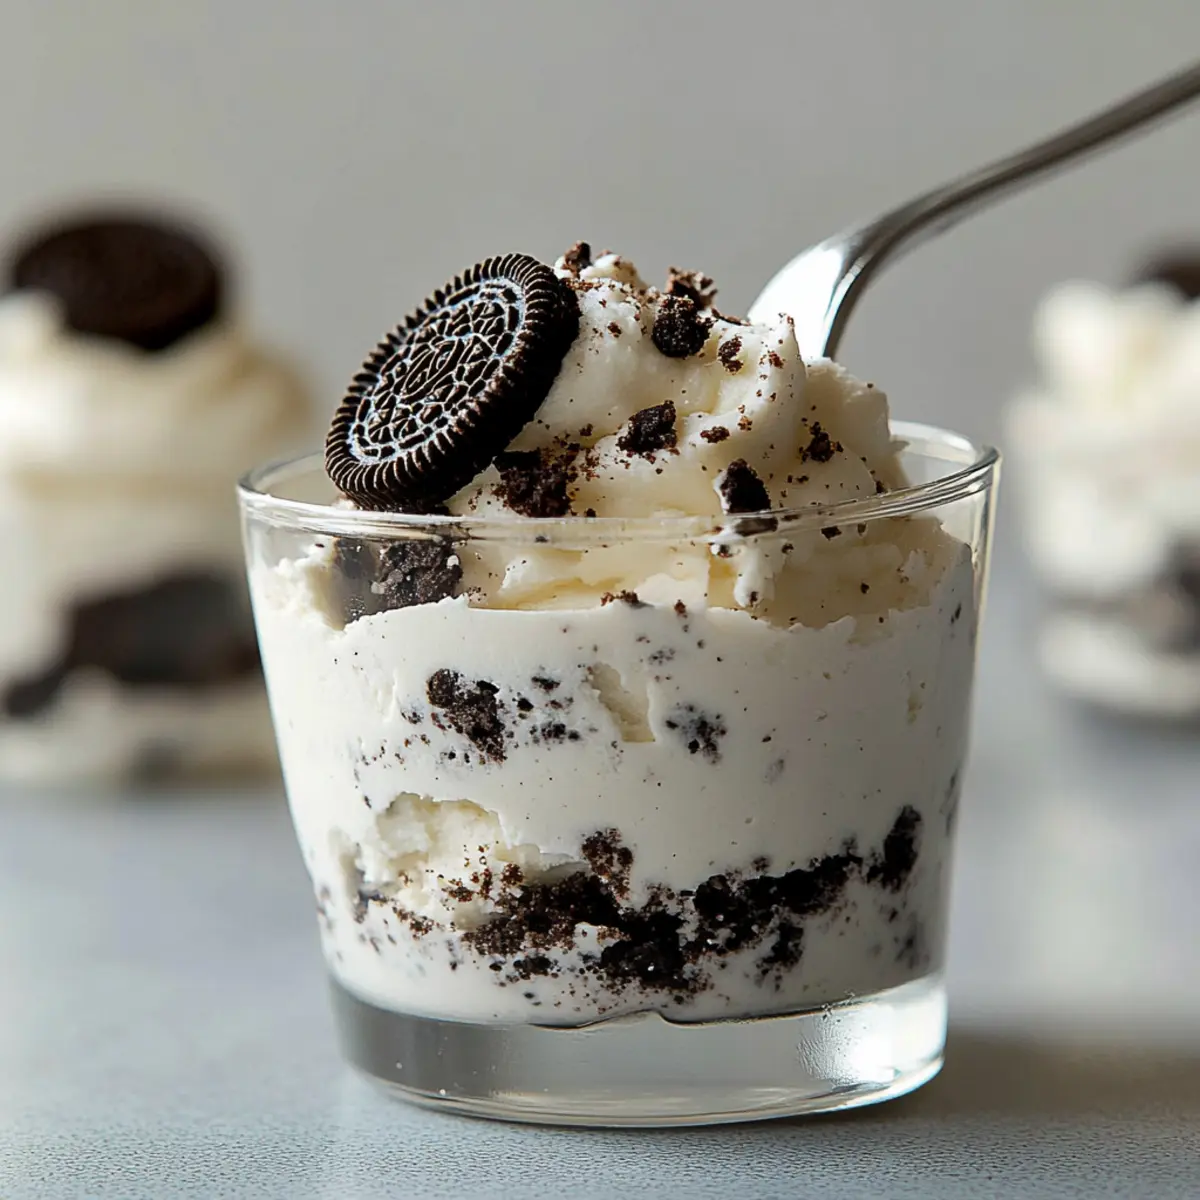
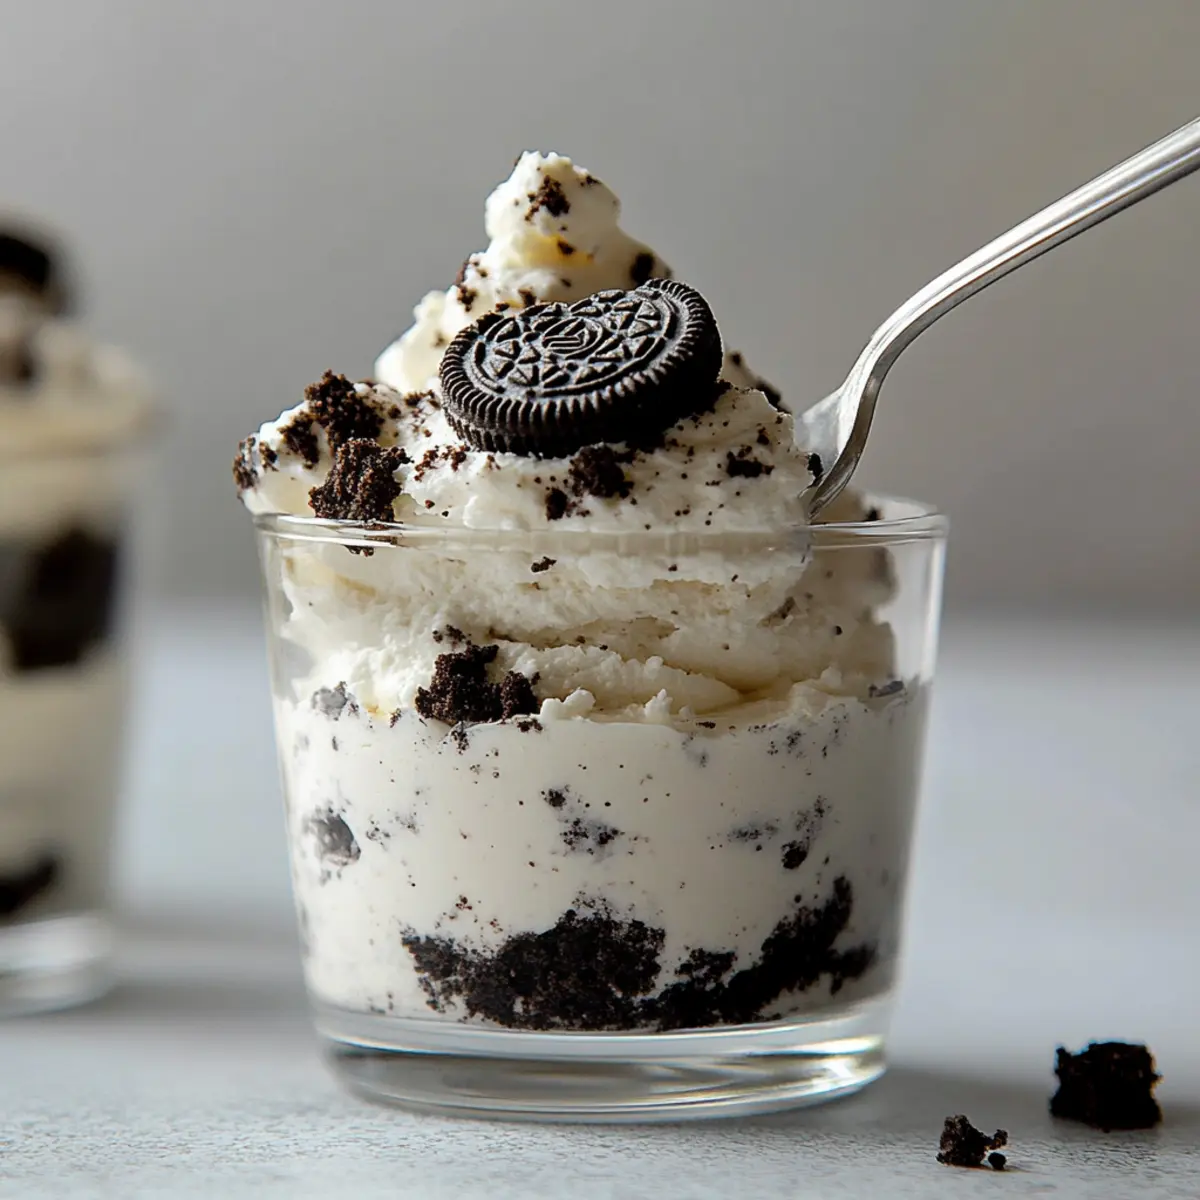
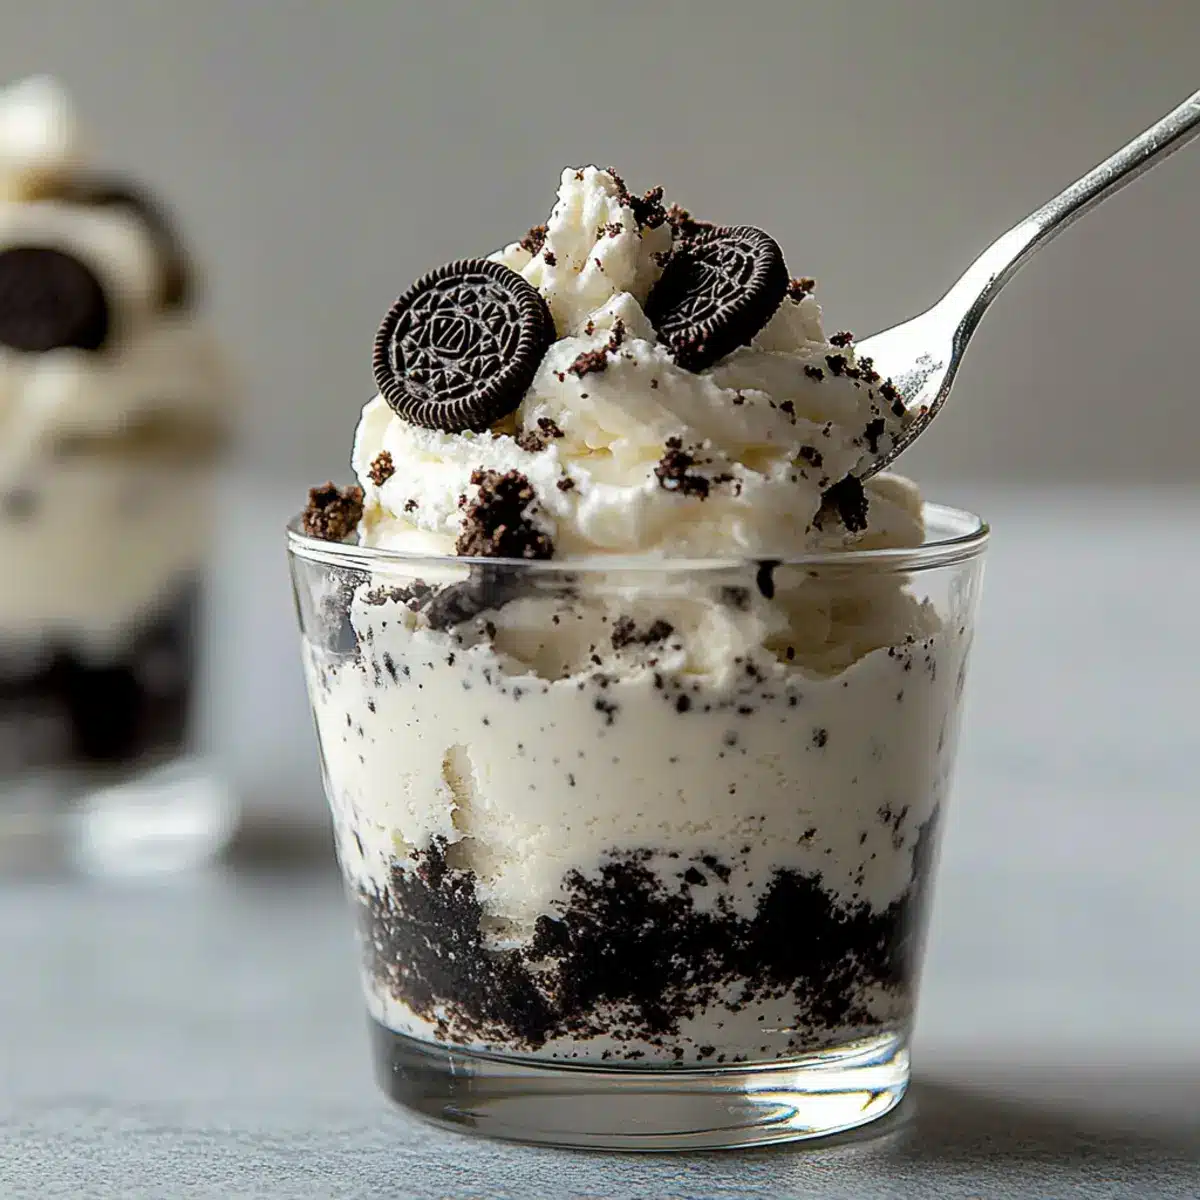
Impressive presentation: Serve it in clear cups for a stunning visual effect, perfect for impressing guests without much effort.
Quick satisfaction: It’s ready in about 2 hours of chilling time, making it a perfect last-minute treat for any occasion.
So, whether you’re entertaining or simply indulging yourself, this Oreo mousse is sure to become a favorite!
Oreo Mousse Ingredients
• Dive into the delicious details!
For the Mousse
- Heavy Cream – This ingredient provides a light, airy texture when whipped, essential for achieving that cloud-like mousse experience.
- Cream Cheese – Adds structure and a rich creaminess; ensure it’s fully softened to avoid lumps for the smoothest Oreo mousse.
- Powdered Sugar – Sweetens the mousse effortlessly without any gritty texture, dissolving seamlessly in the mixture.
- Vanilla Extract – Enhances flavor depth to balance the sweetness, adding delightful aromatic notes.
- Oreo Cookies – The star of this dessert! Crushed cookies offer both flavor and texture, making each bite a cookies-and-cream delight.
Feel free to whip up this Oreo mousse with all your favorite toppings or variations for a treat that’s sure to please!
Step‑by‑Step Instructions for Oreo Mousse
Step 1: Prepare the Cream Base
Begin by pouring 1 cup of heavy cream into a mixing bowl. Using an electric mixer, beat it on medium speed until soft peaks form, which should take about 3-5 minutes. The cream should be light and fluffy but still hold its shape. This whipped cream will create the airy texture essential for your Oreo mousse.
Step 2: Combine Ingredients
In a separate bowl, combine 8 ounces of softened cream cheese, 1 teaspoon of vanilla extract, and 1 cup of powdered sugar. Mix with a hand mixer on low speed until the mixture is smooth and creamy, approximately 2-3 minutes. Make sure there are no lumps for a silky Oreo mousse.
Step 3: Fold Together
Gently fold the whipped cream into the cream cheese mixture using a rubber spatula. Start by adding one-third of the whipped cream to lighten the mixture, then gradually incorporate the rest. Aim for a gentle folding motion to preserve the airiness—this ensures your Oreo mousse will be light and fluffy.
Step 4: Incorporate Oreos
Crush about 10-12 Oreo cookies into small pieces, leaving some larger chunks for texture. Carefully mix these crushed Oreos into the mousse mixture, ensuring even distribution without over-mixing. This is where your delightful cookies-and-cream flavor shines through, creating a beautiful visual of speckled cookie bits.
Step 5: Chill
Spoon the Oreo mousse mixture into individual cups or ramekins, filling them about three-quarters full. Cover each serving with plastic wrap to prevent refrigeration odors from mixing in. Chill in the refrigerator for at least 2 hours, allowing the flavors to meld and the mousse to set to perfection.
Step 6: Serve and Enjoy
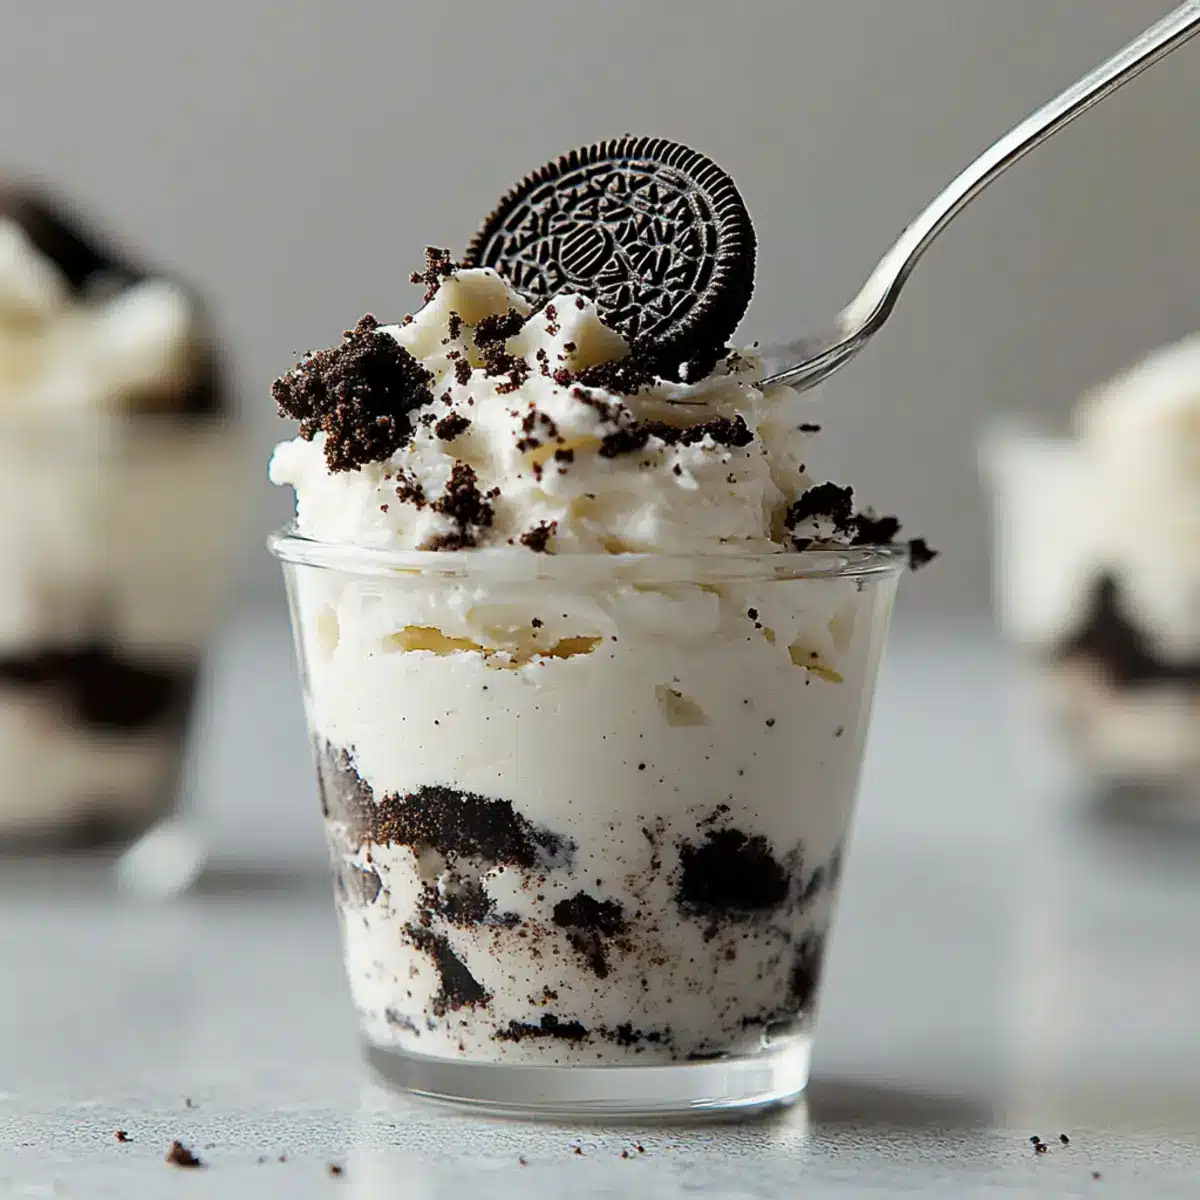
Once chilled, remove the mousse from the fridge and give it a gentle stir to revive its creamy texture. Top with additional Oreo crumbs for an appealing finish. Each spoonful of your decadent Oreo mousse is now ready to be savored—enjoy the blend of creamy richness and crunchy cookie goodness!
Make Ahead Options
These Easy No-Bake Oreo Mousse cups are perfect for meal prep enthusiasts looking to save time during busy weekdays! You can prepare the mousse mixture up to 24 hours in advance, allowing you to enjoy a delightful dessert with minimal effort when it’s time to serve. Simply mix the cream cheese, vanilla extract, and powdered sugar as directed, then fold in the whipped cream and crushed Oreos. Once combined, spoon the mousse into individual cups, cover them tightly with plastic wrap to keep out any fridge odors, and refrigerate. When you’re ready to indulge, just give the mousse a gentle stir, add a sprinkle of extra Oreo crumbs for a beautiful finish, and savor the creamy delight that’s just as delicious as it was when freshly made!
Expert Tips for Oreo Mousse
-
Soften the Cream Cheese: Always ensure cream cheese is at room temperature. Cold cream cheese can lead to a lumpy mixture, ruining your smooth Oreo mousse.
-
Whip to the Perfect Consistency: Watch your heavy cream while whipping. Overbeating can create butter instead of airy peaks. Aim for soft peaks that still hold shape.
-
Gentle Folding Technique: When combining the whipped cream and cream cheese mixture, use a gentle folding motion. This preserves airiness, essential for that light, fluffy texture in your mousse.
-
Flavor Variations: Don’t hesitate to mix things up! A splash of mint extract can give a refreshing twist to your Oreo mousse, or try using different flavored Oreos for a fun surprise.
-
Chill Time Matters: Ensure you chill the mousse for at least 2 hours. This allows the flavors to blend beautifully while thickening the mousse to the right consistency.
What to Serve with Easy No-Bake Oreo Mousse
Elevate your dessert experience by pairing this delightful mousse with thoughtfully chosen accompaniments that complement its creamy sweetness.
-
Light Fruit Salad: A refreshing blend of seasonal fruits offers contrast to the richness of the mousse, making each bite a burst of flavor.
-
Chocolate Sauce Drizzle: A warm chocolate drizzle introduces a decadently rich layer, enhancing the overall indulgence of the dessert.
-
Vanilla Ice Cream: Creamy vanilla ice cream rounds out the experience, offering a delightful temperature contrast and velvety texture alongside the mousse.
-
Crushed Nuts: Sprinkle some chopped almonds or walnuts for a crunchy texture that provides an enjoyable bite against the smooth mousse.
-
Mint Leaves Garnish: A few mint leaves not only brighten up the presentation but also lend a refreshing note that balances the sweetness beautifully.
-
Espresso or Coffee: A small cup of espresso or a latte pairs wonderfully, as the coffee’s bitterness contrasts beautifully with the mousse’s sweetness while complementing its chocolate flavor.
Mix and match these ideas to create a dessert spread that’s sure to impress family and friends around your table!
How to Store and Freeze Oreo Mousse
Fridge: Keep the Oreo mousse covered in the refrigerator for up to 2 days. This will help preserve its creamy texture and prevent it from absorbing odors.
Freezer: While it’s best enjoyed fresh, you can freeze the mousse for up to 1 month in an airtight container. Just remember that this may alter the texture slightly once thawed.
Reheating: To enjoy the mousse after freezing, move it to the fridge for 6-8 hours to allow it to thaw gently. Stir before serving to reinstate some of its original creaminess.
Serving Tips: When ready to serve, add fresh toppings or more crushed Oreos to rejuvenate the presentation of your indulgent Oreo mousse!
Oreo Mousse Variations & Substitutions
Feel free to play around with your Oreo mousse to make it uniquely yours! Each variation adds a special twist to this delightful dessert.
-
Gluten-Free: Use gluten-free Oreo cookies to create a dessert everyone can enjoy without missing the classic flavor.
-
Lower-Fat: Substitute low-fat cream cheese, and you can still enjoy the rich texture with less guilt! Each bite will still satisfy your sweet tooth.
-
Chocolate Lover: Add a tablespoon of cocoa powder to your cream cheese mixture for an extra chocolatey richness. This will deepen the flavors and create an indulgent treat.
-
Nutty Crunch: Fold in a handful of chopped nuts or crushed pralines for added texture. The nutty crunch complements the creamy mousse beautifully.
-
Minty Fresh: Swap in mint extract instead of vanilla for a refreshing twist. This simple switch transforms your mousse into a delightful after-dinner treat.
-
Oreo Layers: Consider layering your mousse with more crushed Oreos or even a layer of homemade chocolate sauce in between for a stunning presentation. Each layer will add a delightful surprise!
-
Semi-Sweet Twist: Use semi-sweet chocolate chips instead of or alongside Oreos for a different flavor profile. This will make each bite ooze with chocolaty goodness, reminiscent of a dreamy texture!
-
More Cookie Varieties: Mix in other flavors of cookies (like peanut butter or vanilla) to break away from the classic Oreo flavor and create new dessert experiences!
With all these variations, you can reinvent your Oreo mousse time and again! If you love indulging in layered desserts, check out my recipes for a delicious Oreo Milkshake Every or a lovely Ras Malai Mousse for further sweet inspirations.
Oreo Mousse Recipe FAQs
How do I select the right Oreos for my mousse?
Absolutely! When choosing Oreos, pick the classic variety for the traditional cookies-and-cream flavor. Ensure the cookies are fresh and not past their expiry date. If you’re opting for a gluten-free version, look for gluten-free Oreos that many brands now offer.
How should I store my leftover Oreo mousse?
Very easy! Keep the Oreo mousse covered in the refrigerator for up to 2 days. This helps maintain its texture and prevents any fridge odors from seeping in. Always cover it tightly with plastic wrap or transfer it to an airtight container.
Can I freeze Oreo mousse?
Yes, you can! While Oreo mousse is best enjoyed fresh, it can be frozen for up to 1 month. Just spoon it into an airtight container, leaving some space at the top for expansion. When you’re ready to enjoy it, thaw the mousse in the refrigerator for 6-8 hours and give it a gentle stir before serving to regain that creamy texture.
What if my Oreo mousse turns out lumpy?
Not to worry! If your mousse is lumpy, it’s likely due to improperly softened cream cheese. To avoid this, make sure to bring the cream cheese to room temperature before mixing. If you encounter lumps, you can blend the mousse with an immersion blender to smooth it out—just be gentle to preserve the airy texture!
Is Oreo mousse suitable for pets or those with dietary allergies?
It’s best to keep this mousse away from pets, especially dogs, due to the chocolate content in Oreos, which can be toxic for them. Additionally, if you’re making this dessert for guests with dietary restrictions, consider using low-fat cream cheese or gluten-free Oreos for a friendlier option to those avoiding gluten. Always check ingredient labels for allergens, too!
Decadent Oreo Mousse: The Ultimate No-Bake Delight
Ingredients
Equipment
Method
- Pour 1 cup of heavy cream into a mixing bowl. Beat on medium speed until soft peaks form, about 3-5 minutes.
- Combine 8 ounces of softened cream cheese, 1 teaspoon of vanilla extract, and 1 cup of powdered sugar in a separate bowl. Mix on low speed until smooth and creamy, about 2-3 minutes.
- Gently fold the whipped cream into the cream cheese mixture using a rubber spatula, preserving the airiness.
- Crush about 10-12 Oreo cookies into small pieces and mix them into the mousse mixture.
- Spoon the mousse mixture into individual cups, cover with plastic wrap, and chill for at least 2 hours.
- Gently stir the mousse before serving and top with additional Oreo crumbs.
Leave a Reply