
As I strolled down the sunlit path of my neighborhood’s annual 4th of July parade, the air was filled with laughter and the sweet scent of summer treats. It hit me—what’s a festive celebration without vibrant, mouth-watering desserts? That’s why I’m thrilled to share my recipe for 4th of July Ice Cream Cones, a fun and delightful way to bring a burst of patriotic flair to your holiday gatherings. These easy-to-make desserts not only add a playful twist to your typical ice cream routine but are also incredibly versatile, accommodating gluten-free options for your health-conscious friends. Whether you’re hosting a backyard barbecue or joining friends at a picnic, these colorful cones are sure to be a hit! Ready to indulge in some joyful creativity and impress your guests? Let’s dive into the details of these festive treats!
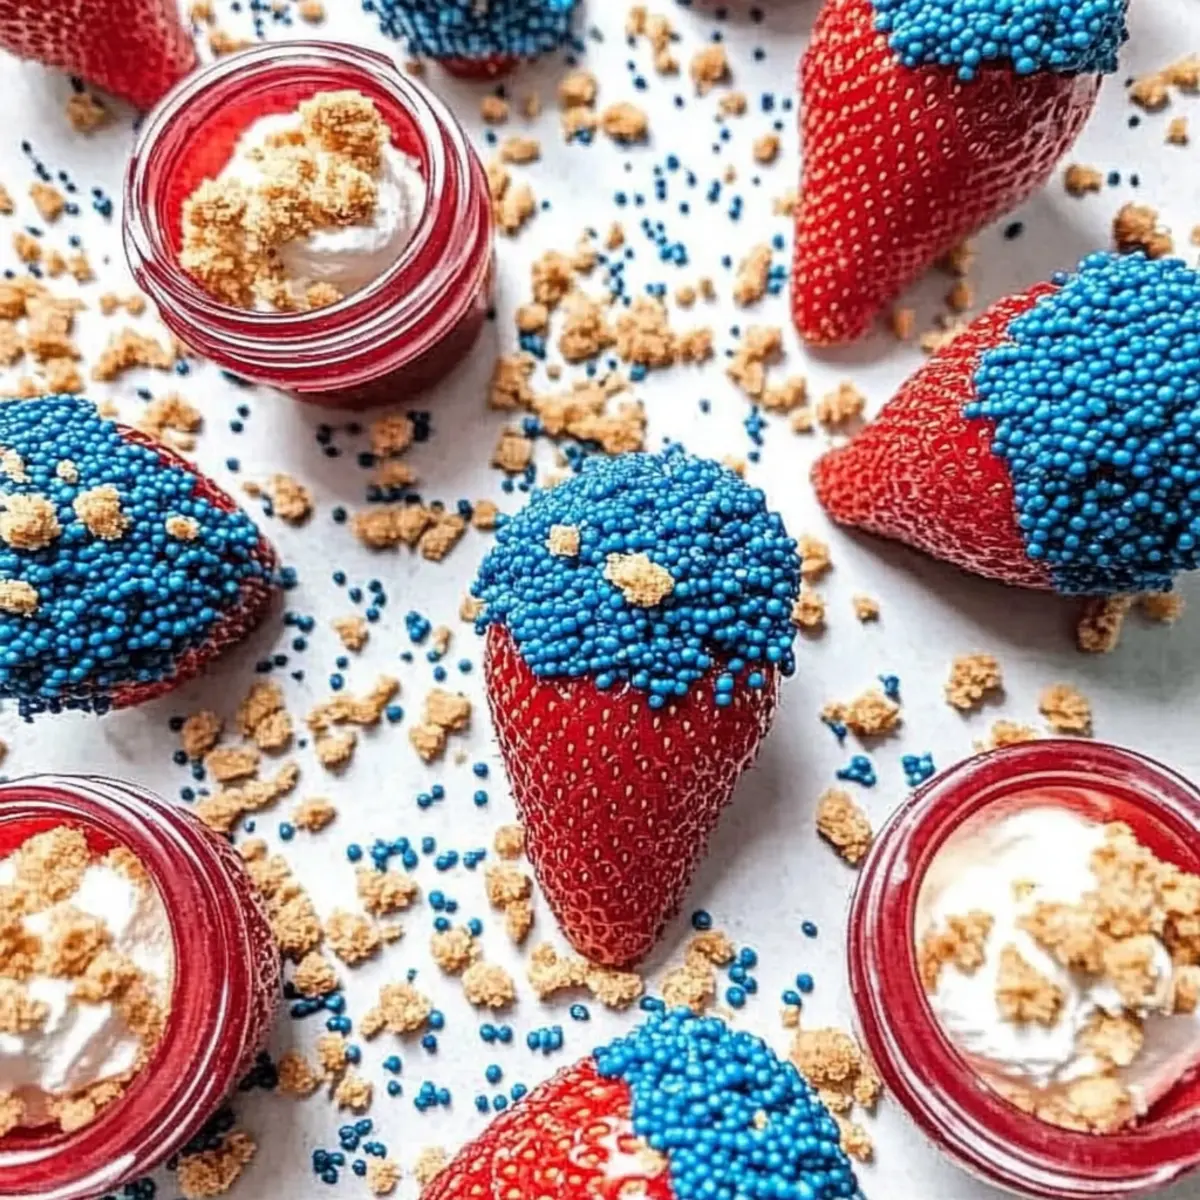
Why Choose 4th of July Ice Cream Cones?
Vibrant Presentation: These cones are not just desserts; they’re edible art! Layered with red, white, and blue toppings, they instantly catch the eye and elevate your table.
Endless Creativity: Customize your ice cream flavors and toppings based on personal preferences or seasonal availability. From fresh berries to sprinkles, the choices are limitless!
Easy Preparation: With minimal ingredients and no complicated techniques, these cones are a breeze to make. Perfect for any skill level, they will save you time while impressing your guests.
Crowd Pleaser: Who doesn’t love ice cream? These fun cones bring smiles and laughter, making them the star of your July 4th festivities.
Healthier Options: Accommodate everyone by offering gluten-free cones or lighter ice cream varieties. That way, your desserts can be enjoyed by all, including health-conscious friends.
These 4th of July Ice Cream Cones are the perfect blend of fun, flavor, and festivity, sure to leave a lasting impression!
4th of July Ice Cream Cone Ingredients
For the Cones
• Waffle cones – A classic choice, providing a delightful crunch; gluten-free cones are also available for those with dietary restrictions.
• Chocolate melts – Use these for a rich coating on the inside of the cones to add flavor and prevent melting.
For the Ice Cream
• Vanilla ice cream – A timeless base that pairs wonderfully with all toppings; consider using a lighter version for a healthier twist.
• Red fruit toppings – Fresh strawberries or raspberries add a vibrant red hue; perfect for honoring the spirit of the holiday.
• Blue fruit toppings – Blueberries or blackberries provide the striking blue color; feel free to mix in some edible glitter for extra fun!
For the Toppings
• Whipped cream – This adds a light and fluffy touch; a dairy-free version can be used for vegan-friendly options.
• Red, white, and blue sprinkles – These festive sprinkles are a perfect finishing touch that enhances the patriotic theme.
• Chocolate syrup – Drizzle it on top for extra sweetness; consider a sugar-free version for a lighter dessert option.
With these ingredients, your 4th of July Ice Cream Cones will be not only visually stunning but also delicious bites of summer joy!
Step‑by‑Step Instructions for 4th of July Ice Cream Cones
Step 1: Prepare the Cones
Start by melting the chocolate melts in a double boiler over medium heat, stirring until smooth. This should take about 5 minutes. Once melted, carefully dip the inside of each waffle cone into the chocolate, ensuring an even coating. Place the coated cones upside down on a parchment-lined tray, allowing them to set at room temperature until the chocolate hardens, approximately 15 minutes.
Step 2: Fill with Ice Cream
Scoop vanilla ice cream into each cone, filling them generously to the top. Use a spatula or a small ice cream scoop to create a beautifully rounded dome. Depending on your freezer temperature, the ice cream should be easy to manage. If it’s soft, place the filled cones in the freezer for 5–10 minutes until slightly firmer, making them easier to load and top.
Step 3: Add Fruit Toppings
Once the ice cream is set, add your patriotic toppings. Start with fresh strawberries or raspberries for the red layer, and gently press them into the ice cream for stability. Next, scatter blueberries or blackberries on top for an eye-catching blue contrast. This step not only adds color but also an explosion of fruity flavor that complements the creamy ice cream.
Step 4: Pipeless Whipped Cream
Using a can of whipped cream, generously pipe a swirl on top of each cone to create a fluffy finishing touch. Aim for a classic swirl that adds height and elegance to your 4th of July Ice Cream Cones. If you’re using a dairy-free version, ensure it’s well-shaken before application, then gently squeeze to achieve the desired shape.
Step 5: Decorate with Sprinkles
Now, it’s time for the festive sprinkles! Gently sprinkle red, white, and blue sprinkles over the whipped cream and fruit layers. This is where the fun kicks in, as you can customize the amount and blend of colors to create a visually stunning effect. Make sure to do this quickly so the whipped cream doesn’t melt while you work.
Step 6: Drizzle with Chocolate Syrup
Finally, take your chocolate syrup and drizzle it artistically over the top of each cone, enhancing the sweetness and bringing together all the flavors beautifully. If you prefer a healthier option, opt for a sugar-free syrup. This step adds a delightful finishing touch, making your 4th of July Ice Cream Cones truly stand out at your celebration.
Step 7: Chill and Serve
After assembling the cones, place them carefully in a tall glass or cone holder to prevent them from toppling over. Chill them in the freezer for an additional 15–20 minutes to ensure everything holds together nicely. When ready to serve, bring them out and enjoy the festive treats with family and friends at your July 4th festivities!
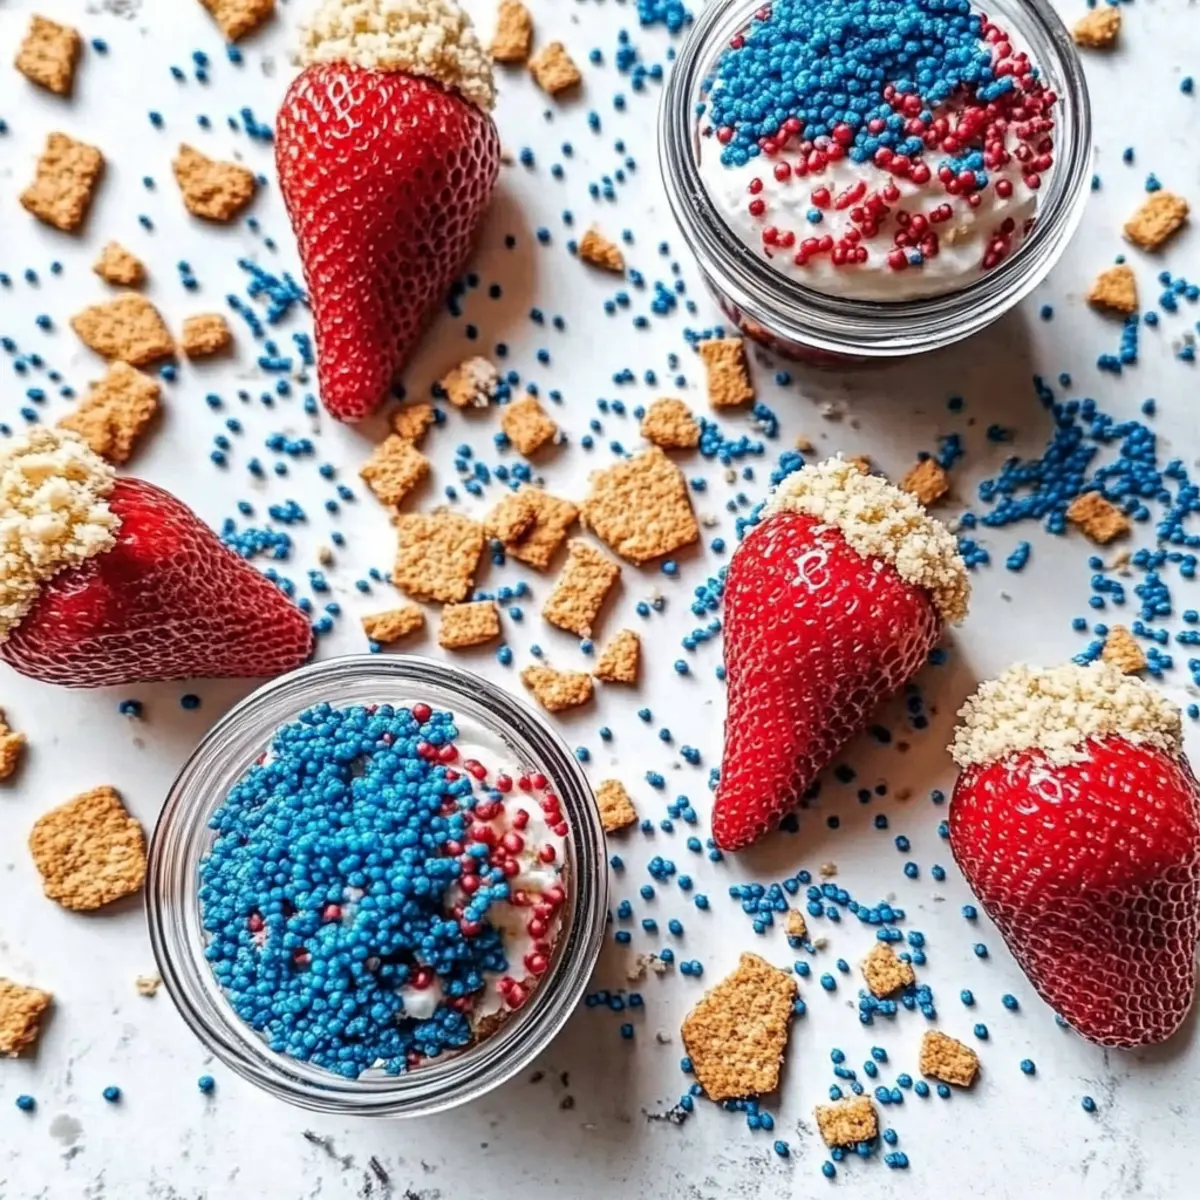
Make Ahead Options
These festive 4th of July Ice Cream Cones are perfect for busy cooks looking to save time while still impressing their guests! You can prepare the chocolate-coated cones up to 24 hours in advance; simply store them upright in an airtight container at room temperature. For the ice cream, scoop it into the cones and add the fruit toppings up to 3 hours before serving; keep them in the freezer to ensure they remain firm. When it’s time to celebrate, just dollop the whipped cream, sprinkle the festive toppings, and drizzle with chocolate syrup for an easy yet stunning presentation. This way, you’ll enjoy splendid, stress-free festivities with minimum effort!
How to Store and Freeze 4th of July Ice Cream Cones
Room Temperature: For best quality, serve these cones immediately after assembling; they are best enjoyed fresh to keep the ice cream from melting too quickly.
Fridge: If needed, you can store any leftover assembled cones in the fridge for up to 1 hour. However, be aware that the cones may become slightly soggy from the melting ice cream.
Freezer: Store unassembled cones in an airtight container in the freezer for up to 1 month. Keep the toppings separate to preserve crunchiness and freshness.
Reheating: If you’ve frozen filled cones, let them thaw in the fridge for about 30 minutes before serving. Avoid refreezing, as this can affect the texture of the ice cream.
What to Serve with 4th of July Ice Cream Cones?
Every celebration deserves a delightful accompaniment to enhance the festive spirit; let’s create a vibrant summer feast together!
-
Patriotic Fruit Salad: A mix of strawberries, blueberries, and bananas adds freshness and color, making it the perfect light side dish. This salad can be served in cute red-and-white bowls to keep the festive theme going.
-
Grilled Veggie Skewers: These colorful skewers of zucchini, bell peppers, and cherry tomatoes are not only delicious but also provide a savory counterbalance to sweet desserts. The smoky char from grilling pairs wonderfully with the creamy ice cream.
-
Lemonade Spritzers: A refreshing twist on classic lemonade, infused with mint and topped with sparkling water, complements the sweetness of the ice cream cones. This bubbly treat keeps everyone cool and hydrated on a hot summer day.
-
Miniature Cheesecakes: Individual-sized cheesecakes topped with fresh berries carry the same festive colors and offer a creamy indulgence that pairs beautifully with your ice cream creations. Their rich texture is a delightful contrast to the cone’s crunch.
-
Watermelon Slices: Serve juicy watermelon slices alongside the cones to provide a hydrating, sweet, and refreshing treat. Easy to grab and eat, they make for a perfect summer snack!
-
Chocolate-Dipped Pretzels: These sweet and salty snacks add a crunchy bite to your dessert table, bridging the gap between savory and sweet flavors. They also offer a playful twist that kids and adults alike will adore!
Expert Tips for 4th of July Ice Cream Cones
• Choose Quality Cones: Opt for fresh waffle cones to ensure crispness. Stale cones can compromise your dessert’s texture and enjoyment.
• Work Quickly: Ice cream melts fast, especially in summer. Fill and decorate the cones promptly, and keep extras in the freezer while working to maintain their shape.
• Layer Wisely: For the best presentation and flavor, layer the fruits with a variety of textures and colors. This also allows for a more visually striking 4th of July Ice Cream Cones display.
• Stabilize the Toppings: Press down fruits gently into the ice cream for stability. This prevents them from sliding off when serving, keeping your desserts intact.
• Customize for All: Don’t hesitate to switch up the flavors and add-ins to cater to everyone’s tastes. Gluten-free cones or dairy-free whipped cream mean everyone can enjoy your festive creations!
Feel free to experiment and have fun with your 4th of July Ice Cream Cones!
4th of July Ice Cream Cones Variations
Feel free to unleash your creativity with these festive cones—intertwining flavors and textures for a dazzling dessert experience!
- Gluten-Free: Use gluten-free waffle cones to accommodate friends with dietary restrictions while still enjoying the celebration.
- Fruit Swaps: Replace strawberries with sliced cherries or raspberries for different flavors that add a twist to your design. Each color plays a role in your patriotic palette!
- Ice Cream Flavors: Try using chocolate or strawberry ice cream instead of vanilla for a rich, flavorful base that packs extra zest.
- Nutty Crunch: Sprinkle chopped nuts like pecans or almonds atop the whipped cream for added texture and flavor contrast. The crunch amplifies the enjoyment!
- Sugary Alternatives: Make them sugar-free by opting for a sugar-free chocolate syrup or whipped cream, perfect for keeping things lighter without sacrificing fun.
- Flavor Explosion: Incorporate flavored syrups like raspberry for a fruity drizzle alongside your chocolate syrup for a delightful explosion of taste. It’s an adventure for your taste buds!
- Colorful Sprinkles: Experiment with themed sprinkles beyond the red, white, and blue—think gold or silver for a little extra sparkle during the celebration!
- Dairy-Free Delight: Use coconut or almond milk ice cream for a creamy, dairy-free option. These alternatives offer a refreshing touch that everyone can enjoy.
These variations are simple yet impactful ways to put your unique stamp on these 4th of July Ice Cream Cones and make the day even more memorable. For even more dessert ideas, check out my recipes for Pistachio Ice Cream or Iced Pumpkin Cream that can complement your festive gathering!

4th of July Ice Cream Cones Recipe FAQs
How do I select the best fruits for my 4th of July Ice Cream Cones?
Absolutely! When choosing fruits, look for fresh, ripe strawberries or raspberries, which should be bright in color and firm to the touch. For blueberries or blackberries, ensure they are plump and free from bruises. Avoid any that show dark spots all over, as those are signs of overripeness. Freshly picked berries are wonderful, but if they’re not in season, frozen options can also work in a pinch!
How should I store leftovers of the assembled cones?
If you find yourself with leftover 4th of July Ice Cream Cones, they can be tricky since ice cream melts quickly. I recommend only storing them in the fridge for up to 1 hour. However, this might make the cones a tad soggy. For best results, it’s ideal to assemble and serve them fresh. If you plan on making them in advance, consider storing the components separately.
Can I freeze 4th of July Ice Cream Cones?
Yes! To freeze unassembled cones, simply place them in an airtight container and store them in the freezer for up to 1 month. Keep your toppings in a separate container to maintain their crunchiness. If you have leftover filled cones, let them thaw in the fridge for about 30 minutes before serving. Avoid refreezing filled cones, as it can change the delightful texture of the ice cream.
What if the ice cream melts too quickly while I’m assembling the cones?
Very! It’s important to work quickly, especially on a hot day. You can scoop the ice cream into the cones and then place them back in the freezer for 5–10 minutes before decorating with toppings. This will firm up the ice cream, making it easier to manage. If the ice cream is particularly soft, place it in the freezer for a bit before starting to avoid melting disasters!
Are there gluten-free options for the cones?
Of course! You can easily find gluten-free waffle cones at many grocery stores. Look for those made with gluten-free flours; they’re just as delightful as the traditional ones! Pairing them with gluten-free ice cream and toppings guarantees everyone at your gathering can join in on the fun.
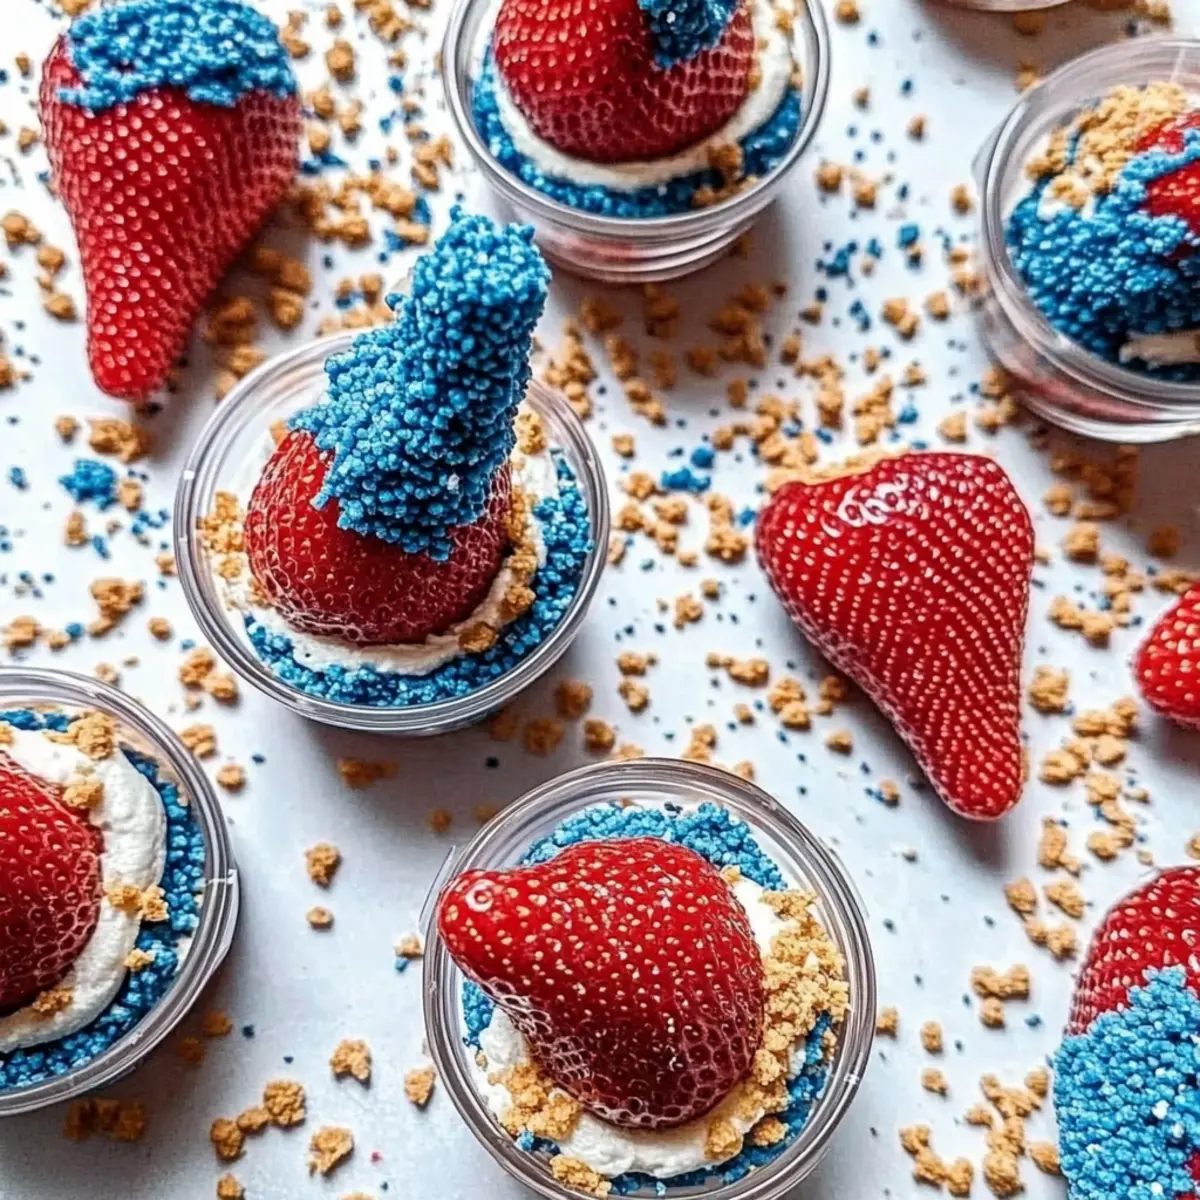
Festive 4th of July Ice Cream Cones to Wow Your Guests
Ingredients
Equipment
Method
- Melt chocolate melts in a double boiler over medium heat, stirring until smooth (about 5 minutes). Dip the inside of each waffle cone into chocolate and place upside down on a parchment-lined tray to set for approximately 15 minutes.
- Scoop vanilla ice cream into each cone, filling generously. If ice cream is soft, place in the freezer for 5–10 minutes to make it easier to top.
- Add fresh strawberries or raspberries for the red layer, then scatter blueberries or blackberries on top.
- Pipe a swirl of whipped cream on top of each cone for a fluffy finishing touch.
- Sprinkle red, white, and blue sprinkles over the whipped cream and fruit layers.
- Drizzle chocolate syrup over each cone to enhance sweetness.
- Chill assembled cones in a tall glass or cone holder for an additional 15–20 minutes before serving.
Leave a Reply