Ingredients
Equipment
Method
Step-by-Step Instructions
- Begin by gathering all the ingredients for your Lemon Cake Balls. Preheat your oven to 350°F (175°C) if you're using it to bake a cake base. Zest and juice your lemons, ensuring you have fresh flavors ready to amplify the taste. In bowls, measure out gluten-free flour, granulated sugar, and soft butter for easy mixing.
- In a large mixing bowl, combine the soft butter and granulated sugar, beating them together until the mixture is light and fluffy—this should take about 2-3 minutes. Gradually add in the lemon zest and freshly squeezed lemon juice, mixing until fully incorporated. Slowly fold in the gluten-free flour until just combined, avoiding overmixing for a tender cake.
- If you’re choosing to bake a cake base for your Lemon Cake Balls, pour the batter into a greased cake pan. Bake in the preheated oven for 20-25 minutes or until the top is lightly golden and a toothpick inserted into the center comes out clean. Allow the cake to cool completely on a wire rack before proceeding to the next step.
- Once the cake is completely cooled, crumble it into a large bowl using your hands or a fork until it resembles fine crumbs. This step is crucial as it creates the base for your Lemon Cake Balls. Add a little more lemon juice to enhance the flavor if the mixture seems too dry. Mix thoroughly to ensure everything is evenly distributed.
- Using your hands, take small portions of the cake mixture and roll them into balls about one inch in diameter. Place each ball on a parchment-lined tray, leaving a small space between each. If you find the mixture too sticky, chill it in the refrigerator for 15 minutes to make rolling easier and maintain shape.
- In a microwave-safe bowl, melt the white chocolate in 30-second intervals, stirring between each until fully smooth. This should take about 1-2 minutes total. Once melted, remove from the microwave and let it cool for a minute to avoid melting the cake balls when you dip them.
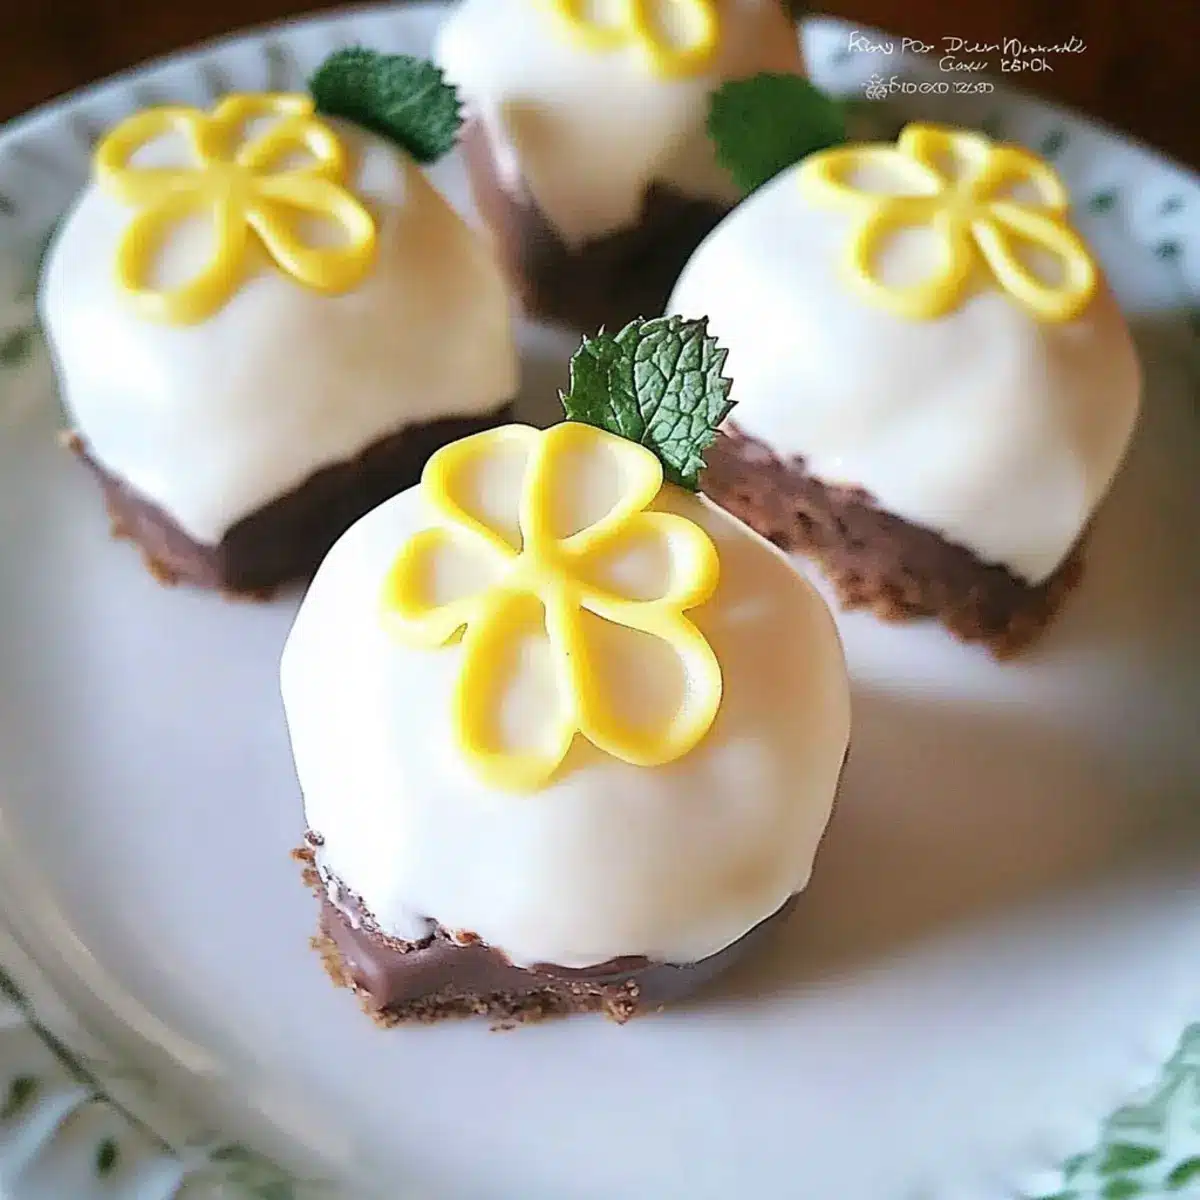
- Dip each cake ball into the melted white chocolate, ensuring they are fully covered. Use a fork to lift them out, allowing any excess chocolate to drip off before placing them back on the parchment-lined tray. For a festive touch, add sprinkles or toasted coconut flakes immediately before the chocolate sets.
- Transfer the tray of coated Lemon Cake Balls to the refrigerator and let them chill for at least 30 minutes or until the chocolate coating has hardened. This step is essential for ensuring your treats hold their shape and provide a satisfying snap when bitten into.
- Once set, your Lemon Cake Balls are ready to impress! Arrange them on a decorative platter or in a festive box for gifting. These delightful treats can be enjoyed right away or stored in an airtight container in the fridge for up to a week, perfect for sharing or savoring later.
Nutrition
Notes
Store finished lemon cake balls in an airtight container for up to a week; they also freeze well for longer freshness.