
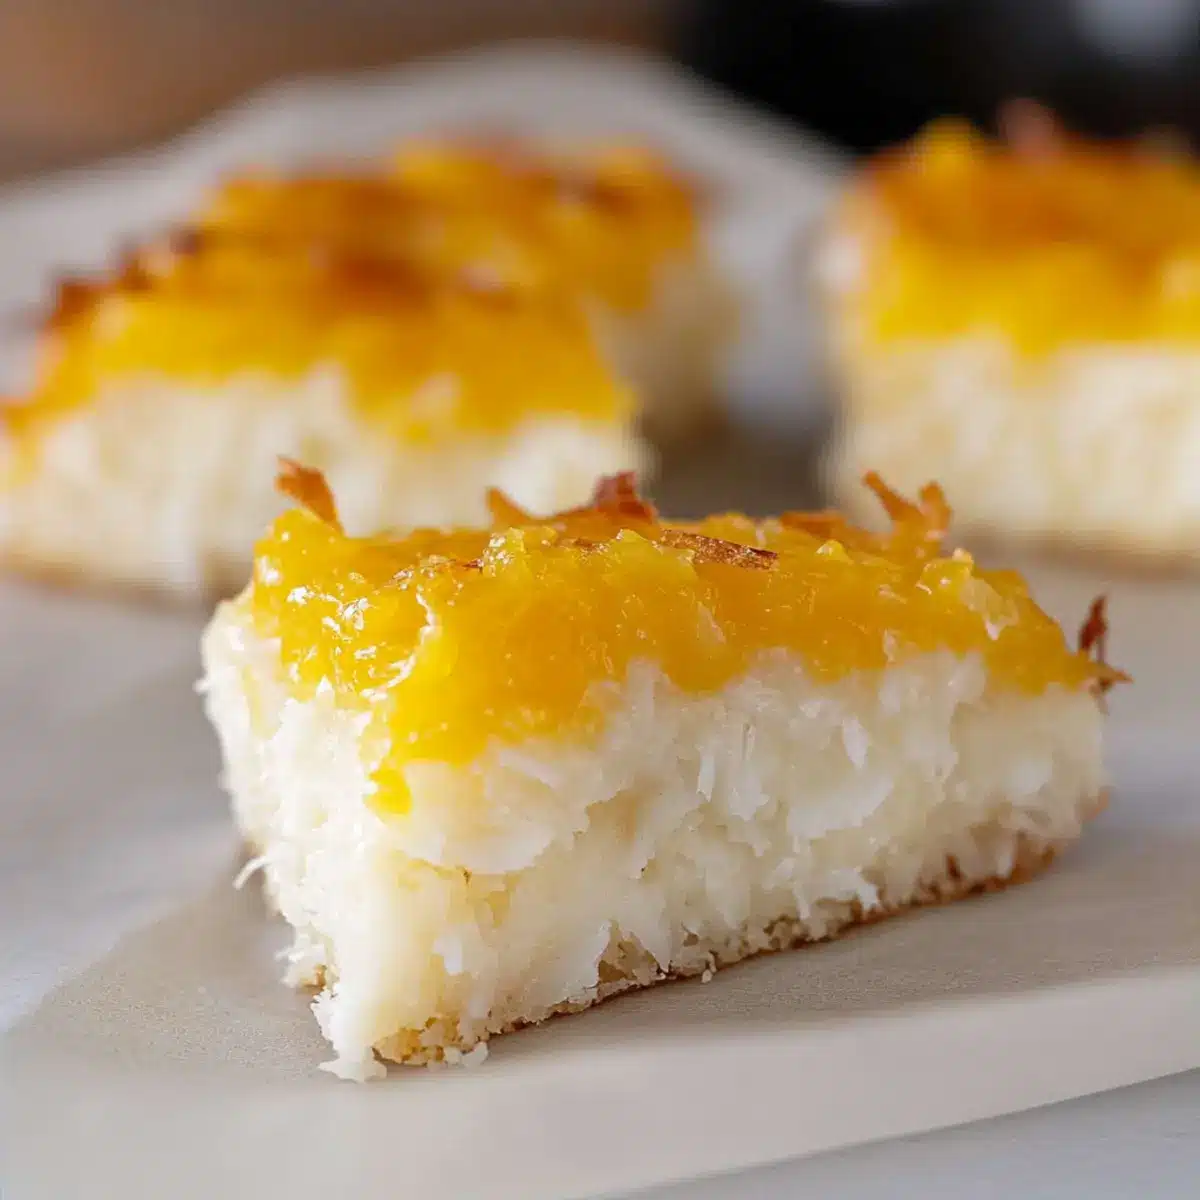
As I stood in my kitchen, the inviting aroma of coconut filled the air, instantly transforming my day into a tropical escape. This Gluten-Free Indonesian Sticky Coconut Cake, known as Wingko Babat, is a delightful way to bring a slice of Indonesia right into your home. What’s truly enchanting about this recipe is how it seamlessly blends fudgy and chewy textures, ensuring that every bite offers a sweet hug of coconut bliss. Plus, it’s remarkably easy to whip up with accessible ingredients, making it perfect for both novice bakers and seasoned home-chefs alike. Whether you’re treating yourself or impressing friends, this cake serves as a gluten-free, crowd-pleasing dessert that celebrates the unique flavors of Indonesian cuisine. Ready to indulge in a delicious journey? Let’s get baking!
Why is Sticky Coconut Cake so special?
Unique Cultural Experience: This Sticky Coconut Cake takes you on a culinary adventure straight to Indonesia, allowing you to enjoy a traditional dessert with ease.
Gluten-Free Delight: With a base of glutinous rice flour, this cake caters to those who are gluten-sensitive while still delivering on taste.
Endless Variations: Want to switch things up? Enjoy experimenting with flavored extracts or substitute tools to suit your dietary needs, like using aquafaba for a vegan option.
Rich in Coconut Flavor: The combination of full-fat coconut milk and shredded coconut ensures that every bite bursts with tropical goodness, appealing to coconut lovers.
Easy to Make: You’ll appreciate how simple the preparation is—perfect for anyone wanting a scrumptious dessert without a fuss! Whether paired with your morning coffee or served at a gathering, this cake will surely impress.
Sticky Coconut Cake Ingredients
Here’s everything you need to make this delectable Sticky Coconut Cake!
For the Batter
• Eggs (2, separated) – Provide structure and moisture; substitute with aquafaba for a vegan version.
• Granulated Sugar (1¼ cup) – Adds sweetness and helps create a golden crust.
• Full-Fat Canned Coconut Milk (2¼ cup) – Gives richness and enhances the coconut flavor; remember to shake well if it separates.
• Shredded Sweetened Coconut (3 cups) – Imparts intense coconut flavor; use unsweetened coconut for a less sweet treat.
• Glutinous Rice Flour (1½ cup) – The key to chewiness and structure; essential for this gluten-free Sticky Coconut Cake; Mochiko can be used as a substitute.
• Vanilla Extract (1 teaspoon) – Enhances overall flavor, optional for added variations.
Step‑by‑Step Instructions for Sticky Coconut Cake
Step 1: Preheat the Oven
Begin by preheating your oven to 350°F (175°C). This crucial step ensures your oven reaches the perfect baking temperature for your Sticky Coconut Cake, which allows the cake to rise beautifully and develop a golden crust. Prepare an 8×8-inch baking pan by greasing it lightly with oil or lining it with parchment paper for easy removal later.
Step 2: Whisk the Egg Whites and Sugar
In a medium mixing bowl, vigorously whisk the separated egg whites and granulated sugar together using a handheld mixer or a whisk. You should aim for a mixture that is frothy and well combined, which usually takes about 2-3 minutes. This step incorporates air into the mix, ensuring a light and fluffy texture for your cake.
Step 3: Combine Coconut Ingredients
Gradually pour in the full-fat canned coconut milk while whisking continuously to create a smooth batter. Next, add the shredded sweetened coconut, glutinous rice flour, and vanilla extract. Stir until all the ingredients are well incorporated, ensuring there are no lumps. The consistency should be thick yet pourable, embodying that rich coconut flavor characteristic of a Sticky Coconut Cake.
Step 4: Pour the Batter and Bake
Carefully pour the batter into your prepared baking pan, spreading it into an even layer with a spatula. Place the pan in your preheated oven and bake for 45 minutes. Watch for the top to develop a light golden color and a slightly firm texture, indicating that your Sticky Coconut Cake is almost ready.
Step 5: Brush with Egg Yolk and Broil
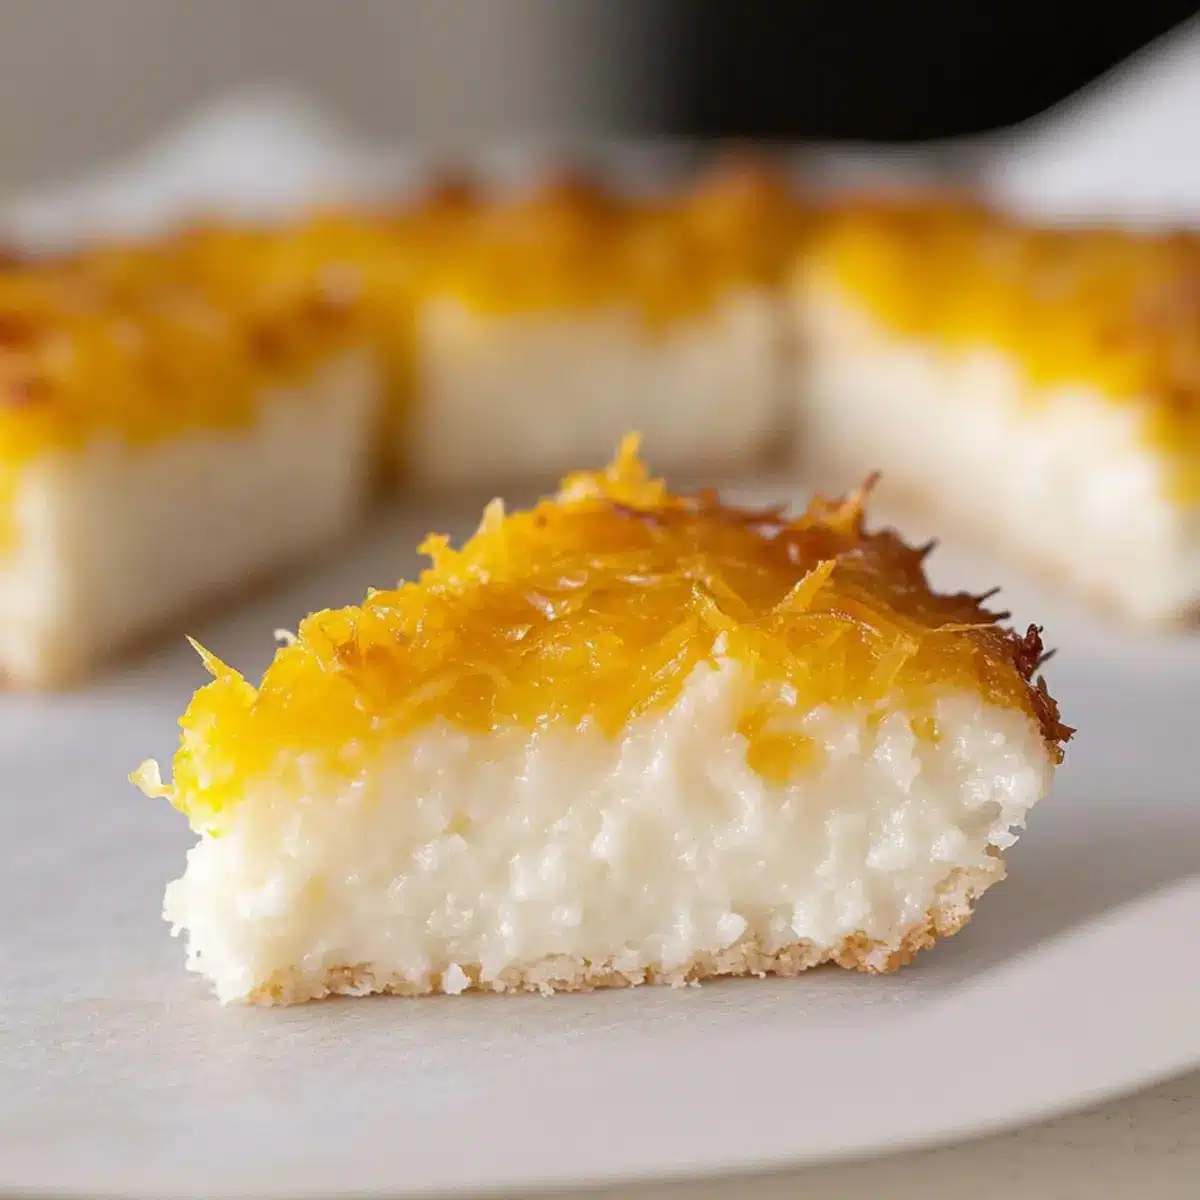
Once baked, remove the cake from the oven and let it cool slightly. In a small bowl, beat the reserved egg yolk, then gently brush it over the top of the cake. This step adds a beautiful shine and an extra layer of flavor. Return the cake to the oven under the broiler for an additional 5-10 minutes, or until the top is golden brown—keep a close eye to prevent burning.
Step 6: Cool and Refrigerate
After broiling, allow the cake to cool completely on a wire rack. This cooling process helps set the texture. Once cooled, cover it with plastic wrap or foil and refrigerate for at least 8 hours, or preferably overnight. This chilling time is key to achieving the perfect chewy consistency that makes the Sticky Coconut Cake so delightful when served.
Step 7: Slice and Serve
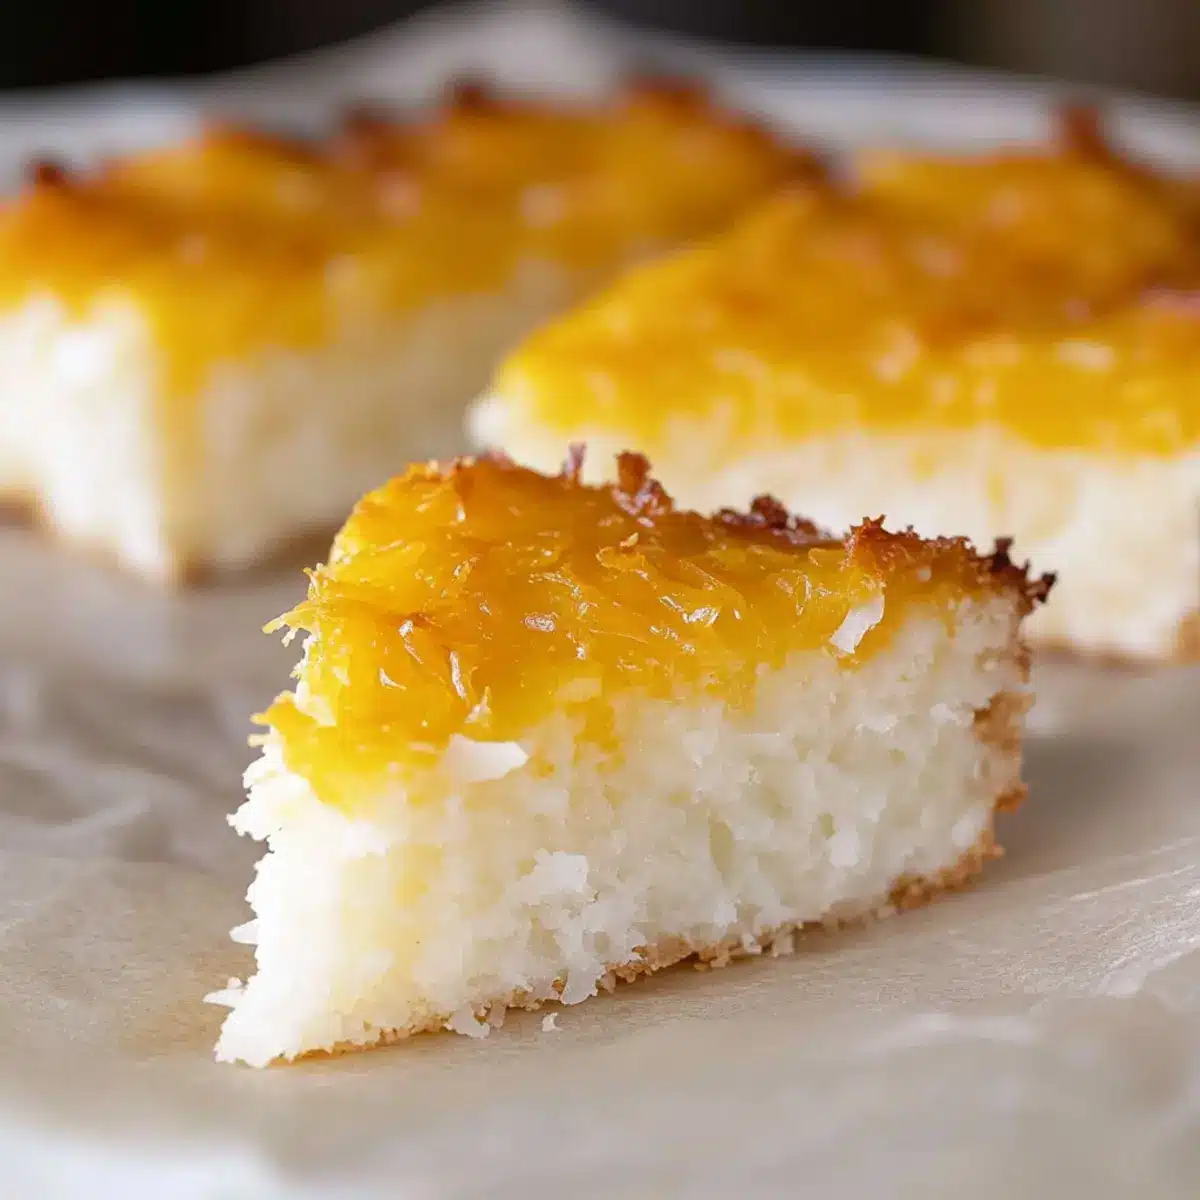
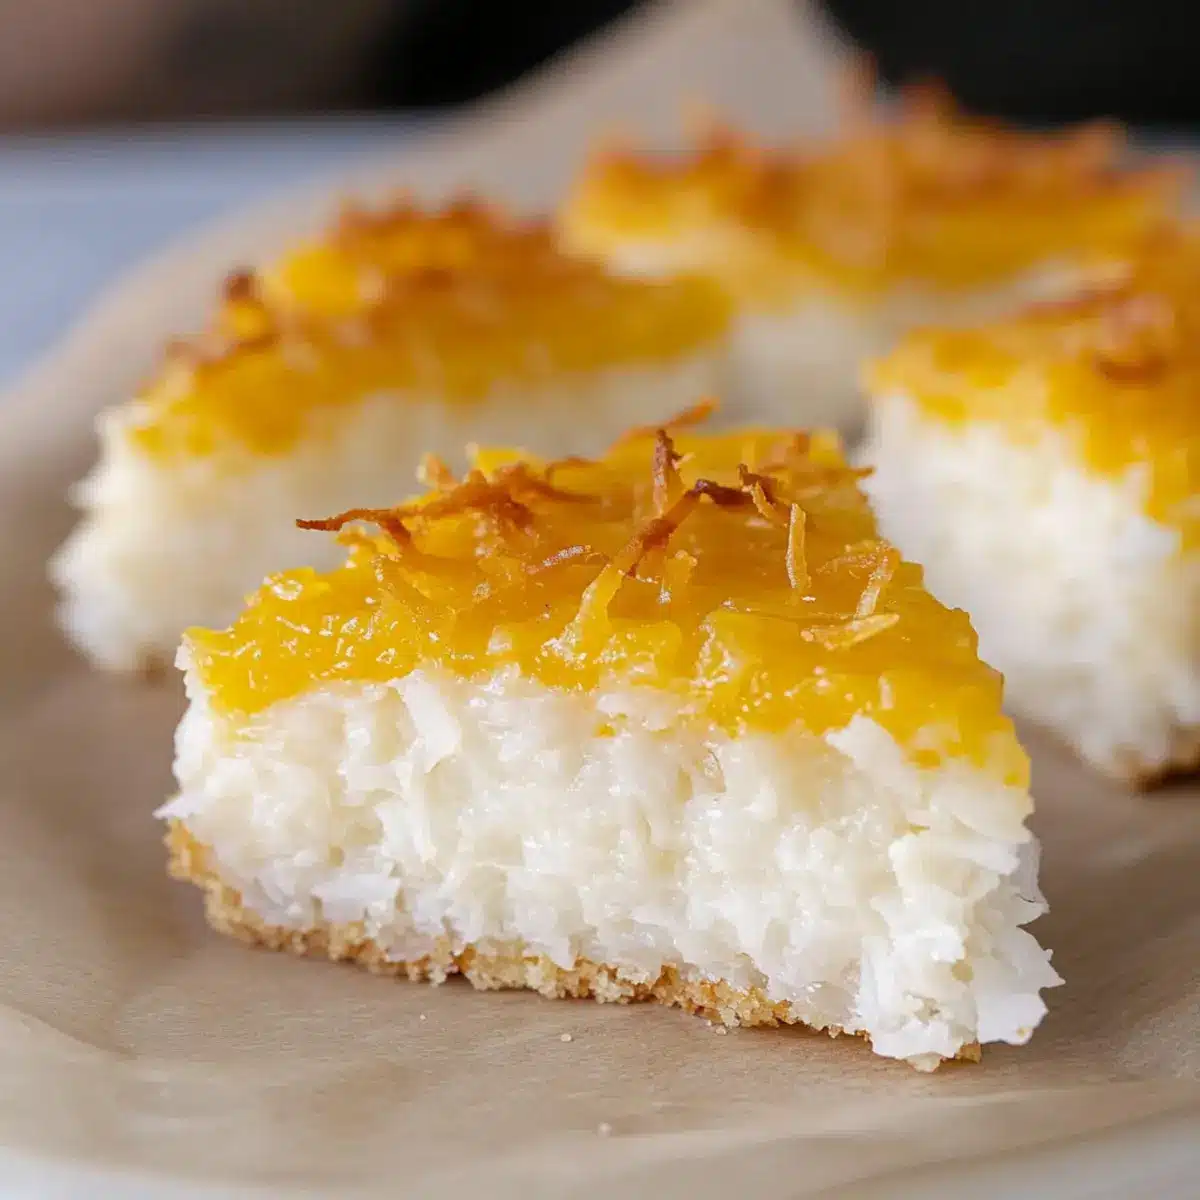
After refrigeration, take the cake out and let it sit at room temperature for a few minutes. Use a sharp knife to cut it into squares or triangles. The cake will have a silky texture with a slight stickiness, ready to wow your family and friends with its delicious flavors. Serve chilled or at room temperature, perhaps alongside a cup of coffee or tea, for a delightful treat!
Expert Tips for Sticky Coconut Cake
-
Mix Thoroughly: Ensure all ingredients are combined well to avoid lumps, which can impact the texture of your Sticky Coconut Cake.
-
Gentle Egg Yolk Brush: When brushing the egg yolk on top, do it lightly to prevent tearing the cake surface, resulting in a smoother finish.
-
Refrigerate Overnight: Allow your cake to chill overnight for the best texture and to let the flavors meld perfectly, making every bite delightful.
-
Measure Flour Precisely: Be accurate with your glutinous rice flour measurement; using too much can affect the desirable chewiness of your cake.
-
Variate Wisely: Feel free to experiment with different flavored extracts, but keep the primary focus on ensuring the taste still highlights the coconut!
How to Store and Freeze Sticky Coconut Cake
Fridge: Store the Sticky Coconut Cake in an airtight container for up to 2 weeks. This keeps the cake fresh while retaining its delightful coconut flavor and chewy texture.
Freezer: For longer storage, wrap the cake slices individually in plastic wrap and then place them in a freezer-safe bag. This will keep them tasty for up to 3 months.
Thawing: When ready to enjoy, simply remove the desired slice from the freezer and let it thaw in the fridge overnight for the best results.
Serving Tip: Remember to serve the cake chilled or at room temperature, enhancing the flavors, making each bite a delicious journey into tropical paradise.
What to Serve with Gluten-Free Indonesian Sticky Coconut Cake?
Experience the delightful flavors and textures of your Sticky Coconut Cake by pairing it with these complementary dishes and beverages.
-
Fresh Mango Slices: The sweet and juicy mango adds a refreshing contrast, balancing the dense, fudgy nature of the cake.
-
Coconut Iced Coffee: A chilled coffee drink infused with coconut complements the cake’s rich flavor, creating a refreshing and invigorating pairing.
-
Whipped Coconut Cream: This light, airy topping enhances the coconut experience, adding creaminess while keeping it indulgently tropical.
-
Passion Fruit Sorbet: Its tartness beautifully offsets the sweetness of the cake, making it a perfect palate cleanser between bites.
-
Spiced Tea: A warm cup of masala chai or ginger tea adds a fragrant, spiced layer that pairs harmoniously with the dessert’s rich coconut.
-
Pineapple Upside-Down Cake: This fruity counterpart, with its moist and caramelized flavors, offers delightful contrasts and complements the dessert’s sticky texture.
-
Chilled Green Tea: The subtle, earthy flavors of green tea help cleanse the palate, providing a refreshing balance after every sweet bite.
-
Chocolate Dipped Strawberries: These sweet, chocolatey treats provide a fun contrast to the cake, adding an elegant touch to any dessert table.
-
Toasted Coconut Chips: For an extra crunch, scatter some toasted coconut chips on top; they amplify the coconut essence while adding a delightful texture.
Sticky Coconut Cake Variations
Feel free to personalize this delightful Sticky Coconut Cake and explore flavors that speak to your heart!
-
Vegan Twist: Substitute aquafaba for egg whites to create a completely egg-free cake, perfect for vegan diets. This small change opens the door to cozy coconut indulgence for everyone!
-
Nutty Addition: Replace shredded coconut with finely chopped nuts like almonds or walnuts for a delightful crunch and new texture. The nutty flavor will elevate the taste beautifully.
-
Sweet Swap: Use unsweetened shredded coconut instead of sweetened for a less sweet yet equally delicious dessert. This allows the coconut flavor to shine, making it a fantastic choice for those who prefer subtle sweetness.
-
Flavor Variations: Experiment with flavored extracts! Swap out the vanilla extract for almond or coconut extract to add another layer of flavor that’ll intrigue your taste buds. Your kitchen will smell heavenly!
-
Spicy Kick: Add a pinch of cinnamon or a hint of nutmeg for a warm, spiced flavor profile that contrasts beautifully with the coconut. It will make your cake cozy and inviting!
-
Tropical Fruit Twist: Incorporate mashed ripe bananas or pineapple into the batter for a fruity twist that enhances the tropical vibe. The moisture will also add to the cake’s delightful chewiness.
-
Coconut Essence Boost: Add an extra splash of coconut essence for coconut lovers. This will amplify the tropical flavor, making every bite a true paradise!
-
Gluten-Free Alternative: If glutinous rice flour is hard to find, try using sweet rice flour (also known as Mochiko), which still ensures that chewy texture and allows more people to enjoy this wonderful dessert!
If you’re in the mood for more coconut adventures, why not check out my delightful recipe for Coconut Crusted Salmon or treat yourself to these delectable Healthy Sticky Chicken?
Make Ahead Options
These Sticky Coconut Cakes are perfect for meal prep enthusiasts! You can mix the batter up to 24 hours in advance, storing it tightly covered in the refrigerator to maintain freshness and flavor. Additionally, you can bake the cake and refrigerate it for up to 3 days before serving; this chilling time enhances the chewy texture. After baking, allow the cake to cool completely, then cover it with plastic wrap or foil to prevent dryness. When you’re ready to serve, simply slice the cake into squares or triangles and enjoy chilled or at room temperature—allowing you to savor this delightful tropical treat with minimal effort!
Sticky Coconut Cake Recipe FAQs
What should I look for when selecting eggs for the Sticky Coconut Cake?
Choosing fresh eggs is crucial for your Sticky Coconut Cake. Look for eggs that are clean and have no cracks. Additionally, check the sell-by date to ensure they are fresh. If you’re looking for a vegan version, I recommend using aquafaba, which is the liquid from canned chickpeas and can be whipped just like egg whites.
How should I store the Sticky Coconut Cake?
To keep your Sticky Coconut Cake deliciously fresh, store it in an airtight container in the refrigerator for up to 2 weeks. This method helps retain its delightful coconut flavor and chewy texture, so you can enjoy every bite over multiple days!
Can I freeze the Sticky Coconut Cake, and if so, how?
Absolutely! Freezing is a great way to extend the life of your Sticky Coconut Cake. I recommend wrapping individual slices tightly in plastic wrap and then placing them inside a freezer-safe bag. This way, they will remain luscious for up to 3 months. When you’re ready to indulge, simply transfer a slice to the fridge the night before to thaw for best results.
What if my Sticky Coconut Cake doesn’t set properly?
If your cake doesn’t set as expected, check that you used glutinous rice flour instead of all-purpose flour, as the former is essential for the cake’s texture. Additionally, ensuring you’ve mixed all ingredients thoroughly can prevent lumps. If the cake is too thick, it may need a bit more coconut milk next time, or perhaps a longer baking time. Always trust your instincts and bake until you achieve that lovely golden crust!
Is this Sticky Coconut Cake suitable for those with allergies?
This recipe contains coconut and eggs, so if you or your loved ones have allergies, take extra precautions! You can substitute the eggs with aquafaba for a vegan version. For those allergic to coconut, this cake might not be suitable since coconut is the star ingredient, but you could experiment with another flour-based cake for a different treat.
How do I know if my coconut milk is good to use?
When using full-fat canned coconut milk, make sure to shake it well before use to recombine any separated layers. If the coconut milk appears grainy or has an off-putting smell, it’s better to discard that can and choose a fresh one. Good quality coconut milk will provide a rich and smooth flavor, elevating your Sticky Coconut Cake experience!
Irresistible Sticky Coconut Cake Recipe That Will Wow You
Ingredients
Equipment
Method
- Preheat your oven to 350°F (175°C) and prepare an 8x8-inch baking pan by greasing it or lining it with parchment paper.
- In a medium bowl, whisk the separated egg whites and granulated sugar until frothy and well combined for about 2-3 minutes.
- Gradually pour in the canned coconut milk while whisking continuously, then add the shredded coconut, glutinous rice flour, and vanilla extract. Stir until well incorporated.
- Pour the batter into the prepared baking pan and spread it evenly. Bake for 45 minutes until the top is golden.
- Brush the top of the cake with beaten egg yolk and broil for 5-10 minutes until golden brown, watching closely to avoid burning.
- Let the cake cool on a wire rack, then cover and refrigerate for at least 8 hours, preferably overnight.
- Slice the cake into squares or triangles and serve either chilled or at room temperature.
Leave a Reply