
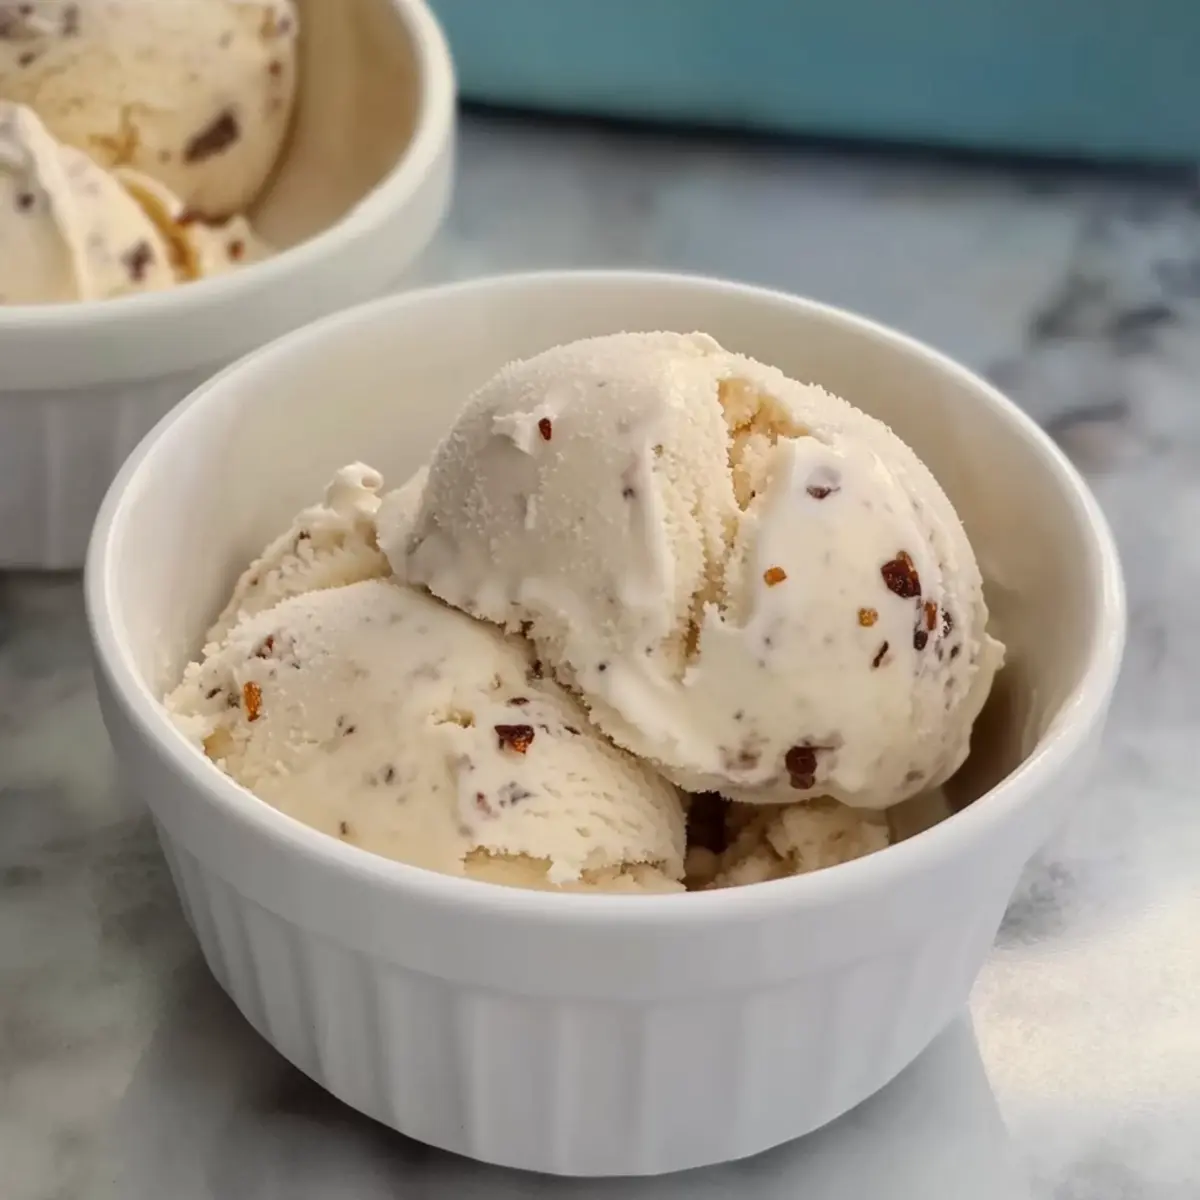
As I scooped into that first mouthful of my homemade Sea Salt & Honey Protein Ice Cream, a wave of nostalgia washed over me. It reminded me of those sweltering summer days spent chasing down ice cream trucks, yet without the guilt that often followed. Crafted with just five simple ingredients, this delectable treat is not only gluten-free and refined sugar-free but also packs a protein punch that keeps you feeling satisfied. Whether you’re whipping it up for a family gathering or just need a sweet escape after a hectic day, it’s a swift and healthy alternative to store-bought options. Plus, it’s effortlessly made in the Ninja CREAMi, making your dessert dreams a seamless reality. Have you ever thought ice cream could be good for you? Well, get ready to indulge without compromise!
Can Ice Cream Be Healthy and Delicious?
Creamy, Luxurious Texture: The blend of cottage cheese and dates creates an unexpectedly smooth and luscious ice cream that’s hard to resist.
Simple Ingredients: With just five components, making this dessert is not only easy but fast!
Health-Friendly: Gluten-free, refined sugar-free, and high in protein, this ice cream fits beautifully into your health-conscious lifestyle.
Versatile Option: Customize it with toppings or flavor variations like adding lavender for a floral twist!
Crowd-Pleasing Treat: Perfect for family gatherings or a personal treat, everyone will love this guilt-free indulgence. Enjoy it alongside Honey Glazed Corn for a satisfying meal finish!
Sea Salt & Honey Protein Ice Cream Ingredients
• Here’s what you’ll need to whip up this delicious treat!
For the Base
- Cottage Cheese – This creamy ingredient adds protein and a smooth texture; opt for low-fat or fat-free varieties for a lighter base.
- Dates – Naturally sweeten your ice cream while boosting fiber; soak pitted dates in warm water for easier blending.
For Sweetness
- Honey – Offers delightful flavor and natural sweetness; choose raw, organic honey for a richer taste. You can use raw maple syrup for a vegan alternative.
For the Flavor
- Flaky Sea Salt – Balances the sweetness beautifully; feel free to sprinkle extra on top for that gourmet touch.
Ninja CREAMi Requirement
- Ninja CREAMi Base – Key to achieving that creamy ice cream texture; make sure to follow the instructions that come with your machine.
This Sea Salt & Honey Protein Ice Cream is not only a revelation but also an indulgence you can feel good about!
Step‑by‑Step Instructions for Sea Salt & Honey Protein Ice Cream
Step 1: Mix Ingredients
In a high-powered blender, combine 1 cup of cottage cheese, 3 tablespoons of honey, 6 pitted dates, and a pinch of flaky sea salt. Blend on medium speed for about 1-2 minutes until the mixture is smooth and creamy, with no large pieces remaining. The texture should be velvety, indicating a well-blended base for your Sea Salt & Honey Protein Ice Cream.
Step 2: Freeze Base
Pour the blended mixture into your Ninja CREAMi container, ensuring it’s filled to the max line for optimal freezing. Place the container in the freezer and let it freeze for at least 4 hours or until solid. Check that the mixture is fully firm—you should see an icy surface that resembles traditional ice cream, ready for processing.
Step 3: Process
After the mixture has frozen completely, remove the container from the freezer and insert it into the Ninja CREAMi machine. Select the “ice cream” function and process for about 1-2 minutes. Keep an eye on the consistency; the Sea Salt & Honey Protein Ice Cream should emerge smooth and creamy, perfect for scooping.
Step 4: Adjust Consistency
If the ice cream appears too hard to scoop, allow it to sit at room temperature for 5 minutes to soften slightly. Alternatively, you can run the Ninja CREAMi again for an additional minute, adjusting the texture to your liking. The ideal consistency should be soft yet scoopable, ready to serve.
Step 5: Serve
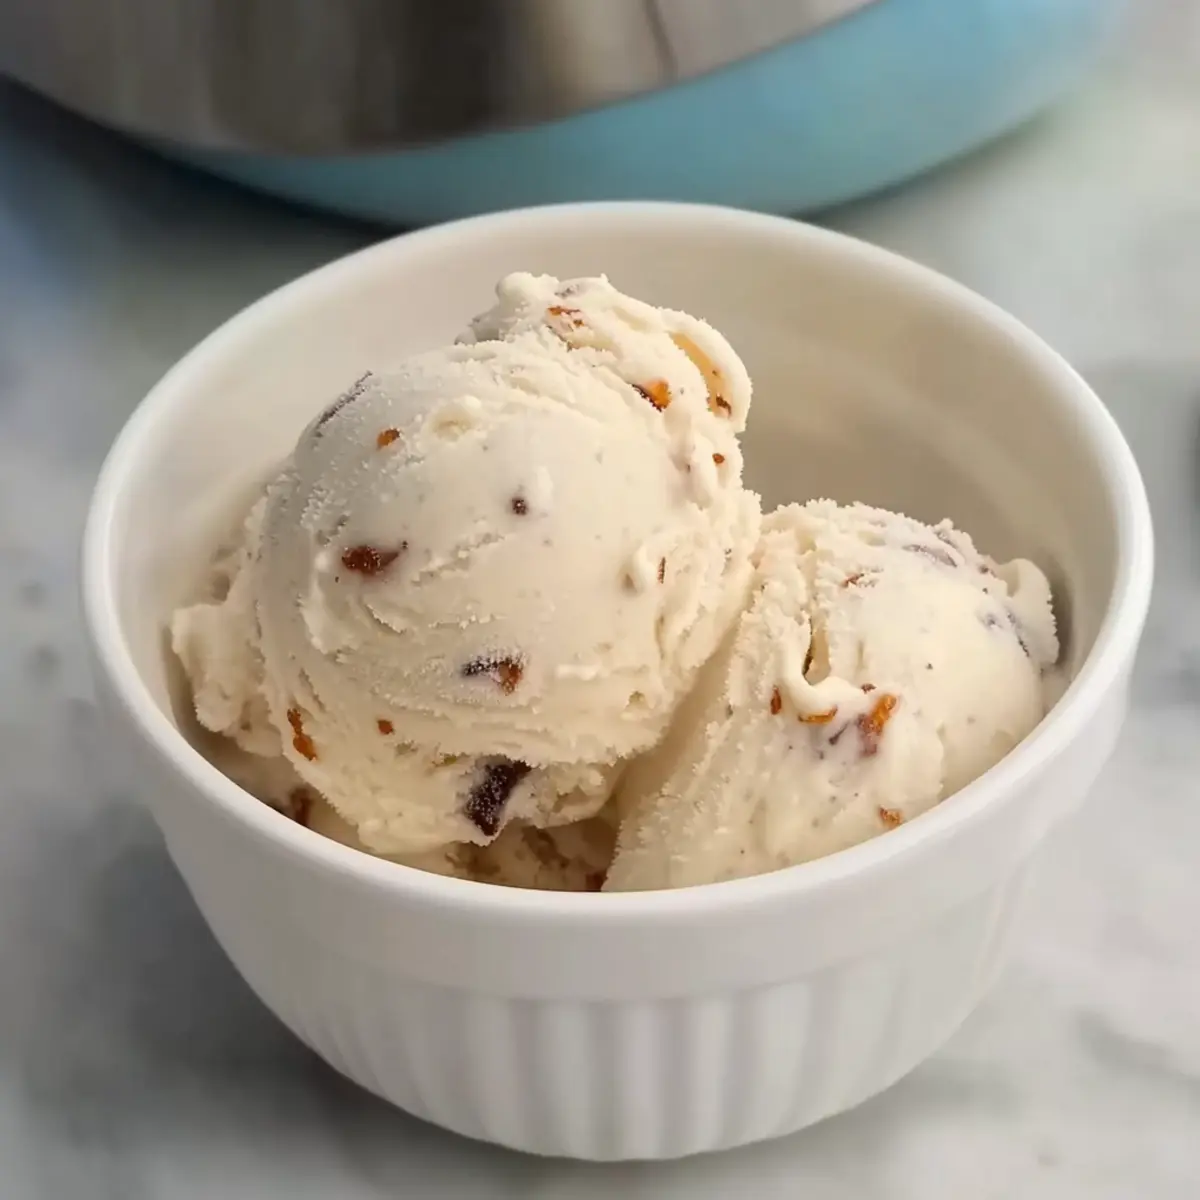
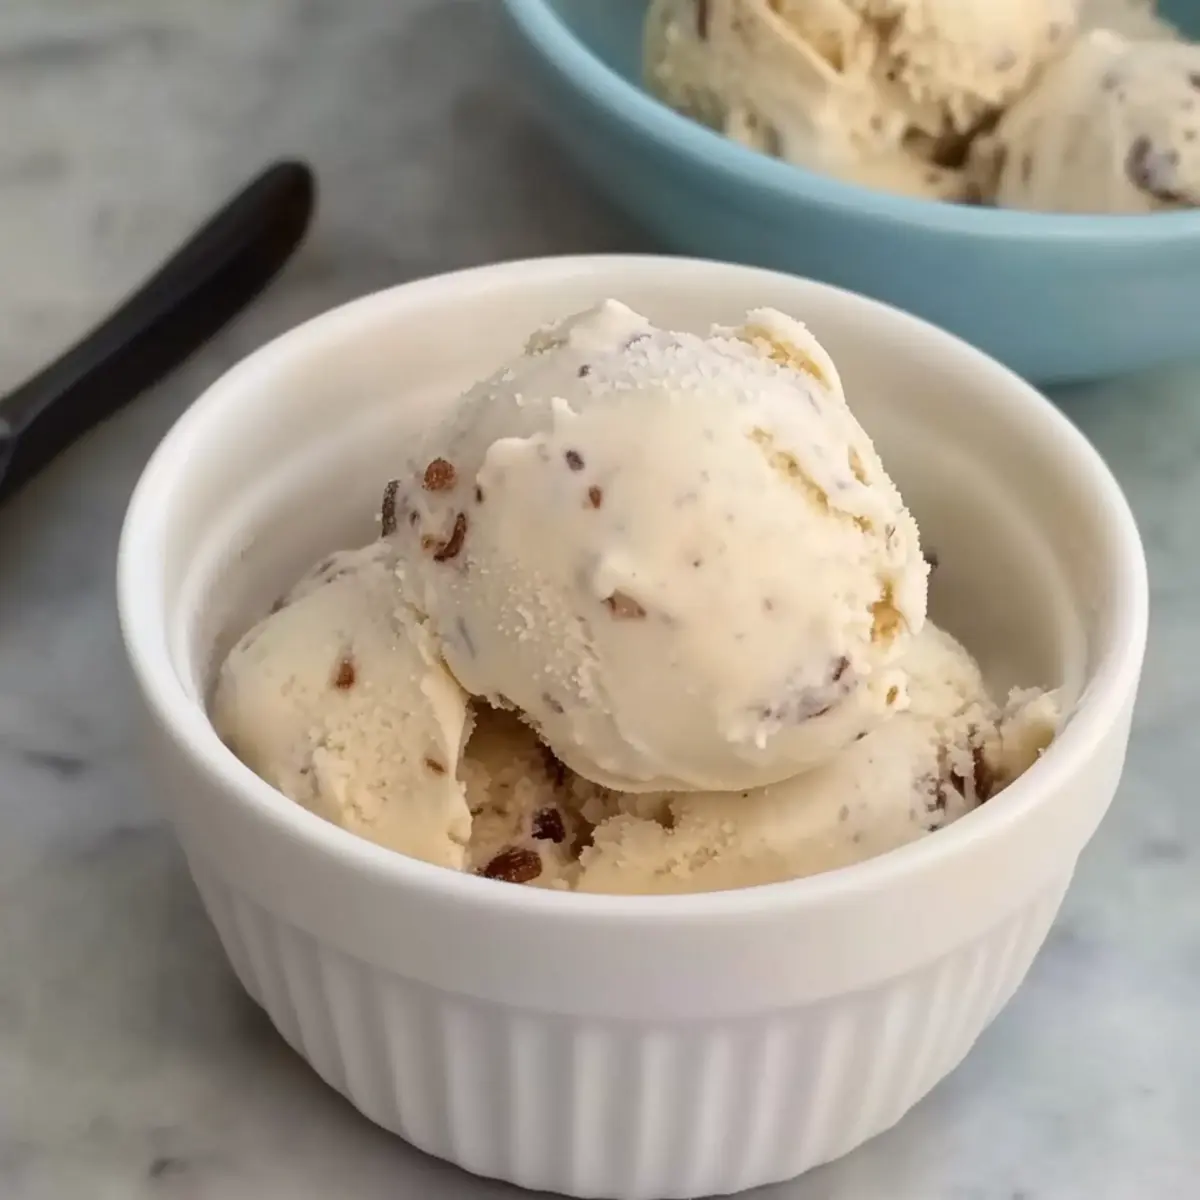
Once you’ve achieved your desired texture, scoop the Sea Salt & Honey Protein Ice Cream into serving bowls or cones. For an extra touch, sprinkle a pinch of flaky sea salt on top of each scoop. Serve immediately to enjoy the delightful blend of sweet and salty flavors in this healthy treat.
Expert Tips for Sea Salt & Honey Protein Ice Cream
-
Soak Your Dates: Soak pitted dates in warm water for 10-15 minutes before blending to ensure a smooth texture without chunks.
-
Check Freezing: Make sure the blended mixture is completely frozen for at least 4 hours; otherwise, your ice cream may not achieve that creamy consistency.
-
Texture Adjustment: If too hard to scoop, merely let it sit for a few minutes at room temperature or process again in the Ninja CREAMi for a softer result.
-
Taste Balance: Remember, the balance of sweet and salty is key; adjust the flaky sea salt to your personal preference, especially for topping.
-
Storage Tips: Keep leftovers in an airtight container in the freezer for up to 1 month, and thaw in the fridge before serving for best results.
Make Ahead Options
Making this Sea Salt & Honey Protein Ice Cream in advance is a fantastic way to enjoy this healthy treat without the last-minute hassle! You can prepare the base mixture up to 24 hours ahead of time by blending the cottage cheese, honey, dates, and sea salt, then transferring it to the Ninja CREAMi container and freezing. To maintain the best quality, ensure the container is sealed tightly to prevent ice crystals from forming. When you’re ready to indulge, simply remove the mixture from the freezer, process it in your Ninja CREAMi, and enjoy a refreshing scoop that’s just as delightful as when made fresh! This makes it perfect for busy weeknights or spontaneous dessert cravings.
What to Serve with 5 Ingredient Sea Salt & Honey Protein Ice Cream
Looking for delightful accompaniments to elevate your indulgent treat? Let’s make your dessert experience even sweeter!
-
Fresh Berries: Juicy strawberries, blueberries, or raspberries add refreshing brightness and a burst of tanginess that balance the sweetness of the ice cream.
-
Nutty Granola: A sprinkle of crunchy granola introduces a delightful texture and wholesome flavor, making it a filling and satisfying option alongside the smooth ice cream.
-
Chocolate Drizzle: Drizzle a rich, melted dark chocolate over the ice cream for an enticing combination of sweet and slightly bitter, elevating this treat to gourmet status.
-
Coconut Whipped Cream: Fluffy and creamy, coconut whipped cream is a delightful topping that adds a tropical flair without overwhelming the delicate flavors of the ice cream.
-
Crushed Almonds: Toss on some crushed almonds for a nutty crunch that provides contrast to the creamy texture, enhancing both flavor and nutritional value.
-
Caramel Sauce: A swirl of homemade caramel brings an irresistibly sweet balance, creating layers of flavor and richness. Serve with a sprinkling of sea salt for that gourmet touch!
-
Iced Herbal Tea: Pair this refreshing dessert with a glass of iced herbal tea, like chamomile or mint, for a cooling beverage that complements the sweetness beautifully.
-
Cheese Plate: A platter of soft cheeses pairs well, offering a savory contrast that makes for an elegant finish, perfect for gatherings.
Elevate your dining experience and create a delicious moment with these perfect complements to the Sea Salt & Honey Protein Ice Cream!
Sea Salt & Honey Protein Ice Cream Variations
Feel free to get creative and make this Sea Salt & Honey Protein Ice Cream uniquely yours with these delightful variations!
-
Dairy-Free: Swap cottage cheese for silken tofu to create a creamy texture without dairy. The lightness of tofu lends a fluffy feel while keeping the protein content high.
-
Floral Fusion: Add a teaspoon of culinary lavender for a fragrant and delicate flavor twist. The floral notes beautifully complement the sweetness of honey, transporting you to a sunny garden with every bite.
-
Nutty Delight: Stir in a tablespoon of almond or peanut butter for added richness and depth. The nutty flavor enhances the overall experience and provides an extra protein boost!
-
Chocolate Lover’s Dream: Incorporate cocoa powder or melted dark chocolate into the base for an indulgent chocolate twist that’s still guilt-free. Chocolate and sea salt make for a match made in dessert heaven!
-
Fruit Infusion: Fold in chopped ripe bananas or berries for a fruity flavor explosion. This makes it not only visually appealing but also offers a refreshing and nutritious element.
-
Maple Magic: Replace honey with pure maple syrup for a different kind of sweetness. The maple notes add warmth and complexity, making it a perfect fit for autumn evenings.
-
Spicy Kick: For a surprising twist, add a pinch of cayenne pepper or ground ginger to the mixture. The heat balances the sweetness wonderfully and adds an exciting flavor dimension.
-
Heavenly Toppings: Boost the texture and flavor by topping your ice cream with toasted coconut flakes or a sprinkle of crushed nuts. This will give every scoop a delightful crunch and added richness.
Embrace these variations and serve them alongside other delightful dishes like Honey Lime Rice or Crunchy Honey Cajun for a full meal that satisfies all your senses!
How to Store and Freeze Sea Salt & Honey Protein Ice Cream
Fridge: Store leftover ice cream in an airtight container for up to 3 days for the best flavor and texture.
Freezer: Keep the ice cream in the freezer in a well-sealed container for up to 1 month. Make sure to press a piece of parchment paper on top to prevent ice crystals.
Reheating: If the ice cream is too firm after freezing, let it sit at room temperature for 5-10 minutes before scooping to soften it. Alternatively, process it again in the Ninja CREAMi for a smoother texture.
Thawing: To regain creaminess, thaw in the fridge for about 30 minutes before serving once frozen.
Sea Salt & Honey Protein Ice Cream Recipe FAQs
What type of cottage cheese should I use?
I recommend opting for low-fat or fat-free cottage cheese for your Sea Salt & Honey Protein Ice Cream. This will cut down on calories while still providing a creamy texture and ample protein. However, if you prefer a richer flavor, you can also use full-fat cottage cheese; just keep in mind the added calories!
How should I store the ice cream?
To keep your ice cream fresh, store it in an airtight container in the freezer for up to 1 month. I also suggest pressing a piece of parchment paper atop the ice cream before sealing it; this prevents unwanted ice crystals from forming and helps maintain the delightful creamy texture.
Can I freeze the Sea Salt & Honey Protein Ice Cream?
Absolutely! After making your ice cream, store it in a well-sealed container in the freezer. For the best results, it’s best enjoyed within a month. If it becomes too firm, simply let it sit at room temperature for about 5–10 minutes before scooping.
What if my ice cream turns out too hard to scoop?
No worries! If your Sea Salt & Honey Protein Ice Cream is too hard, you can either let it sit at room temperature for 5 minutes to soften or process it again in the Ninja CREAMi for an additional minute. This will help achieve that coveted creamy and scoopable texture.
Are there any dietary considerations for pets?
While this ice cream is packed with healthy ingredients for humans, it’s important to keep it away from pets, especially due to the honey and dairy content. Always consult your veterinarian regarding the best options for your furry friends.
Can I substitute any of the ingredients for allergies?
Definitely! If you have allergies, consider substituting cottage cheese with silken tofu for a dairy-free version. Alternatively, if you’re allergic to honey, raw maple syrup makes a fantastic vegan substitute for sweetness in your Sea Salt & Honey Protein Ice Cream.

Creamy Sea Salt & Honey Protein Ice Cream You’ll Love
Ingredients
Equipment
Method
- In a high-powered blender, combine 1 cup of cottage cheese, 3 tablespoons of honey, 6 pitted dates, and a pinch of flaky sea salt. Blend on medium speed for about 1-2 minutes until smooth and creamy.
- Pour the blended mixture into your Ninja CREAMi container, ensuring it's filled to the max line. Place in the freezer and let it freeze for at least 4 hours or until solid.
- After freezing, remove the container from the freezer and insert into the Ninja CREAMi. Select the ice cream function and process for about 1-2 minutes.
- If the ice cream is too hard to scoop, let it sit at room temperature for 5 minutes to soften or process again for an additional minute.
- Scoop the ice cream into serving bowls or cones. For extra flavor, sprinkle with flaky sea salt on top.
Leave a Reply