
Stepping into my kitchen feels like entering a sanctuary, where the aroma of sweet treats dances in the air. Today, I’m thrilled to share my delightful No-Bake Chocolate Peanut Butter Oatmeal Bars, a recipe that captures the essence of comfort food with every bite. These bars are not only quick to make, but they also offer a gluten-free snack packed with wholesome goodness. The rich chocolate melds with the creamy peanut butter and hearty oats to create a satisfying texture that’s perfect for any time of day. Whether you’re craving a midday pick-me-up or a sweet finish to your dinner, these bars deliver both flavor and nutrition without any baking fuss. Ready to indulge your taste buds and discover how effortlessly you can whip these up? Let’s dive in!
Why Are No-Bake Bars a Must-Try?
Convenience at Its Best: These No-Bake Chocolate Peanut Butter Oatmeal Bars require minimal effort and no oven time, making them your go-to snack when you’re short on time.
Flavor Explosion: With the perfect blend of rich chocolate and creamy peanut butter, your taste buds will be dancing!
Endless Customization: Feel free to swap in your favorite nut butters or add-in unique flavors like dried fruits or seeds to make them your own, just like in my sticky beef noodles recipe!
Healthy Indulgence: Packed with oats and healthy fats, these bars not only satisfy your sweet tooth but also provide a nutritious boost, similar to my asado chicken with lemon zucchini for wholesome meals.
Crowd-Pleaser: Whether for a family get-together or a party treat, these bars will impress everyone, making them a delightful addition to any gathering!
No-Bake Chocolate Peanut Butter Oatmeal Bars Ingredients
For the Base
• Oats – Rolled or quick oats provide the chewy texture that is essential for our bars.
• Peanut Butter – Adds a creamy richness; feel free to swap it with almond or sunflower seed butter for a nut-free alternative.
• Honey or Maple Syrup – Acts as a natural sweetener and binding agent; agave syrup works beautifully as a vegan substitute.
• Cocoa Powder – Deepens the chocolate flavor; adjust the amount for a more intense chocolatey experience.
• Salt – A dash of sea salt enhances the overall taste and helps balance the sweetness.
For the Chocolate Mix-ins
• Dark Chocolate Chips – These lend a rich sweetness; you can switch to milk chocolate or dairy-free chips if preferred.
Optional Toppings
• Dried Fruits or Nuts – Add extras like raisins or walnuts for a delightful crunch and nutritional boost; this makes your No-Bake Chocolate Peanut Butter Oatmeal Bars even more satisfying!
Embrace the joy of making these easy, wholesome bars and enjoy every delightful bite!
Step‑by‑Step Instructions for No-Bake Chocolate Peanut Butter Oatmeal Bars
Step 1: Prepare the Base
In a large mixing bowl, combine 2 cups of rolled oats, 1 cup of creamy peanut butter, ½ cup of honey (or maple syrup), ⅓ cup of cocoa powder, and a pinch of salt. Use a spatula to mix everything together until the ingredients are well blended and form a thick, sticky dough that holds together.
Step 2: Add Chocolate
Gently fold in ½ cup of dark chocolate chips into the mixture, ensuring that they are evenly distributed throughout the dough. This will provide delightful pockets of melted chocolate in your No-Bake Chocolate Peanut Butter Oatmeal Bars. The mixture should appear rich and tasty as the chocolate begins to melt slightly from the warmth of the peanut butter.
Step 3: Shape the Mixture
Line an 8×8 inch baking dish with parchment paper for easy removal. Transfer the chocolate peanut butter mixture into the dish and use a spatula to press it down into an even layer. Compact it well to ensure the bars hold their shape. The top should be smooth and nicely packed, indicating the perfect foundation for your no-bake bars.
Step 4: Chill
Place the baking dish in the refrigerator and let it chill for at least 1 to 2 hours. This will allow the mixture to firm up and make it easier to slice into bars. After an hour, peek in to see if it has set; it should feel firm to the touch but still slightly chewy.
Step 5: Slice and Serve
Once chilled and firm, remove the bars from the dish using the parchment paper edges. Place on a cutting board and slice into squares or rectangles of your desired size. These No-Bake Chocolate Peanut Butter Oatmeal Bars can be enjoyed chilled or at room temperature, perfect for a quick snack or dessert anytime!
Make Ahead Options
These No-Bake Chocolate Peanut Butter Oatmeal Bars are perfect for meal prep enthusiasts! You can mix the base ingredients and form the bars up to 24 hours in advance, allowing the flavors to meld beautifully. After pressing the mixture into the lined baking dish, simply cover it tightly with plastic wrap or aluminum foil to prevent drying out. When you’re ready to enjoy, just chill them for at least an hour (or up to 2 hours if desired) to firm them up. Slice and serve as needed, ensuring you keep them refrigerated for up to 1 week for the best taste and texture. Preparing these bars ahead of time makes snacking so much easier during busy days!
Expert Tips for No-Bake Bars
-
Firmly Pack: Pressing the mixture into the baking dish is crucial for compact bars that won’t crumble. Take your time to ensure it’s well-packed.
-
Chill Time Matters: Give your No-Bake Chocolate Peanut Butter Oatmeal Bars at least 1-2 hours to chill. This will enhance the texture and make slicing easier.
-
Mix-Ins Magic: Don’t hesitate to customize! Adding in nuts, seeds, or dried fruits can elevate flavors and nutrients, creating your unique twist on classic bars.
-
Slice with Care: Use a sharp knife and a gentle sawing motion to cut the bars. A hot knife helps to prevent sticking and creates clean edges.
-
Storage Savvy: Keep your bars in an airtight container in the fridge for up to a week; they also freeze well, providing a quick snack option anytime!
Storage Tips for No-Bake Chocolate Peanut Butter Oatmeal Bars
Fridge: Store your No-Bake Chocolate Peanut Butter Oatmeal Bars in an airtight container in the refrigerator for up to one week, maintaining their freshness and flavor.
Freezer: For longer storage, freeze the bars individually wrapped in plastic wrap or in a freezer-safe bag for up to 3 months. This makes it easy to grab a quick snack anytime!
Reheating: If desired, you can enjoy the bars chilled right from the fridge or let them sit at room temperature for a few minutes before serving, enhancing their chewy texture.
Serving: When ready to enjoy, simply take out the desired number of bars, and they’re perfect for an on-the-go snack or as a treat for gatherings!
No-Bake Chocolate Peanut Butter Oatmeal Bars Variations
Feel free to explore these delightful twists on the recipe, perfect for personalizing your bars!
-
Nut Butter Swap: Use almond or sunflower seed butter for a different flavor profile or nut-free option. This simple swap creates an entirely new experience while keeping the bars satisfying.
-
Low Sugar Version: Replace honey or maple syrup with a sugar-free sweetener to cut down on sugar while still enjoying a sweet taste. These bars can still be indulgent without the extra guilt!
-
Textures Galore: Add crispy rice cereal or chopped nuts for a delightful crunch in every bite. Mixing textures not only enhances the flavor but also makes for a fun eating experience.
-
Vegan Delight: Opt for agave syrup and dairy-free dark chocolate chips for a truly vegan treat. This variation ensures everyone can enjoy a sweet bite without animal products!
-
Fruit Fusion: Incorporate dried fruits like cranberries or apricots for a fruity twist and added chewiness. This not only adds natural sweetness but also a burst of color and nutrition.
-
Double Chocolate: Increase cocoa powder to ½ cup and add chocolate chips for a richer chocolate flavor that’s perfect for any chocoholic. Each bite will be a chocolate lover’s dream!
-
Spicy Kick: Stir in a pinch of cayenne pepper or ground cinnamon to the base mixture for warm undertones and a bit of a kick. This unexpected flavor will surprise and delight those who are adventurous!
-
Top It Off: Drizzle melted dark chocolate over the cut bars or sprinkle with flaky sea salt before serving to elevate their appearance and flavor. These finishing touches make each bite even more scrumptious!
These variations not only boost your creativity but also allow you to tailor the bars to your personal taste and dietary needs. Whether you’re inspired by a classic flavor or trying something new, enjoy crafting your own version! If you’re looking for more cooking inspiration, check out my delicious French Onion Beef or Beef Stew with Dumplings for heartwarming meal ideas!
What to Serve with No-Bake Chocolate Peanut Butter Oatmeal Bars
Elevate your snacking experience with delightful pairings that complement the rich flavors of these chewy bars!
-
Creamy Yogurt: A dollop of Greek yogurt adds a tangy creaminess that balances the sweetness of the bars beautifully.
-
Fresh Fruit Salad: Bright, juicy fruits like strawberries and bananas provide a refreshing contrast to the dense texture of the oatmeal bars.
-
Nutty Trail Mix: A handful of crunchy trail mix adds a delightful crunch and complements the bar’s nutty flavors when enjoyed together.
-
Milk or Nut Milk: Sipping on a glass of cold milk—be it dairy or almond—creates a classic pairing, softening the sweetness of the bars.
-
Coffee or Tea: A steaming cup of coffee or soothing herbal tea enhances the rich chocolate flavor and makes for a perfect afternoon treat.
-
Chocolate Dipped Strawberries: Indulge in chocolate-covered strawberries for an extra sweet twist; their freshness and elegance will charm everyone.
-
Cheese Platter: Surprise your guests with a cheese board; the creaminess of soft cheeses pairs surprisingly well with the bar’s flavors, offering a gourmet touch.
-
Ice Cream Scoops: Serve these bars with a scoop of vanilla ice cream for an irresistible dessert that’s indulgently satisfying.
-
Healthy Smoothie: Blend up a delicious smoothie with spinach, banana, and almond milk for a nutritious drink that rounds out your snack time perfectly.
No-Bake Chocolate Peanut Butter Oatmeal Bars Recipe FAQs
How do I choose the right oats for this recipe?
Absolutely! You can use either rolled oats for a chewier texture or quick oats for a smoother consistency. I personally love using rolled oats as they provide a heartier bite, but both options work well.
What’s the best way to store my No-Bake Chocolate Peanut Butter Oatmeal Bars?
To keep your bars fresh, store them in an airtight container in the refrigerator for up to one week. If you want to enjoy them later, freeze them individually wrapped or in a freezer-safe bag. They can stay good for up to 3 months in the freezer!
Can I freeze No-Bake Chocolate Peanut Butter Oatmeal Bars and how?
Of course! To freeze, cut the bars into desired sizes and wrap each portion tightly in plastic wrap. Place them in a freezer-safe bag and remove as much air as possible. When you’re ready to enjoy, just take out what you need and let them sit at room temperature for a few minutes before munching!
What if my bars are too crumbly?
If your No-Bake Chocolate Peanut Butter Oatmeal Bars aren’t holding together and are too crumbly, it’s likely they need more binding. Try adding an additional tablespoon of peanut butter or a bit more honey/maple syrup to the mixture. Sometimes, pressing them down more firmly in the dish helps too!
Are these bars suitable for any dietary restrictions?
Absolutely! These bars are inherently gluten-free when made with certified gluten-free oats. If you need a nut-free option, substituting peanut butter for sunflower seed butter works wonderfully. Just be sure to check all ingredient labels for potential allergens, especially if you’re catering to someone with specific dietary needs.
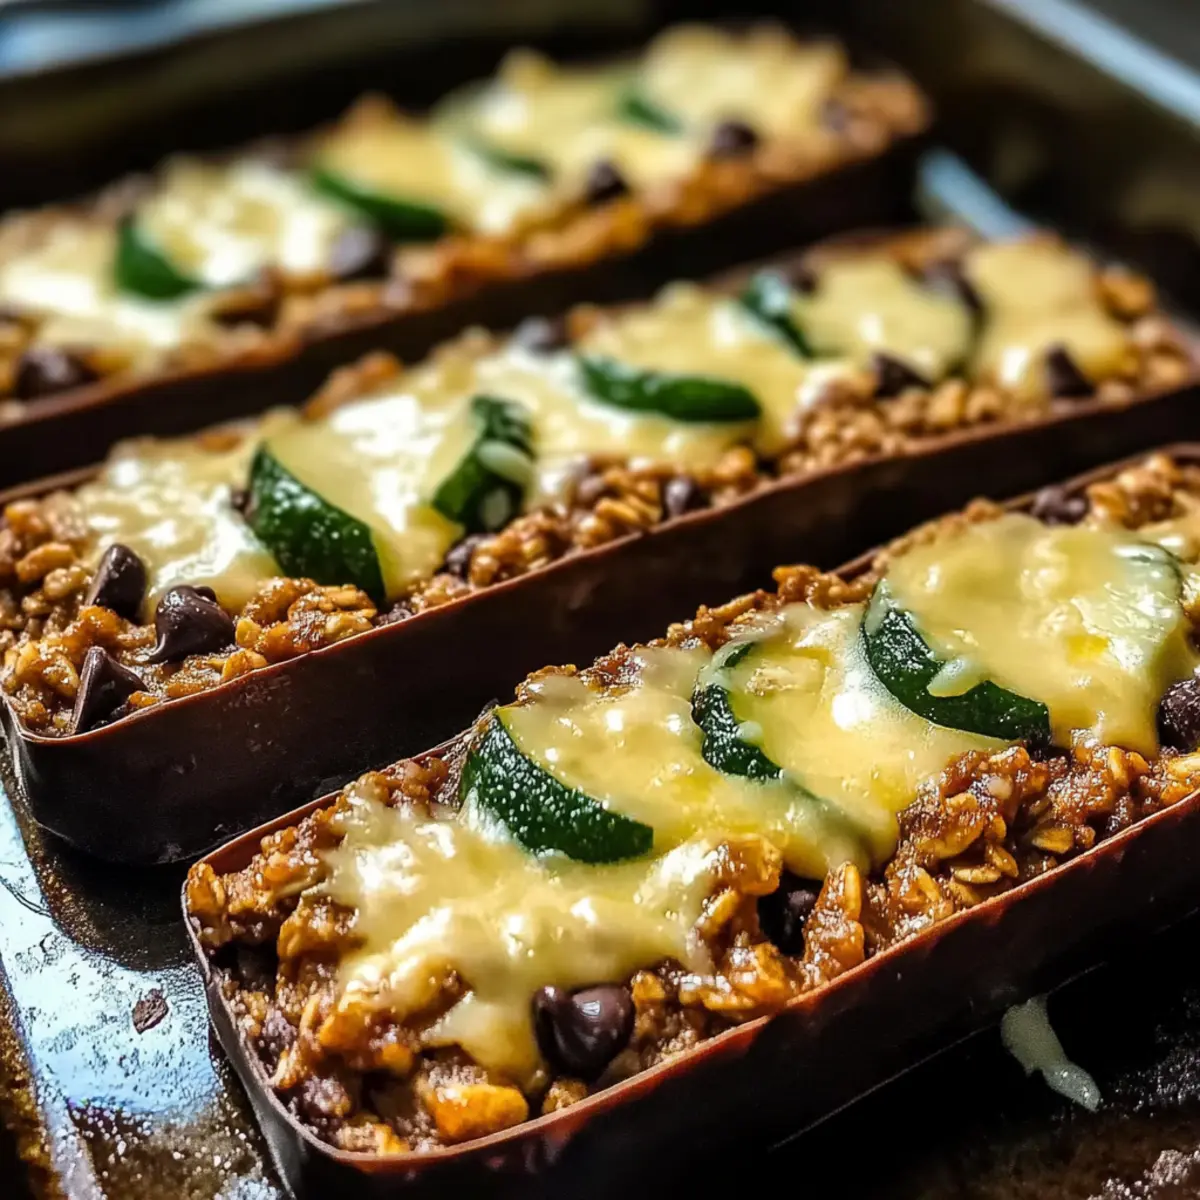
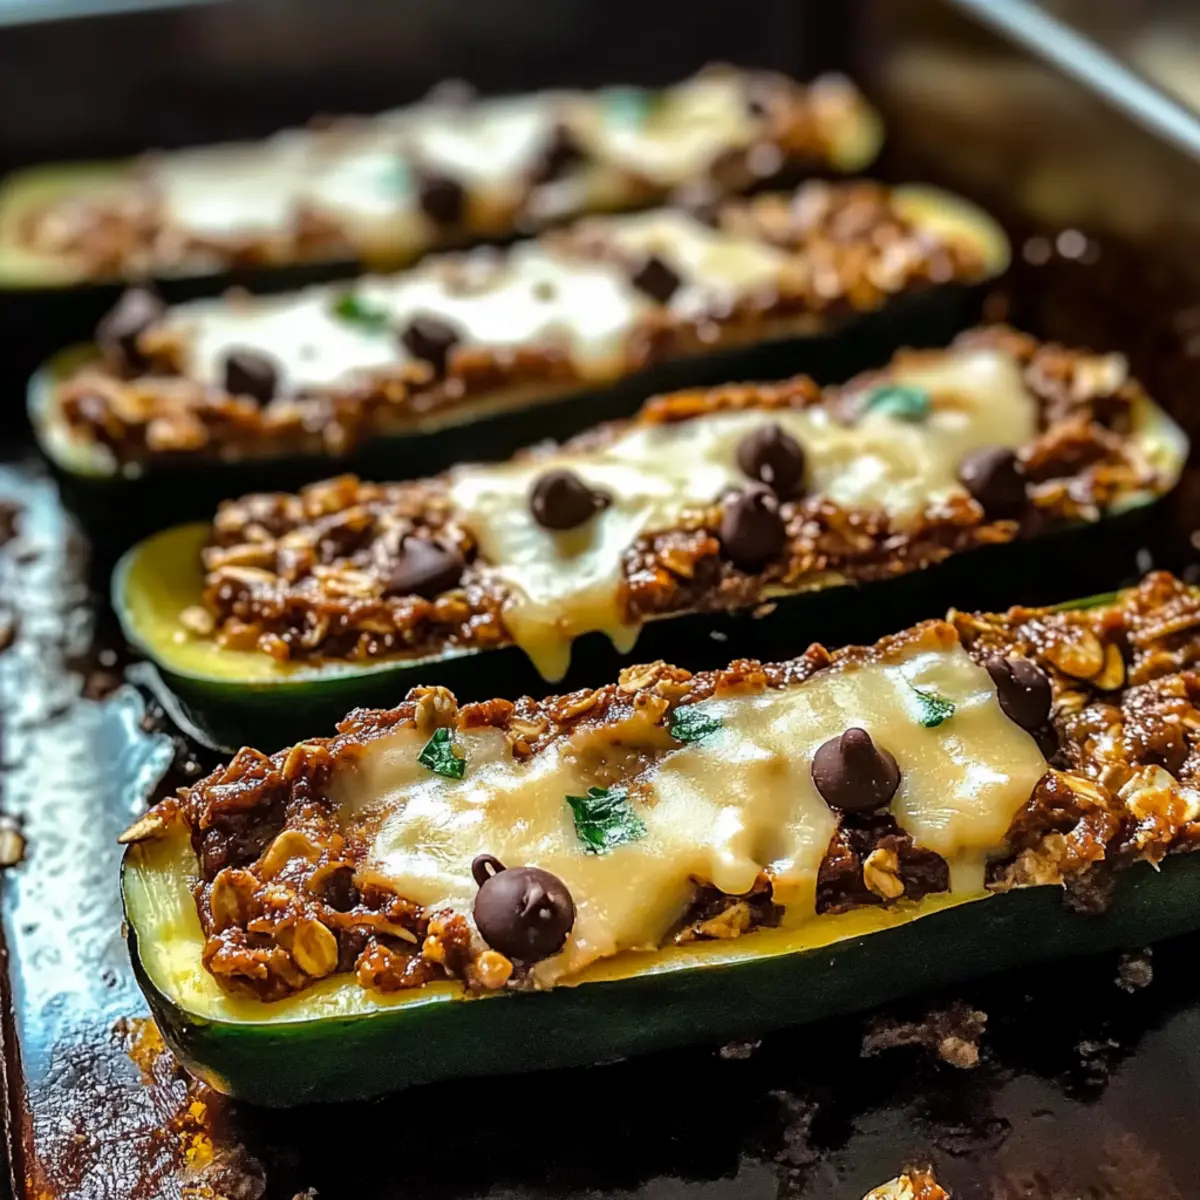
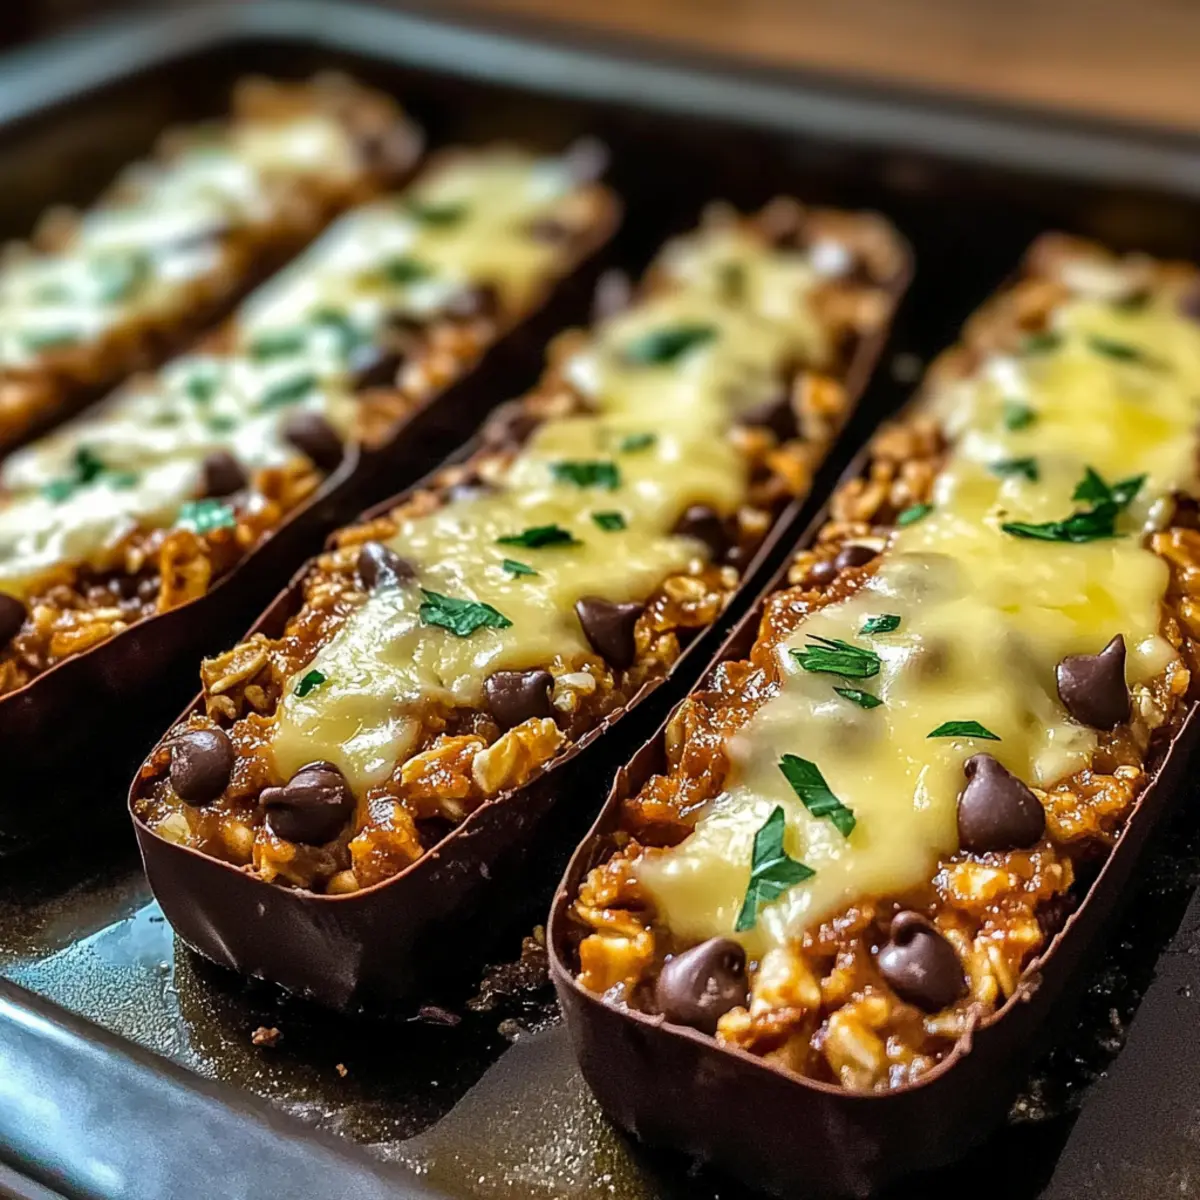
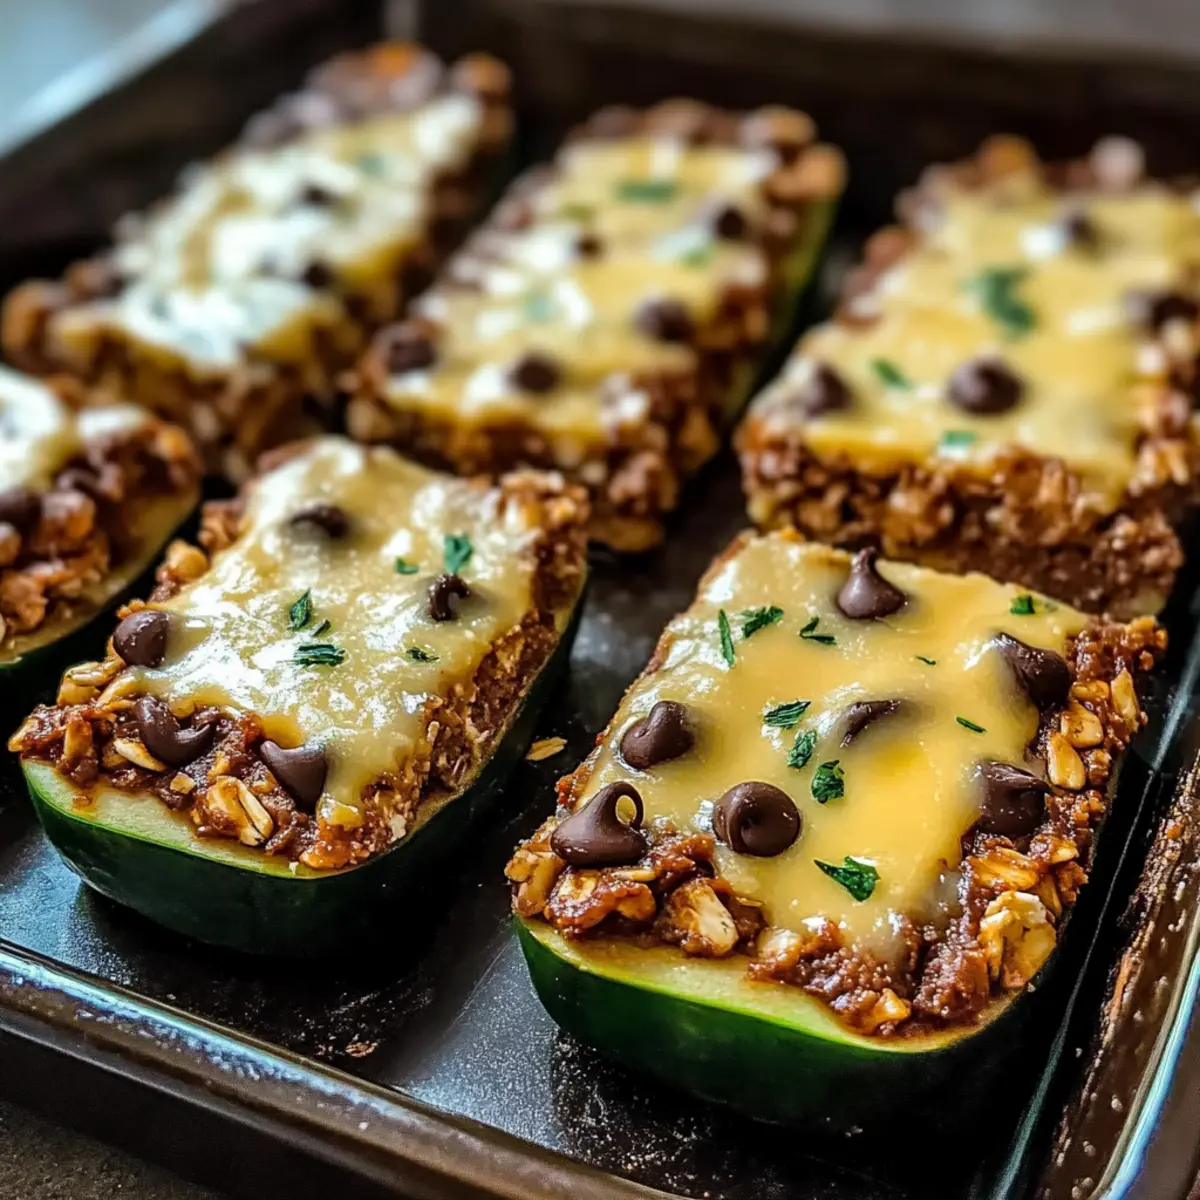
Ground Beef Zucchini Boats That Will Wow Your Taste Buds
Ingredients
Equipment
Method
- In a large mixing bowl, combine rolled oats, peanut butter, honey, cocoa powder, and salt. Mix well to form a thick dough.
- Fold in dark chocolate chips evenly into the mixture.
- Line an 8x8 inch baking dish with parchment paper and press the mixture into it. Compact well.
- Chill in the refrigerator for 1-2 hours to firm up.
- Slice into squares once firm, and serve chilled or at room temperature.
Leave a Reply