
As I gathered my friends for a delightful evening, I wanted to serve them something truly unforgettable. That’s when I decided to whip up these Easy No-Bake Biscoff Cheesecake Cups. This creamy, dreamy dessert, nestled in a crunchy Biscoff cookie crust, is both a showstopper and a breeze to prepare. The beauty of this recipe is that it’s perfect for any gathering, combining effortless prep with a make-ahead option that allows you to spend more time enjoying the company of loved ones rather than slaving away in the kitchen. Plus, that luxurious cheesecake filling will have everyone coming back for seconds! Curious how to create these delightful little cups? Let’s dive in and make this decadent treat come to life!
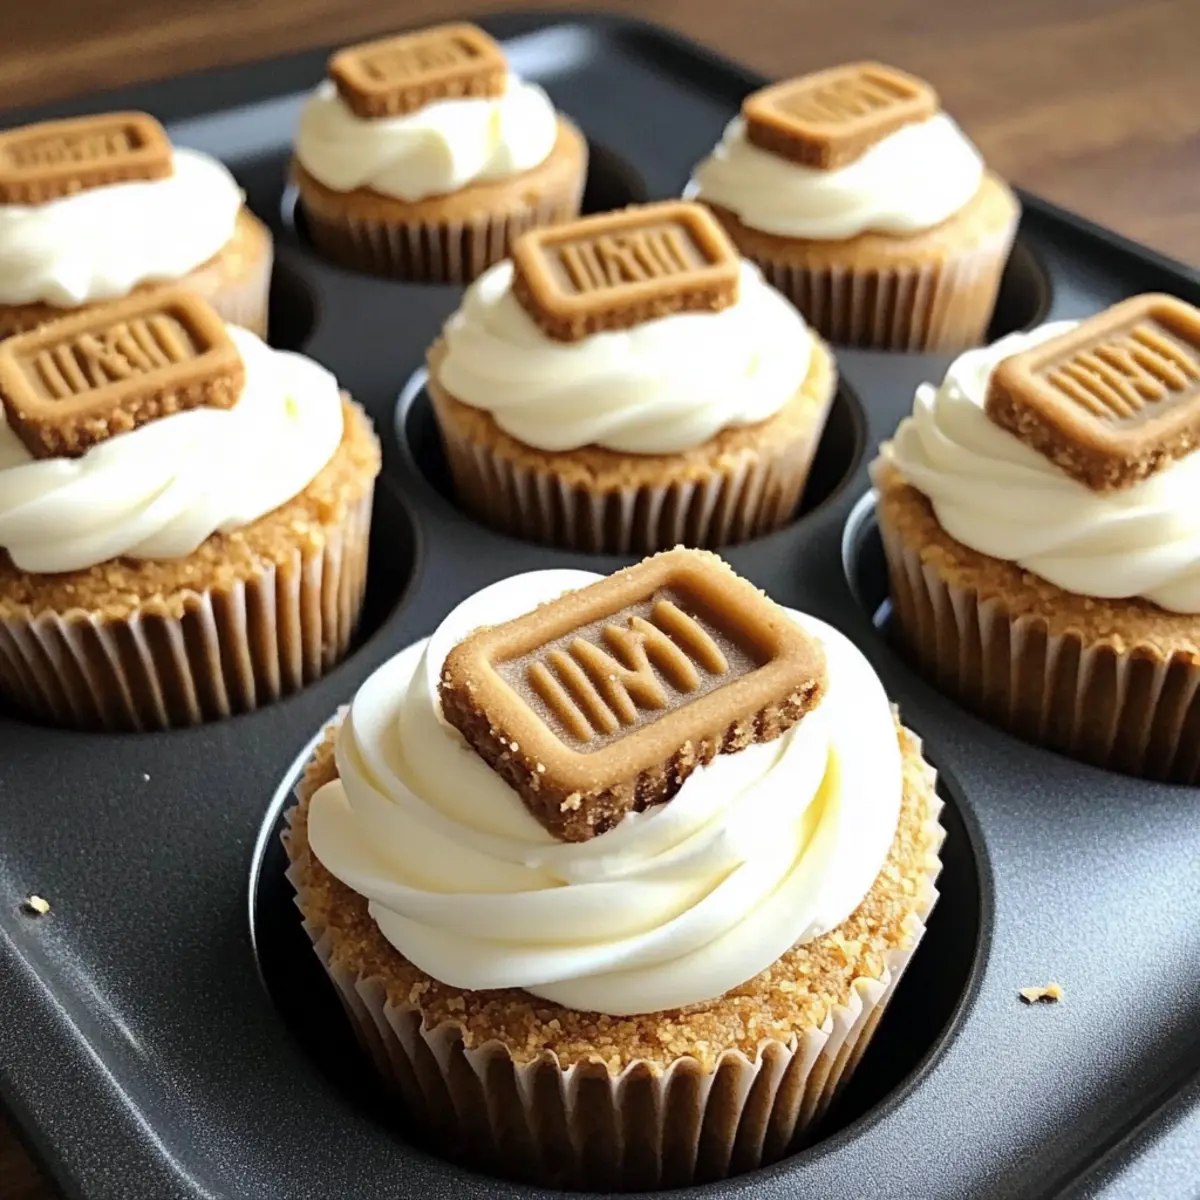
Why Are These Cheesecake Cups So Irresistible?
Simplicity, these Easy No-Bake Biscoff Cheesecake Cups require minimal effort, making dessert preparation feel effortless. Creamy Delight, the rich cheesecake filling beautifully contrasts with the crunchy Biscoff crust for an unforgettable experience. Make-Ahead Magic, perfect for any gathering, these cups can be prepped in advance, freeing up your day for more fun! Crowd-Pleasing Goodness, people of all ages will adore this treat, ensuring every bite is met with smiles. For another delightful dessert, check out Banana Pudding Cheesecake or go for a flavorful twist with Chocolate Raspberry Cheesecake.
No-Bake Biscoff Cheesecake Cups Ingredients
For the Crust
• Biscoff Cookies – These cookies form the crunchy base, providing a delightful crunch and a hint of caramel flavor.
• Unsalted Butter – This binds the cookie crumbs together while adding richness; make sure it’s melted for easy mixing.
For the Cheesecake Filling
• Cream Cheese – Creates a creamy, smooth filling; opt for light cream cheese if you’re watching your calories.
• Powdered Sugar – Sweetens the cheesecake and contributes to a velvety texture that’s simply heavenly.
• Vanilla Extract – Enhances the overall flavor profile; choose high-quality extract for the best results.
• Whipped Cream – Lightens the filling, making it airy and fluffy; try a dairy-free version if you want a vegan treat.
These Easy No-Bake Biscoff Cheesecake Cups are not only delicious but also incredibly simple to make, perfect for any occasion!
Step‑by‑Step Instructions for No-Bake Biscoff Cheesecake Cups
Step 1: Prepare the Crust
Begin by crushing Biscoff cookies into fine crumbs using a food processor or a sturdy plastic bag and rolling pin. In a mixing bowl, combine the cookie crumbs with melted unsalted butter until the mixture resembles wet sand. Using your fingers or the back of a spoon, press this crumb mixture firmly into the bottom of serving cups, creating an even layer. Set aside.
Step 2: Make the Filling
In a large mixing bowl, beat the cream cheese with an electric mixer on medium speed until it’s smooth and creamy, about 2 minutes. Gradually add in the powdered sugar and vanilla extract, mixing until well combined. Be sure to scrape the sides of the bowl for an even texture. This creamy cheesecake filling will be the star of your No-Bake Biscoff Cheesecake Cups.
Step 3: Incorporate Whipped Cream
Gently fold in the whipped cream into the cream cheese mixture using a spatula. Start by adding a small portion of the whipped cream and mix to lighten the cream cheese. Then, fold in the remaining whipped cream until just combined, ensuring not to overmix. The mixture should be airy and fluffy, perfect for the rich cheesecake filling.
Step 4: Assemble Cups
Spoon generous amounts of the cheesecake filling over the prepared Biscoff cookie crust in each cup, leveling off the tops with a spatula or the back of a spoon for a neat finish. Leave a little space at the top to allow for decorating later. This step creates delicious layers, making your No-Bake Biscoff Cheesecake Cups visually appealing and delectable.
Step 5: Chill
Cover the assembled cheesecake cups with plastic wrap and refrigerate them for at least 2 hours to allow the filling to set. This chilling time is crucial for achieving that perfect creamy texture. If you prefer a firmer consistency, you can chill them for an additional hour. The delicious aroma will have you eagerly awaiting dessert!
Step 6: Serve
Once chilled, remove the cheesecake cups from the refrigerator. For an extra touch, you can garnish them with additional whipped cream, a sprinkle of crushed Biscoff cookies, or even a drizzle of chocolate sauce. Serve these No-Bake Biscoff Cheesecake Cups directly from the cups, introducing a delightful treat that’s sure to impress!
No-Bake Biscoff Cheesecake Cups Variations
Feel free to get creative and put your personal spin on these delicious cups! The world of flavors awaits you.
- Dairy-Free: Substitute cream cheese with vegan cream cheese and use coconut whipped cream for a completely dairy-free treat.
- Graham Cracker Base: For a different flavor profile, swap Biscoff cookies with crushed graham crackers, bringing a classic taste to your cups.
- Chocolate Lovers: Add a layer of chocolate ganache on top of the cheesecake for a rich twist. This adds depth and decadence to every bite!
- Spicy Kick: Mix in a pinch of cinnamon or nutmeg into the filling for a warm, spiced flavor that will warm your heart.
- Fruit Topping: Top your cheesecake cups with fresh berries or a fruit puree to add a refreshing, fruity twist. Blueberries or strawberries work beautifully!
- Cookie Crumble Garnish: Enhance the crunch by adding a sprinkle of crushed cookies on top or even layer them between the filling for surprising texture.
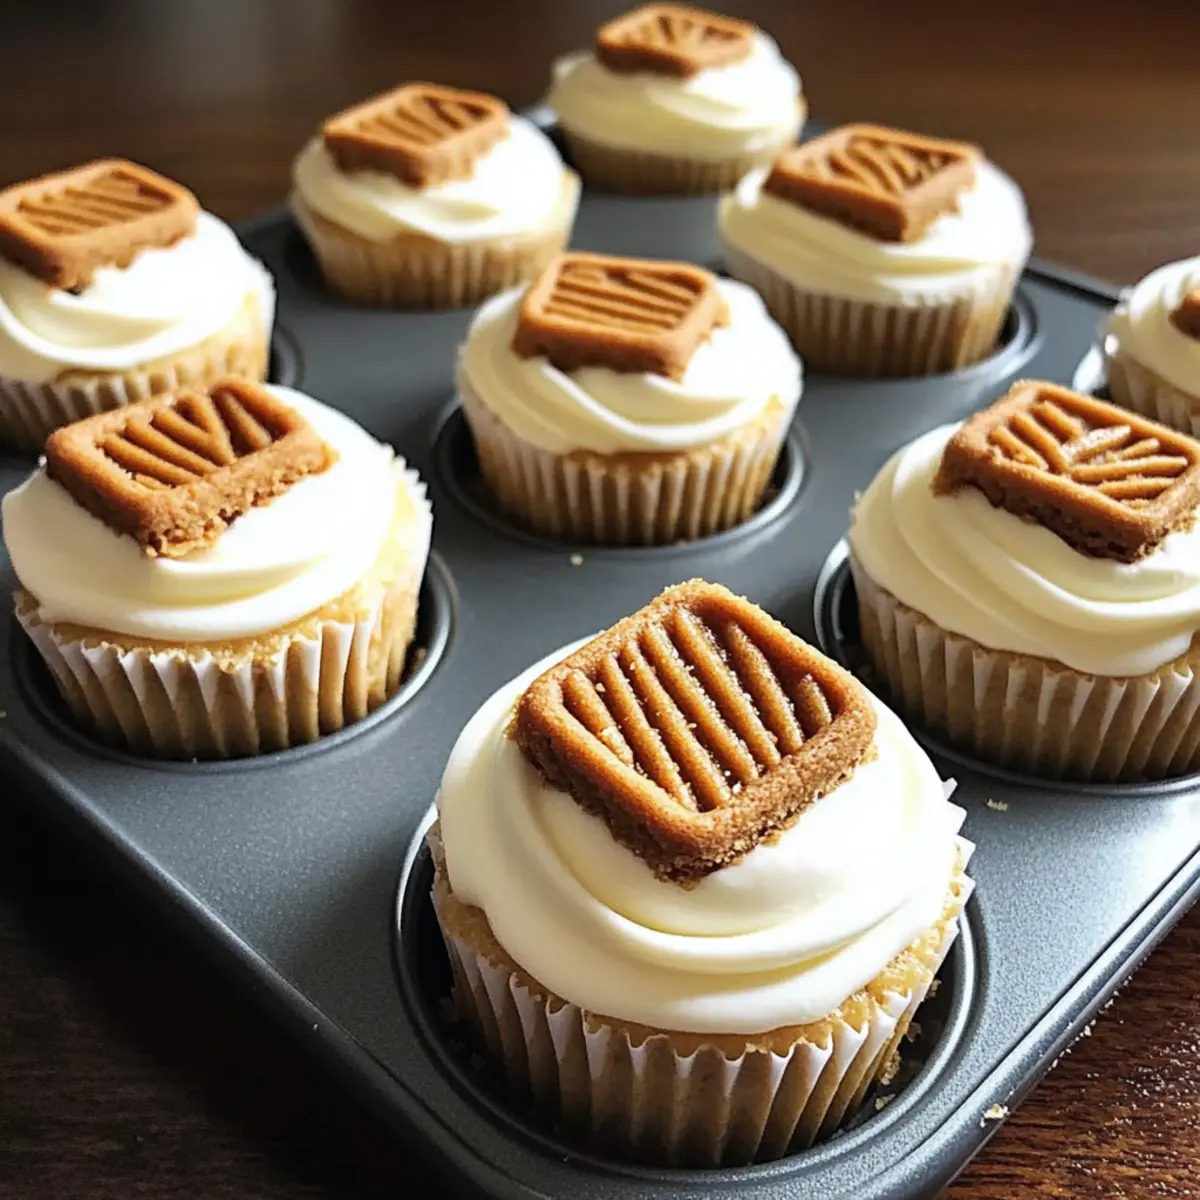
- Mini Cheesecakes: For a fun presentation, create mini cheesecakes in muffin tins lined with cupcake liners for a delightful handheld dessert.
- Nutty Delight: Fold in some finely chopped nuts or a drizzle of nut butter for an added layer of flavor. This adds a pleasing crunch and richness.
These variations can transform your dessert, making it a delightful experience every time! For another sweet twist, check out a classic Banana Pudding Cheesecake or indulge in a flavorful Velvet Strawberry Cheesecake.
Make Ahead Options
These Easy No-Bake Biscoff Cheesecake Cups are a dream for meal prep! You can prepare the crust and filling separately up to 2 days in advance, storing each component in airtight containers in the refrigerator. For the crust, simply crush the Biscoff cookies and combine with melted butter, then press into cups and refrigerate. Make the filling by beating the cream cheese and folding in whipped cream, storing it in its own container until you’re ready to assemble. When you’re ready to serve, simply spoon the filling over the prepared crust and chill for an additional 30 minutes to set. This way, you’ll be ready to impress your guests with minimal last-minute effort, ensuring each bite of your Biscoff cheesecake is just as delicious as when freshly made!
Expert Tips for No-Bake Biscoff Cheesecake Cups
- Crusting Consistency: Ensure the Biscoff cookie crumbs are fine enough before mixing with butter for optimal crust firmness.
- Whipped Cream Folding: Gently fold in whipped cream to maintain lightness; overmixing can deflate your filling, compromising those dreamy creamy textures.
- Chilling Time: Don’t rush the chilling process! Adequate refrigeration is key for the cheesecake to set properly and achieve that luscious creaminess.
- Storage Solutions: Store any leftovers in an airtight container to keep them fresh for up to 5 days; freezing can extend their shelf life for up to 2 months.
- Upgrade the Flavor: Enhance your cheesecake cups with a pinch of cinnamon or chocolate drizzle on top for an extra layer of sweetness.
What to Serve With Easy No-Bake Biscoff Cheesecake Cups
Elevate your dessert experience by pairing these delightful cheesecake cups with complementary sides that tantalize the taste buds.
- Fresh Berries: A medley of strawberries, blueberries, and raspberries adds a burst of freshness and a touch of tartness that balances the sweetness of the cheesecake.
- Chocolate Drizzle: Drizzling warm chocolate sauce over each cup enhances the dessert’s richness while adding an elegant finishing touch that’s simply irresistible.
- Coffee or Espresso: A hot beverage brings warmth and depth to your meal, contrasting the creamy texture of the Biscoff cheesecake perfectly for a comforting end to your gathering.
- Vanilla Ice Cream: The creamy, cool texture of vanilla ice cream complements the cheesecake and adds an extra layer of decadence that no one can resist.
- Caramel Sauce: A drizzle of sweet, buttery caramel creates a delightful flavor combination that matches the Biscoff notes while adding a luxurious twist.
- Whipped Cream: Topping each cup with extra whipped cream enhances its airy texture, making every bite even more indulgent and heavenly.
- Nutty Granola: A sprinkle of crunchy granola atop the cheesecake adds a contrasting texture and nutty flavor that enliven the whole dessert experience.
- Mint Leaves: A fresh mint garnish not only looks beautiful but also introduces a refreshing note that brightens each rich bite.
- Sparkling Water: Pair your dessert with fizzy sparkling water for a refreshing palate cleanser, making the whole experience feel special and complete.
Storage Tips for No-Bake Biscoff Cheesecake Cups
Fridge: Store any uneaten No-Bake Biscoff Cheesecake Cups in an airtight container for up to 5 days. This will keep them fresh and maintain their delightful texture.
Freezer: For longer storage, these cheesecake cups can be frozen for up to 2 months. Just ensure they are securely wrapped or in an airtight container. Thaw overnight in the refrigerator before enjoying.
Assembly Tips: If making ahead, consider preparing the crust and filling separately up to 2 days in advance. Assemble right before serving for the best texture.
Reheating: There’s no need to reheat these cheesecake cups; they are best served chilled. Enjoy their creamy perfection straight from the fridge!
Easy No-Bake Biscoff Cheesecake Cups Recipe FAQs
What kind of Biscoff cookies should I use?
You can use regular Biscoff cookies for their unique caramel flavor, but if you want a twist, feel free to substitute them with graham crackers or even Oreos for a chocolatey variation!
How long can I store my No-Bake Biscoff Cheesecake Cups?
You can store them in an airtight container in the refrigerator for up to 5 days. This keeps them fresh while maintaining that creamy texture. If you want to save them for later, they can be frozen for up to 2 months—just thaw overnight in the refrigerator when you’re ready to indulge.
Can I make this dessert in advance?
Absolutely! You can prepare the crust and filling separately up to 2 days in advance. Just store them individually in the fridge. Assemble the cups right before serving to ensure the crust stays crunchy and the filling remains fresh.
What should I do if my cheesecake filling is too runny?
If your filling isn’t setting as expected, it might benefit from a longer chilling period. Make sure to refrigerate for at least 2 hours, but if it still seems too soft, let it chill for an additional hour. If you’re still facing issues, consider adding a bit more whipped cream, but fold it gently to maintain that light texture.
Is this recipe safe for people with allergies?
This recipe contains common allergens such as dairy and gluten from the Biscoff cookies. For a gluten-free option, swap the cookies for gluten-free varieties. If you have dairy allergies, you can use dairy-free cream cheese and whipped cream for a vegan version!
How do I freeze these cheesecake cups?
To freeze your No-Bake Biscoff Cheesecake Cups, place each cup in an airtight container, ensuring they are well-protected from ice crystals. They can be frozen for up to 2 months. When you’re ready to enjoy, simply transfer them to the refrigerator for an overnight thawing. Enjoy their delightful taste even after freezing!
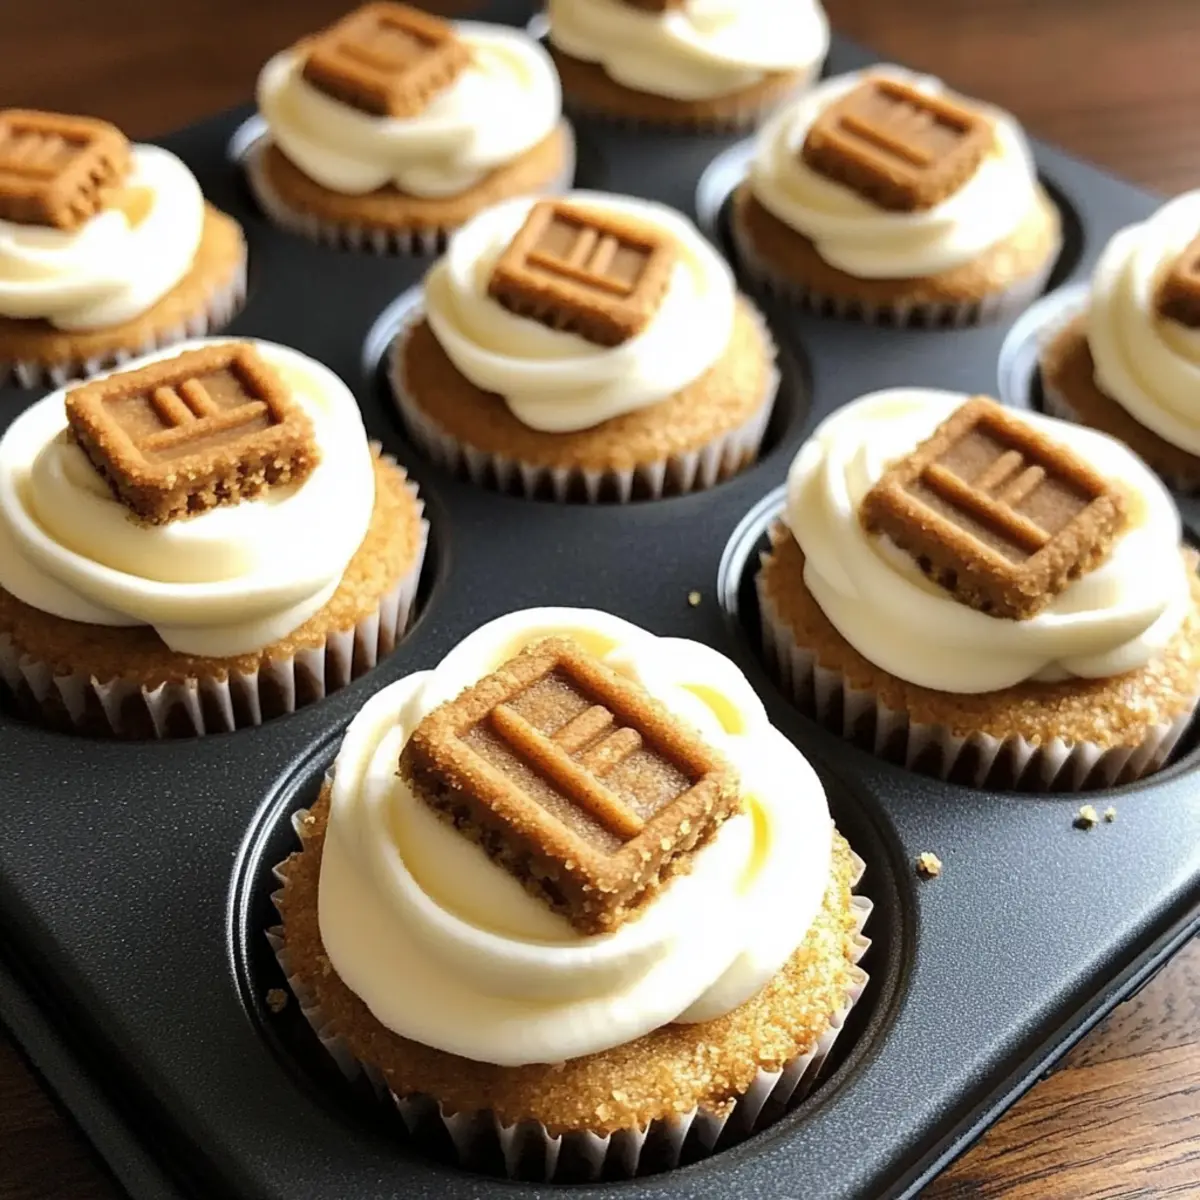
Creamy No-Bake Biscoff Cheesecake Cups You'll Love
Ingredients
Equipment
Method
- Begin by crushing Biscoff cookies into fine crumbs using a food processor or a sturdy plastic bag and rolling pin.
- In a mixing bowl, combine the cookie crumbs with melted unsalted butter until the mixture resembles wet sand. Press the mixture firmly into the bottom of serving cups.
- In a large mixing bowl, beat the cream cheese with an electric mixer on medium speed until smooth. Gradually add in the powdered sugar and vanilla extract, mixing until well combined.
- Gently fold in the whipped cream into the cream cheese mixture using a spatula until just combined.
- Spoon generous amounts of the cheesecake filling over the prepared crust in each cup, leveling off the tops.
- Cover the cups with plastic wrap and refrigerate for at least 2 hours to allow the filling to set.
- Once chilled, remove the cups from the refrigerator and garnish as desired before serving.
Leave a Reply