
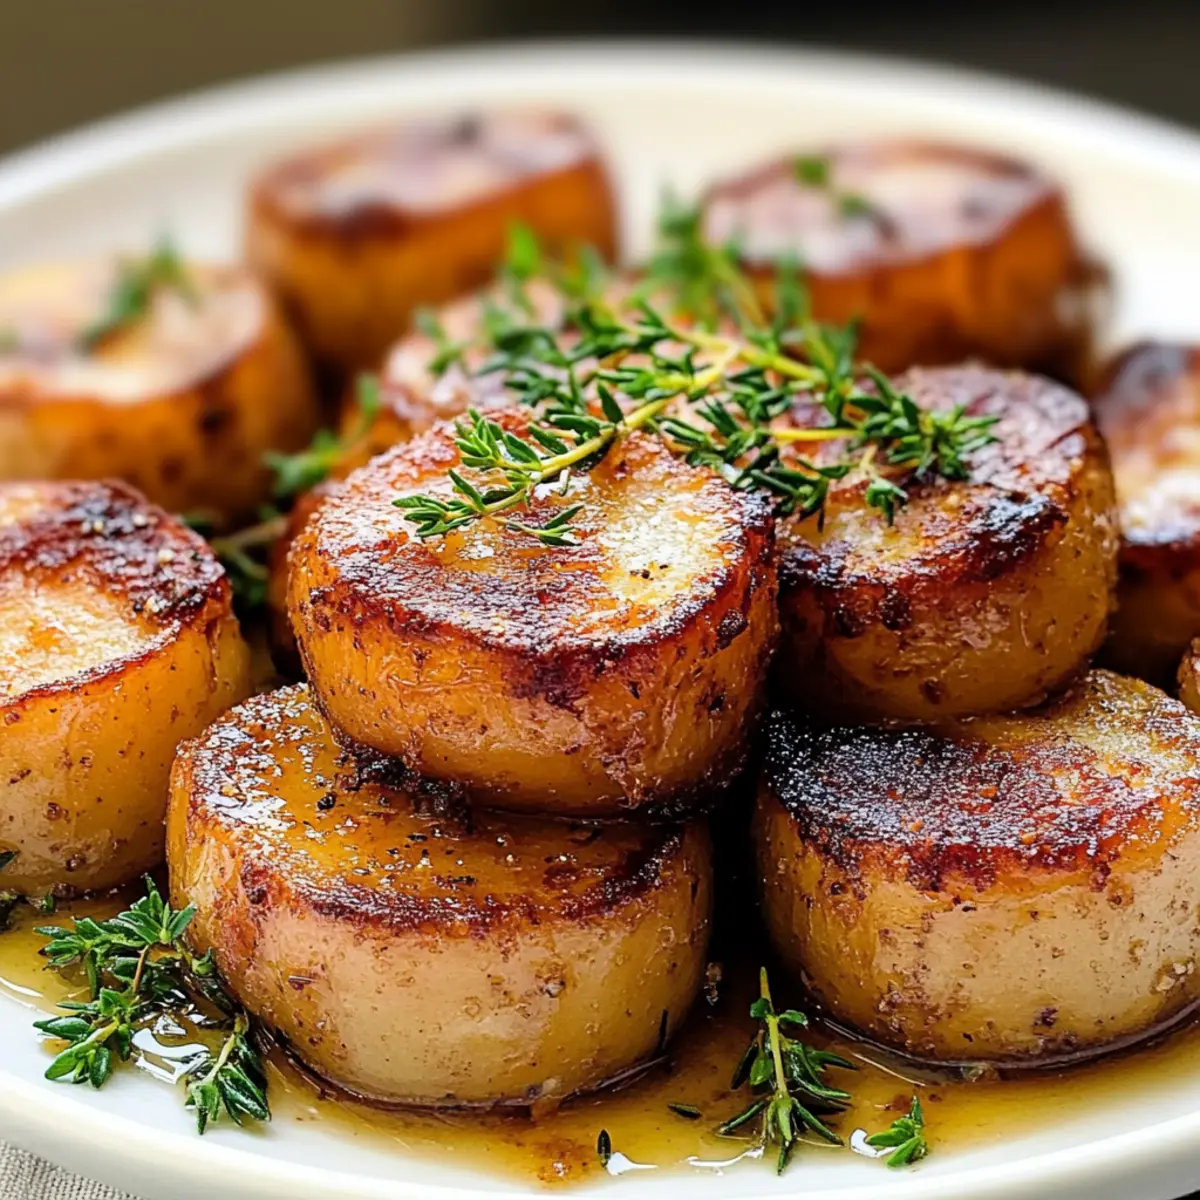
As I pulled back the oven door, a wave of mouthwatering aromas filled the kitchen, instantly lifting my spirits. In that moment, I knew I had successfully transformed humble russet potatoes into something extraordinary—Melting Potatoes. These delightful gems feature a crispy exterior that gives way to a tender, buttery heart, offering a lavish experience that would make even the most seasoned chef proud. What I love most about this dish is how effortlessly it elevates family dinners or fancy gatherings without requiring hours in the kitchen. With just a few simple ingredients and easy preparation, you too can impress your loved ones. Have you ever tried a side dish that had the perfect blend of crispy and creamy? Let’s dive into the magic of Melting Potatoes together!
Why Are Melting Potatoes So Irresistible?
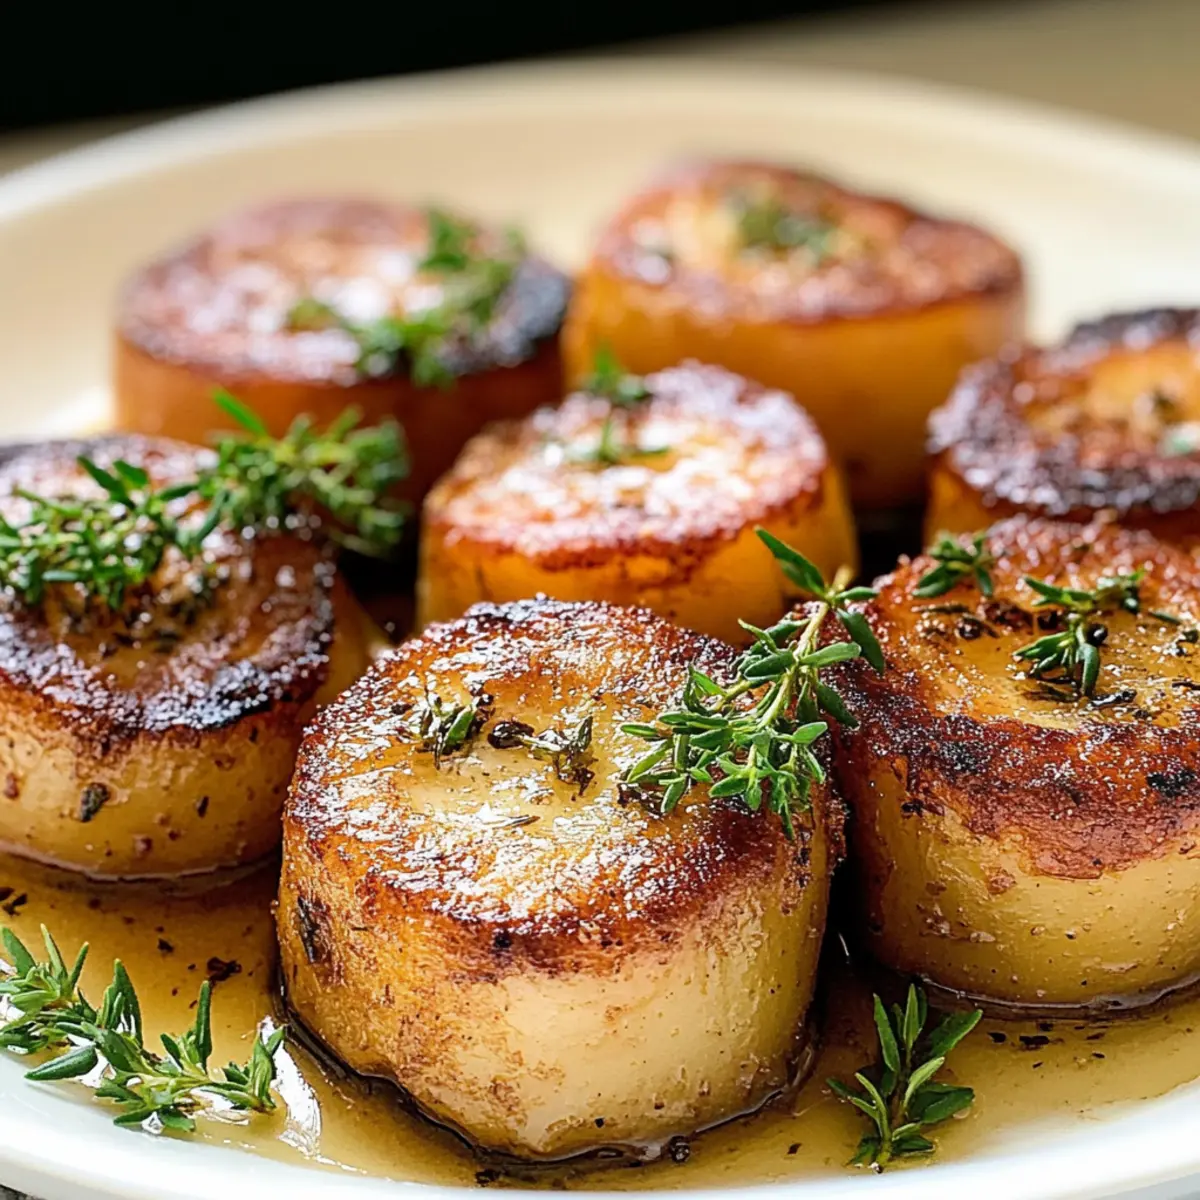
Crispy, Creamy Perfection: Imagine a dish where the crispiness of a golden crust meets the rich, buttery softness inside. Melting potatoes deliver that delightful contrast in every bite!
Effortless Elegance: This recipe makes gourmet dining achievable at home. With minimal effort, you can create a dish that’s perfect for both everyday meals and special occasions.
Minimal Ingredients, Maximum Flavor: Utilizing just a handful of fresh ingredients, including garlic and herbs, this recipe infuses an aromatic depth that beats ordinary potato sides every time.
Versatile Pairings: These potatoes shine as a side for roasted meats, grilled chicken, or even with a fresh salad, making them a suitable accompaniment for any meal.
A Family Favorite: Easy to prepare and irresistibly delicious, melting potatoes are bound to become a crowd favorite. Why not serve them at your next gathering alongside Creepy Skull Potatoes or Cranberry Apple Potatoes? You’ll surely impress your family and friends!
Melting Potatoes Ingredients
For the Potatoes
• Russet Potatoes – The star of the dish, providing a sturdy base for a crispy exterior and tender interior.
• Salt and Pepper – Essential seasonings to enhance the flavor; adjust to your taste for the perfect balance.
• Vegetable Oil – This high smoke-point oil is crucial for achieving that delightful sear; can be substituted with any preferred oil.
For the Flavor
• Butter – Adds a rich, luxurious taste; unsalted butter is recommended for better control over the salt in the dish.
• Low-Sodium Chicken Broth – Keeps the potatoes moist and infuses them with depth; feel free to swap for vegetable broth for vegetarian melting potatoes.
• Garlic – An aromatic treasure that brings the dish to life; can be omitted or replaced with garlic powder if preferable.
For the Herbs
• Fresh Rosemary – Gives a wonderfully fragrant touch; dried rosemary can be used if fresh is unavailable.
• Fresh Thyme – Complements the buttery flavors beautifully; dried thyme works well too—just remember to use one-third of the amount.
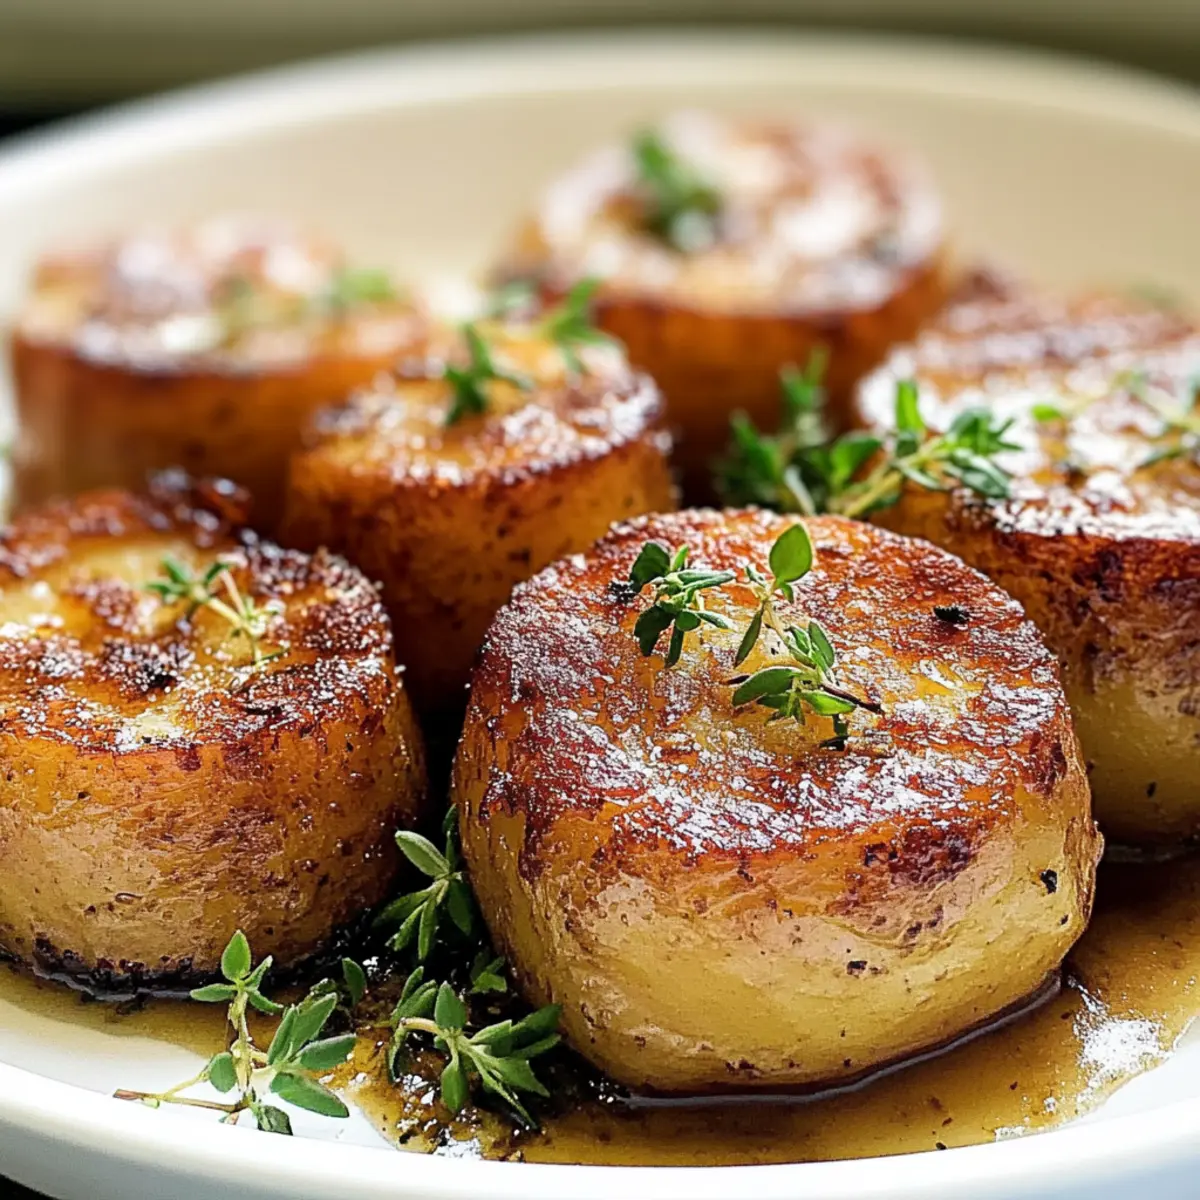
These melting potatoes are undeniably a showstopper! With the perfect blend of crispy and creamy textures, they’ll surely become a comforting staple on your dinner table.
Step‑by‑Step Instructions for Melting Potatoes
Step 1: Preheat the Oven
Begin by preheating your oven to 400°F (200°C). This high temperature is essential for achieving that delightful crispy exterior on the melting potatoes. While the oven heats, prepare your ingredients so everything is ready for a smooth cooking process.
Step 2: Prepare the Potatoes
Take the russet potatoes and slice off just the ends before cutting them into thick 1-inch slices. As you work, generously season both sides with salt and pepper to enhance their natural flavors. This simple preparation step is crucial for the final taste of the melting potatoes.
Step 3: Sear the Potatoes
In a large cast iron skillet, heat a couple of tablespoons of vegetable oil along with 4 tablespoons of butter over medium-high heat. Once the butter is melted and bubbling, carefully arrange the potato slices in a single layer. Sear them until they turn a beautiful golden brown on one side, which should take about 3-5 minutes.
Step 4: Flip and Sear Again
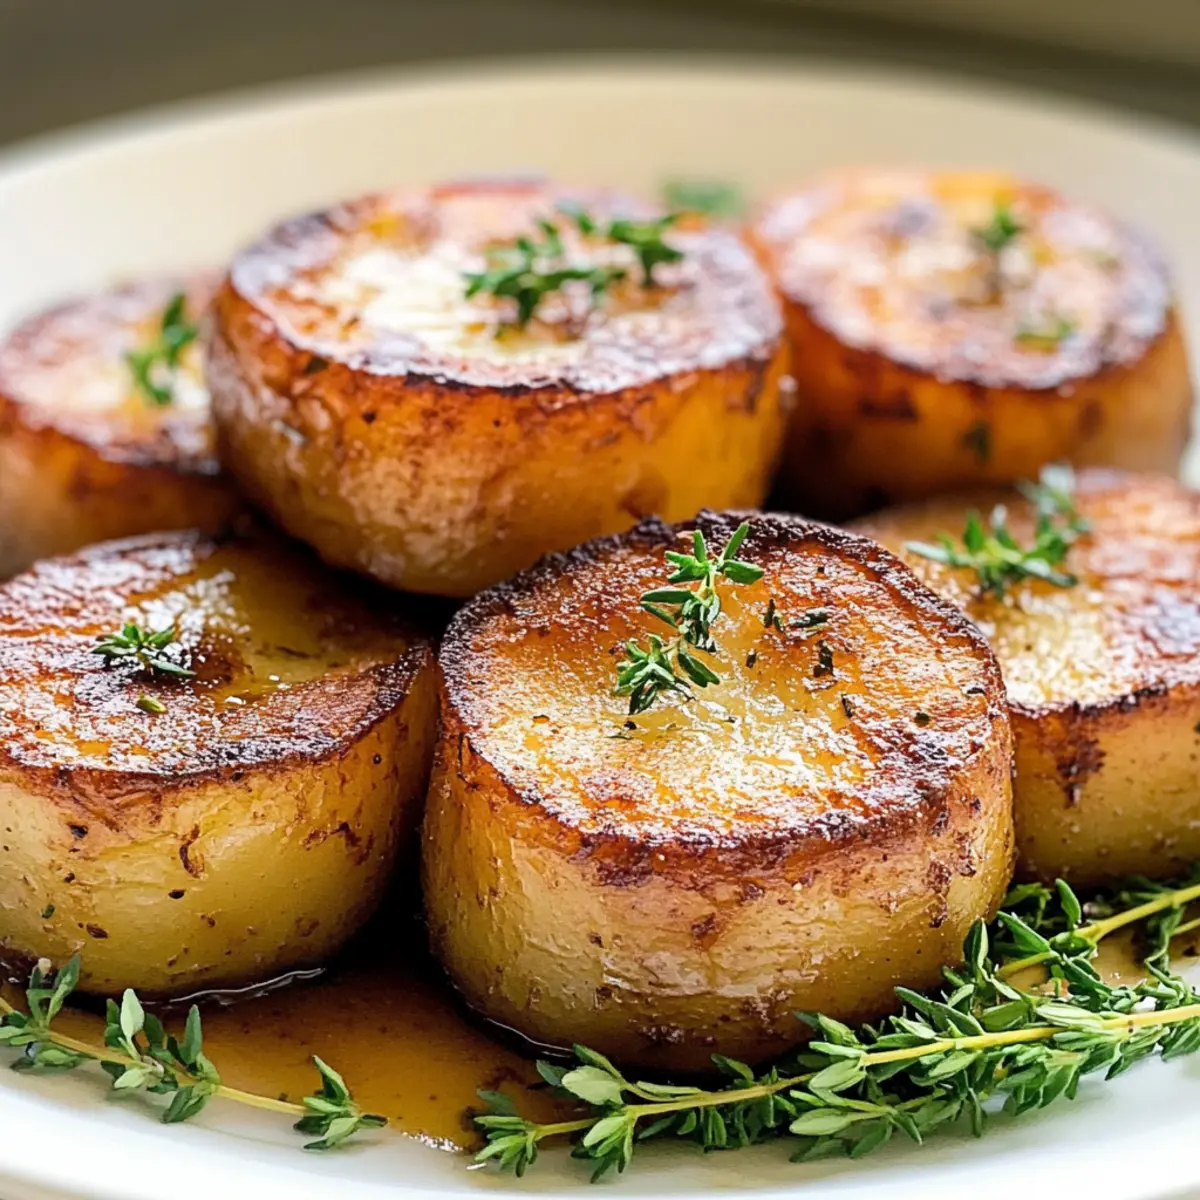
Using tongs, gently flip each potato slice to sear the other side. Allow them to cook for an additional 3-5 minutes until they achieve that golden crust. This step is vital for developing the crispy exterior that contrasts wonderfully with the creamy interior of the melting potatoes.
Step 5: Add the Broth and Garlic
Once both sides of the potatoes are seared, pour enough low-sodium chicken broth into the skillet to cover about two-thirds of the potatoes. This will help them cook through while keeping things moist. Scatter the sliced garlic evenly on top, allowing it to infuse the dish with aromatic goodness as it bakes.
Step 6: Incorporate the Herbs
Next, add sprigs of fresh rosemary and thyme over the potatoes for that delightful herbal flavor. To finish this step, cube the remaining butter and place the pieces on top of the potatoes, letting it melt into the mixture during baking for extra richness.
Step 7: Bake to Tenderness
Carefully transfer the skillet to your preheated oven and bake the melting potatoes for about 30 minutes. You’ll know they’re done when they are fork-tender and the broth has reduced slightly, creating a luscious sauce to spoon over them before serving.
Step 8: Serve with Style
Once out of the oven, let your melting potatoes rest for a few moments before serving. This allows the flavors to meld beautifully. Spoon any remaining sauce from the skillet over the potatoes to enhance their rich, buttery flavor. These melting potatoes will surely impress everyone at your dinner table!
Melting Potatoes: Creative Twists Await!
Feel free to unleash your culinary creativity with these delightful variations that give melting potatoes a personalized touch!
-
Yukon Gold Potatoes: Swap russets for Yukon Golds for a creamier texture that melts in your mouth. Their natural sweetness enhances the overall flavor.
-
Herb Infusion: Experiment with fresh herbs like sage or basil to add a unique flavor profile. A mix of rosemary and sage really sings together!
-
Garlic Alternatives: Use shallots or shallot powder instead of garlic for a milder, sweeter taste. The subtle sweetness perfectly complements the potatoes.
-
Cheesy Delight: For a rich twist, sprinkle shredded cheese (like cheddar or Gruyère) on top during the last few minutes of baking. The gooey goodness is irresistible!
-
Spicy Kick: Add a pinch of red pepper flakes or diced jalapeños for a flavorful heat that brings a new dimension to the dish.
-
Balsamic Glaze: Drizzle a balsamic reduction over your melting potatoes just before serving. The tanginess contrasts beautifully with the rich butteriness.
-
Nutty Finish: Top with a sprinkle of toasted pine nuts or slivered almonds for a satisfying crunch and nutty flavor that adds texture.
-
Citrus Zest: Brighten the dish with a hint of lemon or orange zest just before serving. This touch can elevate the flavors to a new level!
By playing with these variations, you’ll never get bored of this heavenly side dish! And don’t forget, these melting potatoes make a perfect companion alongside Creepy Skull Potatoes or Cranberry Apple Potatoes. Add some flair to your dinner table and impress your family and friends!
How to Store and Freeze Melting Potatoes
Fridge: Store leftover melting potatoes in an airtight container for up to 3 days. Make sure they are completely cooled before placing them in the refrigerator to maintain their texture.
Freezer: For longer storage, freeze melting potatoes in a single layer on a baking sheet until firm, then transfer to a freezer-safe bag or container. They can last up to 2 months in the freezer.
Reheating: To reheat, place thawed melting potatoes in a preheated oven at 375°F (190°C) for about 15-20 minutes, or until heated through and crispy on the outside. This preserves their delicious, buttery goodness!
Expert Tips for Melting Potatoes
-
Use Cast Iron: A cast iron skillet ensures even heat distribution for optimal crispiness. If you don’t have one, preheat a non-stick frying pan before use.
-
Don’t Rush the Sear: Allow each side of the potatoes to develop a golden crust for the best texture. Rushing this step can lead to soggy potatoes.
-
Ensure Even Slicing: Cutting potatoes uniformly into 1-inch thick slices promotes even cooking. This simple tip contributes to the perfect tender interior of your melting potatoes.
-
Flavor Boost: Enhance your melting potatoes by adding a splash of white wine along with the broth. This adds depth and complexity to the dish.
-
Experiment with Herbs: Feel free to take a twist on flavor by trying different herbs. Chopped fresh parsley or a sprinkle of dill can elevate the classic taste of melting potatoes.
-
Storage Tips: If you have leftovers, store them in an airtight container in the refrigerator for up to 3 days. Reheat in the oven to retain that glorious crispiness!
Make Ahead Options
These Melting Potatoes are perfect for meal prep enthusiasts! You can slice and season the potatoes up to 24 hours in advance, storing them in a bowl of cold water to prevent browning. Additionally, you can prepare the garlic, herbs, and broth mixture ahead of time, keeping them refrigerated. When you’re ready to enjoy this delightful dish, simply sear the prepped potatoes and follow the remaining cooking instructions. To ensure they turn out just as delicious as freshly made, avoid reheating too aggressively; gentle reheating in the oven will help maintain the crispy texture. With these prep-ahead tips, you can impress your guests with minimal last-minute effort!
What to Serve with Melting Potatoes?
Pairing melting potatoes with the right dish can elevate your meal from ordinary to extraordinary. Imagine the comforting harmony of buttery, crispy potatoes mingling with your favorite flavors.
- Grilled Chicken: The juicy, tender meat complements the rich texture of melting potatoes, creating a well-rounded plate that pleases the palate.
- Roast Beef: This hearty classic pairs beautifully, with the potatoes’ creaminess perfectly balancing the savory flavor of the meat.
- Garlicky Green Beans: Fresh and vibrant, these sautéed green beans add a crisp contrast, enhancing the luxurious buttery feel of the potatoes.
- Caesar Salad: A vibrant side salad brings a light and crunchy element to your dinner, enhancing the overall texture experience.
- Savory Mushroom Gravy: Drizzling a rich mushroom gravy over your melting potatoes introduces umami depth, making every bite even more delightful.
- Crisp White Wine: A chilled glass of Sauvignon Blanc or Chardonnay enhances the meal, cutting through the creaminess and adding a refreshing contrast.
For a comforting touch, serve a homemade dessert like warm chocolate cake alongside. The combination of gooey chocolate and crunchy potato will leave everyone asking for seconds!
Melting Potatoes Recipe FAQs
How do I choose the best russet potatoes for melting potatoes?
Absolutely! Look for russet potatoes that are firm to the touch and free from dark spots or blemishes. Choose potatoes that feel heavy for their size and have smooth skin. Avoid any that have soft spots or are sprouting, as these could lead to a less-than-ideal texture in your melting potatoes.
What is the best way to store leftovers?
After enjoying your melting potatoes, store any leftovers in an airtight container in the refrigerator. They’ll stay fresh for up to 3 days. Make sure they are completely cooled before sealing to keep their texture nice and firm. Reheating in the oven (around 375°F) helps them retain that lovely crispiness.
Can I freeze melting potatoes?
Absolutely! To freeze your melting potatoes, place them in a single layer on a baking sheet and freeze until firm. This prevents them from sticking together. Transfer to a freezer-safe bag or container afterward. They can be stored for up to 2 months. Just remember to thaw them in the fridge before reheating!
What should I do if my potatoes turn out soggy?
Very good question! If your melting potatoes turn out soggy, it might be due to not searing them long enough to develop a crispy exterior. Ensure each side is seared until golden brown before adding the broth. Also, make sure to use enough broth—covering them to about two-thirds is key, as too much liquid can lead to a mushy consistency.
Can I substitute the garlic and herbs for other ingredients?
Certainly! If you prefer a milder taste, feel free to skip the garlic altogether or use garlic powder instead. For herbs, you can experiment with thyme, basil, or even sage for a unique twist on flavor. Just remember that dried herbs usually require less quantity than fresh—use about one-third the amount!
Are there any dietary considerations for melting potatoes?
Yes! Melting potatoes can be made vegetarian-friendly by substituting chicken broth with vegetable broth. For those with dairy sensitivities, you can try using dairy-free butter alternatives. Always keep an eye on ingredient labels, especially if allergies are a concern. Enjoy experimenting to find the perfect variation for your dietary needs!
Melting Potatoes: Buttery Goodness You Can’t Resist
Ingredients
Equipment
Method
- Preheat your oven to 400°F (200°C).
- Slice off just the ends of the russet potatoes and cut them into thick 1-inch slices. Season both sides with salt and pepper.
- In a large cast iron skillet, heat vegetable oil and butter over medium-high heat. Sear the potato slices until golden brown on one side (3-5 minutes).
- Flip each potato slice to sear the other side (3-5 more minutes).
- Pour enough low-sodium chicken broth to cover about two-thirds of the potatoes and add sliced garlic evenly on top.
- Add sprigs of fresh rosemary and thyme, then cube the remaining butter and place on top of the potatoes.
- Transfer the skillet to the preheated oven and bake for about 30 minutes until fork-tender.
- Allow to rest before serving, spooning any remaining sauce over the potatoes.
Leave a Reply