
As the summer sun blazes overhead, I can’t help but think of the joy that comes from sharing delicious treats with friends and family. This Festive Red, White, and Blue Layered Cheesecake is not just a dessert; it’s a showstopper that captures the spirit of patriotism and celebration. With its creamy texture and vibrant colors, it’s the perfect centerpiece for occasions like the Fourth of July or Memorial Day. One of the best perks of this layered cheesecake is how it can turn any gathering into a memorable event while also being surprisingly easy to make. Plus, it stays beautifully in the fridge, making it an ideal make-ahead dessert. Ready to impress your guests and indulge your sweet tooth? Let’s dive into this delightful recipe!
Why is Layered Cheesecake a Must-Try?
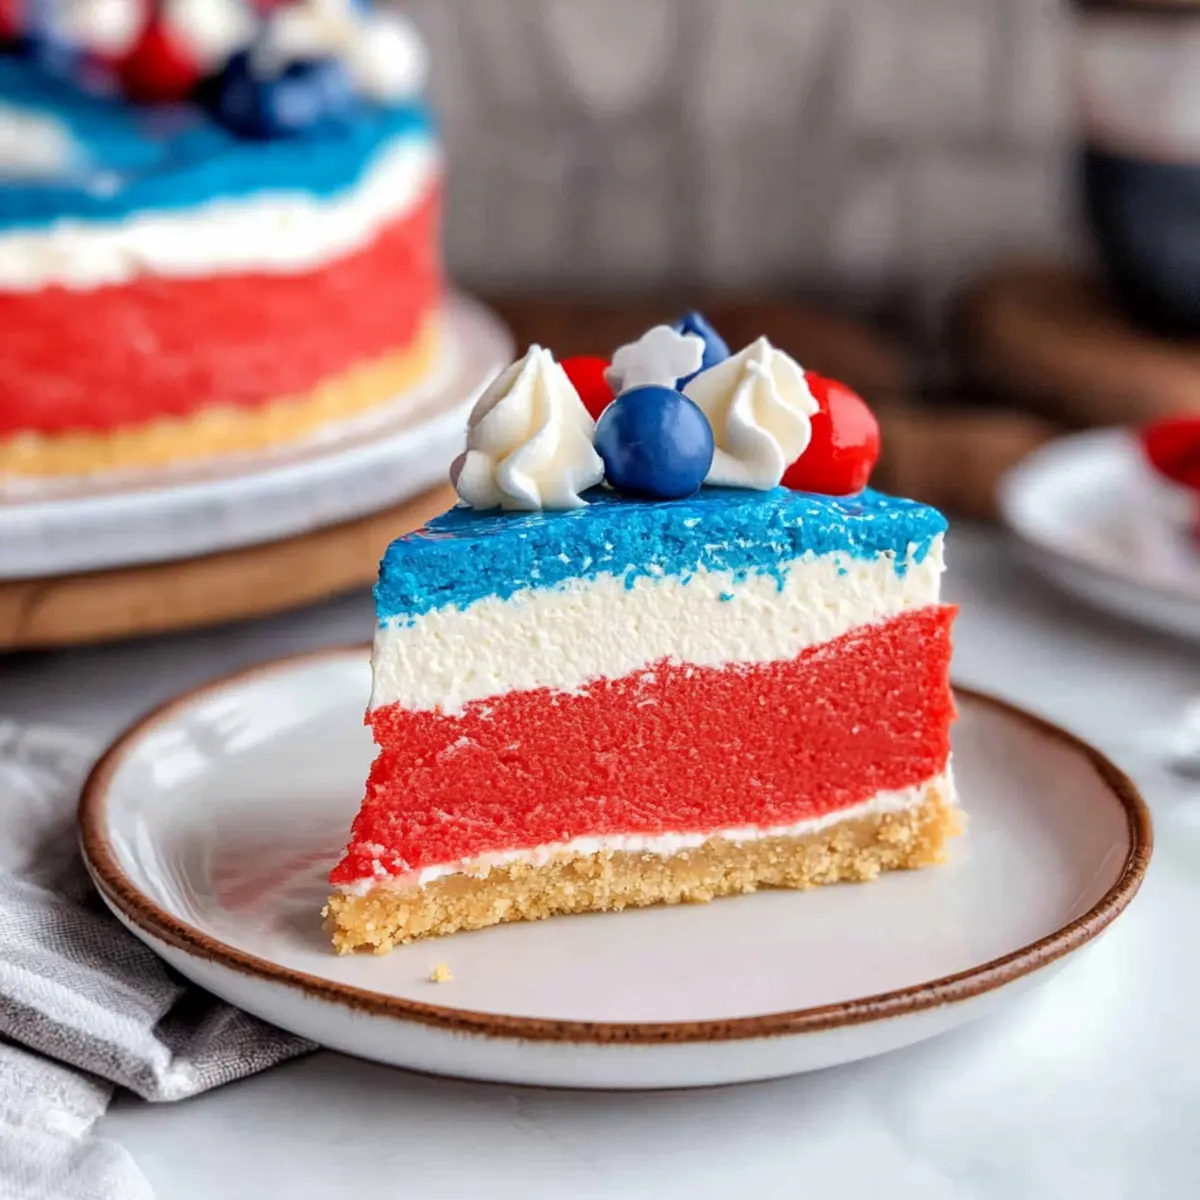
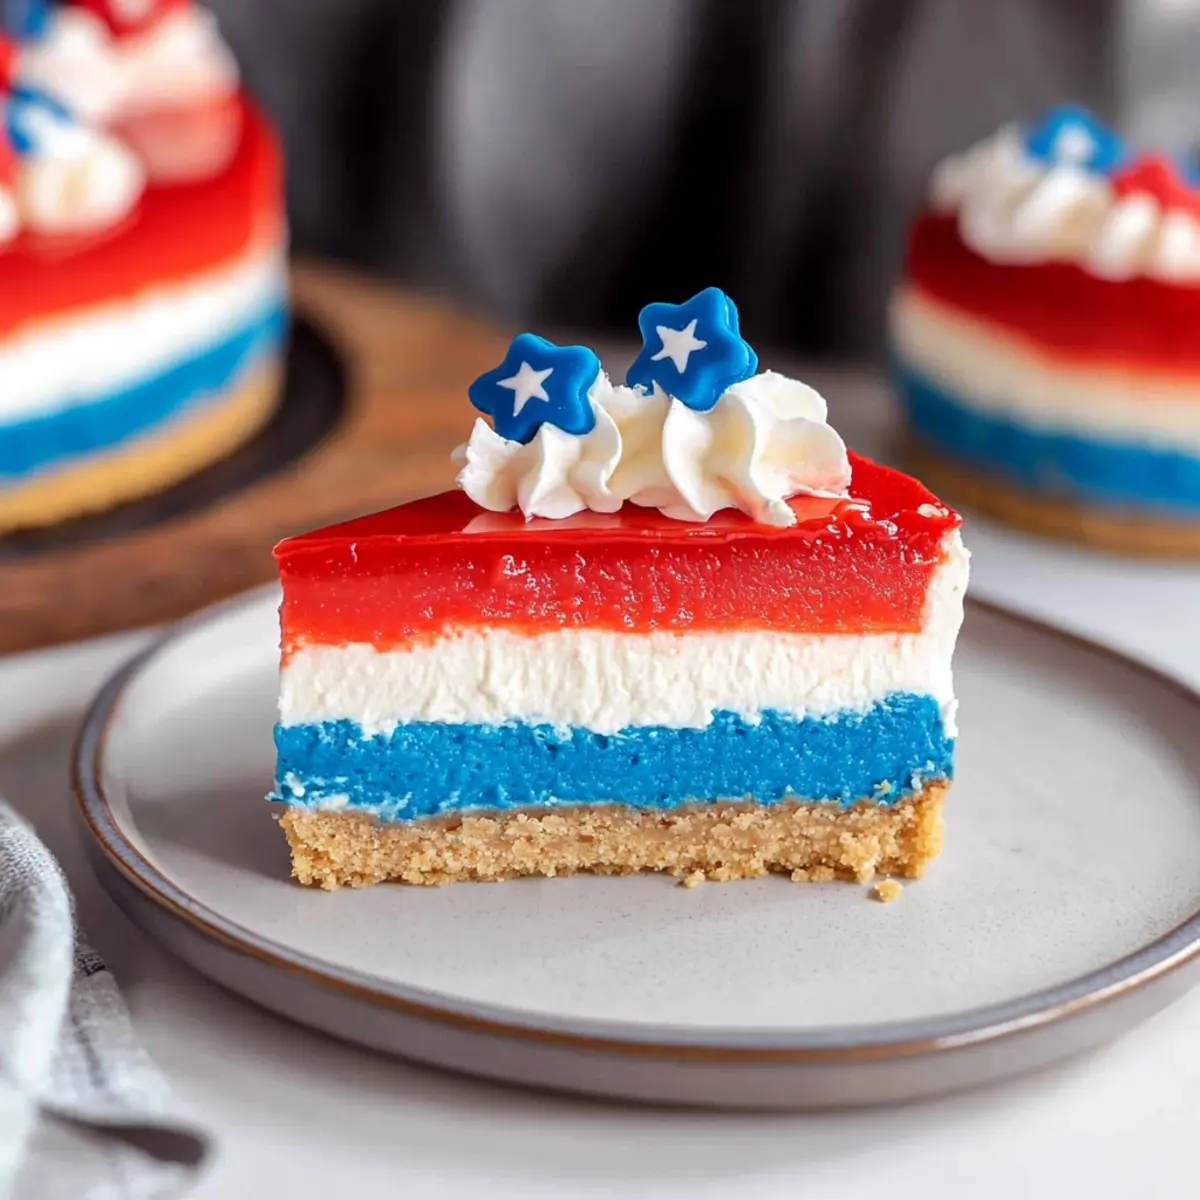
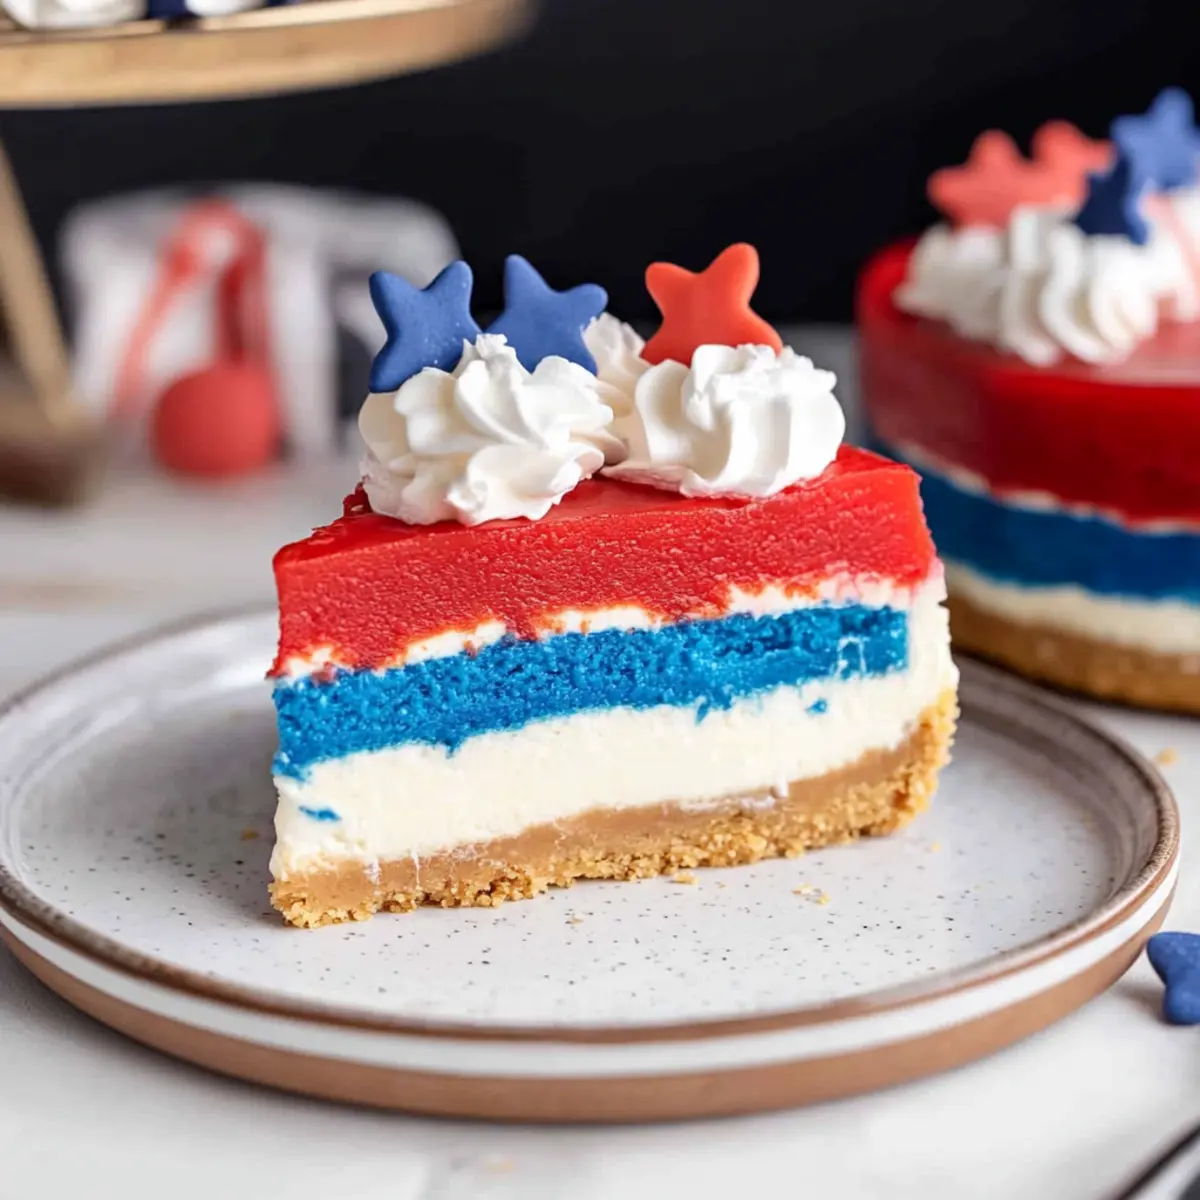
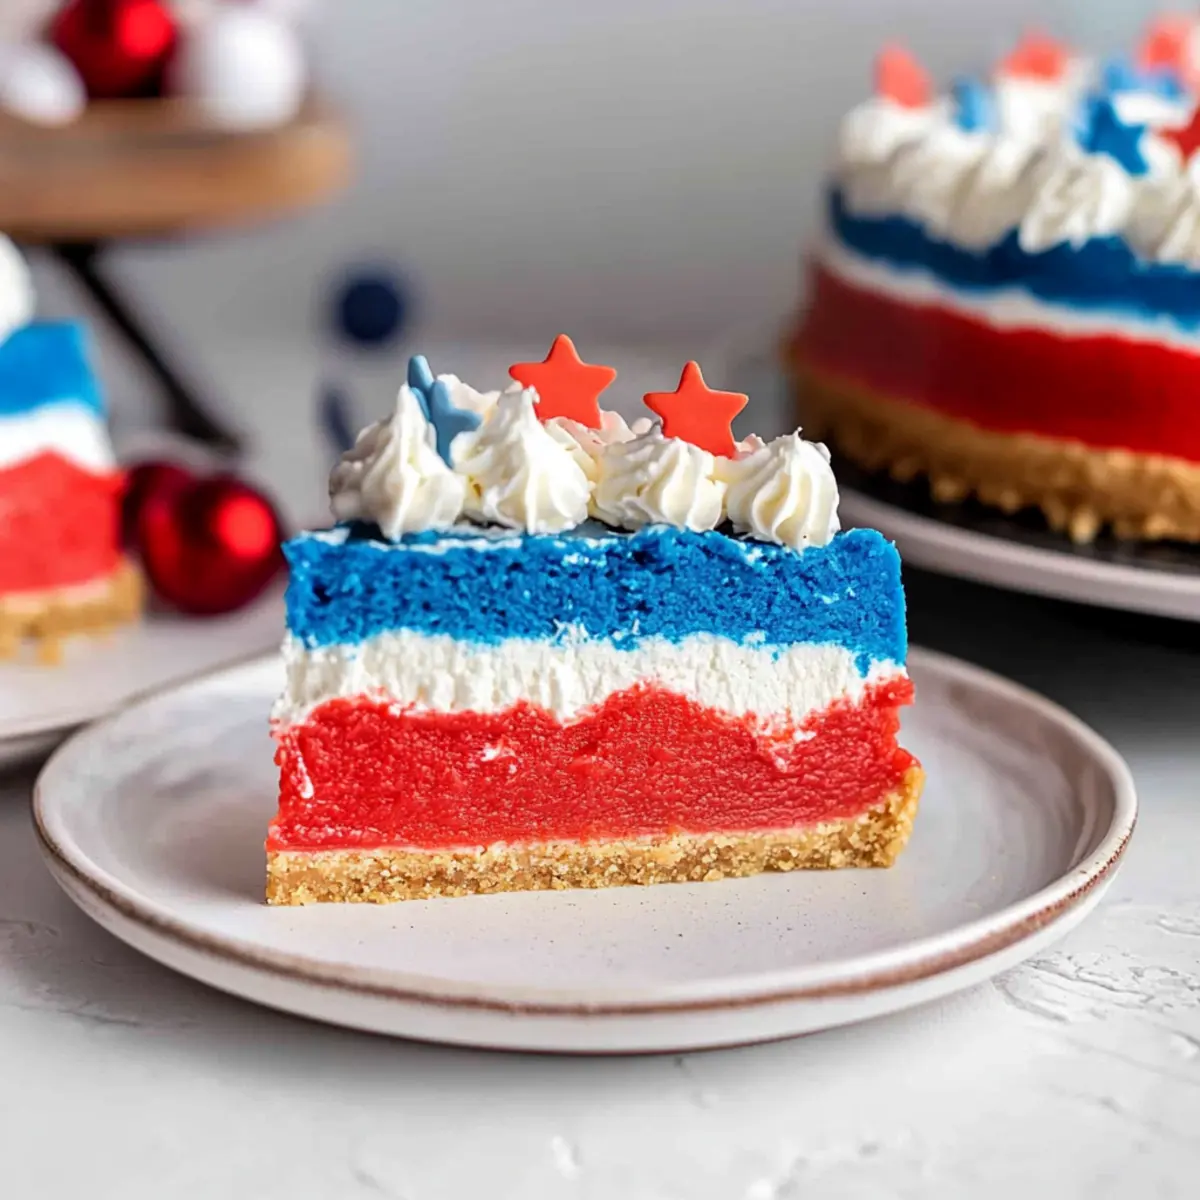
Visual Appeal: This stunning dessert features striking red, white, and blue layers that will wow your guests and elevate any gathering.
Creamy Delight: The velvety cream cheese filling balances perfectly with a buttery graham cracker crust for a dessert that’s rich yet refreshing.
Celebration Ready: Make it for patriotic occasions like the Fourth of July to truly capture the spirit of the season.
Make-Ahead Option: Prepare it in advance, as it keeps well in the fridge, making it perfect for stress-free entertaining.
Looking for other festive ideas? Try the delightful [Hogwarts Houses Cheesecake](https://thymecrown.com/hogwarts-houses-butterbeer-swirl-cheesecake/) or the refreshing [Banana Pudding Cheesecake](https://thymecrown.com/banana-pudding-cheesecake/) for your next celebration!
Layered Cheesecake Ingredients
-
For the Crust
• Graham Crackers Crumbs – about 2 ½ cups (300 grams) provide a firm, flavorful base for the cheesecake.
• Unsalted Butter – 1 stick, melted to add richness and bind the crust; margarine can be a substitute. -
For the Filling
• Cream Cheese – 750 grams (3 bricks), softened at room temperature for a smooth blend that creates the creamy filling.
• White Granulated Sugar – about 1 cup (200 grams) enhances sweetness and balances the flavors of the layered cheesecake.
• Cornstarch – 1 ½ tablespoons stabilizes the filling for a smooth, crack-free texture.
• Whipping Cream – 1 cup for a rich and fluffy consistency in the cheesecake.
• Large Eggs – 3, at room temperature, provide the necessary structure for the cheesecake to set properly. -
For Coloring
• Blue and Red Food Coloring – gel food coloring works best to achieve those vibrant layers; use sparingly for intense colors.
Elevate your festive gatherings with this layered cheesecake that not only pleases the eye but also satisfies the palate!
Step‑by‑Step Instructions for Festive Red, White, and Blue Layered Cheesecake
Step 1: Preheat the Oven
Begin by preheating your oven to 325°F (163°C). This temperature is crucial for building a perfectly baked crust for your Layered Cheesecake. While the oven warms up, prepare your 9″ springform pan and a large mixing bowl for later steps.
Step 2: Prepare the Crust
In a mixing bowl, combine the graham cracker crumbs with the melted butter, mixing until fully incorporated. Press this mixture firmly into the bottom of the springform pan, creating a smooth, even layer. Bake the crust in the preheated oven for 10 minutes, and then remove it to cool while you prepare the filling.
Step 3: Make the Cheesecake Filling
Lower the oven temperature to 300°F (150°C). In a large mixing bowl, beat the softened cream cheese and sugar using an electric mixer on medium speed until the mixture is smooth and creamy. This step sets the stage for your delicious Layered Cheesecake, so take your time to ensure no lumps remain.
Step 4: Incorporate Cornstarch and Cream
Once your cream cheese mixture is smooth, add the cornstarch and blend slowly to combine. Next, pour in the whipping cream, continuing to mix until it’s well integrated. The filling should now be rich and fluffy, a perfect base for the vibrant layers of your cheesecake.
Step 5: Add the Eggs
With your filling nicely blended, add the eggs one at a time to the mixture, mixing well after each addition. This process allows the eggs to incorporate fully, aiding in the structure of the cheesecake. Be gentle to maintain the creamy texture of the filling; it should feel velvety and smooth.
Step 6: Color the Batter
Divide the cheesecake batter evenly into three separate bowls. Leave one bowl white, then add blue gel food coloring to one and red gel food coloring to the other, mixing until you achieve vibrant and appealing colors. This layering is what makes your Layered Cheesecake eye-catching for any celebration.
Step 7: Layer the Batter
Wrap the outside of the springform pan with aluminum foil to create a water-tight seal, essential for the water bath. Carefully pour the blue batter into the bottom of the pan, smoothing the layer. Next, add the white layer, spreading it gently over the blue, followed by the red layer on top to create a beautiful stacked effect.
Step 8: Bake the Cheesecake
Place the wrapped springform pan into a large roasting pan. Fill the roasting pan with water halfway up the sides of the cheesecake pan. Bake in the preheated oven for 1 hour and 40 minutes. The cheesecake is done when the edges are set, but the center still jiggles slightly.
Step 9: Cool Gradually
After baking, turn off the oven and leave the door slightly ajar for 30 minutes without removing the cheesecake. This gradual cooling helps prevent cracks in your Layered Cheesecake. You’ll notice the cheesecake relaxing as it cools, ensuring a smooth final result.
Step 10: Chill and Set
Once the initial cooling period is over, let your cheesecake cool at room temperature for about 2 hours. Then, transfer it to the refrigerator to chill for at least 2 hours or up to 12 for best results. This allows the flavors to meld and the cheesecake to set perfectly.
Step 11: Garnish and Serve
When you’re ready to serve your stunning Layered Cheesecake, consider garnishing it with whipped cream and colorful sprinkles for an extra festive touch. Slice it carefully for beautiful layered pieces, and enjoy the rich flavors of this delightful dessert at your next celebration!
How to Store and Freeze Layered Cheesecake
Fridge: Store your layered cheesecake in an airtight container for up to 4 days to maintain its creamy texture and vibrant colors.
Freezer: For longer storage, wrap individual slices tightly in plastic wrap and place them in a freezer-safe container; they can be frozen for up to 3 months.
Thawing: To thaw, simply transfer slices from the freezer to the fridge for several hours or overnight before serving to preserve the flavor and texture of the layered cheesecake.
Reheating: While it’s best served chilled, if you prefer it slightly warmed, let it sit at room temperature for about 15-20 minutes before enjoying.
Make Ahead Options
These Festive Red, White, and Blue Layered Cheesecakes are perfect for meal prep! You can prepare the cheesecake base up to 24 hours in advance by following all the steps, baking it, and then refrigerating it. Ensure the cheesecake is completely cooled and cover it tightly with plastic wrap to maintain its rich, creamy texture. For optimal taste, it’s best served chilled after a minimum of 2 hours in the fridge, but you can leave it for up to 12 hours for the flavors to meld beautifully. When ready to serve, simply garnish with whipped cream and colorful sprinkles to elevate its festive appearance with just a few minutes of final prep!
Expert Tips for Layered Cheesecake
- Room Temperature Ingredients: Ensure all your ingredients, especially cream cheese and eggs, are at room temperature for a smooth batter without lumps.
- Water Bath Importance: Use a water bath when baking your layered cheesecake to keep it moist and prevent cracks; wrap the springform pan in foil to avoid water seepage.
- Layering Technique: Pour the batter slowly and carefully to maintain distinct colors; a gentle spoon or spatula can help spread layers without mixing.
- Chill Time Matters: Allow ample chilling time in the refrigerator (2 to 12 hours) for a firm set and enhanced flavor of your layered cheesecake.
- Slicing Tips: For clean slices, dip a knife in hot water between cuts, wiping it clean each time; this helps showcase those beautiful layers.
What to Serve with Festive Red, White, and Blue Layered Cheesecake
Elevate your meal with delicious accompaniments that bring out the best in your vibrant dessert.
-
Fresh Berries: Accompany your cheesecake with a medley of strawberries, blueberries, and raspberries for a burst of juicy freshness. The tartness balances the rich cheesecake beautifully.
-
Homemade Whipped Cream: A dollop of silky whipped cream provides a light, airy texture that complements the cheesecake’s richness. Whip some with a hint of vanilla for an extra indulgence!
-
Flavored Coffee: Whether it’s a classic vanilla latte or a refreshing iced mocha, a delightful coffee beverage pairs perfectly with the sweet cheesecake. It offers a cozy warmth or refreshing chill to end the meal.
-
Crispy Lemonade Cookies: These cookies add a fun crunch and citrusy zing that will beautifully contrast the creamy layers of cheesecake. Their texture makes every bite an exciting experience.
-
Refreshing Fruit Salad: A vibrant mix of seasonal fruits like melons, pineapple, and kiwi not only adds color but also lightness to your dessert spread. The natural sweetness complements the cheesecake wonderfully.
-
Sparkling Water with Citrus: Enhance your dining experience with chilled sparkling water infused with lemon or lime slices. It’s a refreshing drink that cleanses the palate after each rich cheesecake bite.
-
Chocolate Dipped Strawberries: These indulgent treats enhance the dessert table with a touch of elegance and decadence. Each bite offers a perfect blend of luscious chocolate and fresh fruit to complement the cheesecake.
-
Red, White, and Blue Parfaits: A fun dessert idea for your gathering, these parfaits layered with yogurt, granola, and berries echo the flavors of your layered cheesecake while adding diversity to the dessert table.
Layered Cheesecake Variations & Substitutions
Feel free to customize this delightful layered cheesecake to your liking—your taste buds will thank you!
- Natural Colors: Swap the food colorings for natural alternatives like beet juice for red and spirulina for blue, or skip them entirely for a classic look.
- Fruit Purees: Incorporate fruit purees such as raspberry or blueberry into the batter for delightful flavors and natural coloring. Why not drizzle some on top as a fresh garnish?
- Vegan Version: Use dairy-free cream cheese and almond milk to create a vegan-friendly cheesecake that still tastes indulgent and creamy. Your guests will be amazed!
- Gluten-Free Crust: Substitute graham cracker crumbs with gluten-free cookie crumbs for a gluten-sensitive option without sacrificing flavor.
- Chocolate Twist: Add cocoa powder to a portion of the filling to create a delightful chocolate layer, mixing beautifully with the classic flavors. Everyone loves a chocolate surprise!
- Zesty Lemon Burst: Mix in lemon zest and juice to the filling for a refreshing, tangy flavor that beautifully complements the rich cheesecake layers.
- Spicy Kick: Experiment with a pinch of cinnamon or nutmeg in the crust or filling for a warm undertone that adds complexity to each bite.
- Syrupy Drizzle: Serve with a homemade raspberry or blueberry sauce drizzled on top, or a sprinkle of crushed nuts for added texture and flavor contrast.
Don’t forget to explore more delicious options like the [Banana Pudding Cheesecake](https://thymecrown.com/banana-pudding-cheesecake/) for a fruity twist, or the indulgent [Dark Chocolate Raspberry Cheesecake](https://thymecrown.com/dark-chocolate-raspberry-cheesecake/) that will captivate chocolate lovers at your gathering!
Festive Red, White, and Blue Layered Cheesecake Recipe FAQs
What type of graham crackers should I use for the crust?
Absolutely! For the crust, I recommend using plain graham crackers without any added flavors. You can find them in most grocery stores, and using 2 ½ cups of crumbs (300 grams) ensures a firm and flavorful base that pairs perfectly with the creamy layers of the cheesecake.
How long can I store the layered cheesecake in the fridge?
You can store your layered cheesecake in an airtight container in the refrigerator for up to 4 days. This makes it an excellent make-ahead dessert for gatherings, allowing you to enjoy the rich, creamy texture the day after you’ve made it.
Can I freeze the leftover cheesecake?
Yes, you can definitely freeze your layered cheesecake! To do this, wrap individual slices tightly in plastic wrap, ensuring no air gets in, and place them in a freezer-safe container. It can be frozen for up to 3 months. When you’re ready to enjoy, simply thaw it overnight in the fridge.
How can I prevent my cheesecake from cracking?
To avoid cracks in your layered cheesecake, ensure all your ingredients are at room temperature before mixing, as cold ingredients can lead to lumps. Additionally, using a water bath while baking is essential. Wrap your springform pan in foil to keep it airtight, and fill a roasting pan with water halfway up the sides of the cheesecake for a moist baking environment.
Is there a way to make this cheesecake dairy-free?
Absolutely! You can substitute the cream cheese with a dairy-free alternative, such as cashew cream or a dairy-free cream cheese spread. For the whipping cream, use coconut cream or whipped aquafaba instead. Ensure your eggs are replaced with a plant-based alternative like flaxseed meal mixed with water or an egg replacer to achieve similar binding properties.
Can I use a different food coloring for this recipe?
Yes, you can! If you prefer a more natural approach, consider using fruit purees or natural food dyes to achieve vibrant colors without artificial ingredients. Beet juice can substitute for red, and blueberry puree works perfectly for blue. The key is to ensure your colors are bold and vibrant to maintain the festive look of your layered cheesecake.
Delightful Layered Cheesecake for Your Next Celebration
Ingredients
Equipment
Method
- Preheat the oven to 325°F (163°C).
- Combine the graham cracker crumbs with melted butter, press into the bottom of the springform pan, and bake for 10 minutes.
- Lower the oven temperature to 300°F (150°C) and beat the cream cheese and sugar until smooth.
- Add cornstarch and mix, then incorporate the whipping cream.
- Add eggs one at a time, mixing well each time.
- Divide the batter into three bowls, coloring one blue, one red, and leaving one white.
- Wrap the springform pan in aluminum foil, pour in the blue batter, then the white, and finally the red.
- Place the pan in a roasting pan with water halfway up the sides and bake for 1 hour and 40 minutes.
- Turn off the oven and let the cheesecake cool gradually for 30 minutes.
- Let the cheesecake cool at room temperature for about 2 hours, then refrigerate for at least 2 hours.
- Garnish with whipped cream and colorful sprinkles before serving.
Leave a Reply