
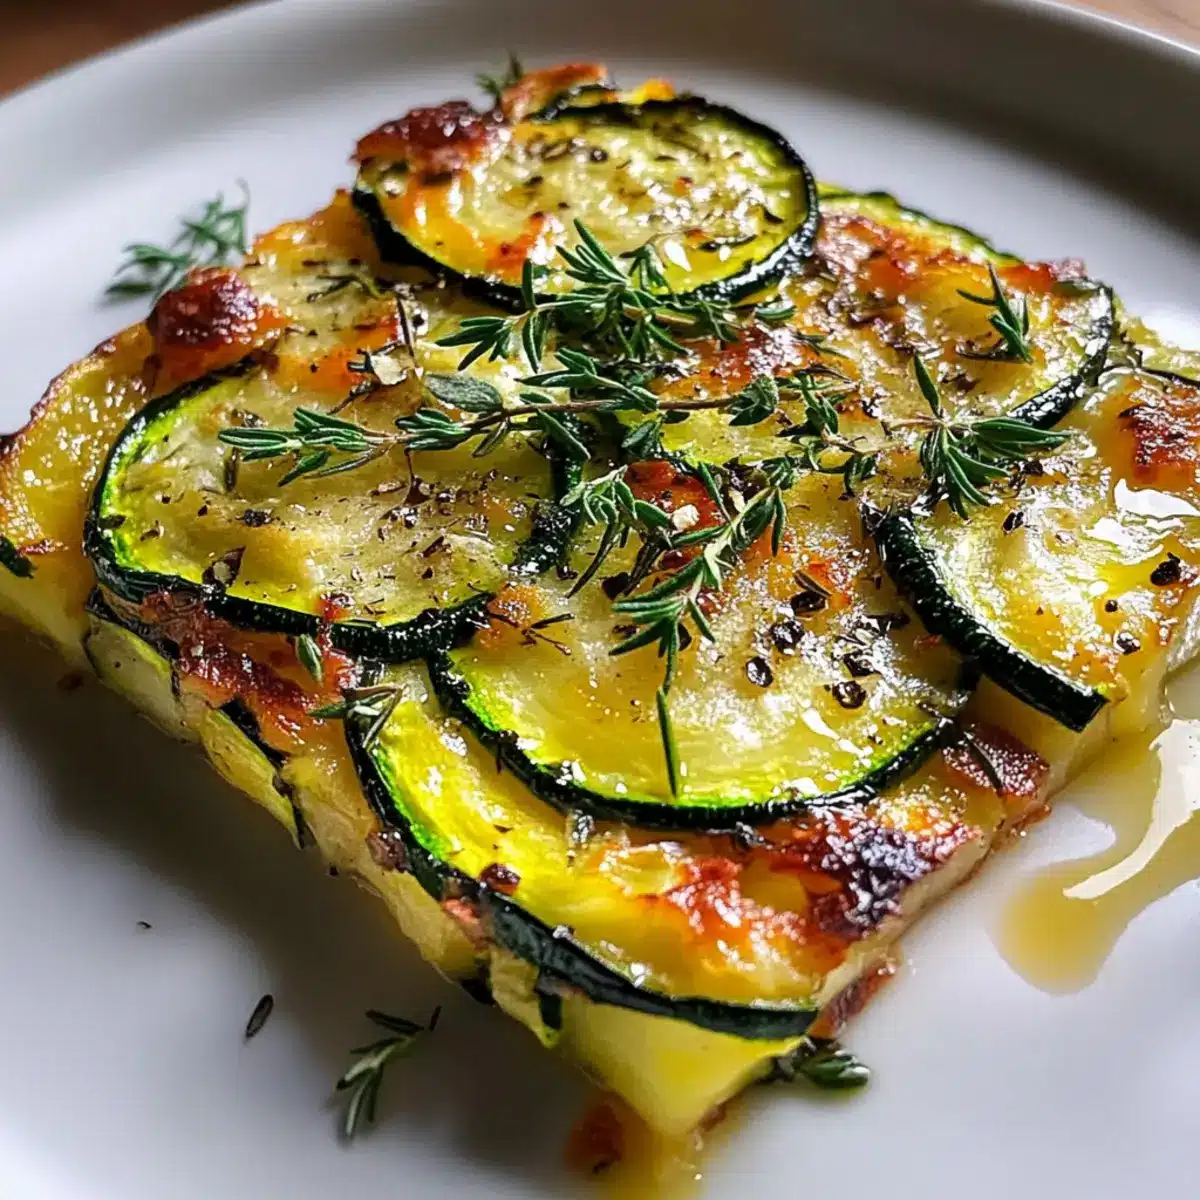
There I was, standing in my kitchen, with a bounty of fresh zucchini just waiting to be transformed into something magical. Enter the Italian Zucchini Scarpaccia, a delightful savory bake that elegantly showcases this humble vegetable. With its crispy golden crust and tender, aromatic filling of nutty Parmesan and fresh thyme, this dish embodies the heart of Tuscan cooking. Not only is it a fantastic way to use up that garden-fresh zucchini, but it also doubles as a fuss-free appetizer or a light main course that will impress guests and family alike. Plus, it’s incredibly simple to whip up, making it perfect for those busy weeknights when you still crave something homemade. Curious to learn how this rustic dish can elevate your dinner table? Let’s dive into the delicious world of Scarpaccia!
Why is Italian Zucchini Scarpaccia a Must-Try?
Simplicity at Its Finest: This dish combines easy-to-find ingredients and requires minimal prep time, making it perfect for any home cook.
Decadent Flavor: The nutty Parmesan pairs beautifully with fresh thyme, resulting in a savory bake that delights the palate.
Versatile Option: Enjoy it warm as an appetizer or chilled as a savory snack—Scarpaccia adapts to any occasion!
Crowd-Pleasing Appeal: It’s a delightful vegetarian option that will leave everyone asking for seconds.
Perfect for Summer: Take advantage of fresh garden zucchini and enjoy the essence of Tuscan cooking in each bite. Try serving with a vibrant salad or alongside Italian Meatball Soup for a complete meal.
Italian Zucchini Scarpaccia Ingredients
For the Bake
• Zucchini – Adds moisture and a tender bite; use fresh zucchini for the best flavor.
• All-Purpose Flour – Provides structure to the bake; can use gluten-free all-purpose flour for a gluten-free option.
• Cornmeal – Contributes texture and a slight crunch; substitute with semolina for a different flavor.
• Baking Powder – Acts as a leavener for a light and airy texture; ensure it’s fresh for optimal rise.
• Salt – Enhances the overall flavor of the dish.
• Black Pepper – Adds warmth and depth; adjust to taste.
• Eggs – Bind the ingredients while enriching the batter.
• Whole Milk – Adds moisture and richness; substitute with plant-based milk for a dairy-free option.
• Olive Oil – Adds fruitiness and tenderness to the crumb.
• Parmesan Cheese – Provides salty umami flavor; substitute with Pecorino Romano or mozzarella for variation.
• Fresh Thyme – Infuses a lemony-woodsy note; use dried thyme in a pinch, adjusting quantity to one teaspoon if using dried.
• Pine Nuts (optional) – Adds buttery crunch and a mild sweetness; can replace with chopped walnuts.
• Garlic – Gives a subtle savory flavor without overpowering; mince finely for even distribution.
For the Drizzle
• Olive Oil for Drizzling – Promotes browning and adds richness to the top layer.
Let the culinary adventure begin as you gather these ingredients for your Italian Zucchini Scarpaccia – a dish that harmonizes simplicity and flavor beautifully!
Step‑by‑Step Instructions for Italian Zucchini Scarpaccia
Step 1: Preheat and Prepare
Begin by preheating your oven to 375°F (190°C). While the oven warms up, grease a 9×13-inch baking pan with olive oil or line it with parchment paper for easy removal. The pan should be ready for the batter, ensuring a beautifully baked Italian Zucchini Scarpaccia.
Step 2: Mix Dry Ingredients
In a large mixing bowl, whisk together all-purpose flour, cornmeal, baking powder, salt, and black pepper. Aim for a uniform blend, which will help create a light texture in your Scarpaccia as it rises in the oven. Set this dry mixture aside while you prepare the wet ingredients.
Step 3: Combine Wet Ingredients
In another bowl, crack the eggs and beat them until smooth. Then, mix in the whole milk and olive oil, whisking thoroughly until the mixture is well-combined and slightly frothy. This step is essential for ensuring a rich flavor and cohesive batter for your Italian Zucchini Scarpaccia.
Step 4: Incorporate the Wet into the Dry
Carefully pour the wet mixture into the bowl with the dry ingredients. Gently stir until just combined, being cautious not to overmix. Overmixing can lead to a dense texture, so you want a few lumps to remain. This combination will form the base for your savory bake.
Step 5: Fold in the Vegetables and Cheese
Next, delicately fold in the zucchini ribbons, minced garlic, grated Parmesan cheese, and fresh thyme into the batter. If you’re using pine nuts, this is a great time to add them too. The zucchini will provide moisture, while the garlic and cheese deepen the flavor of your Italian Zucchini Scarpaccia.
Step 6: Pour and Drizzle
Once everything is nicely blended, pour the batter into the prepared baking pan. Use a spatula to spread it evenly across the surface. For an extra touch of richness and to promote browning, drizzle a bit of olive oil over the top before placing it in the oven.
Step 7: Bake to Perfection
Transfer the pan into your preheated oven and bake for 35-40 minutes. You’re aiming for a golden-brown crust around the edges—with a firm top that springs back when gently pressed. This is the moment your Italian Zucchini Scarpaccia transforms into a mouthwatering delight.
Step 8: Cool and Slice
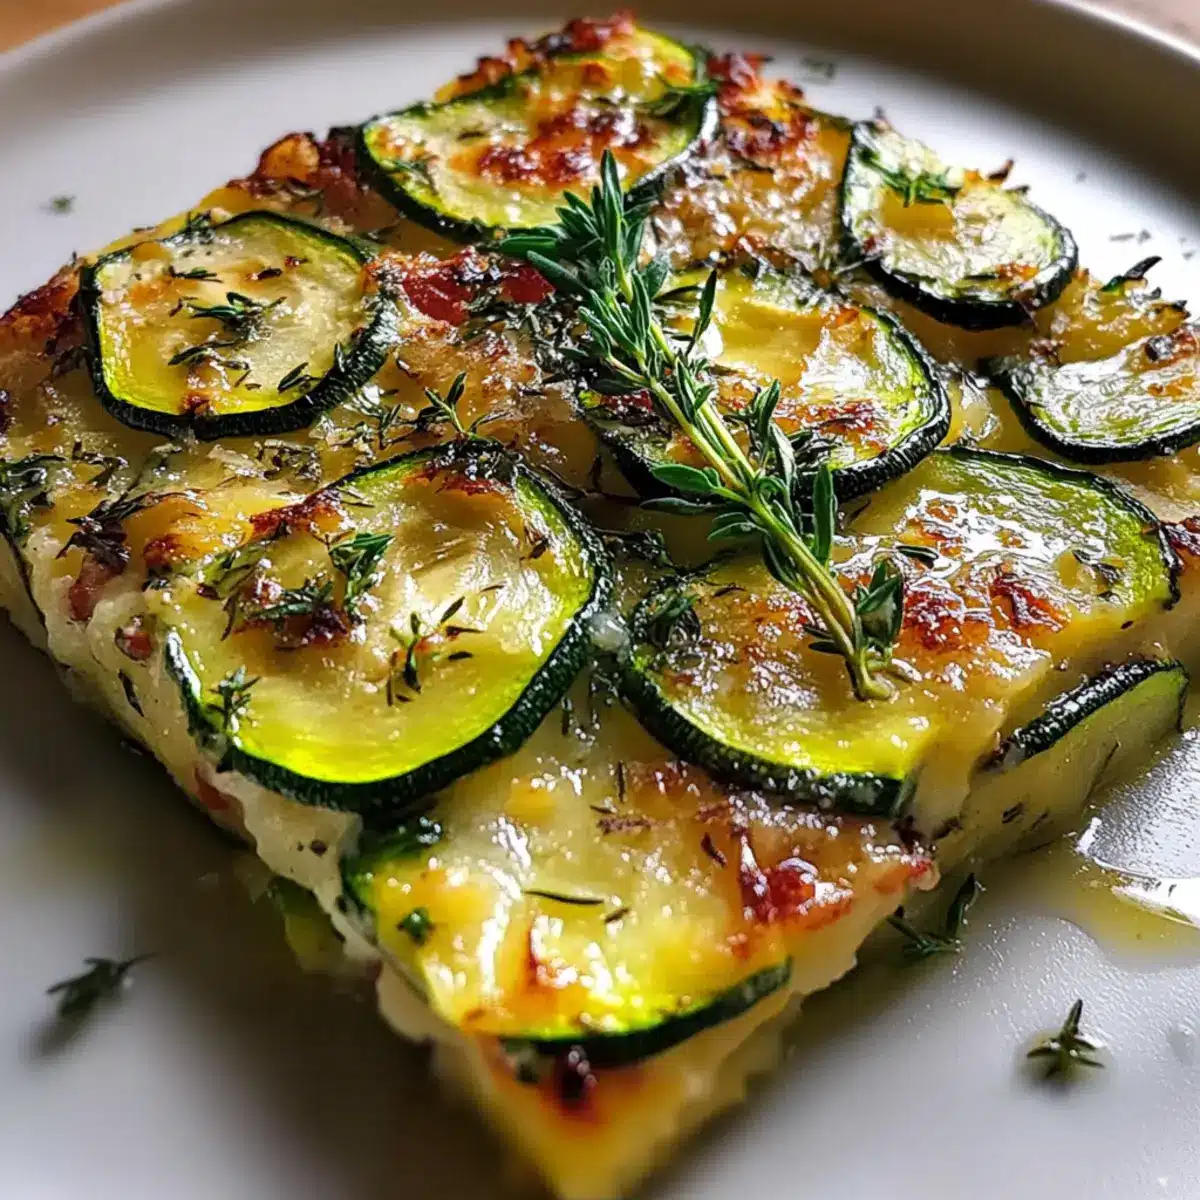
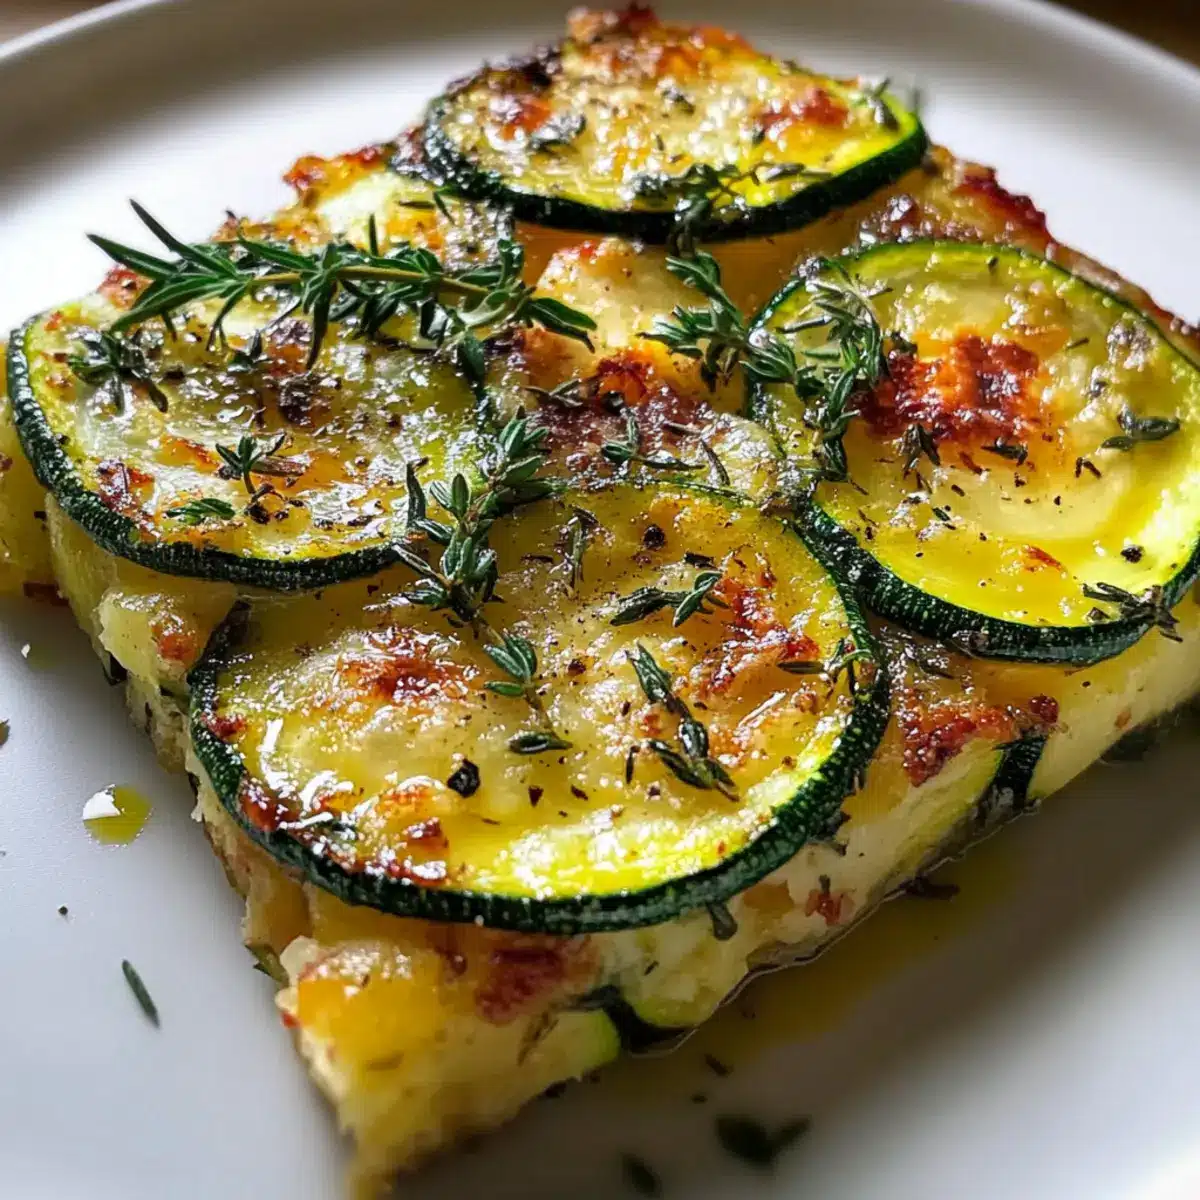
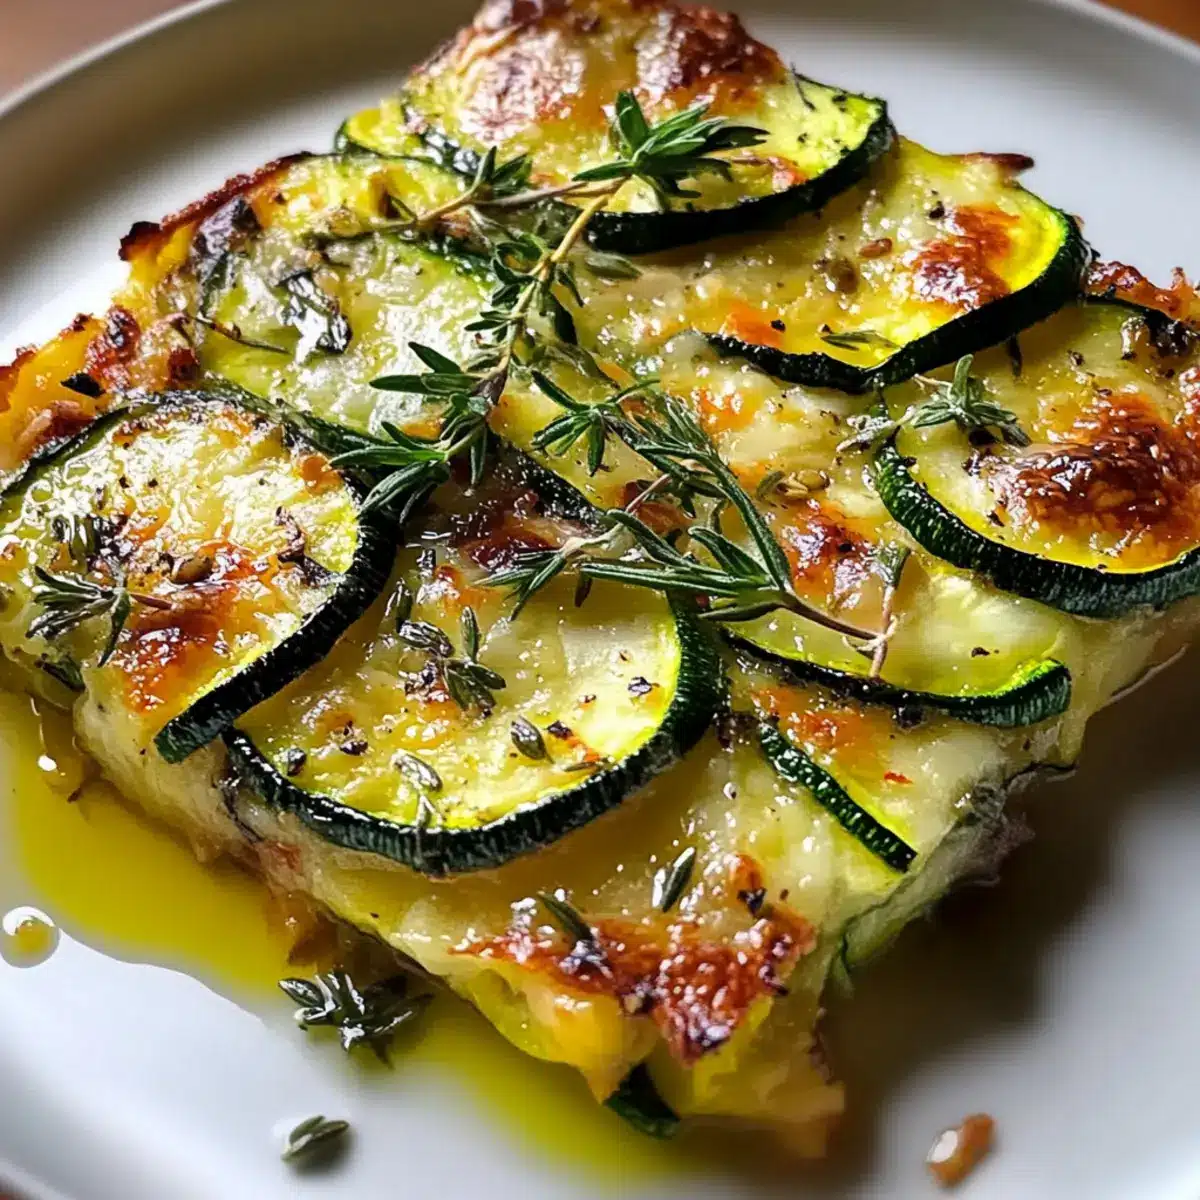
Once baked, carefully remove the pan from the oven and allow it to cool for about 10 minutes. This cooling time helps firm up the structure, making it easier to slice. You’ll want to cut it into squares for serving, ensuring each piece showcases the delicious golden crust.
Step 9: Serve and Enjoy
Now it’s time to serve your Italian Zucchini Scarpaccia warm! It can be enjoyed as a delightful appetizer, a side dish, or even a light main course. Pair it with a fresh salad or your favorite dip, and relish in the comforting flavors you’ve created.
Make Ahead Options
Italian Zucchini Scarpaccia is a perfect dish for meal prep! You can mix the batter and fold in the zucchini, garlic, cheese, and thyme up to 24 hours ahead of time. Store the prepared batter covered in the refrigerator to keep everything fresh. This allows the flavors to meld beautifully. When you’re ready to enjoy, simply pour the batter into the greased pan, drizzle with olive oil, and bake as directed. For optimal flavor and texture, avoid freezing the batter; instead, prepare any leftovers and refrigerate them for up to 3-4 days. Reheat in the oven for that fresh-baked flavor that feels just as delightful as the first serving!
How to Store and Freeze Italian Zucchini Scarpaccia
Fridge: Store leftovers in an airtight container for up to 3-4 days. Allow the Scarpaccia to cool completely before refrigerating to maintain texture.
Freezer: For longer storage, freeze individual squares wrapped tightly in plastic wrap and then foil. They can be frozen for up to 2 months without losing flavor.
Reheating: To enjoy the Italian Zucchini Scarpaccia, reheat it in a toaster oven or conventional oven at 350°F (175°C) until warmed through, enhancing its crispy edges.
Serving Tip: Allow to cool slightly after reheating for the best texture. Serve warm for the most delightful experience!
What to Serve with Italian Zucchini Scarpaccia
Indulge in a delightful meal as you complement the rustic flavors of Scarpaccia with these scrumptious pairings.
- Creamy Mashed Potatoes: Their velvety texture and rich flavor create a perfect contrast to the crispy edges of Scarpaccia.
- Mixed Green Salad: A fresh salad with a tangy vinaigrette adds brightness and balances the savory elements of the dish.
- Roasted Cherry Tomatoes: Sweet and slightly charred, these bursts of flavor enhance the Scarpaccia while providing a juicy freshness.
- Garlic Bread: The aromatic garlic-infused bread complements the dish’s herbaceous notes and makes for a comforting, hearty meal.
- Grilled Vegetable Platter: Seasonal veggies bring a smoky twist, adding layers of flavor and texture that beautifully accompany the Scarpaccia.
- Chilled White Wine: A crisp, refreshing wine like Pinot Grigio elevates the dish while complementing the richness of the cheese.
- Pesto Drizzle: A swirl of homemade pesto can brighten up each slice, adding a herbaceous punch that’s utterly satisfying.
- Zucchini Soup: For a cozy experience, serve alongside a light zucchini soup as a starter, harmonizing with the main dish.
- Italian Meatball Soup: Consider pairing with a warm soup for a heartier meal. The flavors meld beautifully, echoing the Tuscan roots beautifully.
- Lemon Olive Oil Cake: End your meal on a sweet note with this light dessert, offering a refreshing citrus finish to balance the savory notes.
Expert Tips for Italian Zucchini Scarpaccia
-
Use Fresh Zucchini: For the best flavor and texture, always opt for fresh, firm zucchini instead of older or wilted ones.
-
Don’t Overmix: To maintain a tender Scarpaccia, mix the batter gently until just combined. Overmixing can lead to a dense result.
-
Adjust Thyme Amount: Fresh thyme brings out the dish’s flavor, but if using dried thyme, remember to adjust to one teaspoon for optimal flavor without overpowering.
-
Check Baking Time: Ovens vary, so keep an eye on your Scarpaccia as it bakes. You’re looking for a golden-brown top and a firm texture for the perfect finish.
-
Cool Before Slicing: Allowing the Scarpaccia to cool for about 10 minutes before slicing helps maintain clean edges and makes serving easier.
-
Flavor Variations: Feel free to experiment with different cheeses or herbs to make this Italian Zucchini Scarpaccia unique to your taste!
Variations & Substitutions for Italian Zucchini Scarpaccia
Feel free to let your creativity shine by customizing this delightful Tuscan bake with these easy variations!
-
Cheese Swap: Substitute Parmesan with feta or mozzarella for a lighter flavor. Both add their unique twist while still providing a delicious creaminess.
-
Herb Infusion: Experiment with additional herbs such as basil or rosemary. This could elevate your Scarpaccia and feel like sunshine from an Italian garden.
-
Gluten-Free: Curb the gluten by using a gluten-free all-purpose flour. This makes it friendly for those with dietary restrictions without sacrificing taste.
-
Nutty Crunch: Replace pine nuts with chopped walnuts for a different texture. The walnuts will introduce an earthy note that beautifully complements the zucchini.
-
Spicy Kick: For a little heat, add red pepper flakes or diced jalapeños. This will awaken your taste buds and create a delightful contrast to the creamy filling.
-
Garlic Lovers: Increase the quantity of minced garlic for an intensified flavor. It’s a great way to add a savory depth that pairs wonderfully with the zucchini.
-
Creamy Dips: Serve your Scarpaccia with tangy tzatziki or a light yogurt sauce for a refreshing contrast. These dips can enhance the experience, especially on a warm summer evening.
Remember to enjoy your Scarpaccia warm as an appetizer, or try it alongside a vibrant salad or with a comforting bowl of Italian Meatball Soup for a delightful meal!
Italian Zucchini Scarpaccia Recipe FAQs
How do I choose the best zucchini for Scarpaccia?
Absolutely! Look for zucchini that is firm, shiny, and free of dark spots or blemishes. The best zucchini will feel heavy for its size, indicating it’s full of moisture. Avoid those with soft spots, as they may be past their prime and affect the dish’s texture.
How long can I store Italian Zucchini Scarpaccia in the fridge?
You can store your homemade Scarpaccia in an airtight container in the fridge for up to 3-4 days. Just make sure it cools completely before sealing to maintain its wonderful texture. If you find it gets too dry, you can reheat gently with a drizzle of olive oil to restore moisture.
Can I freeze Italian Zucchini Scarpaccia, and if so, how?
Yes, you can freeze Italian Zucchini Scarpaccia! Once it has completely cooled, cut it into squares. Wrap each piece tightly in plastic wrap and then in aluminum foil. This method helps protect its taste and texture while in the freezer. You can keep it frozen for up to 2 months. When you’re ready to enjoy it, simply reheat it in the oven at 350°F (175°C) until warmed through for that delightful crispy edge!
What should I do if my Scarpaccia turns out too dense?
Very! If your Scarpaccia ends up dense, it might be due to overmixing during the preparation. To avoid this in the future, mix the wet ingredients into the dry just until combined—no need to get rid of all lumps. If yours is already dense, try slicing it thin and serve it warm with a drizzle of olive oil or a light sauce to add moisture.
Can I make Italian Zucchini Scarpaccia dairy-free?
Absolutely! To make this dish dairy-free, simply substitute the whole milk with a plant-based milk like almond or oat milk, and replace the Parmesan cheese with a dairy-free cheese option or nutritional yeast to retain some cheesy flavor. This way, everyone can enjoy a slice of zucchini goodness, regardless of dietary preferences!
Is Italian Zucchini Scarpaccia safe for pets?
While the ingredients in Italian Zucchini Scarpaccia are safe for most pets, it’s always best to consult your veterinarian before sharing. Zucchini itself is pet-friendly, but be cautious with ingredients like garlic, which can be harmful to dogs in large amounts. If you want to make a pet-friendly slice, simply omit the garlic and cheese!
Delicious Italian Zucchini Scarpaccia for Easy Summer Evenings
Ingredients
Equipment
Method
- Preheat your oven to 375°F (190°C) and grease a 9x13-inch baking pan with olive oil or line it with parchment paper.
- In a large mixing bowl, whisk together all-purpose flour, cornmeal, baking powder, salt, and black pepper. Set this dry mixture aside.
- In another bowl, crack the eggs and beat until smooth. Mix in the whole milk and olive oil, whisking until well-combined.
- Carefully pour the wet mixture into the dry ingredients and gently stir until just combined.
- Fold in the zucchini ribbons, minced garlic, grated Parmesan cheese, and fresh thyme into the batter. If using pine nuts, add them too.
- Pour the batter into the prepared baking pan, spreading it evenly. Drizzle a bit of olive oil over the top.
- Bake for 35-40 minutes until golden-brown and firm to the touch.
- Remove from oven and let cool for about 10 minutes before slicing into squares.
- Serve warm as an appetizer, side dish, or light main course.
Leave a Reply