
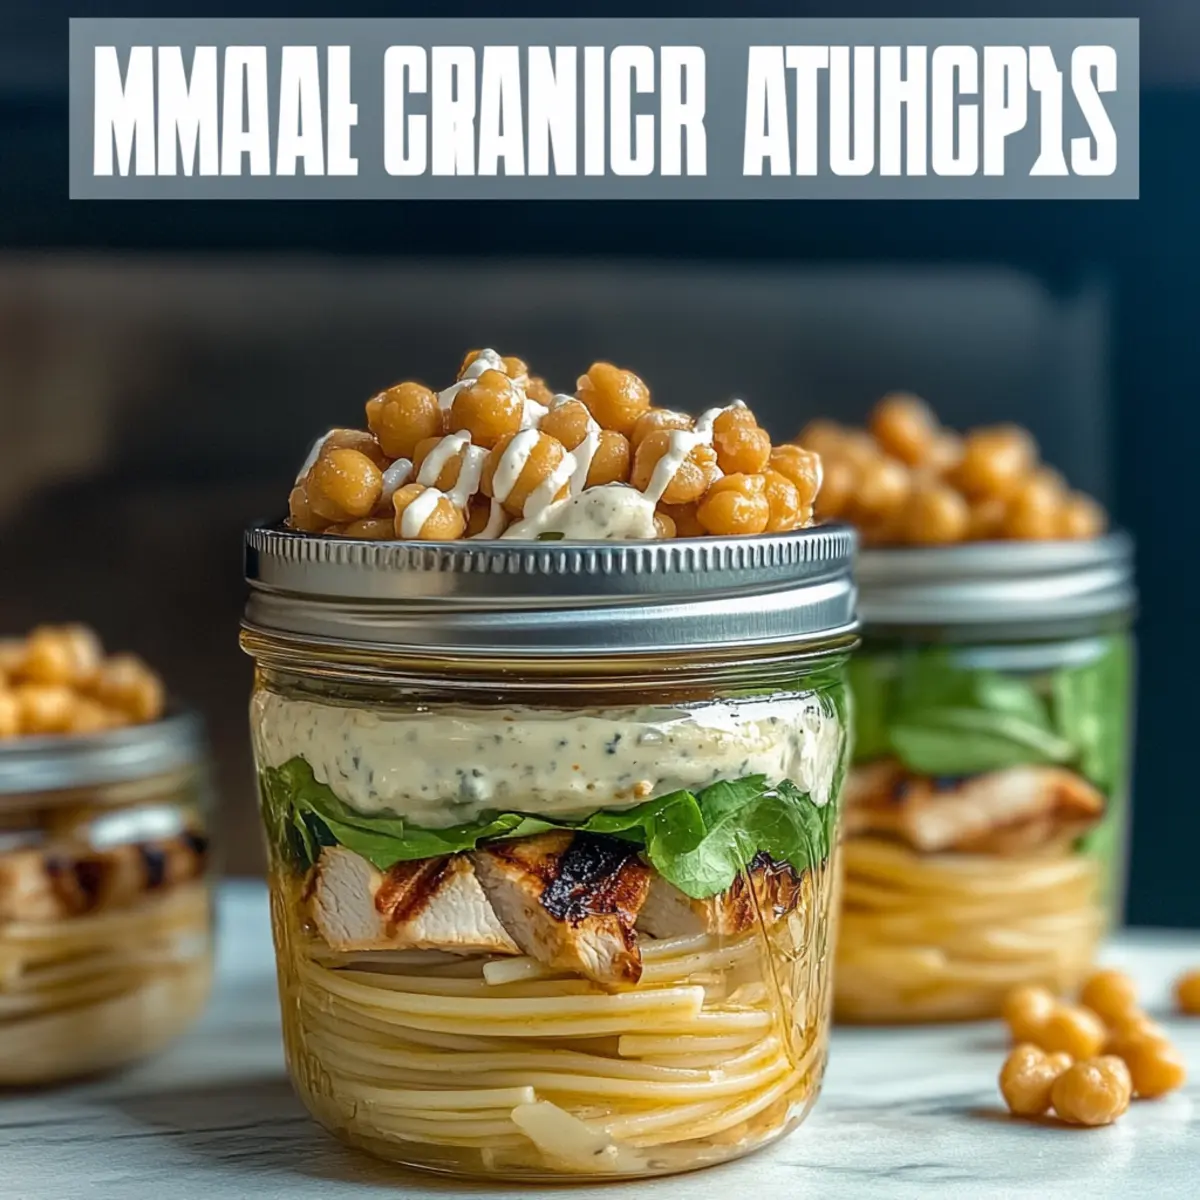
As I opened my fridge one scorching summer day, the sight of wilted greens and forgotten leftovers sparked a mini crisis. The remedy? Grilled Chicken Caesar Pasta Salad Jars! This meal prep-friendly delight transforms those ingredients into a vibrant, portable feast perfect for picnics or quick lunches. Picture layers of juicy grilled chicken, tender rotini, fresh romaine, and crunchy roasted chickpeas, all drizzled with creamy Caesar dressing. Not only does this recipe bring a classic Caesar salad into a convenient jar, but it also ensures a healthy, satisfying meal is ready to grab and go. Whether you’re at home or on the move, these jars are sure to become your summertime favorite. What’s your go-to dish when the temperatures rise? Let’s dive into this easy recipe!
Why Are These Salad Jars a Must-Try?
Convenience at Its Best: These Grilled Chicken Caesar Pasta Salad Jars come together in minutes, making them the ultimate meal prep solution.
Flavor Packed: Each layer bursts with flavor from juicy grilled chicken, crunchy chickpeas, and creamy dressing, ensuring every bite is satisfying.
Endless Customization: Feel free to switch out proteins, add your favorite veggies, or even swap the pasta for quinoa for a unique twist!
Perfect for Summer: Ideal for hot days when no one wants to turn on the stove, these jars are refreshing and filling, perfect for picnics.
Crowd Pleaser: Whether you’re meal prepping or entertaining guests, these jars are sure to impress and cater to diverse palates!
They’re a great companion for delicious sides like Garlic Breadsticks or fruit platters. Enjoy a convenient, delightful meal in a jar that everyone will love!
Grilled Chicken Caesar Pasta Salad Jars Ingredients
• Get ready to create a vibrant and tasty meal!
For the Salad
- Cooked Pasta (Rotini) – A hearty base that brings structure to your salad; use gluten-free pasta if desired.
- Grilled Chicken – Delivers juicy protein and flavor; skinless, boneless breasts work best, or swap for tofu for a vegetarian option.
- Chopped Romaine Lettuce – Adds a refreshing crunch; any crunchy lettuce can also work well in this dish.
- Crispy Chickpeas – Introduces delightful crunch and extra protein; feel free to roast your own or use store-bought for convenience.
- Shredded Parmesan Cheese – Gives that classic Caesar flavor; use nutritional yeast for a dairy-free alternative.
For the Dressing
- Caesar Dressing – Provides the creamy, tangy goodness that brings the salad to life; opt for homemade or your favorite store-bought version.
These Grilled Chicken Caesar Pasta Salad Jars are perfect for meal prep and will keep you satisfied all summer long!
Step‑by‑Step Instructions for Grilled Chicken Caesar Pasta Salad Jars
Step 1: Cook the Pasta
Begin by bringing a large pot of salted water to a boil over high heat. Add 8 ounces of rotini pasta and cook according to package instructions until al dente, usually about 8-10 minutes. Stir occasionally to prevent sticking. Once cooked, drain the pasta, rinse it under cold water to stop the cooking process, and let it cool completely while you prepare the remaining ingredients.
Step 2: Grill the Chicken
Season 2 boneless, skinless chicken breasts with salt, pepper, and your choice of herbs or spices. Preheat a grill or grill pan over medium-high heat. Grill the chicken for about 6-7 minutes on each side, or until the internal temperature reaches 165°F. Remove the chicken from the grill and allow it to rest for 5 minutes before slicing it into thin strips for the Grilled Chicken Caesar Pasta Salad Jars.
Step 3: Prepare the Chickpeas
If you’re roasting your own crispy chickpeas, preheat your oven to 400°F. Rinse and drain a can of chickpeas, then pat them dry with a paper towel. Toss the chickpeas with olive oil, salt, and any spices you like. Spread them on a baking sheet and roast for 20-25 minutes until golden and crispy. Let them cool before adding to your salad jars for that satisfying crunch.
Step 4: Layer the Jars
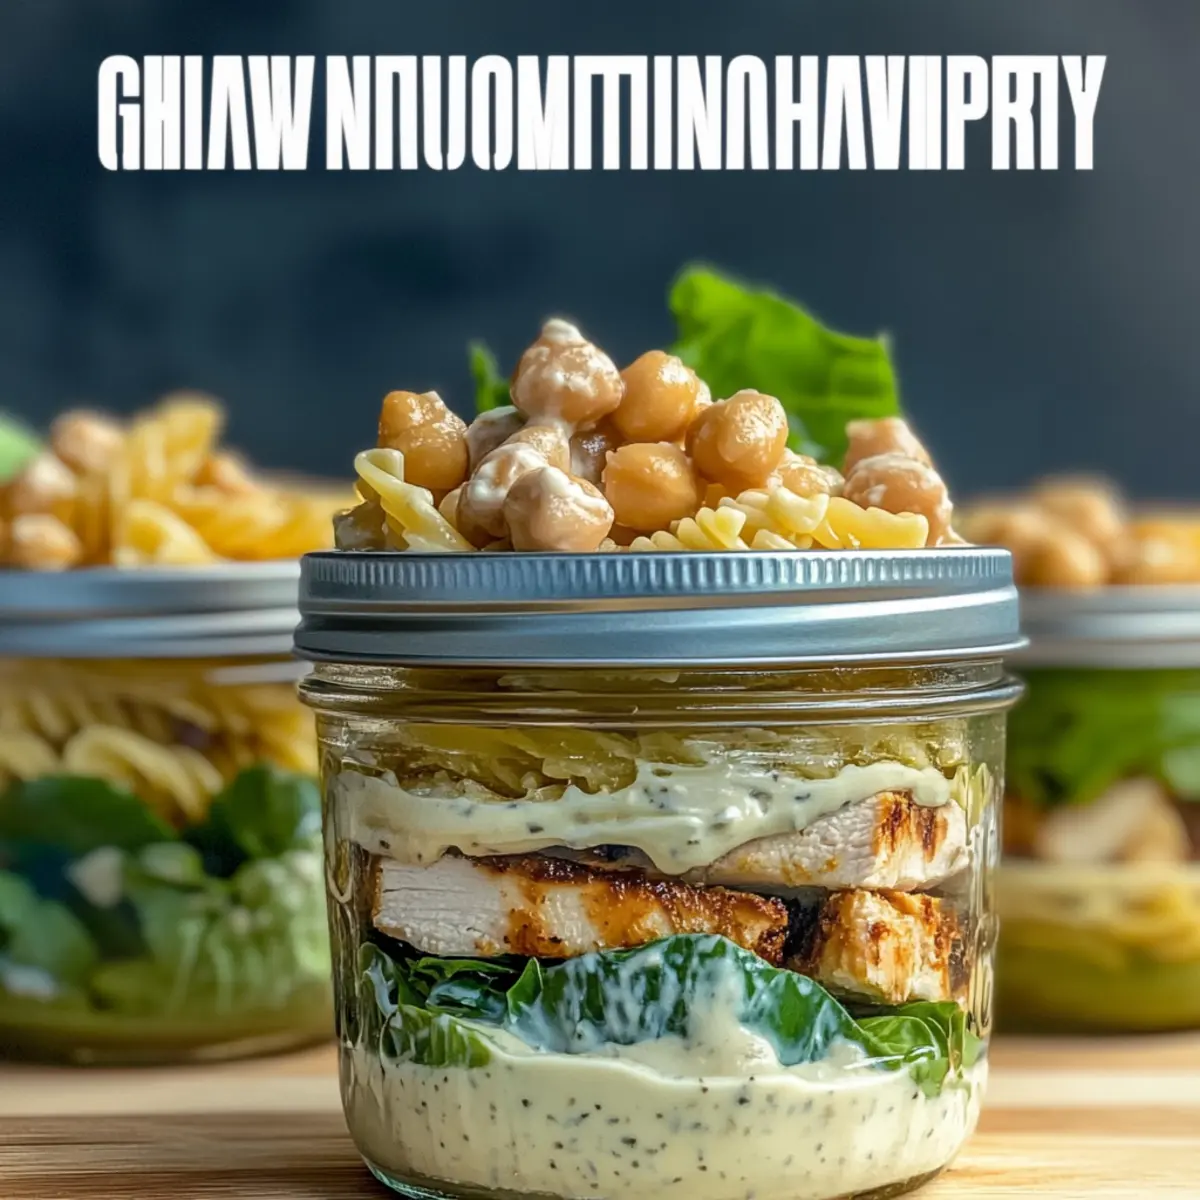
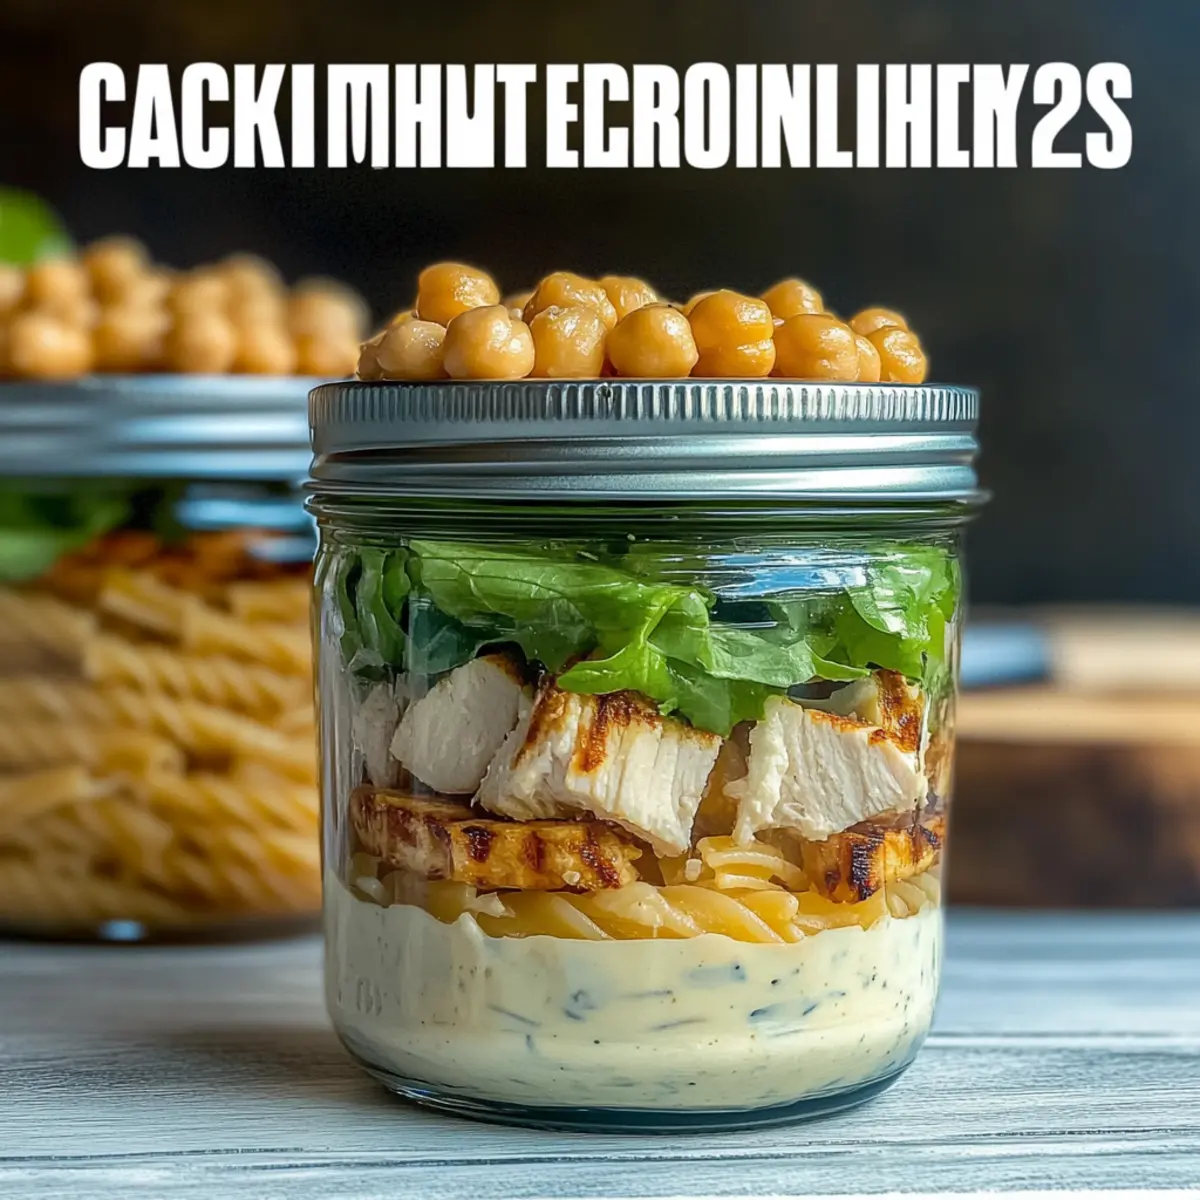
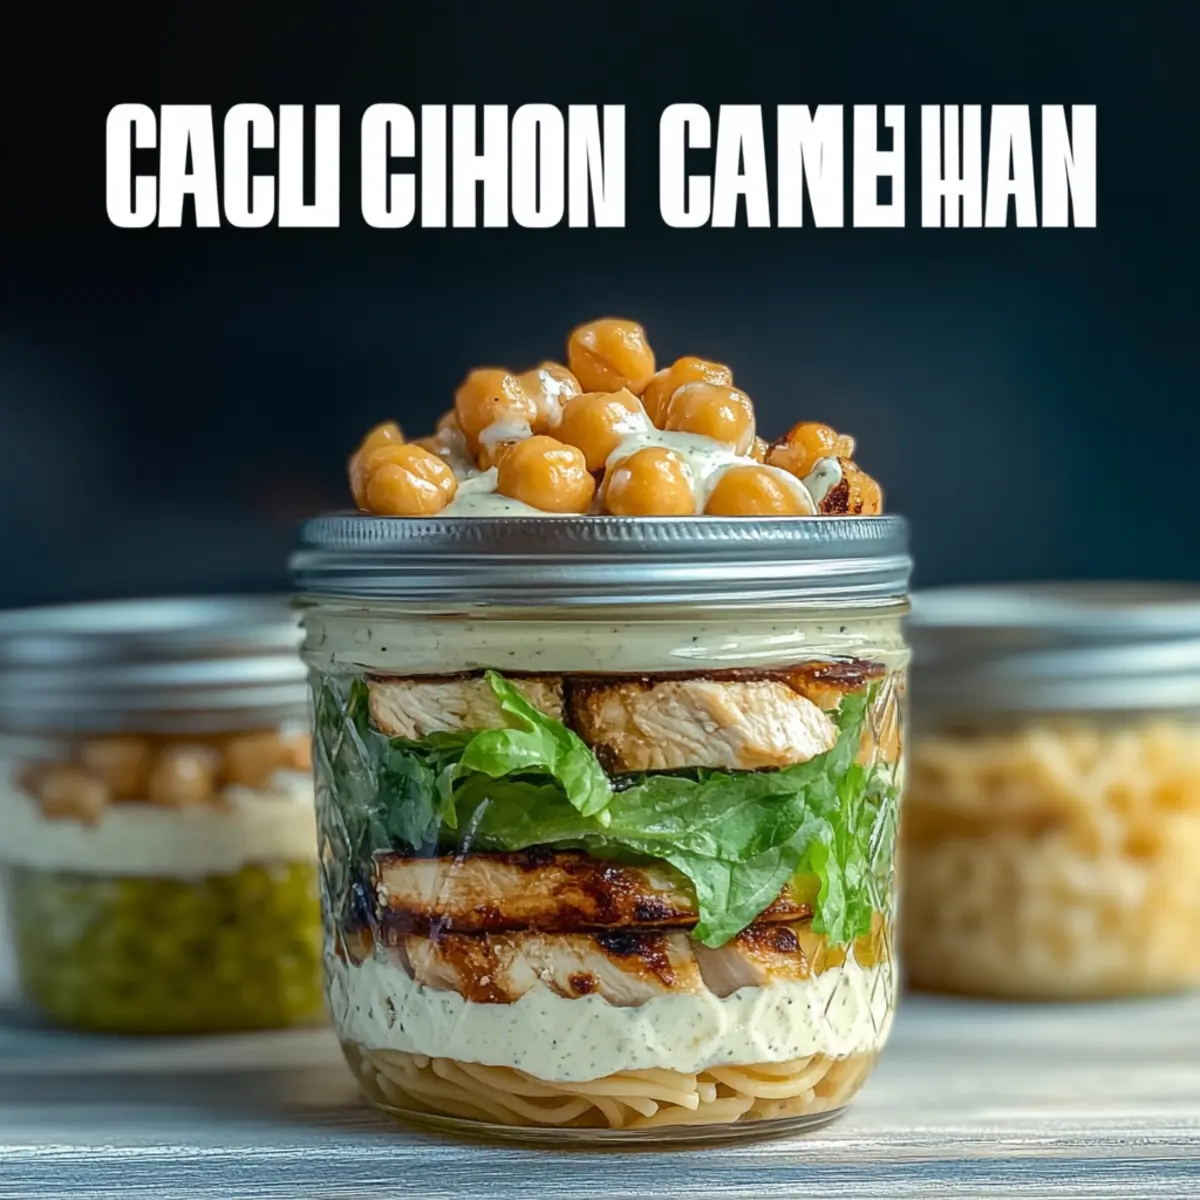
Grab 4 pint-sized mason jars and start layering your Grilled Chicken Caesar Pasta Salad. Begin with ½ cup of the cooled rotini pasta at the bottom of each jar. Next, add 1 cup of chopped romaine lettuce, followed by the sliced grilled chicken on top. Then, sprinkle ¼ cup of crispy chickpeas and finish with 1 tablespoon of shredded Parmesan cheese for a burst of flavor.
Step 5: Add the Dressing
To keep the salad fresh, pour 2 tablespoons of Caesar dressing into each mason jar, directly on top of the Parmesan cheese. If you prefer to enjoy your Grilled Chicken Caesar Pasta Salad later, keep the dressing separate until you’re ready to eat, preventing sogginess and maintaining the crispness of the lettuce.
Step 6: Seal and Store
Once all the ingredients are layered, securely seal each mason jar with its lid. Place the jars in the refrigerator and store them for up to 4 days, making them perfect for easy meal prep. These salad jars are not only visually appealing but also provide a delicious and nutritious on-the-go option.
Step 7: Serve and Enjoy
When you’re ready to enjoy your Grilled Chicken Caesar Pasta Salad, give the jar a good shake to mix the ingredients, or pour everything into a bowl for a fluffier salad texture. The delightful combination of flavors and textures from the chicken, pasta, and fresh ingredients make every bite a treat on a warm summer day.
Expert Tips for Grilled Chicken Caesar Pasta Salad Jars
-
Cool Ingredients: Ensure all components, like pasta and chicken, are completely cooled before assembly to maintain the crunchiness of the salad.
-
Dressing Placement: To prevent sogginess, add Caesar dressing just before eating. This keeps the ingredients fresh and vibrant.
-
Layering Technique: Layer jars correctly with heavier ingredients at the bottom (e.g., pasta) and lighter ones on top (e.g., lettuce) for optimal flavor distribution.
-
Easy Eating: Use a long fork to eat directly from the jar while on the go – it makes enjoying your Grilled Chicken Caesar Pasta Salad Jars both simple and mess-free.
-
Make-Ahead Magic: Prepare these jars up to 4 days in advance for easy access to fresh meals throughout the busy workweek.
How to Store and Freeze Grilled Chicken Caesar Pasta Salad Jars
Fridge: Store the sealed jars in the refrigerator for up to 4 days. This ensures your Grilled Chicken Caesar Pasta Salad remains fresh and ready to grab and go.
Room Temperature: Avoid leaving the salad jars at room temperature for more than 2 hours to maintain food safety and ingredient quality.
Reheating: If you prefer your chicken warm, gently microwave the jar (remove the lid first) for about 30 seconds to 1 minute, ensuring it doesn’t get too hot.
Freezer: While it’s best to consume these jars fresh, you can freeze components (like chicken and chickpeas) separately for up to 2 months; assemble the salad later when you’re ready to eat!
What to Serve with Grilled Chicken Caesar Pasta Salad Jars
Elevate your meal prep experience with delightful pairings that complement this vibrant jarred salad!
- Garlic Breadsticks: Their warm, buttery goodness offers a comforting contrast to the fresh salad flavors. Perfect for dipping in Caesar dressing!
- Light Fruit Platter: Juicy watermelon, sweet berries, and crisp apples provide a refreshing burst of sweetness, balancing the savory salad.
- Roasted Veggies: Caramelized and slightly charred seasonal vegetables like zucchini and bell peppers add texture and nutrient-packed goodness alongside the salad.
- Sparkling Lemonade: This fizzy, citrusy drink invigorates the palate and enhances the bright flavors of the salad while keeping you refreshed.
- Caprese Skewers: Skewers of cherry tomatoes, fresh basil, and mozzarella are deliciously bite-sized and offer a refreshing flavor boost.
- Pesto Pinwheels: Savory tortilla rolls with creamy pesto and cheese are a delightful finger food that complements the Caesar taste of your meal jars.
- Herbed Quinoa: A light, fluffy quinoa side dish offers a nutritious and nutty contrast that pairs beautifully with the Caesar flavors.
- Chilled White Wine: A crisp Sauvignon Blanc or Pinot Grigio adds an elegant touch to your meal, enhancing the overall dining experience.
- Chocolate Dipped Strawberries: For a sweet finish, these treats provide a delightful contrast to the savory salad and are perfect for summer days.
Make Ahead Options
These Grilled Chicken Caesar Pasta Salad Jars are a meal prep dream come true! You can grill the chicken and prepare the pasta up to 3 days in advance, storing them separately in airtight containers to maintain freshness. The roasted chickpeas can also be made ahead and stored for up to 5 days. When you’re ready to serve, simply layer the ingredients in your mason jars, pouring the Caesar dressing on top right before enjoying to avoid sogginess. This way, you’ll have a satisfying and vibrant meal ready to grab in moments, making busy weeknights or picnic days a breeze!
Grilled Chicken Caesar Pasta Salad Jars Variations
Feel free to get creative with your Grilled Chicken Caesar Pasta Salad Jars—there’s plenty of room for your personal touch!
-
Seafood Swap: Replace grilled chicken with sautéed shrimp or grilled salmon for a delightful seafood twist.
-
Vegetarian Delight: Use tofu or tempeh in place of chicken, seasoned to your taste, for a hearty vegetarian option. With different textures and flavors, your meal will still be satisfying and savory.
-
Grain Options: Swap the rotini pasta for quinoa or farro to add unique flavors and textures; these grains make for a nutritious, hearty base.
-
Seasonal Veggies: Toss in seasonal veggies like grilled zucchini or sweet bell peppers for added flavor and nutrition. Their vibrancy will enhance the aesthetic appeal of your jars.
-
Creamy Variations: Experiment with different dressings such as ranch or a homemade avocado dressing for a fresh take on flavor, offering an exciting twist on a classic.
-
Heat It Up: Add a pinch of red pepper flakes or diced jalapeños if you enjoy a kick of spice. Just a dash can elevate the flavor profile and awaken your taste buds!
-
Cheesy Goodness: Try using feta or goat cheese instead of parmesan for added creaminess and tang, making your salad jars even more irresistible.
Don’t forget to check out these delightful dishes to pair with your salad jars like Garlic Breadsticks or a light, refreshing Hawaiian Chicken Salad.
Grilled Chicken Caesar Pasta Salad Jars Recipe FAQs
How do I choose the right ripeness of the ingredients?
Absolutely! For the best flavor and texture in your Grilled Chicken Caesar Pasta Salad Jars, look for crisp and vibrant romaine lettuce, as well as chicken that’s fresh and free from any dark spots. When using chickpeas, whether canned or dried, ensure they’re whole and intact, without any signs of spoilage.
What’s the best way to store these salad jars?
To keep your Grilled Chicken Caesar Pasta Salad Jars fresh and delicious, store them in the refrigerator and consume within 4 days. Make sure the jars are sealed tightly to maintain the crispness of the ingredients, especially the lettuce!
Can I freeze the salad jars?
While the complete salad jars are best enjoyed fresh, you can freeze components like grilled chicken and roasted chickpeas individually for up to 3 months. To enjoy later: thaw overnight in the refrigerator, prepare the salad fresh with the other ingredients, and layer them in the jar just before eating.
What are some common troubleshooting tips for this recipe?
Very! If you find that your salad gets soggy, it’s mainly due to the dressing. Always add the dressing just before serving for the best crunch. Additionally, if your chicken is dry, ensure it’s not overcooked by checking it with a meat thermometer for an internal temperature of 165°F. If using canned chickpeas, make sure they’re well-drained and patted dry before roasting.
Are there any dietary considerations I should keep in mind?
Absolutely! For a gluten-free option, use gluten-free rotini instead of regular pasta. If you’re catering to a dairy-free diet, substitute shredded Parmesan with nutritional yeast. For veggie lovers, you can replace grilled chicken with tofu or tempeh as a protein source. Always check labels for allergens if using store-bought items!
Grilled Chicken Caesar Pasta Salad Jars Perfect for Meal Prep
Ingredients
Equipment
Method
- Bring a large pot of salted water to a boil. Add rotini pasta and cook until al dente, about 8-10 minutes. Drain and cool.
- Season chicken breasts with salt, pepper, and herbs. Grill for 6-7 minutes per side until cooked through. Let rest for 5 minutes before slicing.
- If roasting chickpeas, preheat oven to 400°F. Rinse and dry chickpeas, toss with olive oil and spices, roast until crispy, about 20-25 minutes.
- Layer jars: start with rotini pasta, then add chopped romaine, grilled chicken, crispy chickpeas, and Parmesan cheese.
- Pour Caesar dressing over the layers in the jars. Optionally, keep dressing separate until ready to eat.
- Seal jars and store in the refrigerator for up to 4 days.
- Shake the jar to mix or pour into a bowl before enjoying.
Leave a Reply