
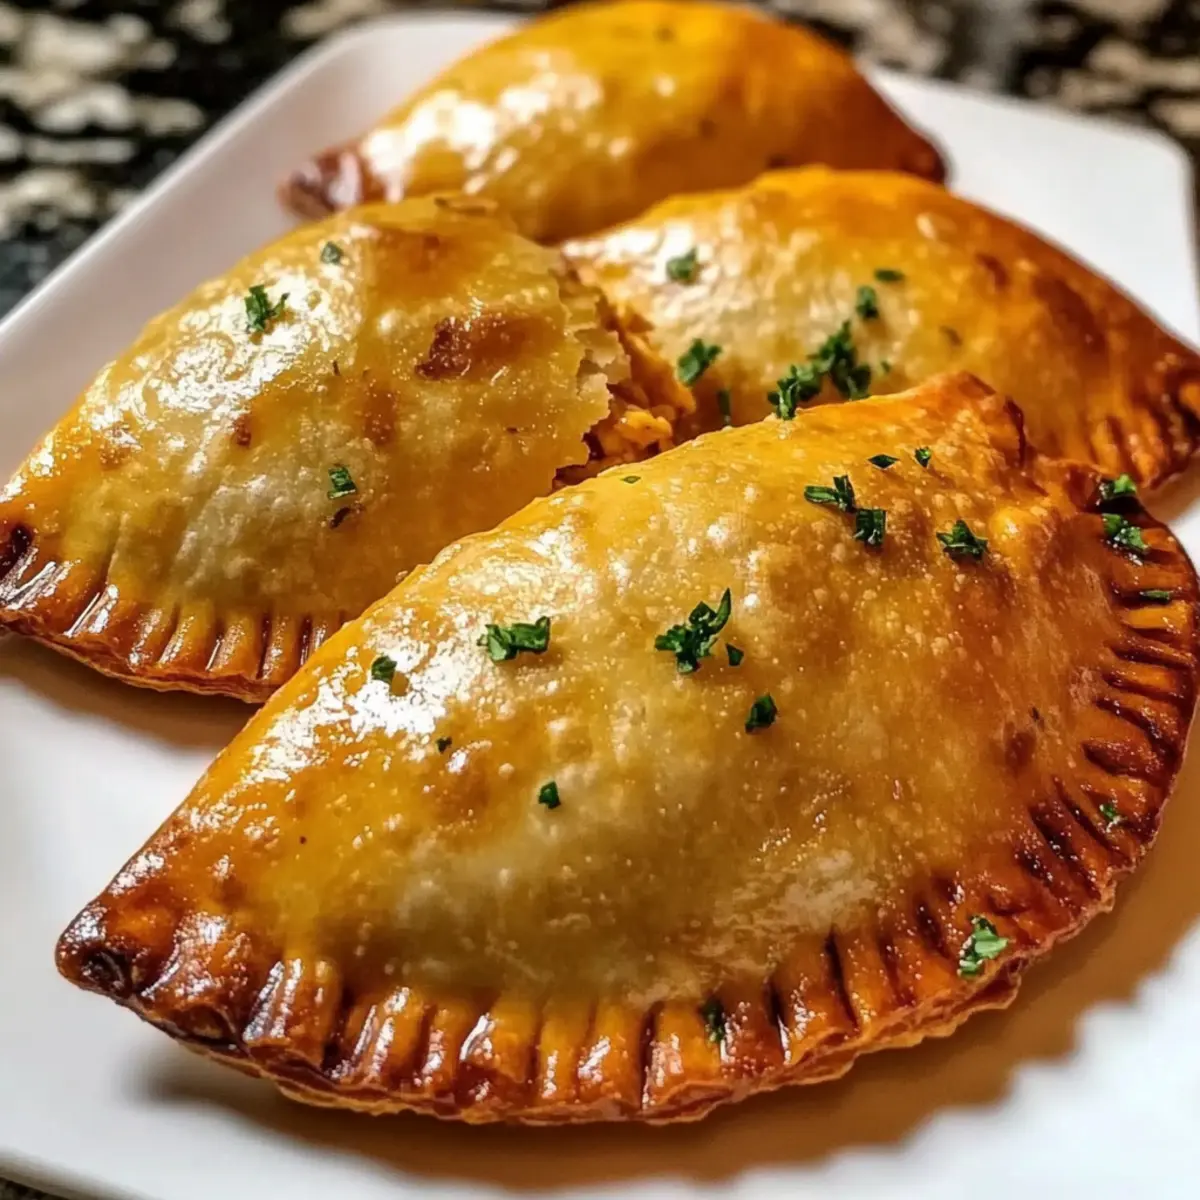
As I sifted through my kitchen cupboards in search of inspiration, the thought of creating Gluten Free Empanadas sparked a beautiful idea. These savory pastries are not only a spectacular way to indulge your culinary creativity, but they also cater to gluten sensitivities. The best part? You can whip them up in no time, making them an ideal quick meal for busy weeknights or delightful finger food for family gatherings. With a flaky, buttery crust wrapped around your choice of fillings—from savory chicken to vibrant veggies—each bite promises a satisfying crunch. Are you ready to make a handheld masterpiece that’s totally customizable? Let’s dive into this delightful recipe!
Why Are These Empanadas So Special?
Customizable Fillings: Each empanada is a blank canvas, allowing you to fill them with your favorite ingredients like spicy beef, tangy cheese, or mixed veggies.
Quick and Easy: With straightforward steps and minimal prep time, these gluten-free delights can be ready in under an hour, making them perfect for busy days.
Flaky Perfection: The buttery crust delivers a satisfying crunch, enveloping savory fillings that will have everyone coming back for more.
Diet-Friendly: Ideal for gluten-sensitive eaters, these empanadas allow you to enjoy indulgent flavors without the worry. For more meal ideas, check out how to make gluten-free savory pastries that everyone will love!
Crowd-Pleaser: Whether it’s a game day snack or a friendly gathering, these empanadas are sure to impress family and friends, encouraging delightful culinary conversations!
Gluten Free Empanadas Ingredients
Get ready to gather everything you need for these delightful pastries!
For the Dough
• Gluten-Free All-Purpose Flour – Provides structure to the dough; substitute with almond flour for a nutty flavor.
• Salt – Enhances flavor; a must for any dough recipe.
• Unsalted Butter – Adds richness; keep it cold and cubed for the best texture.
• Large Egg – Binds the ingredients and adds moisture to the dough.
• Cold Water – Helps in forming the dough; add just enough to combine without making it sticky.
For the Filling
• Cooked, Shredded Chicken – Offers protein; feel free to replace with beans or beef for a different taste.
• Cheese (Cheddar, Mozzarella, or Your Favorite) – Provides creaminess and flavor; mix it up with your preferred cheese.
• Finely Chopped Onions – Lends a sweet and savory base; sautéing enhances their flavor.
• Diced Bell Pepper – Adds color and sweetness; swap it for zucchini or mushrooms for variety.
• Cumin (Optional) – Elevates the filling with warm spice; can be omitted based on preference.
For the Finish
• Large Egg (for Egg Wash) – Gives a beautiful golden finish to your gluten free empanadas.
• Oil (for frying) – Use for a crispy texture; you can choose baking for a healthier option.
Step‑by‑Step Instructions for Gluten Free Empanadas
Step 1: Prepare the Dough
In a large mixing bowl, combine gluten-free all-purpose flour and salt. Cut in cold, cubed unsalted butter using a pastry cutter until the mixture resembles coarse crumbs. Gradually mix in the large egg and enough cold water to form a soft dough ball. Once combined, wrap the dough in plastic wrap and chill in the refrigerator for 30 minutes.
Step 2: Make the Filling
In a sauté pan over medium heat, add a splash of oil and cook finely chopped onions and diced bell peppers until they become tender and fragrant, about 5-7 minutes. Stir in the cooked, shredded chicken and optional cumin, mixing well until heated through. Finally, add your choice of cheese, stirring until melted, then remove from heat and let it cool slightly.
Step 3: Assemble the Empanadas
Preheat your oven to 375°F (190°C) and line a baking sheet with parchment paper. On a floured surface, roll out the chilled dough to about 1/8 inch thick. Use a round cutter to cut out circles about 4-5 inches in diameter. Place a spoonful of the filling on one half of each circle, fold the other half over, and press the edges firmly to seal.
Step 4: Egg Wash and Bake
Transfer the filled empanadas to the prepared baking sheet. In a small bowl, beat a large egg and brush the surface of each empanada for a golden finish. Bake in the preheated oven for 20-25 minutes or until the empanadas are golden brown and flaky. If you prefer a crispy texture, heat oil in a skillet and fry them until browned on both sides.
Expert Tips for Gluten Free Empanadas
-
Flour Variations: Experiment with different gluten-free flour blends, like a mix of rice flour and tapioca for unique textures and flavors.
-
Prevent Sticky Dough: Lightly dust your work surface and rolling pin with gluten-free flour to prevent the dough from sticking while you roll it out.
-
Filling Matters: Avoid overfilling your empanadas to prevent them from bursting while baking or frying; about a tablespoon of filling works well.
-
Chill for Best Results: Always chill the dough before rolling it out for easier handling and to ensure you achieve that flaky crust.
-
Freezer Friendly: Prepare uncooked empanadas in advance, freeze them in a single layer, then bake directly from the freezer for a quick gluten-free meal anytime!
Gluten Free Empanadas: Creative Twists
Feel free to let your imagination soar and customize these empanadas in ways that excite your taste buds!
-
Vegetarian Delight: Swap out the chicken for black beans or lentils for a hearty and protein-packed filling. Add some corn and diced tomatoes for a colorful kick!
-
Cheese Lover: Choose different cheeses like queso blanco or feta to change up the flavor profile. Each cheese adds a distinct richness that enhances the overall taste.
-
Veggie Vibes: Consider using diced sweet potatoes or mushrooms to give your empanadas a delightful earthiness. These ingredients pair wonderfully with spices like paprika for an extra flavor boost.
-
Spicy Twist: Add chopped jalapeños or diced chilies to your filling for a fiery kick. The heat balances perfectly with the creamy cheese, creating a memorable experience!
-
Herb Infusion: Toss in fresh herbs like cilantro or parsley into the filling for a burst of freshness. This simple addition elevates the flavors and adds a lovely aromatic element to every bite.
-
Currant Crunch: Incorporate diced apples or raisins for a sweet surprise amidst savory notes. This delightful combination brings a unique sweetness to each empanada that is simply irresistible.
-
Crispy Texture: If you prefer a healthier option, try baking the empanadas instead of frying. They’ll still be deliciously crunchy without the extra oil!
Don’t forget to explore even more delicious savory pastries that can suit any occasion, making mealtime fun!
What to Serve with Gluten Free Empanadas
When it comes to creating a memorable meal, pairing these flaky gluten-free empanadas with delightful accompaniments elevates the experience.
- Salsa Verde: This zesty sauce offers a fresh, tangy twist that perfectly complements the savory empanada filling.
- Chimichurri Sauce: A vibrant blend of parsley, garlic, and olive oil brings bright flavors that enhance every bite of your pastry.
Pairing your empanadas with a classic garden salad not only adds a refreshing crunch but also offers a light balance to the rich fillings. Toss in some cherry tomatoes, crisp cucumbers, and a squeeze of lemon for added zing!
- Avocado Slices: Creamy avocado provides a luxurious texture and rich flavor, making each bite even more satisfying.
- Fruity Iced Tea: A sweet, chilled beverage can cut through the richness, cleansing your palate with every sip.
For dessert, consider serving them with a scoop of vanilla ice cream. The warm, flaky crust and the cold, creamy ice cream create a delightful contrast that wraps up your meal perfectly.
Make Ahead Options
These Gluten Free Empanadas are a fantastic choice for meal prep! You can prepare the dough and filling up to 24 hours in advance, storing each component separately in the refrigerator to maintain their freshness. To prevent the dough from drying out, wrap it tightly in plastic wrap. The filling should cool completely before being placed in an airtight container. When you’re ready to cook, simply roll out the chilled dough, fill, seal, and bake as directed. Alternatively, you can assemble the empanadas and freeze them uncooked for up to 3 months. Just bake them directly from frozen, adding a few extra minutes to the cooking time. This way, you’ll enjoy delicious, homemade empanadas with minimal effort, perfect for busy weeknights!
How to Store and Freeze Gluten Free Empanadas
Fridge: Store cooked gluten free empanadas in an airtight container for up to 3 days to maintain their freshness and flavor.
Freezer: For long-term storage, freeze uncooked empanadas in a single layer on a baking sheet, then transfer them to a freezer bag. Use within 3 months for the best taste.
Reheating: To reheat, simply bake frozen empanadas directly from the freezer at 375°F (190°C) for about 25-30 minutes or until heated through and crispy.
Thawing: If you prefer, thaw cooked empanadas in the fridge overnight before reheating, ensuring they remain moist and delicious.
Gluten Free Empanadas Recipe FAQs
What kind of gluten-free flour is best for the dough?
Absolutely! I recommend using a high-quality gluten-free all-purpose flour blend that contains xanthan gum for better texture. You can also experiment with almond flour or a mix of rice and tapioca flour for unique flavors and textures!
How long can I store cooked gluten free empanadas?
You can store your cooked gluten free empanadas in an airtight container in the fridge for up to 3 days. Make sure to let them cool completely before sealing to preserve their flaky goodness.
Can I freeze uncooked empanadas? How?
Very! To freeze uncooked empanadas, place them on a parchment-lined baking sheet in a single layer, ensuring they don’t touch. Freeze for about 1-2 hours or until solid, then transfer them to a freezer bag. They can be stored for up to 3 months! You can bake them directly from frozen, adding a few extra minutes to the cooking time.
What’s the best way to reheat leftover empanadas?
For optimal texture, the best way to reheat leftover empanadas is by baking them in the oven. Preheat to 375°F (190°C) and place the empanadas on a baking sheet. Bake for about 10-15 minutes until heated through and crisp. Avoid microwave reheating if possible, as it can make the crust soggy.
Are there any allergy considerations I should be aware of?
Absolutely, it’s important to consider any allergies! Ensure you check the labels on your gluten-free flour and any fillings. If cooking for guests, let them know your ingredients, particularly if using fillings that could contain allergens like dairy or nuts. Always opt for certified gluten-free options to avoid cross-contamination if their sensitivities are severe.
What if my dough is too sticky?
If your dough is sticky, it’s likely that you didn’t add enough flour or didn’t chill it long enough. Add a little more gluten-free flour while kneading until it reaches a manageable consistency. If you’re concerned, chill the dough for another 15-20 minutes to firm it up before rolling. Remember, lightly dusting your work surface while rolling can help prevent sticking!
Flavorful Gluten Free Empanadas: Customizable and Easy to Make
Ingredients
Equipment
Method
- In a large mixing bowl, combine gluten-free all-purpose flour and salt. Cut in cold, cubed unsalted butter until the mixture resembles coarse crumbs. Gradually mix in the egg and enough cold water to form a soft dough ball. Wrap in plastic wrap and chill for 30 minutes.
- In a sauté pan over medium heat, add a splash of oil and cook finely chopped onions and diced bell peppers until tender, about 5-7 minutes. Stir in shredded chicken and cumin, mixing well until heated. Add cheese, stirring until melted, then remove from heat.
- Preheat the oven to 375°F (190°C) and line a baking sheet with parchment paper. On a floured surface, roll out the chilled dough to about 1/8 inch thick. Cut circles about 4-5 inches in diameter. Place filling on one half, fold the other half over, and press edges to seal.
- Transfer filled empanadas to baking sheet. Beat an egg and brush the surface of each empanada. Bake for 20-25 minutes until golden brown. For a crispy texture, fry until browned on both sides.
Leave a Reply