
“Why would anyone want to eat plain chicken wings?” I overheard a friend grumbling at a gathering, only to be blown away moments later by the first bite of my Crispy Dill Pickle Chicken Wings. These wings are a delightful twist on a classic favorite, infused with tangy dill pickle juice that transforms every crispy morsel into a mouthwatering experience. The best part? Not only are they super easy to whip up, but they also pack a punch of flavor that leaves your guests clamoring for more. Whether you’re hosting a game day party or just craving a savory snack, these wings are sure to impress. Ready to elevate your appetizer game with a unique taste that everyone will be talking about? Let’s dive into this irresistible recipe!
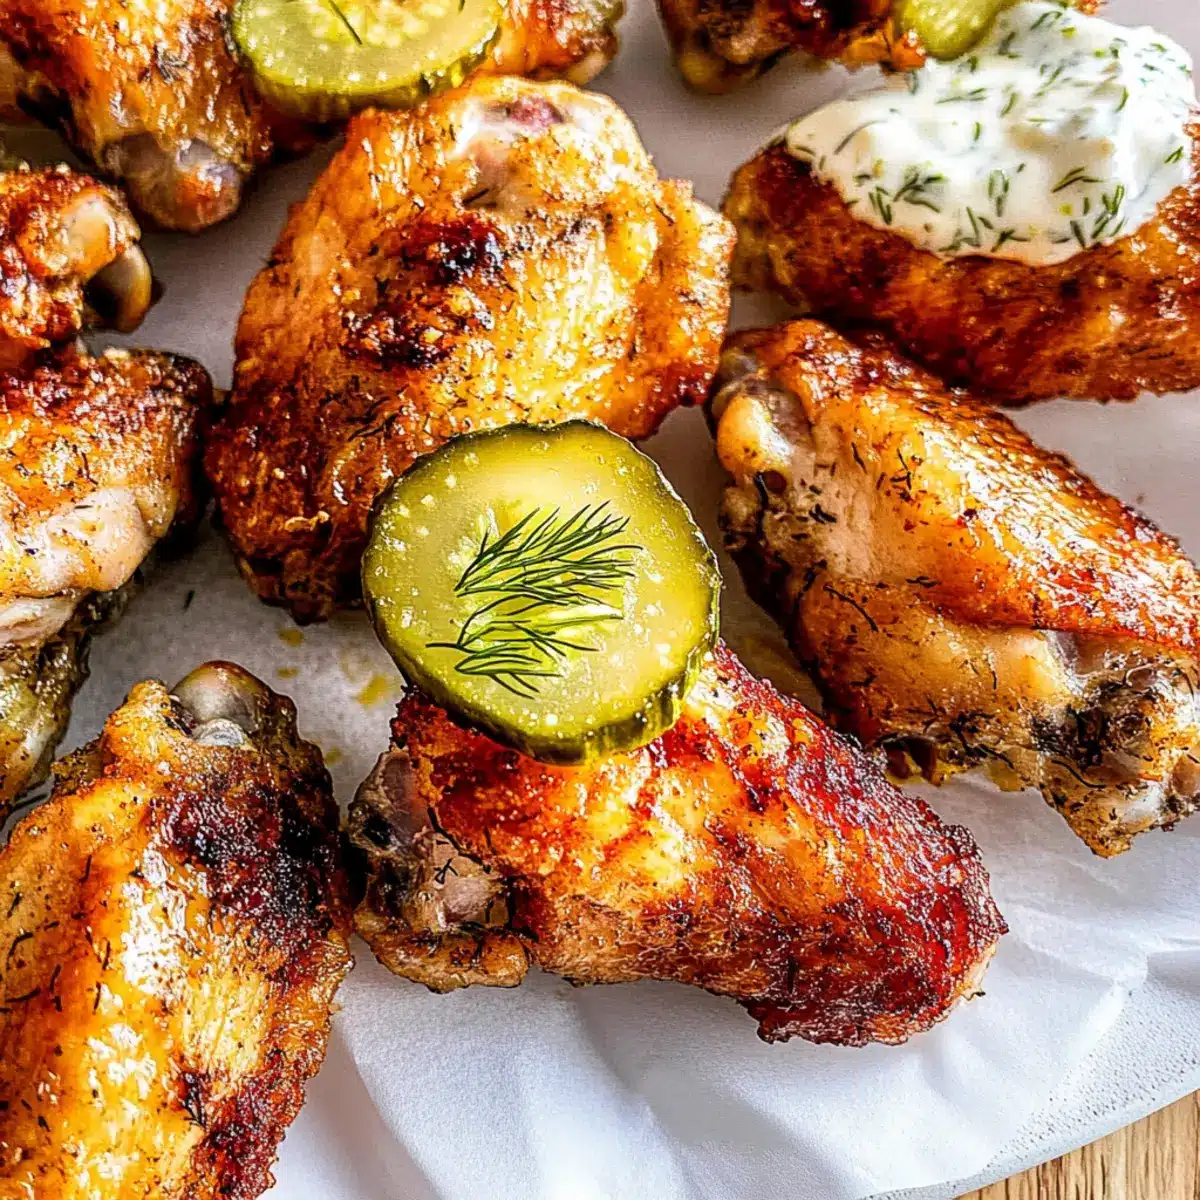
Why Try Dill Pickle Chicken Wings?
Unique Flavor Profile: The tangy dill pickle juice elevates the classic chicken wing into something extraordinary.
Crispy Perfection: Achieving that perfect, crispy exterior is effortlessly achieved with my baking method.
Super Easy Prep: With just a few simple ingredients, you’ll have an appetizer that’s nearly foolproof.
Crowd-Pleaser: Serve these wings at your next gathering, and watch them disappear in no time—everyone loves a twist on a favorite!
Versatile Pairing: Whether dunked in dill ranch dressing or a spicy sauce, these wings provide delightful options for every palate. Try them alongside options like Healthy Sticky Chicken for a spread your guests won’t forget!
Dill Pickle Chicken Wings Ingredients
For the Wings
• Chicken Wings – Choose fresh or thawed frozen wings for the best texture.
• Dill Pickle Juice – Use leftover from your favorite pickle jar to infuse delicious tanginess.
• Fresh Chopped Dill – Offers aromatic flavor; dried dill is a fine substitute if needed.
• Olive Oil – Helps achieve that golden crispiness; feel free to swap for any neutral oil.
• Garlic Powder – For an extra depth of flavor; switch to fresh minced garlic for a more robust taste.
• Baking Powder – Essential for that extra-crispy coating, just ensure it’s aluminum-free.
• Salt – A must for flavor enhancement; adjust according to your preference.
• Freshly Cracked Black Pepper – Adds a warming kick; regular ground black pepper works too.
For Garnish
• Fresh or Dried Dill – Use it for a finishing touch that enhances both flavor and appearance.
These Dill Pickle Chicken Wings promise to transform your classic gathering snack into something uniquely addictive!
Step‑by‑Step Instructions for DILL PICKLE CHICKEN WINGS
Step 1: Marinate the Wings
In a large bowl, combine the chicken wings with the dill pickle juice and fresh chopped dill. Make sure all the wings are well-coated. Cover the bowl with plastic wrap and place it in the refrigerator to marinate for 2 to 4 hours. This step not only enhances the flavor but also helps tenderize the meat, making your Dill Pickle Chicken Wings juicy and flavorful.
Step 2: Preheat the Oven
Once marinated, preheat your oven to 425°F (220°C). While the oven heats up, carefully drain the pickle juice from the wings and use paper towels to pat them dry. This drying process is crucial because it helps achieve that crispy exterior that makes Dill Pickle Chicken Wings so irresistible.
Step 3: Coat the Wings
In a large bowl, toss the dried wings with olive oil, garlic powder, baking powder, salt, and freshly cracked black pepper. Ensure each wing is thoroughly coated with the mixture, which will create a crispy texture once baked. Take a moment to appreciate the aroma as the flavors mix; it’s the essence of your upcoming delicious dinner!
Step 4: Set Up for Baking
Prepare a wire rack by placing it on top of a baking sheet. This setup allows air to circulate around the wings as they bake, ensuring they become even crispier. Spread the coated wings evenly on the wire rack, leaving some space between each wing to promote even cooking.
Step 5: Bake the Wings
Place the baking sheet with the wings in the preheated oven and bake for 30 minutes. Halfway through, carefully flip the wings to ensure they cook evenly on both sides. You’ll notice the wings starting to brown nicely, which indicates they are well on their way to becoming perfectly crispy Dill Pickle Chicken Wings.
Step 6: Crisp Under the Broiler
After baking, switch your oven to broil on high and let the wings broil for an additional 5 minutes. Keep a close eye on them during this time; they should become beautifully charred and extra crispy. This final step is the secret to elevating your wings to a delightful crunch that everyone loves.
Step 7: Serve and Enjoy
Once done, remove the wings from the oven and transfer them to a serving platter. They are best enjoyed hot right out of the oven. For a garnish, sprinkle some fresh or dried dill over the wings to enhance both flavor and appearance. Serve with your favorite dipping sauce, like dill ranch dressing, and watch your guests rave over these delicious Dill Pickle Chicken Wings!
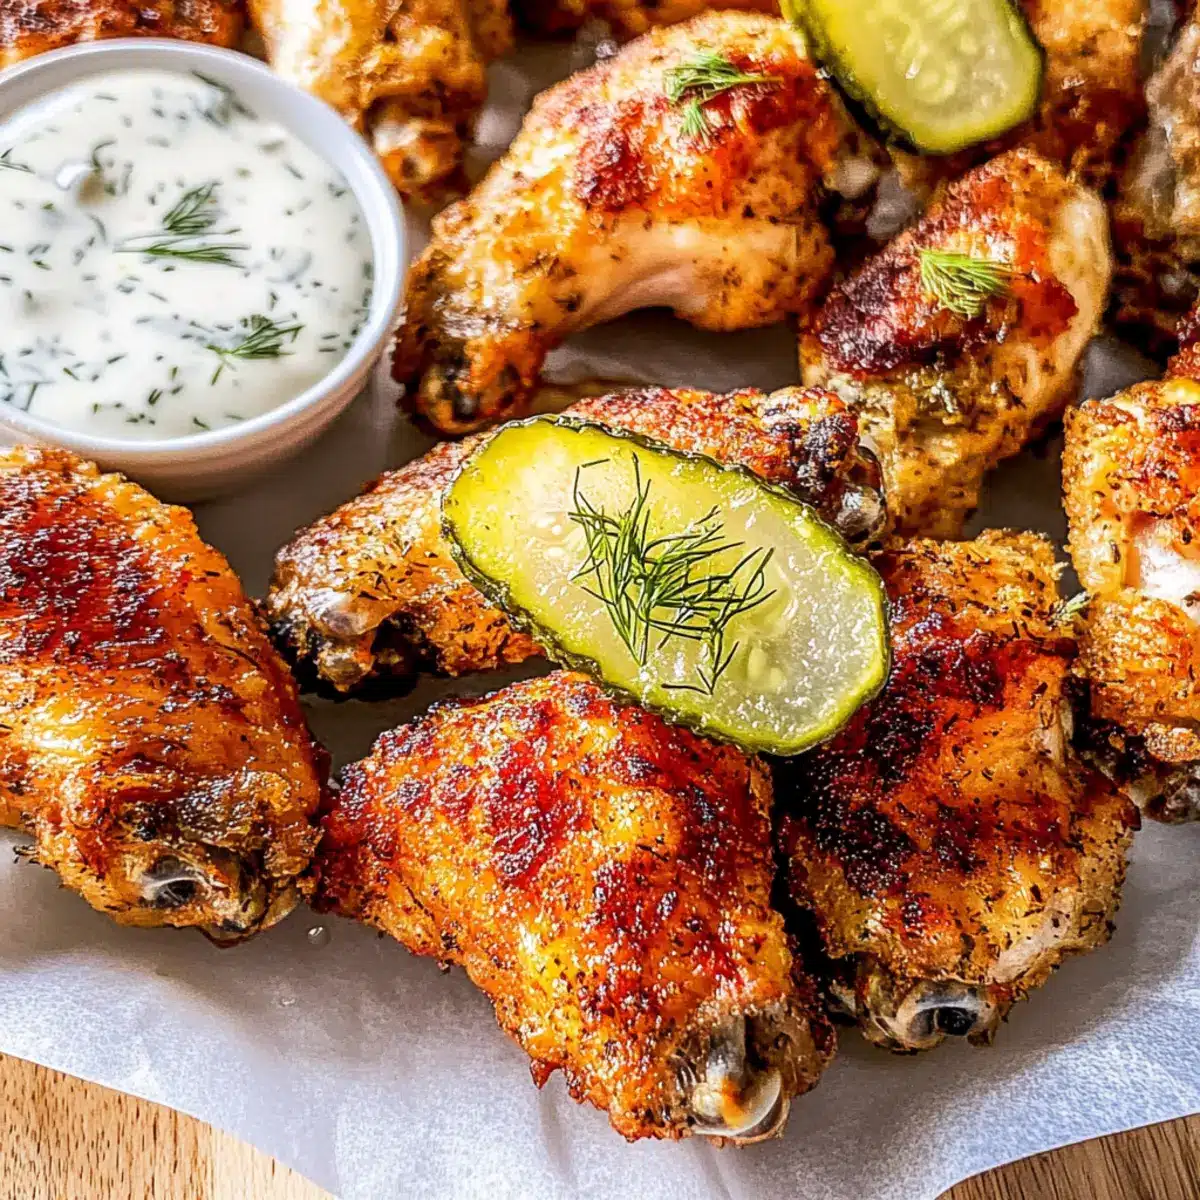
What to Serve with Dill Pickle Chicken Wings
Pairing these zesty wings with delicious sides will elevate any gathering and satisfy your cravings.
-
Creamy Dill Ranch Dressing: A cooling contrast to the spicy chicken wings, this dressing enhances the dill flavor while adding a rich creaminess that no one can resist.
-
Crispy Potato Wedges: The crunchy exterior and fluffy interior of potato wedges provide a delightful texture that pairs perfectly with the crispy wings, making every bite unforgettable.
-
Fresh Coleslaw: This crunchy salad, with its tangy dressing, offers a refreshing balance to the rich wings, creating a harmonious blend of flavors.
-
Classic Corn on the Cob: Sweet and buttery corn can complement the tangy chicken, offering a classic American side that brings nostalgia with each bite.
-
Garlic Parmesan Brussels Sprouts: Roasted to perfection, these sprouts add a savory element that pairs beautifully with the wings’ zesty profile, making for an elegant touch at your dinner table.
-
Lemonade or Iced Tea: Refreshing drinks like homemade lemonade or iced tea provide a thirst-quenching complement to the bold flavors of the wings, perfect for warm gatherings.
-
Chocolate Chip Cookies: End your meal on a sweet note with warm cookies, which contrast the savory depth of the wings with a nostalgic sweetness that harkens back to childhood comfort.
These sides not only accompany your Dill Pickle Chicken Wings beautifully but also make the meal an experience to remember!
Make Ahead Options
These Dill Pickle Chicken Wings are perfect for meal prep enthusiasts looking to save time during busy weeknights! You can marinate the chicken wings in dill pickle juice and fresh dill up to 24 hours in advance, ensuring they’re fully infused with flavor. After marinating, simply pat the wings dry and store them in an airtight container in the refrigerator. When it’s time to cook, follow the baking and broiling steps as outlined in the recipe, and you’ll have crispy, tangy wings that are just as delicious as if they were made fresh. This make-ahead strategy allows you to enjoy the delightful taste of your Dill Pickle Chicken Wings without the last-minute rush!
Storage Tips for Dill Pickle Chicken Wings
- Room Temperature: Leftovers should not be left out for more than 2 hours to ensure food safety, especially with chicken wings.
- Fridge: Store your Dill Pickle Chicken Wings in an airtight container in the refrigerator for up to 3 days to maintain their flavor and texture.
- Freezer: For longer storage, freeze the wings in a single layer on a baking sheet before transferring them to a freezer-safe bag. They can be frozen for up to 3 months.
- Reheating: To reheat, place the wings in a preheated oven at 350°F (175°C) for about 10-15 minutes, ensuring they stay crispy and delicious.
Expert Tips for Dill Pickle Chicken Wings
- Dry Thoroughly: Make sure to pat the wings dry after marinating. This step is crucial for achieving maximum crispiness in your Dill Pickle Chicken Wings.
- Choose the Right Baking Powder: Opt for aluminum-free baking powder to ensure the pure flavor of your wings shines through.
- Use a Wire Rack: Baking the wings on a wire rack allows air circulation, resulting in an even crisp and less greasy texture.
- Monitor Broiling Time: Keep a close eye during the broiling phase to prevent burning. A few extra moments can make a huge difference!
- Use a Meat Thermometer: Check that your wings reach an internal temperature of 165°F for food safety and delicious juiciness.
Dill Pickle Chicken Wings Variations
Inviting you to customize your experience with these delightful wings, the possibilities are as endless as your creativity!
- Spicy Twist: Add cayenne pepper or hot sauce to the seasoning mix for a fiery kick. Feel the warmth as it complements the tangy pickle flavor beautifully.
- BBQ Flavor: Swap out dill pickle juice for your favorite barbecue sauce. The result will be a smoky, sweet twist that will surprise your taste buds!
- Herbed Delight: Incorporate dried Italian herbs such as oregano and thyme to the seasoning for a robust flavor profile. The aroma will transport you to a quaint Italian kitchen!
- Garlic Lovers: Use fresh minced garlic instead of garlic powder for an intense flavor boost. This creates a heavenly garlic aroma that will have everyone coming back for seconds.
- Crispy Air Fryer Option: For a healthier take, air-fry the wings at 380°F for about 25 minutes. You’ll still achieve that satisfying crunch with less oil!
- Pickle Juice Variety: Experiment with flavored pickle juices, like spicy jalapeño or bread-and-butter, for an unexpected zesty punch. Each flavor creates a unique wing experience!
- Buffalo Dill Combo: Combine dill pickle juice with a splash of buffalo sauce for a perfect balance of tangy and spicy. It’s a hybrid that everyone will rave about!
- Cheesy Finish: Top the baked wings with shredded parmesan right before broiling for a decadent, cheesy crust. The savory notes of cheese add an extra layer of indulgence.
These variations are a fantastic way to explore diverse flavors and suits all occasions. For inspiration to round out your meal, consider pairing these wings with Spicy Chipotle Chicken or a vibrant side of Mexican Chicken Burrito for an unforgettable spread!
Dill Pickle Chicken Wings Recipe FAQs
What type of chicken wings should I use?
Absolutely! Fresh wings are best for their texture, but you can also use thawed frozen chicken wings. Just make sure they are completely thawed and patted dry for the crispiest results.
How do I know if my dill pickle juice is good?
Great question! Ensure your dill pickle juice is still potent and flavorful, meaning no off-smell or dark spots all over the liquid. If it smells fresh and tangy, you’re good to go!
How can I store leftover Dill Pickle Chicken Wings?
Leftovers can be stored in an airtight container in the refrigerator for up to 3 days. Make sure they cool down to room temperature before sealing them to maintain their crispy texture.
Can I freeze Dill Pickle Chicken Wings? What’s the best way to do this?
Yes, you can freeze them! After cooking, allow the wings to cool completely. Place them in a single layer on a baking sheet lined with parchment paper and freeze until solid. Once frozen, transfer them to a freezer-safe bag, squeezing out as much air as possible. They can be frozen for up to 3 months. When you’re ready to enjoy, reheat them in the oven to restore their crispiness.
What do I do if my wings aren’t crispy after baking?
Very common! If your wings lack crispiness, make sure they are dried thoroughly before baking. Additionally, consider using a wire rack to allow air circulation as they bake. If they still don’t crisp, give them a few extra minutes under the broiler, keeping a close eye to avoid burning.
Are there any dietary considerations to be aware of?
Yes! Make sure to check the ingredients in your garlic powder and any dipping sauces for potential allergens. If you have pets, especially dogs, keep the wings out of their reach as foods high in salt and certain spices can be harmful to them.
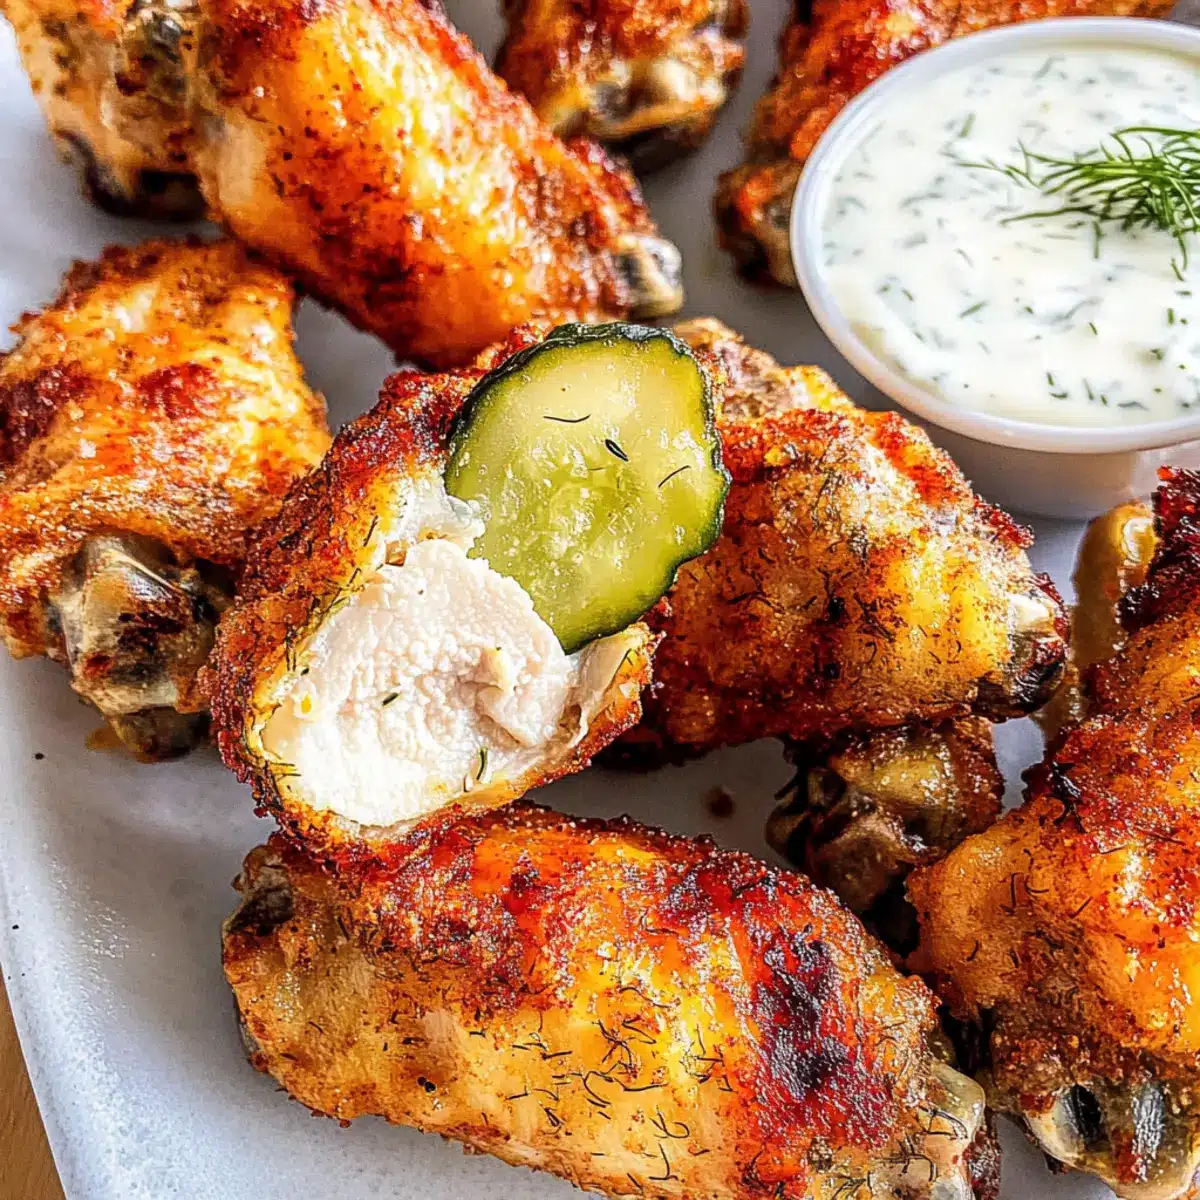
Dill Pickle Chicken Wings: Crispy, Tangy Perfection Awaits
Ingredients
Equipment
Method
- In a large bowl, combine the chicken wings with the dill pickle juice and fresh chopped dill. Cover and refrigerate for 2 to 4 hours.
- Preheat your oven to 425°F (220°C). Drain and pat the wings dry with paper towels.
- Toss the dried wings with olive oil, garlic powder, baking powder, salt, and black pepper.
- Prepare a wire rack on a baking sheet and spread the coated wings evenly on the rack.
- Bake for 30 minutes, flipping halfway through to ensure even cooking.
- Broil on high for an additional 5 minutes, keeping a close eye to prevent burning.
- Remove from the oven, garnish with dill, and serve hot with your favorite dipping sauce.
Leave a Reply