
As I flipped through my favorite cookbooks searching for my next sweet obsession, I stumbled upon a gem that beckoned me with its promise of indulgence: a creamy no-bake brownie refrigerator cake. This dessert isn’t just a recipe; it’s a celebration of chocolate, seamlessly uniting soft, fudgy brownie layers with silky whipped cream and a glossy ganache that dazzles the eyes. With its make-ahead convenience and melt-in-your-mouth decadence, this delight is perfect for get-togethers or a cozy night in when you crave a chocolatey masterpiece. I can’t wait for you to experience the joy of making it and the anticipation of letting it chill overnight. What’s your favorite part of a dessert—indulging in its rich layers, or maybe the delightful moment of sharing it with others?
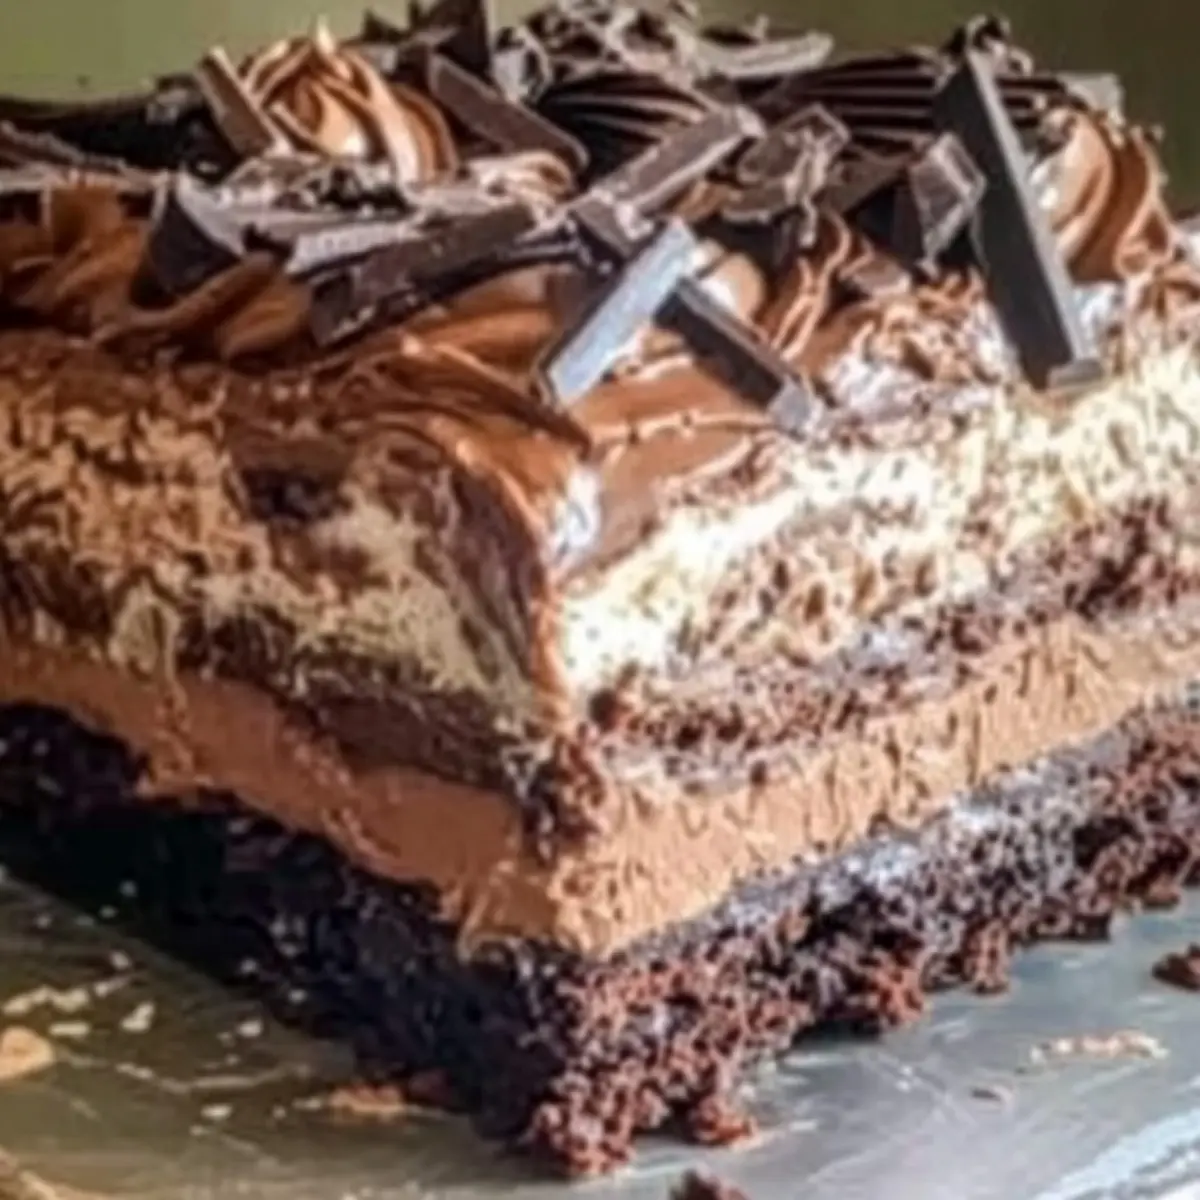
Why is this cake the ultimate treat?
Indulgence at Its Peak: This creamy no-bake brownie refrigerator cake is a chocolate lover’s dream, featuring rich layers that melt in your mouth.
Easy Preparation: With just a few simple steps, you can whip up this masterpiece without ever turning on the oven.
Make-Ahead Delight: Perfect for busy hosts, it can be prepped a day in advance, ensuring flavors meld beautifully overnight.
Crowd-Pleasing Option: Whether it’s a family gathering or a cozy night in, this dessert is guaranteed to impress and delight, just like my Oreo Poke Cake or the classic Chocolate Tuxedo Cake.
Unique Texture Combination: Enjoy the contrast between fudgy brownies and fluffy whipped cream, offering a delightful balance that keeps everyone coming back for seconds!
Creamy & No-Bake Brownie Refrigerator Cake
• When you think of desserts that keep everyone coming back for more, this one stands out!
For the Brownie Base
- Brownie Mix – Use a fudgy mix for the ultimate chocolate experience; feel free to go homemade if you’re up for it!
- Espresso Powder – A small amount enhances the chocolate flavor without leaving a coffee taste; totally optional.
For the Whipped Cream Layer
- Heavy Whipping Cream – Keep it cold until use to achieve perfect fluffiness that complements the cake.
- Powdered Sugar – Sweetens and helps stabilize the whipped cream for easy layering.
- Cocoa Powder – Adds a rich chocolate taste to the whipped cream, tying everything together beautifully.
- Vanilla Extract – A touch of this enhances the overall flavor profile of the whipped cream.
For the Ganache
- Chocolate Chips – Opt for semi-sweet chocolate for a rich ganache; dark chocolate is a delicious alternative!
- Heavy Cream – Used for heating to make the ganache; make sure it’s steaming but not boiling for best results.
For Garnish (optional)
- Chocolate Shavings – Sprinkling these on top adds a professional touch to your cake.
- Fresh Berries – Consider berries for a lovely color contrast and burst of freshness.
The star of the show, the Creamy & No-Bake Brownie Refrigerator Cake, not only satisfies your chocolate cravings but also brings a playful twist to gatherings. Get ready for smiles all around!
Step‑by‑Step Instructions for Creamy & No-Bake Brownie Refrigerator Cake
Step 1: Bake the Brownie Base
Preheat your oven to 350°F (175°C). Prepare a 9×13-inch pan by greasing it thoroughly. Follow the instructions on the brownie mix box, adding espresso powder if you desire a richer chocolate flavor. Bake until a toothpick inserted in the center comes out with a few moist crumbs, about 20-25 minutes. Allow the brownies to cool completely in the pan.
Step 2: Slice Brownies
Once the brownie base has cooled, carefully slice the slab horizontally into two equal layers using a long serrated knife. This creates the perfect layers for your creamy no-bake brownie refrigerator cake. Take your time to ensure clean cuts, as this will set up for the delicious assembly to follow.
Step 3: Make Whipped Cream
In a chilled mixing bowl, add cold heavy cream, powdered sugar, cocoa powder, and vanilla extract. Using an electric mixer, beat the mixture on medium-high speed until stiff peaks form, around 3-4 minutes. The whipped cream should be fluffy and hold its shape, creating a lovely layer of creaminess for your cake.
Step 4: Layer Assembly
Prepare your 9×13-inch dish by lining it with parchment paper for easy removal. Begin by placing one half of the brownie layer in the dish. Carefully spread half of your freshly whipped cream over the brownie layer, creating a smooth and even surface. Add the second brownie layer on top, followed by the remaining whipped cream, ensuring it’s beautifully spread out to create an appealing top layer.
Step 5: Prepare Ganache
In a small saucepan, heat heavy cream over medium heat until it is steaming but not boiling. Remove it from the heat and immediately pour it over the chocolate chips in a bowl. Let the mixture sit undisturbed for 2 minutes to soften the chocolate, then stir until you have a smooth and glossy ganache. Allow it to cool for about 5 minutes before proceeding.
Step 6: Finish Cake
Carefully pour the cooled ganache over the top layer of whipped cream, using a spatula to spread it evenly across the surface. This layer will add a stunning finish to your creamy no-bake brownie refrigerator cake. Once topped, cover the dish with plastic wrap and refrigerate for at least 4 hours, but overnight is ideal for the best flavor and texture.
Step 7: Serve
When ready to serve your creamy no-bake brownie refrigerator cake, remove it from the refrigerator and carefully lift it out of the dish using the parchment paper. Use a sharp, warm knife to cut into squares or rectangles for clean slices. Consider garnishing with chocolate shavings, fresh berries, or cocoa powder for an extra flourish before presenting this show-stopping dessert!
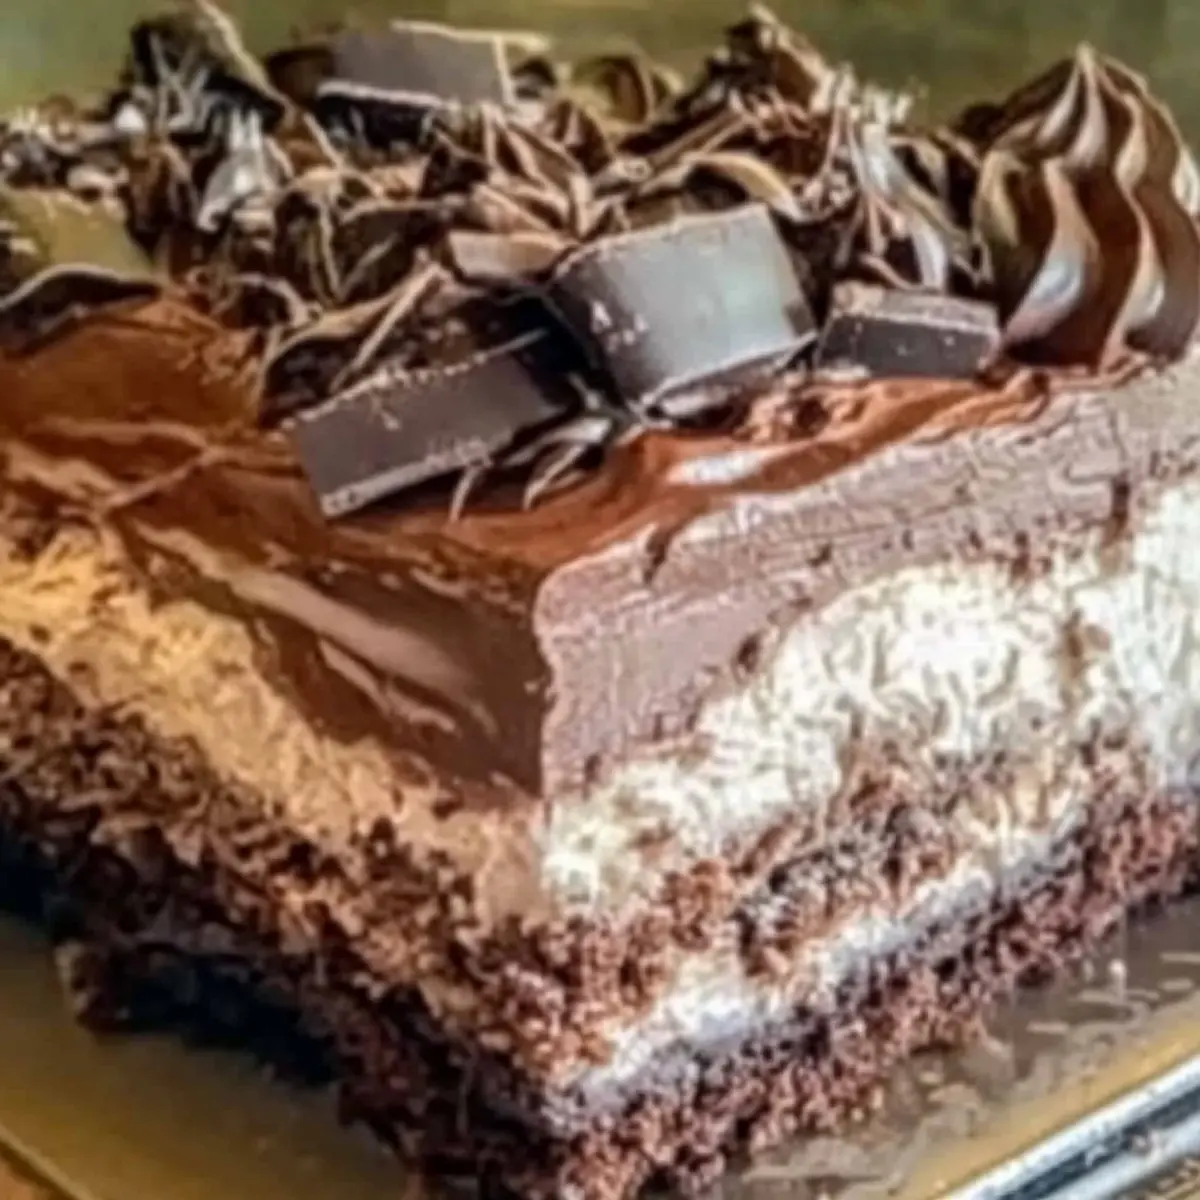
Storage Tips for Creamy & No-Bake Brownie Refrigerator Cake
Fridge: Store covered in the refrigerator for up to 4 days to maintain freshness, ensuring each slice remains as delightful as the first.
Freezer: For longer storage, wrap individual slices tightly (without ganache) in plastic wrap, then place in an airtight container; can freeze for up to a month.
Thawing: When ready to enjoy, simply thaw slices in the fridge overnight. Avoid refreezing once thawed to maintain quality.
Reheating: This cake is best served chilled; however, if desired, you can enjoy a slice slightly warmed in the microwave for about 10-15 seconds, enhancing the fudgy texture.
Make Ahead Options
This Creamy & No-Bake Brownie Refrigerator Cake is a fantastic option for meal prep enthusiasts who want to save time on busy days! You can prepare the brownie base up to 24 hours in advance, allowing it to cool completely before slicing into layers. The whipped cream layer can also be made ahead; just keep it chilled in the refrigerator for freshness. On the day you plan to serve, simply layer the brownie and whipped cream in your dish, then pour the ganache on top and refrigerate for at least 4 hours (overnight is even better!). This way, you’ll have a show-stopping dessert ready to impress everyone—just as delicious and texturally divine!
What to Serve with Creamy & No-Bake Brownie Refrigerator Cake
A rich chocolate dessert like this deserves delightful accompaniments to elevate your dining experience.
- Vanilla Ice Cream: The creamy, cool sweetness beautifully contrasts the rich chocolate, creating an indulgent combo. A scoop alongside a slice will take your dessert to another level!
- Fresh Berries: Bright, tart berries like raspberries or strawberries add a refreshing touch, balancing the cake’s sweetness. Their vibrant color makes for a stunning presentation too!
- Chocolate Sauce Drizzle: A warm, luscious drizzle of chocolate sauce intensifies the dessert experience. It adds an inviting visual and an extra layer of chocolaty goodness.
- Coffee or Espresso: A cup of robust coffee or espresso pairs wonderfully with the fudgy richness. The bitterness of the coffee cuts through the sweetness, making for a perfect end to your meal.
- Whipped Cream Cloud: Serve with a side of lightly sweetened whipped cream for a fluffy texture to contrast with the dense brownie layers. It’s like a little pillow of perfection!
- Mint Leaves Garnish: Fresh mint sprigs offer a burst of color and a hint of freshness, brightening each bite and making your dessert feel even more special.
Expert Tips for Creamy & No-Bake Brownie Refrigerator Cake
-
Chill Ingredients: Keep your heavy cream, mixing bowl, and beaters cold for best results when whipping the cream; this ensures it achieves the perfect fluffiness.
-
Cool Brownies Completely: Let your brownies cool fully before slicing; warm brownies can cause the whipped cream to melt and create a messy layer.
-
Use a Serrated Knife: For cleaner, more precise cuts through the brownie layers, opt for a long, serrated knife. This technique helps maintain the beautiful presentation of your creamy no-bake brownie refrigerator cake.
-
Adjust Ganache Consistency: If your ganache appears too thick after cooling, gently reheat with a splash of warm cream. This will help you get that glossy finish you’re aiming for!
-
Garnish Creatively: Consider mixing garnishes to add color and texture. Chocolate shavings, berries, or a dusting of cocoa powder elevate the look and enhance the feel of this indulgent dessert!
Creamy & No-Bake Brownie Refrigerator Cake Variations
Feel free to explore these delightful customizations that will enhance your cake’s flavor and texture!
-
Dairy-Free: Substitute heavy cream with coconut cream for a rich, non-dairy whipped layer that still delights.
Crafting a vegan version is achievable and delicious, bringing tropical notes to your dessert. -
Gluten-Free: Use a gluten-free brownie mix to accommodate dietary restrictions without sacrificing flavor or texture.
Your friends and family will be none the wiser as they indulge in this deliciously fudgy treat! -
Nutty Addition: Fold in chopped walnuts or pecans into the brownie batter for added crunch and flavor depth.
These nuts can enhance the overall experience, providing a pleasant contrast to the cake’s softness. -
Fruit Fusion: Incorporate fresh raspberries or strawberries between the layers for a burst of fruity freshness.
These bright flavors complement the rich chocolate and add a beautiful pop of color to your cake. -
Mint Chocolate: Add a few drops of peppermint extract to the whipped cream for a refreshing twist on this classic dessert.
Imagine the satisfying combination of chocolate and mint, perfect for festive gatherings! -
Chocolate Variations: Replace the semi-sweet chocolate chips in the ganache with dark or white chocolate for a different flavor profile.
The choice of chocolate can create a unique experience, catering to various chocolate lovers’ preferences. -
Espresso Delight: Boost the espresso powder in the brownie mix for a more pronounced coffee flavor that enhances the chocolate notes.
This extra kick can transform the indulgence, making each bite even more delightful for coffee enthusiasts!
These variations will ensure your creamy no-bake brownie refrigerator cake stays as exciting as it is delicious. For further inspiration, check out my Chocolate Skull Cake or the cozy goodness of a Pumpkin Cake Cozy. Enjoy exploring and customizing your creation!
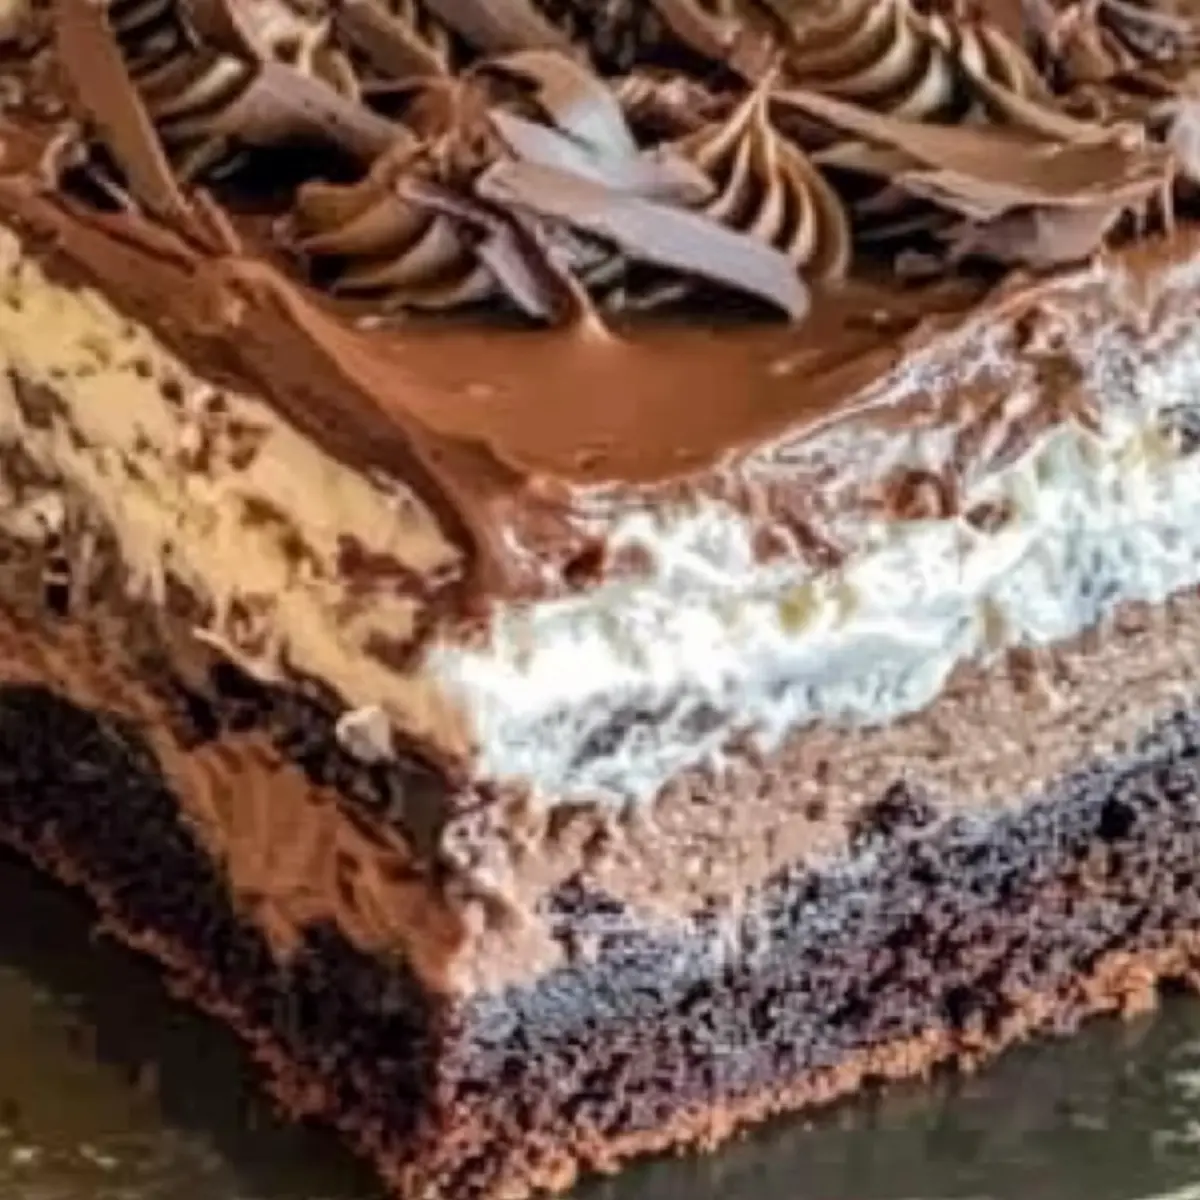
Creamy & No-Bake Brownie Refrigerator Cake Recipe FAQs
What type of brownie mix should I use for the base?
I recommend using a fudgy brownie mix for the ultimate chocolate experience. If you prefer, you can also make a homemade brownie mix tailored to your taste. Just ensure it’s rich and dense to hold up against the whipped cream layers.
How should I store leftover brownie refrigerator cake?
To keep your cake fresh, store it covered in the refrigerator for up to 4 days. This keeps every slice as delightful as the first! If you want to save some for later, freezing is an option too.
Can I freeze the brownie refrigerator cake?
Yes, absolutely! For freezing, wrap individual slices tightly in plastic wrap (make sure there’s no ganache on them), and then place the slices in an airtight container. This way, they can be frozen for up to a month, ensuring you have a delicious treat ready whenever you crave it.
How do I thaw the frozen slices?
When you’re ready to enjoy a slice, simply transfer it to the refrigerator and let it thaw overnight. This gradual thawing helps maintain the cake’s texture and flavor. Avoid refreezing once it’s thawed to keep the quality intact.
What can I do if my whipped cream doesn’t whip properly?
If your whipped cream isn’t whipping up as it should, it might be because the heavy cream is too warm or hasn’t been chilled enough. Make sure everything you’re using is cold – this includes the mixing bowl and beaters as well! Chill them all for about 10-15 minutes before whipping.
Is the brownie refrigerator cake safe for those with allergies?
This recipe contains common allergens like dairy and gluten. For those with specific dietary considerations, consider using gluten-free brownie mix and dairy-free alternatives for heavy cream. It’s always best to check ingredient labels and adjust according to your needs.
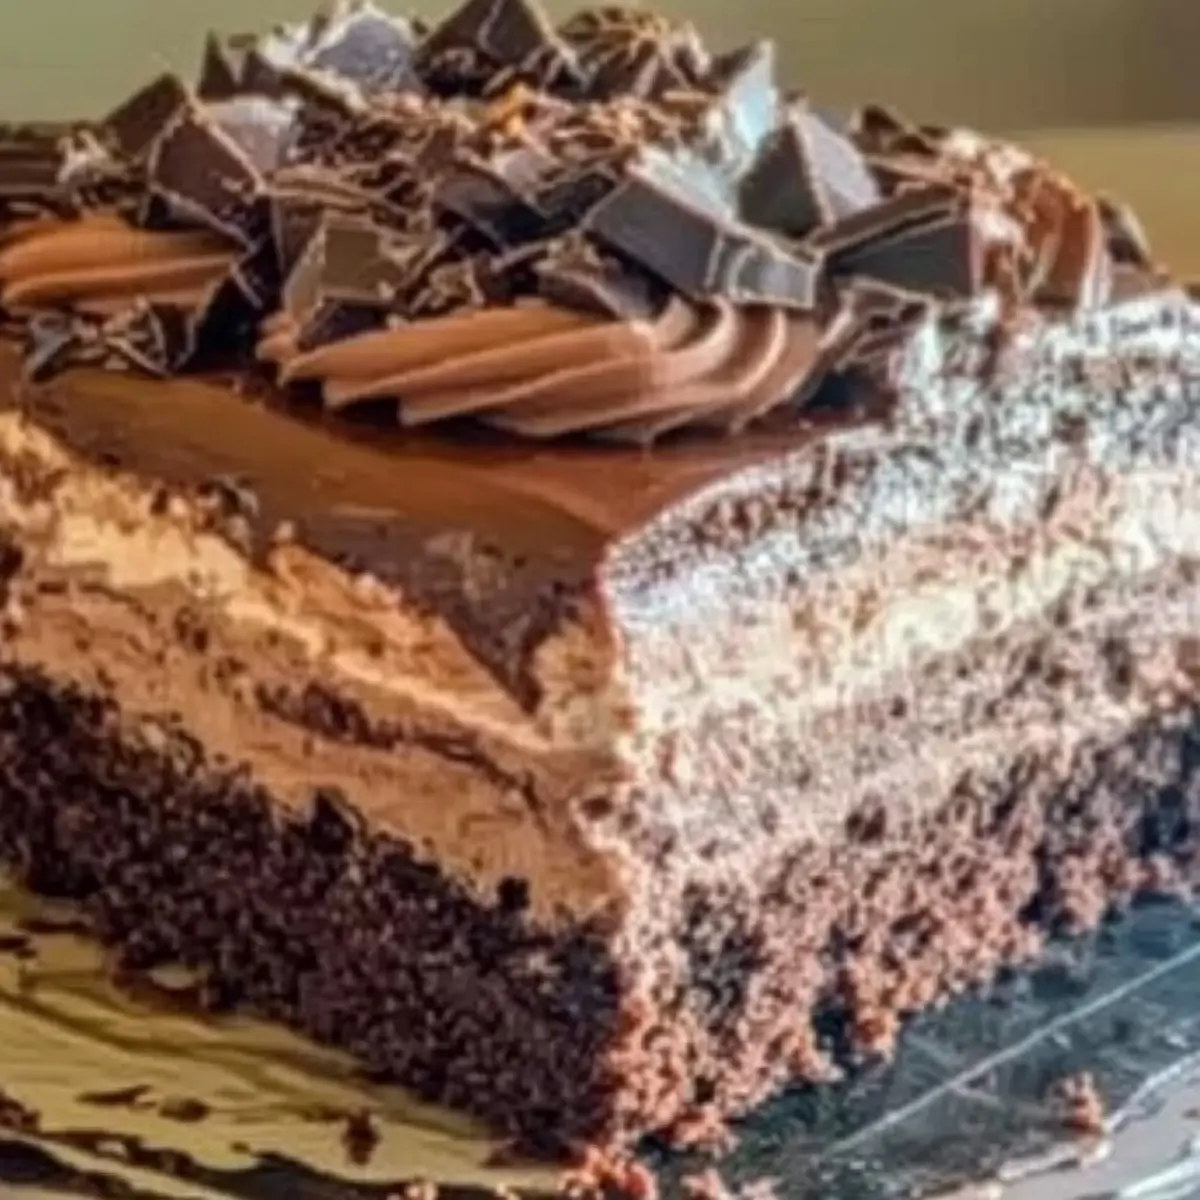
Creamy & No-Bake Brownie Refrigerator Cake for Ultimate Indulgence
Ingredients
Equipment
Method
- Preheat your oven to 350°F (175°C). Prepare a 9×13-inch pan by greasing it thoroughly. Follow the instructions on the brownie mix box, adding espresso powder if desired. Bake until a toothpick comes out with a few moist crumbs, about 20-25 minutes. Allow brownies to cool completely.
- Once cooled, slice the brownie base horizontally into two equal layers using a long serrated knife.
- In a chilled mixing bowl, add heavy cream, powdered sugar, cocoa powder, and vanilla extract. Beat on medium-high speed until stiff peaks form, around 3-4 minutes.
- Prepare the dish by lining it with parchment paper. Place one half of the brownie layer in the dish and spread half of the whipped cream over it. Add the second brownie layer on top, followed by the remaining whipped cream.
- In a saucepan, heat heavy cream over medium heat until steaming. Pour it over the chocolate chips in a bowl, let it sit for 2 minutes, then stir until smooth. Let cool for 5 minutes.
- Pour the cooled ganache over the top layer of whipped cream, using a spatula to spread it evenly. Cover with plastic wrap and refrigerate for at least 4 hours, preferably overnight.
- To serve, lift the cake out of the dish using the parchment paper. Cut into squares using a sharp knife. Optionally garnish with chocolate shavings or fresh berries before serving.
Leave a Reply