
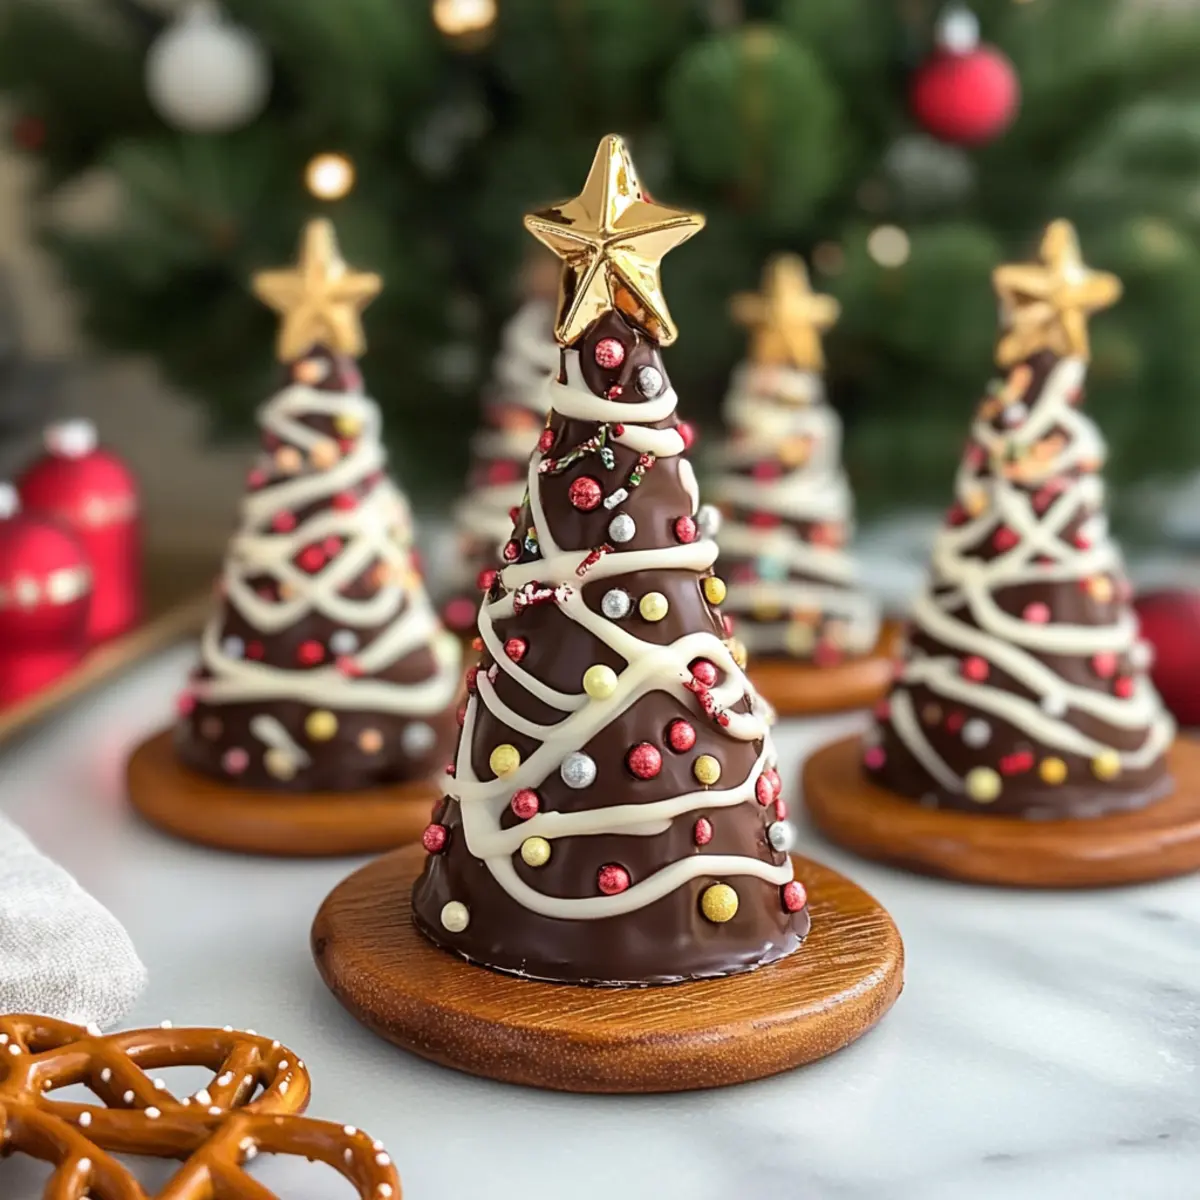
As I admired the twinkling holiday lights, inspiration struck: why not bring a touch of festive flair to our dessert table with adorable Christmas Chocolate Trees? This delightful Christmas Chocolate Trees Recipe is perfect for those bustling days when you want to impress your family and friends without spending hours in the kitchen. With just 30 minutes of prep and zero baking required, these charming creations add a whimsical touch to your holiday celebrations. Plus, they’re kid-friendly and can easily accommodate gluten-free diets with a simple pretzel swap. Imagine the joy on your loved ones’ faces as they marvel at these edible decorations—who could resist? Are you ready to craft some sweet memories this holiday season? Let’s dive in!
Why Make Christmas Chocolate Trees?
Delightful and Simple: These Christmas Chocolate Trees are not only visually stunning but also incredibly easy to make. Kid-Friendly Fun: Your little ones will love helping out, making it a perfect family activity. Customizable Creations: With various sprinkles and chocolate options, you can personalize them for any holiday gathering. Zero Baking Required: Save time and enjoy a stress-free prep experience in just 30 minutes! Perfect for Sharing: Impress your guests with these adorable treats that double as adorable decorations, making them a hit at any festive gathering! What’s not to love about combining fun and flavor in one go?
Christmas Chocolate Trees Ingredients
• Make these delightful Christmas Chocolate Trees with this simple ingredient list!
For the Chocolate Base
- 200 grams dark chocolate – This rich chocolate is perfect for creating a luscious tree bark; substitute with milk chocolate for a sweeter alternative.
- 50 grams white chocolate – Ideal for drizzling on top, giving the trees a snowy, festive finish.
For the Decoration
- 1/4 cup mini colorful sprinkles – Adds a fun and vibrant touch; consider using themed sprinkles for extra holiday cheer!
- 8 pieces pretzel sticks – These serve as the sturdy trunks of your trees; gluten-free pretzels are available for a delicious alternative.
With these ingredients, you’re all set to create festive magic with your Christmas Chocolate Trees recipe!
Step‑by‑Step Instructions for Christmas Chocolate Trees Recipe
Step 1: Prepare Your Workspace
Begin by lining a baking tray with parchment paper to prevent sticking. This will be the base where your delightful Christmas Chocolate Trees will be crafted. Make sure your workspace is clean and organized, with all your ingredients and tools, like bowls and piping bags, within reach to ensure a smooth process.
Step 2: Melt the Dark Chocolate
In a microwave-safe bowl, melt the 200 grams of dark chocolate in 30-second intervals, stirring between each session until smooth and glossy. Alternatively, use a double boiler for a gentler melt. The chocolate should be fully melted without any lumps, creating a velvety base for your trees.
Step 3: Pipe the Tree Shapes
Once your dark chocolate is melted, spoon it into a piping bag (or a zip-top bag with a cut tip). On the prepared parchment, pipe tree shapes about 3 inches tall and 2 inches wide, allowing the bottom of each tree to overlap with a pretzel stick for a sturdy trunk. Aim for a whimsical, organic shape for a charming effect.
Step 4: Create the Snowy Drizzle
Melt the 50 grams of white chocolate in the same manner as the dark chocolate. Once melted, carefully drizzle the white chocolate over the piped dark chocolate trees to mimic snowy branches, enhancing their festive appeal. Use a light hand for a graceful, decorated look.
Step 5: Add Colorful Sprinkles
While the white chocolate is still wet, sprinkle your 1/4 cup of mini colorful sprinkles generously on top of each tree. This step allows the sprinkles to adhere nicely, creating a playful, vibrant finish on your Christmas Chocolate Trees. Feel free to mix up the sprinkle colors for a fun holiday touch.
Step 6: Allow Trees to Set
Let your chocolate trees sit at room temperature for about 10-15 minutes to firm up or place them in the refrigerator for 15-20 minutes for quicker setting. Keep an eye on them; the chocolate should be hard yet firm enough to handle without breaking.
Step 7: Arrange on a Platter
Once set, carefully lift your Christmas Chocolate Trees off the parchment paper. Arrange them on a festive platter or dessert table for a stunning presentation. These edible decorations not only look fantastic but will also be a highlight of your holiday gatherings, delighting both children and adults alike.
Christmas Chocolate Trees Recipe Variations
Dive into a world of delicious creativity by personalizing your Christmas Chocolate Trees!
- Milk Chocolate: Swap dark chocolate with milk chocolate for a sweeter, creamier taste that kids love.
- White Chocolate: Use only white chocolate to create elegant snowy trees, perfect for a winter wonderland theme.
- Gluten-Free Option: Choose gluten-free pretzel sticks to make these treats suitable for gluten-sensitive friends. Your gatherings will be inclusive!
- Added Crunch: Sprinkle crushed nuts, such as walnuts or almonds, on top for a delightful textural contrast that brings a nutty surprise to each bite.
- Caramel Drizzle: Drizzle with warm caramel sauce to introduce a rich caramel flavor that pairs wonderfully with the chocolate base. Consider complimenting your trees with a festive dessert board featuring treats like a Chocolate Skull Cake.
- Edible Glitter: For a touch of magic, add edible glitter to your sprinkles and watch your trees twinkle like holiday lights. Perfect for stating “wow” at any party!
- Spicy Kick: Mix in a pinch of cinnamon or cayenne pepper to the melted dark chocolate for a surprising heat that elevates the flavor profile, keeping guests guessing.
- Theme Sprinkles: Customize with seasonal sprinkles or edible decorations, like stars or snowflakes, for extra holiday cheer, especially near Christmas or New Year celebrations!
With these variations, your Christmas Chocolate Trees will not only stand out but also cater to everyone’s tastes, perfect for making sweet memories this holiday season!
How to Store and Freeze Christmas Chocolate Trees
- Room Temperature: Store your Christmas Chocolate Trees in an airtight container with parchment layers between each tree, keeping them fresh for up to 5 days at room temperature.
- Fridge: If you want to extend their shelf life, refrigerate them for up to 2 weeks, ensuring they’re in a sealed container to prevent moisture.
- Freezer: For longer storage, freeze the chocolate trees for up to 2 months. Place them in a freezer-safe container, and let them thaw in the fridge before serving.
- Reheating: If the chocolate begins to soften, allow it to sit at room temperature for about 10 minutes before serving to regain its delightful crunch.
What to Serve with Christmas Chocolate Trees?
Creating a memorable holiday feast involves delightful pairings that enhance your charm-filled desserts.
-
Festive Fruit Platter: A bright assortment of seasonal fruits adds freshness, contrasting the rich chocolate and delightful crunch.
-
Gingerbread Cookies: These classic cookies work harmoniously with chocolate, offering warmth and spice for your festive spread.
-
Hot Cocoa: Rich, creamy hot cocoa complements the chocolate trees perfectly, inviting extra coziness as you gather with loved ones.
-
Eggnog: The creamy, spiced flavor of eggnog creates a nostalgic pairing, enhancing the warm holiday atmosphere.
-
Nutty Biscotti: A crunchy, nutty biscotti offers a satisfying texture contrast, perfect for dipping into your warm drinks.
-
Peppermint Bark: This sweet treat shares the same festive spirit, adding a refreshing twist and amplifying the holiday flavors.
-
Marshmallow Fluff Dip: A light and fluffy dip invites playful interactions, making every bite fun and indulgent—ideal for kids and adults alike!
-
Spiced Cider: The warm, fragrant aroma of spiced apple cider rounds out your dessert offerings, making every gathering feel festive and cheerful.
These pairings will elevate your Christmas Chocolate Trees recipe and create a delightful feast that resonates with joy.
Expert Tips for Christmas Chocolate Trees
-
Work with Melted Chocolate: Ensure your chocolate stays warm while you’re piping; chocolate that has cooled too much will become thick and hard to work with.
-
Use Quality Chocolate: Choose good-quality dark chocolate for a better flavor. The taste will be more pronounced, making your Christmas Chocolate Trees truly delightful.
-
Piping Skills: Practice piping on a separate piece of parchment before you begin if you’re new to it. It’ll help you find the right flow and create steadier tree shapes.
-
Sprinkle Timing: Add sprinkles immediately after drizzling the white chocolate, as they stick better when the chocolate is wet. This helps your decorations shine!
-
Patience is Key: Allow the trees to set completely before moving them; touching them too soon may cause breakage. Firm chocolate ensures a perfect presentation!
-
Customize with Toppings: Get creative with your decorations! Use nuts, dried fruits, or edible glitter for a fun twist on the classic Christmas Chocolate Trees recipe.
Make Ahead Options
These Christmas Chocolate Trees are a fantastic treat for busy home cooks looking to save time during the holiday hustle! You can prepare the chocolate tree shapes up to 24 hours in advance by piping them onto parchment paper and allowing them to set. Store the finished trees in an airtight container at room temperature to keep them just as delicious. On the day you plan to serve, simply melt the white chocolate, drizzle it over the pre-made trees, and sprinkle them with colorful decorations. This way, you’ll have lovely, festive treats ready with minimal effort—perfect for impressing guests while freeing up your time for other holiday fun!
Christmas Chocolate Trees Recipe FAQs
What chocolate should I use for the Christmas Chocolate Trees?
I recommend using good-quality dark chocolate for a rich flavor, but feel free to substitute with milk chocolate if you prefer a sweeter taste. The quality of your chocolate impacts the overall flavor of your trees, making it truly delightful!
How should I store the Christmas Chocolate Trees?
Store your Christmas Chocolate Trees in an airtight container with parchment layers between each tree. They’ll stay fresh for up to 5 days at room temperature and can be refrigerated for up to 2 weeks in a sealed container to prevent moisture.
Can I freeze the Christmas Chocolate Trees?
Absolutely! You can freeze your Christmas Chocolate Trees for up to 2 months. Just place them in a freezer-safe container, and when ready to enjoy, let them thaw in the fridge before serving. If the chocolate softens a bit, allow it to sit at room temperature for about 10 minutes for the best texture.
What if my chocolate is too thick to pipe?
If your melted chocolate begins to thicken, it may have cooled down too much. You can gently reheat it in the microwave in 10-second intervals until it’s back to a smooth consistency for easy piping. Remember, working quickly ensures a more seamless creation!
Are there gluten-free options for the Christmas Chocolate Trees?
Yes, you can easily make this recipe gluten-free by swapping regular pretzel sticks for gluten-free pretzels. This way, everyone can indulge in these festive creations without worry. Enjoy the joy of creating delicious memories that accommodate various dietary needs!
Delightful Christmas Chocolate Trees Recipe - No-Bake Fun!
Ingredients
Equipment
Method
- Prepare Your Workspace: Line a baking tray with parchment paper. Ensure your workspace is clean and organized.
- Melt the Dark Chocolate: In a microwave-safe bowl, melt the dark chocolate in 30-second intervals until smooth and glossy.
- Pipe the Tree Shapes: Spoon melted dark chocolate into a piping bag. Pipe tree shapes about 3 inches tall and 2 inches wide, overlapping the bottom with a pretzel stick.
- Create the Snowy Drizzle: Melt the white chocolate and drizzle it over the piped dark chocolate trees.
- Add Colorful Sprinkles: Sprinkle mini colorful sprinkles on top of each tree while the white chocolate is still wet.
- Allow Trees to Set: Let the trees sit at room temperature for 10-15 minutes or refrigerate for quicker setting.
- Arrange on a Platter: Carefully lift your Christmas Chocolate Trees off the parchment paper and arrange them on a platter.
Leave a Reply