
The moment I took my first bite of these Chicken Enchiladas, I was whisked away to a cozy taqueria, where the flavors danced in harmony. This dish has managed to conquer my heart, and I’m thrilled to share it with you. Made with crispy tortillas enveloping tender chicken and gooey melted cheese, these Chicken Enchiladas are better than takeout. Not only are they incredibly easy to whip up, making them perfect for a busy weeknight, but they’re also a delicious option for families craving comfort food without the fuss. Top them off with fresh avocado and cilantro for a burst of brightness that’s sure to impress. Ready to experience bliss in every bite? Let’s dive into this simple yet irresistible recipe!
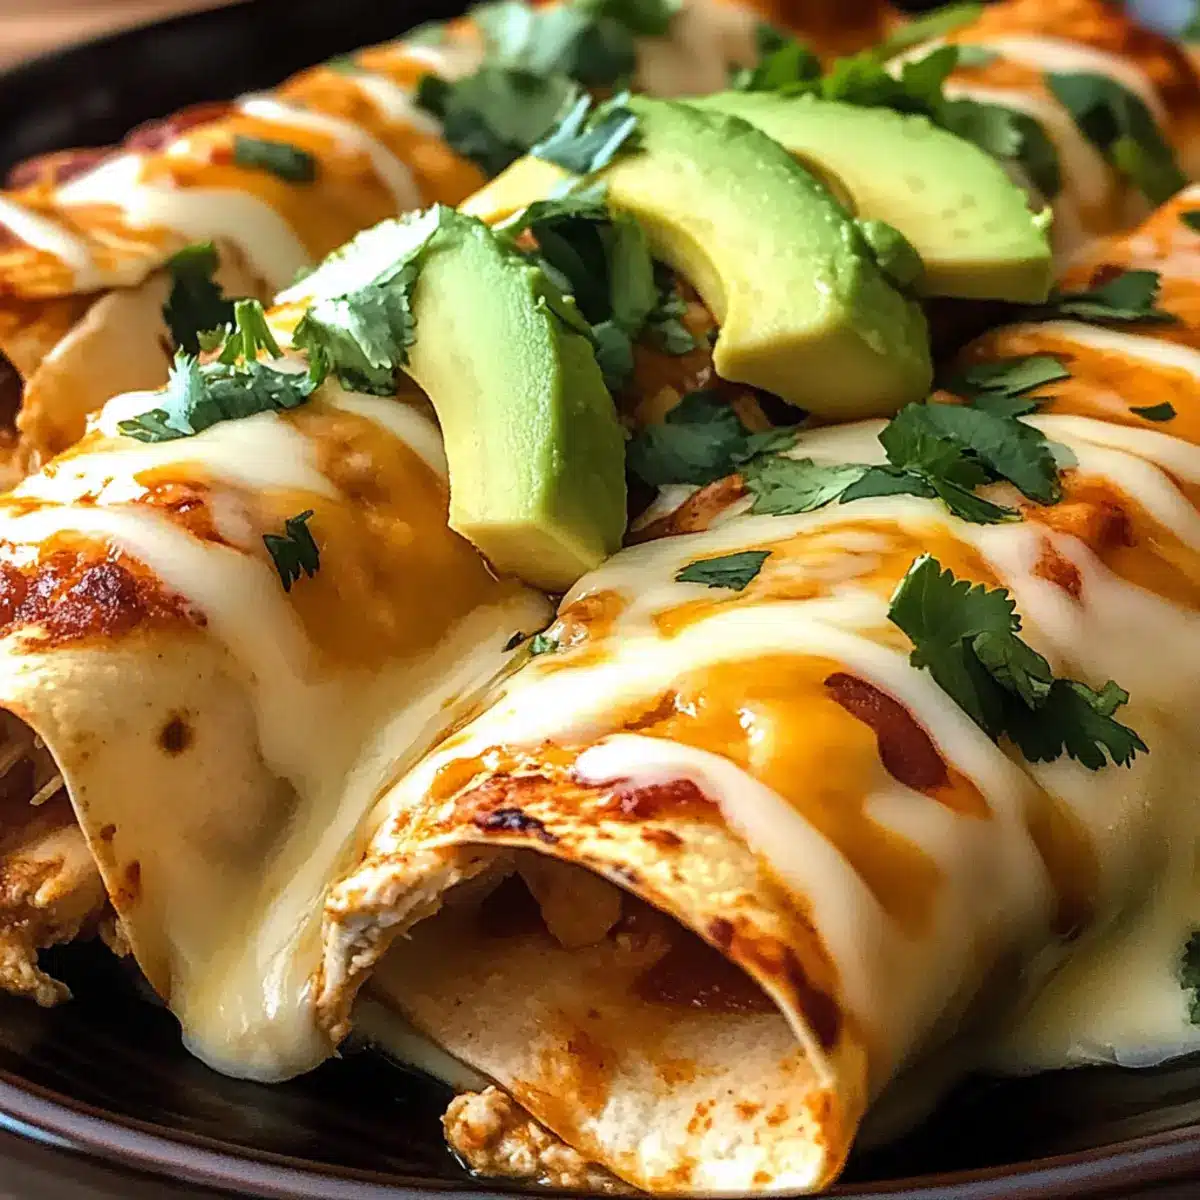
Why Are These Enchiladas So Irresistible?
Crispy, golden perfection: Each bite reveals a crunchy exterior that holds a treasure of tender chicken and melty cheese inside.
Quick and easy: These Chicken Enchiladas are perfect for weeknight dinners, allowing you to enjoy homemade goodness without spending hours in the kitchen.
Flavor-packed delight: The combination of enchilada sauce and fresh toppings like avocado and cilantro elevates the flavor to a whole new level.
Family-friendly appeal: Kids and adults alike will fall in love with this comforting dish, proving it’s a hit at the dinner table.
Make-ahead convenience: Assemble and refrigerate these enchiladas the night before or freeze for busy days, ensuring a delicious meal is always ready.
Ready to explore more mouthwatering recipes? Don’t miss out on my delightful Cheesy Chicken Garlic sandwiches or the refreshing Honey Lime Chicken for a complete meal experience!
Chicken Enchiladas Ingredients
• For the Filling
- Shredded Chicken – Use cooked chicken for flavor; rotisserie chicken works great!
- Monterey Jack Cheese – Melts beautifully; feel free to substitute with Cheddar for a sharper taste.
• For the Tortillas
- Corn Tortillas – Traditional choice for authentic flavor; can switch to flour if preferred.
• For the Sauce
- Enchilada Sauce – This is key for moisture and flavor; try making your own for a personal touch.
• For Toppings
- Avocado – Adds creaminess and freshness; optional but highly recommended!
- Cilantro – Brightens the dish with its aromatic flavor; omit if you’re not a fan.
Step‑by‑Step Instructions for Crispy Chicken Enchiladas
Step 1: Preheat the Oven
Begin by preheating your oven to 350°F (175°C). This temperature is essential for achieving that crispy, golden texture you desire for your Chicken Enchiladas. Allow your oven to fully reach the temperature while you prepare the filling, ensuring a perfectly baked result.
Step 2: Prepare the Filling
In a mixing bowl, combine your cooked, shredded chicken with half of the enchilada sauce and your choice of cheese, like Monterey Jack. Mix thoroughly until the chicken is well coated with the sauce and cheese. The filling should be flavorful and cheesy, providing a delightful center for each enchilada.
Step 3: Fill the Tortillas
Take your corn or flour tortillas and gently warm them in a skillet or microwave to make them pliable. Place a generous scoop of the chicken filling onto each tortilla, then roll them tightly to form enchiladas. Arrange the rolled tortillas seam-side down in a greased baking dish for a beautiful presentation.
Step 4: Add the Sauce
Once all the enchiladas are in the baking dish, pour the remaining enchilada sauce evenly over the top. Make sure each enchilada is generously coated, which will keep them moist while baking. This layer of sauce is vital for flavor, ensuring your Chicken Enchiladas are as delicious as they are visually appealing.
Step 5: Bake for Perfection
Carefully place the baking dish in your preheated oven and bake for about 20-25 minutes. Watch for a golden-brown color and bubbling cheese as indicators of doneness. This is when the enchiladas transform into a crispy and delicious dish, ready to be taken out of the oven.
Step 6: Garnish and Serve
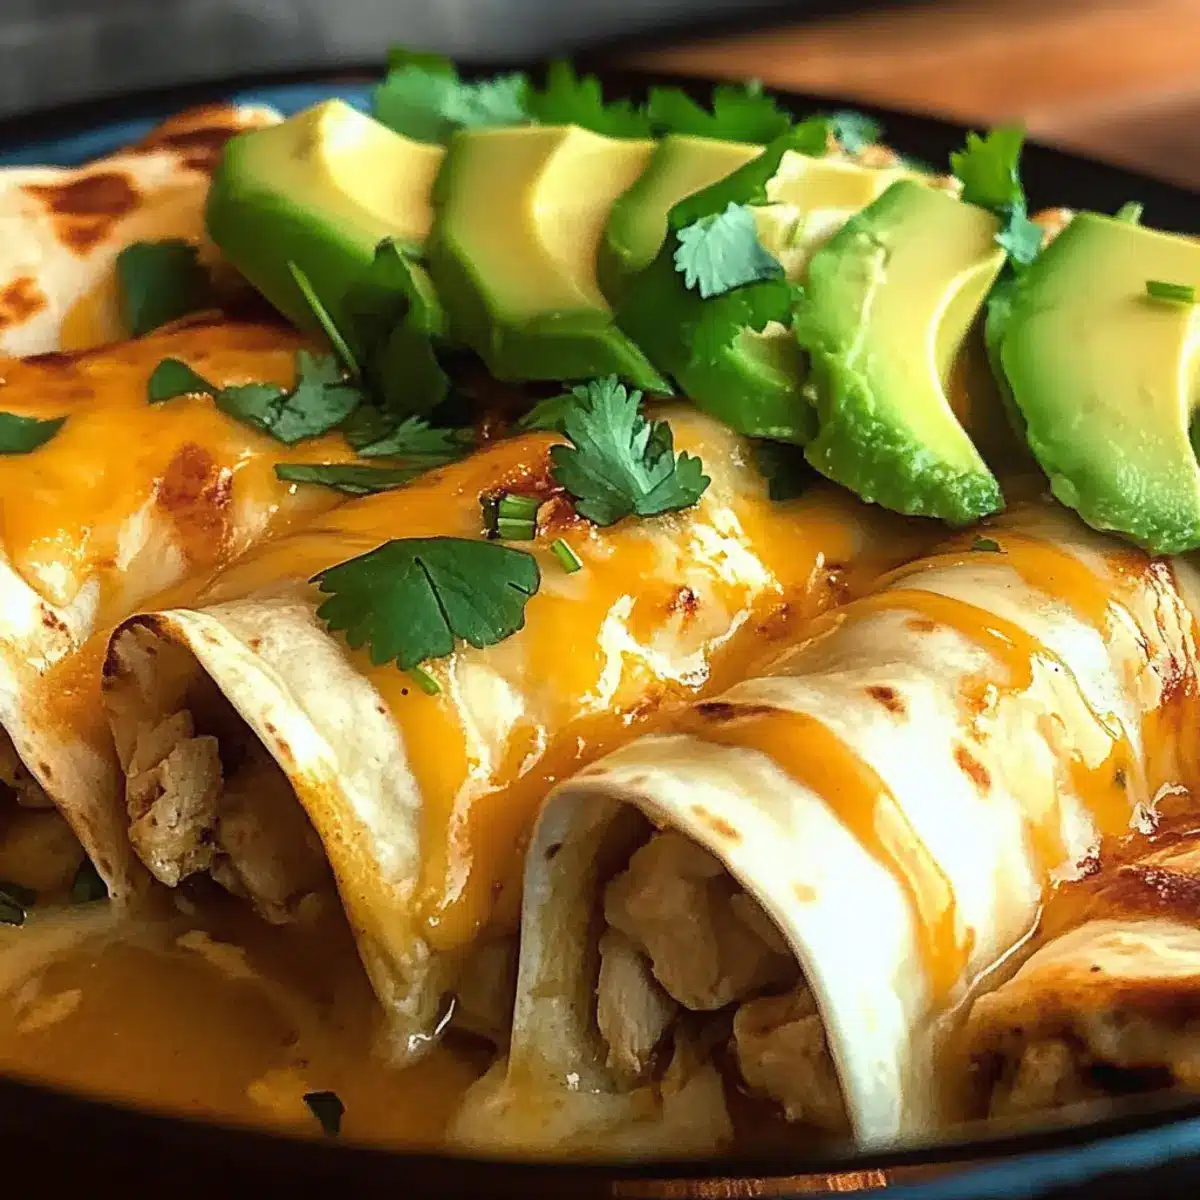
Once baked, remove your Chicken Enchiladas from the oven and let them rest for a few minutes. Top them with fresh avocado slices and a sprinkle of cilantro for a burst of color and flavor. This finishing touch elevates the dish, adding creaminess and a touch of brightness that makes each bite truly irresistible.
How to Store and Freeze Chicken Enchiladas
Fridge: Store leftover Chicken Enchiladas in an airtight container for up to 3 days to maintain their crispiness and flavor.
Freezer: For longer storage, assemble unbaked Chicken Enchiladas and place them in an airtight container. They will keep well for up to 2 months.
Reheating: When ready to enjoy, bake from frozen at 350°F (175°C), adding an extra 10-15 minutes to the baking time to ensure they are heated through.
Covering: Ensure to cover the enchiladas with foil while reheating. This helps retain moisture and prevents drying out while maintaining that delicious flavor.
What to Serve with Crispy Chicken Enchiladas
Create a delightful dining experience by pairing your delicious enchiladas with complementary flavors and textures for a complete meal.
-
Spanish Rice: This fluffy, flavorful rice is the perfect base, soaking up the enchilada sauce beautifully. A sprinkle of cilantro adds a fresh herbaceous note.
-
Refried Beans: Creamy, savory beans add protein and richness, balancing out the crispy texture of the enchiladas. Top with cheese for an indulgent twist.
-
Fresh Garden Salad: A crisp salad with lettuce, tomatoes, and a zesty lime vinaigrette will brighten your meal. The crunch contrasts wonderfully with the soft enchiladas.
-
Guacamole: Smooth, rich guacamole brings a creamy element that perfectly complements the spices of the enchiladas. A dollop on top enhances every bite.
-
Corn on the Cob: Sweet, buttered corn adds a delightful sweetness and a slightly chewy texture. This classic side offers a lovely contrast to the crispy dish.
-
Chips and Salsa: Crispy tortilla chips with a side of zesty salsa create an inviting appetizer. The crunch and tang will set the stage for the main attraction.
-
Margaritas: For those who enjoy a drink, a refreshing margarita with a hint of lime and salt will elevate your dining experience. Its acidity beautifully pairs with the spices of the enchiladas.
-
Flan: End your meal on a sweet note with this creamy caramel dessert. The rich flavors make it a perfect conclusion to a savory feast.
Chicken Enchiladas: Creative Twists Await!
Feel free to let your creativity shine as you explore delightful twists for these scrumptious enchiladas.
-
Turkey Substitute: Replace shredded chicken with shredded turkey for a delicious alternative that’s equally satisfying.
-
Vegetarian Delights: Swap chicken for black beans, pinto beans, or a medley of sautéed vegetables for a hearty vegetarian option. Filling and rich in flavor, these enchiladas will delight everyone at the table!
-
Cheese Variations: Try switching between Monterey Jack, Cheddar, or even goat cheese for an unexpected zesty punch. Each cheese brings its unique character to the dish, enhancing the experience beyond traditional flavors.
-
Spicy Kick: Add diced jalapeños or a sprinkle of chili flakes to the chicken mixture for a fiery kick. This simple adjustment can turn your mild enchiladas into a bold and exciting dish that may become your new favorite!
-
Avocado Cream: Blend avocado with sour cream for a dip or drizzle. This creamy topping elevates your enchiladas, offering a fresh twist that pairs well with rich flavors.
-
Sauce Alternatives: Create a different flavor profile by using a tomatillo sauce or homemade salsa instead of traditional enchilada sauce. This will provide a fresh and tangy taste that surprises the palate.
-
Fried Tortillas: For a delightful crunch, fry the tortillas lightly before filling them. This extra step can enhance the textural experience, making your Chicken Enchiladas even more memorable.
-
Stovetop Option: If you’re short on time, cook the filled enchiladas in a skillet with a lid instead of baking. This method keeps things quick and allows the cheese to melt to perfection while capturing the classic flavors.
Looking for more delicious ideas? Don’t miss the options in my Healthy Sticky Chicken bowls or explore a spicy twist with my Spicy Chipotle Chicken recipes!
Make Ahead Options
These Chicken Enchiladas are a fantastic option for meal prep, making your busy weeknights a breeze! You can assemble them up to 24 hours in advance; just cover them tightly with plastic wrap or foil and refrigerate until you’re ready to bake. To save even more time, consider preparing the enchiladas unbaked and storing them in an airtight container in the freezer for up to 2 months. When ready to enjoy, simply bake them straight from the freezer, adding 10-15 minutes to the baking time. By following these steps, you’ll keep the enchiladas just as delicious, crispy, and satisfying, ready to delight your family with minimal effort!
Expert Tips for Crispy Chicken Enchiladas
- Prep Ahead: Assemble enchiladas up to a day in advance and refrigerate, making dinner a breeze when you’re short on time.
- Choose Cheese Wisely: For a creamy texture, stick to Monterey Jack or Cheddar. Avoid low-fat cheeses as they may not melt well, impacting your Chicken Enchiladas’ taste.
- Warm Tortillas: Always warm your tortillas before filling to prevent them from cracking when rolled. Use a dry skillet or microwave for a few seconds.
- Sauce Matters: Generously coat enchiladas with sauce before baking to ensure they remain moist and flavorful. Don’t skip this crucial step!
- Watch the Oven: Keep an eye on your enchiladas to prevent overcooking—golden, crispy edges are what you’re aiming for.
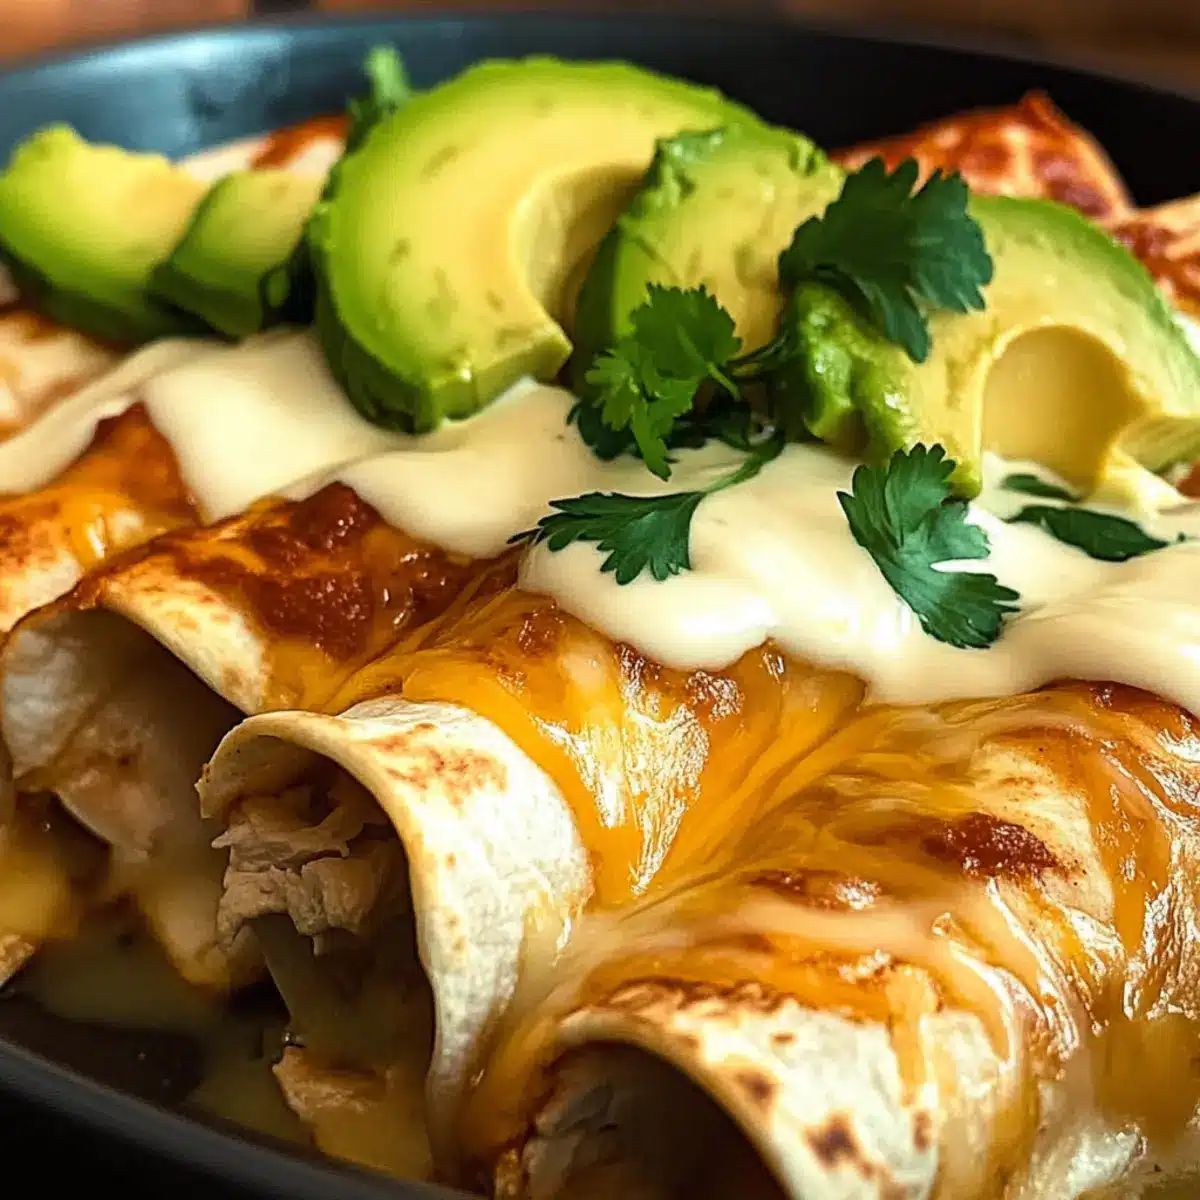
Chicken Enchiladas Recipe FAQs
What type of chicken should I use for these enchiladas?
Absolutely! For the best flavor and texture, I recommend using cooked, shredded chicken. A rotisserie chicken works wonderfully since it’s already seasoned and tender. If you prefer, you can also poach or grill chicken breasts and shred them yourself.
How do I store leftover Chicken Enchiladas?
To keep your leftover Chicken Enchiladas fresh, simply place them in an airtight container in the fridge, where they will last for up to 3 days. If you want to preserve their crispiness, be sure to store them without sauce—a quick reheat in the oven will help maintain their texture!
Can I freeze Chicken Enchiladas, and how?
Definitely! To freeze your Chicken Enchiladas, assemble them without baking first. Place the uncooked enchiladas in an airtight container or a freezer-safe dish, separating layers with parchment paper if necessary. They can be stored for up to 2 months. When you’re ready to bake, take them straight from the freezer (no need to thaw) and bake at 350°F (175°C), adding about 10-15 minutes more to the baking time.
What if my enchiladas end up soggy?
Very! A common problem is soggy enchiladas, which can arise from too much sauce. To avoid this, ensure that you’re using just enough enchilada sauce to coat the tortillas without soaking them. Additionally, check the baking time—remove them from the oven when they’re golden brown and crisp on the edges, typically during the last few minutes of baking.
Are these enchiladas pet-friendly?
Definitely not! While these Chicken Enchiladas are delicious for humans, they aren’t suitable for pets. Avocado and certain spices in the enchilada sauce can be harmful to pets. Always make sure to keep human food away from your furry friends and provide them with their own treats instead.
Can I make these enchiladas vegetarian?
Absolutely! To make a delicious vegetarian version, simply replace the shredded chicken with a mix of beans (such as black or pinto), sautéed bell peppers, and onions. You can also include corn or mushrooms for added flavor and texture. Make sure to season the filling well, and you’ll have an equally mouthwatering batch of enchiladas!
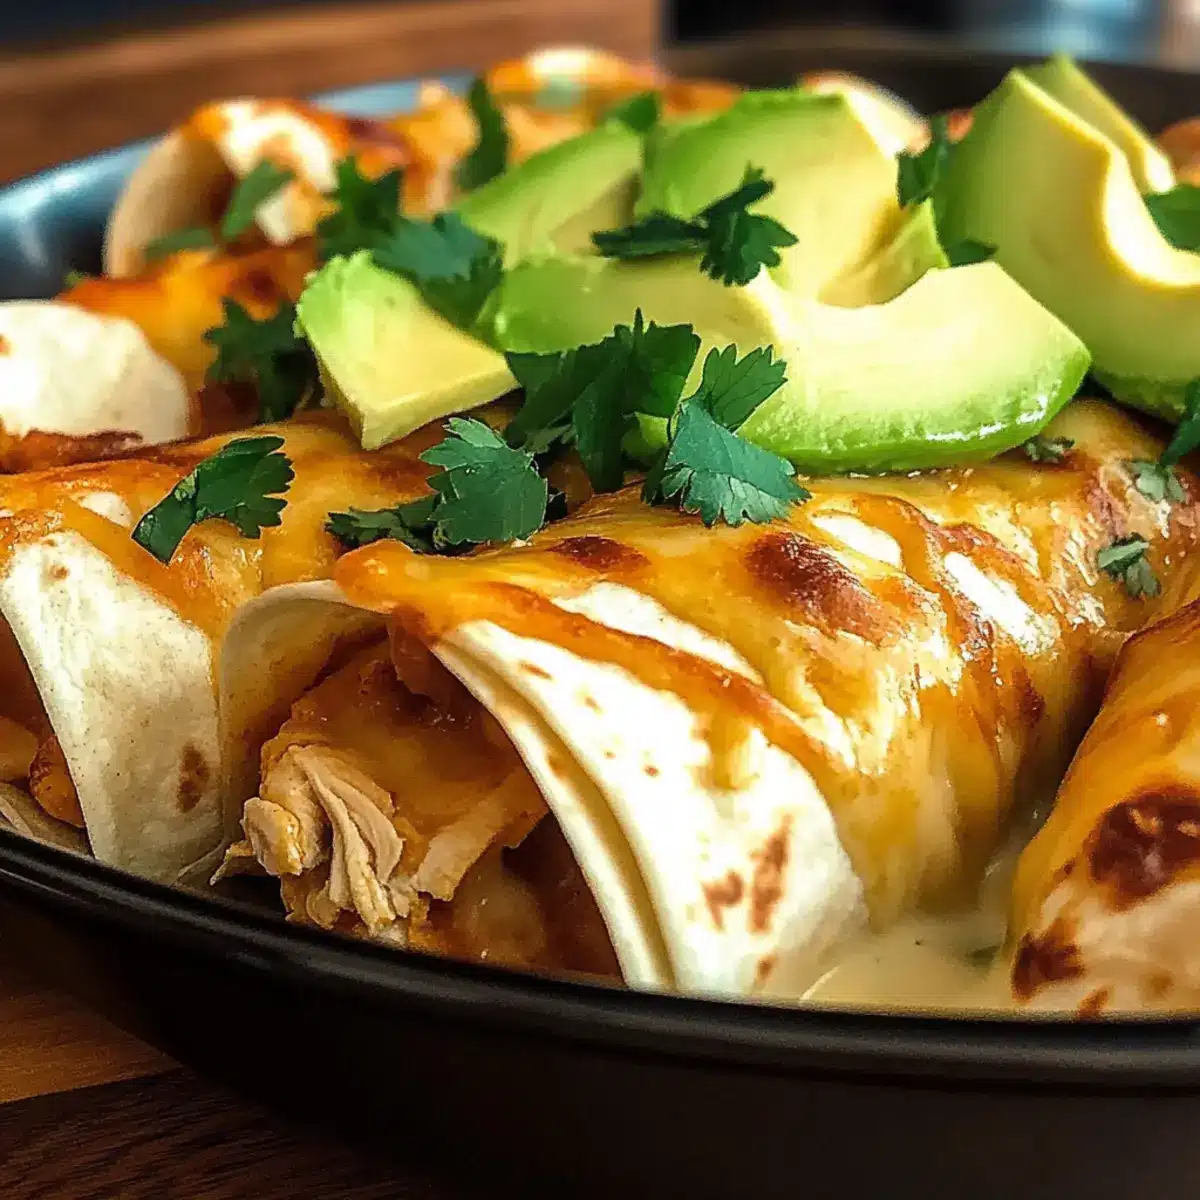
Crispy Chicken Enchiladas: Homemade Love in Every Bite
Ingredients
Equipment
Method
- Preheat your oven to 350°F (175°C) to achieve crispy, golden texture.
- In a mixing bowl, combine shredded chicken with half of the enchilada sauce and cheese.
- Warm tortillas in a skillet or microwave, fill them with chicken mixture, and roll them up.
- Arrange rolled tortillas seam-side down in a greased baking dish.
- Pour remaining enchilada sauce over the top, ensuring each enchilada is generously coated.
- Bake in the oven for 20-25 minutes until golden brown and cheese is bubbling.
- Let the enchiladas rest for a few minutes, then garnish with avocado and cilantro before serving.
Leave a Reply