
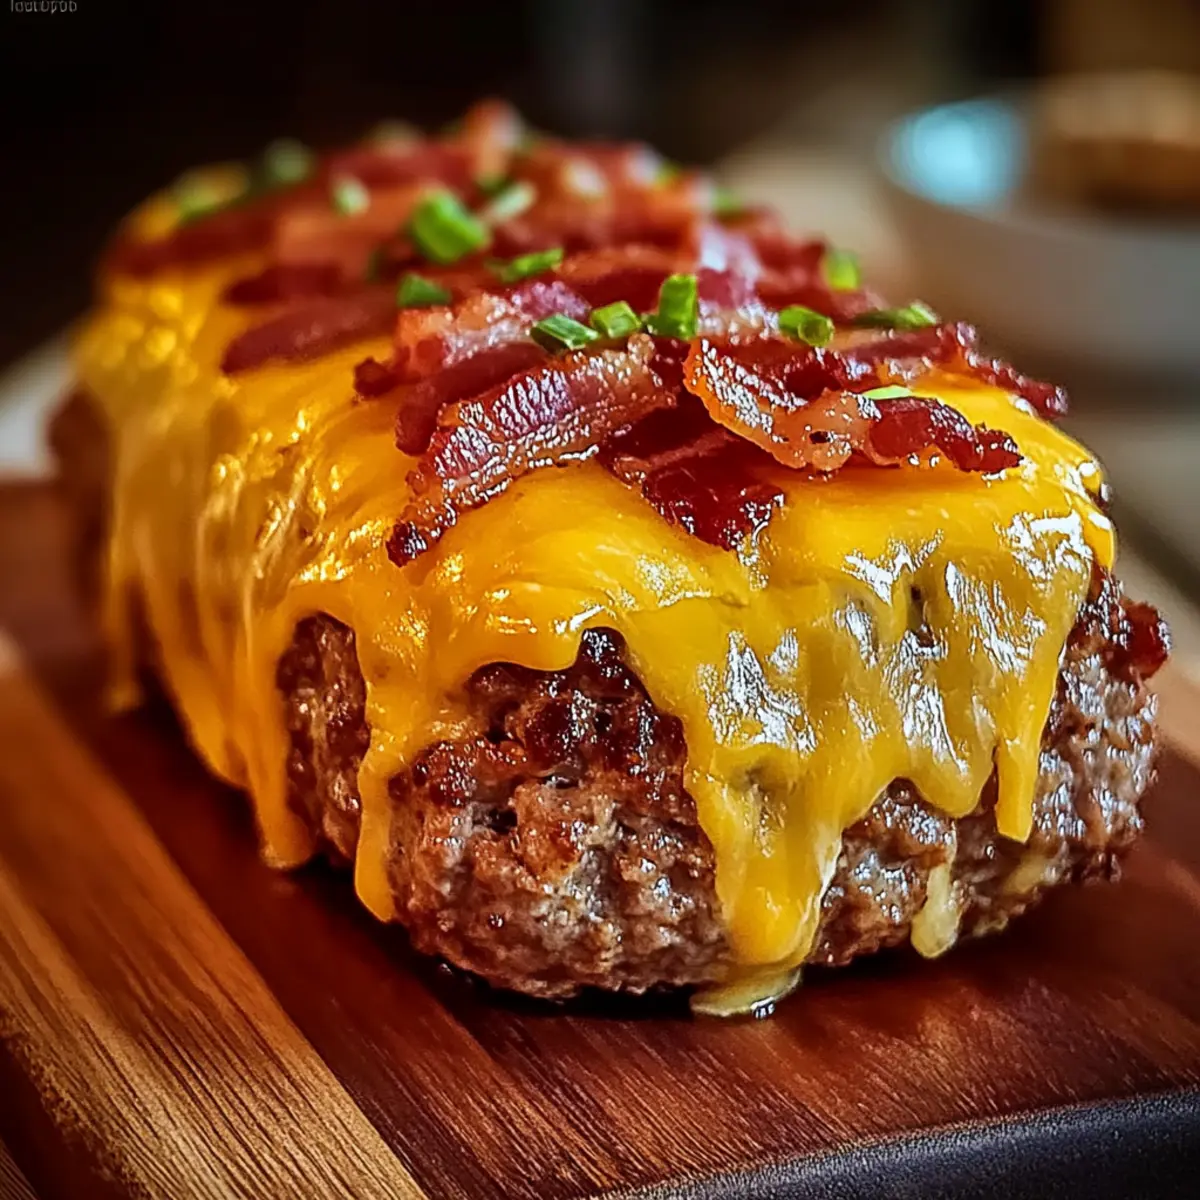
As the sizzling aroma of bacon fills the kitchen, I can’t help but feel a wave of nostalgia. There’s something undeniably comforting about this Juicy Cheeseburger Meatloaf with Crispy Bacon & Cheddar that calls to mind family dinners and cherished memories. Combining the beloved flavors of a classic cheeseburger with the heartiness of meatloaf, this easy-to-make dish is a true crowd-pleaser, perfect for those busy weeknight dinners. What’s even better? It’s packed with protein and can easily be dressed up or down to suit your family’s taste. Imagine serving this savory masterpiece with a side of crispy fries or a fresh salad—talk about a dinner that satisfies! Are you ready to create some fresh memories at your dinner table?
Why is this meatloaf so irresistible?
Comforting, bold flavors: This Cheeseburger Meatloaf with crispy bacon and cheddar melds the nostalgic taste of a classic cheeseburger into a hearty meatloaf that everyone adores.
Quick and easy prep: With just a few simple steps, you’ll have a satisfying dinner ready in no time—ideal for busy weeknights.
Versatile: Dress it up with veggies or experiment with various cheeses to suit any palate, making it a hit with the entire family.
Perfect for meal prep: Make it ahead and refrigerate to have a delicious meal ready to go, just like my Finger Breadsticks Dinner for a fun twist.
Crowd pleaser: The combination of flavors and the visual appeal will have your family raving, reminiscent of family barbecues and gatherings—a true comfort food staple!
Cheeseburger Meatloaf Ingredients
• For the Meatloaf
- Ground Beef – Provides the hearty base and protein; lean ground beef (90/10 or 93/7) works for a healthier option.
- Breadcrumbs – Acts as a binder for texture; crushed crackers or gluten-free breadcrumbs can be used for variation.
- Milk – Adds moisture to keep the meatloaf tender; for dairy-free, substitute with unsweetened almond or oat milk.
- Ketchup – Contributes sweetness and tanginess; you can swap it with BBQ sauce for a different flavor.
- Finely Chopped Onion – Enhances flavor and brings moisture; shallots are a tasty alternative for a milder taste.
- Finely Chopped Dill Pickles – Provides a crunchy, tangy burst of flavor; sweet pickles can be used according to your preference.
- Cloves Garlic, Minced – Adds depth and aroma; garlic powder (1/2 teaspoon) is a quick substitute if needed.
- Worcestershire Sauce – Infuses rich umami notes; it can be omitted or replaced with soy sauce if desired.
- Salt & Black Pepper – Essential for flavor enhancement; adjust these seasonings according to your taste.
- Bacon – Offers smokiness and crunch when baked; for a lighter version, turkey bacon can be an alternative.
- Shredded Cheddar Cheese – Melts beautifully into a gooey topping; consider experimenting with Monterey Jack or a cheese blend for a twist.
• For the Glaze
- Ketchup – Serves as the base for the glaze, enhancing the meatloaf’s flavor.
- Brown Sugar – Adds sweetness and caramelizes beautifully during baking.
- Mustard – Creates a tangy balance to the glaze’s sweetness, rounding out the flavors.
Let’s get started on this delightful Cheeseburger Meatloaf Recipe—your family will thank you!
Step‑by‑Step Instructions for Cheeseburger Meatloaf Recipe- Juicy & Flavorful Dinner
Step 1: Prep the Meat Mixture
In a spacious mixing bowl, combine the ground beef, breadcrumbs, milk, ketchup, finely chopped onion, dill pickles, minced garlic, Worcestershire sauce, salt, and black pepper. Gently mix the ingredients with your hands or a spatula until just combined, ensuring not to overmix. Form the mixture into a loaf shape and place it in a baking dish or on a parchment-lined baking sheet.
Step 2: Bake the Meatloaf
Preheat your oven to 375°F (190°C) and allow the meatloaf to bake for 30 minutes. As it cooks, you’ll notice a savory aroma filling your kitchen. Look for the edges of the meatloaf to start browning, which indicates it’s time to prepare the glaze.
Step 3: Make the Glaze
While the meatloaf is baking, whisk together ketchup, brown sugar, and mustard in a small bowl until smooth. This glaze will not only enhance the flavor of your Cheeseburger Meatloaf but also create a glossy finish on top. Set this mixture aside until you’re ready to use it.
Step 4: Add the Toppings
After the initial 30 minutes of baking, carefully remove the meatloaf from the oven. Brush the prepared glaze generously over the top, ensuring it covers the entire surface. Next, layer crispy bacon slices across the top, followed by a generous sprinkle of shredded cheddar cheese.
Step 5: Finish Baking
Return the meatloaf to the oven and bake for an additional 20-25 minutes, or until the bacon is crispy and the cheese is beautifully melted. Keep an eye on it during the last few minutes to ensure it doesn’t overcook. You’re aiming for a golden-brown crust.
Step 6: Check for Doneness
To ensure your Cheeseburger Meatloaf is perfectly cooked, use a meat thermometer to check the internal temperature; it should reach 160°F (71°C). Once that temperature is reached, you’re all set for the next step.
Step 7: Allow to Rest
Once cooked, remove the meatloaf from the oven and let it rest for about 10 minutes. This resting time is crucial, as it allows the juices to redistribute, making your meatloaf tender and juicy. Meanwhile, prepare your favorite sides to complement this hearty dish.
Step 8: Slice and Serve
After resting, use a sharp knife to slice the meatloaf into thick pieces. Serve it warm, and enjoy the delightful combination of flavors with your usual burger sides like fries or a fresh salad. This Cheeseburger Meatloaf will surely be a hit at your dinner table!
Expert Tips for Cheeseburger Meatloaf
-
Gentle Mixing: Avoid overmixing the meatloaf mixture to prevent a dense texture; aim for just combined ingredients.
-
Rest for Success: Allow the Cheeseburger Meatloaf to rest for about 10 minutes after baking; this will help retain the juices for perfectly moist slices.
-
Thermometer Use: Use a meat thermometer to ensure your meatloaf reaches an internal temperature of 160°F (71°C); this guarantees safe and delicious results.
-
Bacon Choice: For a lighter option, replace regular bacon with turkey bacon; it still adds a great flavor and crunch.
-
Glaze Timing: Brush the glaze on during the last part of baking to maintain that sticky, sweet crust and prevent it from burning.
How to Store and Freeze Cheeseburger Meatloaf
Fridge: Store leftover cheeseburger meatloaf in an airtight container for up to 3 days. Cover with foil or plastic wrap to keep it moist.
Freezer: Wrap slices tightly in plastic wrap and then in aluminum foil, or place in a freezer-safe bag. It can be frozen for up to 3 months.
Reheating: When ready to enjoy, thaw in the fridge overnight if frozen. Reheat in the oven at 350°F (175°C) for 20-25 minutes, or until heated through, ensuring the meatloaf remains juicy and flavorful!
Make-Ahead Tip: Assemble the cheeseburger meatloaf in advance and refrigerate for up to 24 hours before baking. Just remember to add a few extra minutes to the cooking time.
What to Serve with Cheeseburger Meatloaf
Imagine a bustling kitchen filled with laughter and the irresistible aroma of your savory creation—dinner is about to get a whole lot better!
- Crispy French Fries: The classic choice that mirrors the beloved burger experience; the crunch on the outside meets the fluffy inside, perfect for dipping.
- Fresh Green Salad: A vibrant salad tossed with mixed greens, cherry tomatoes, and a tangy vinaigrette balances the rich flavors of the meatloaf beautifully.
- Onion Rings: Golden-battered rings offer a delightful crunch and sweetness, echoing those familiar burger joint vibes—what’s not to love?
For an extra treat, serve your cheeseburger meatloaf slices with a dollop of zesty burger sauce on the side for that true burger-style flavor. Pair it all with an ice-cold root beer or a refreshing lemonade to wash it down, and you’ve got a comforting meal that’s sure to bring smiles around the table!
Cheeseburger Meatloaf Recipe Variations
Feel free to let your creativity shine and customize this dish with scrumptious tweaks that will bring new dimensions to your dinner table!
-
Vegetable Boost: Mix in chopped bell peppers or zucchini for an added crunch and nutrition burst. These veggies bring a delightful texture and vibrant color, making each bite even more exciting!
-
Gluten-Free: Swap breadcrumbs with crushed gluten-free crackers to enjoy the comforting flavors without concern. Your family won’t even notice the difference!
-
BBQ Twist: Replace ketchup in the glaze with your favorite BBQ sauce for a smoky, tangy flavor profile. This twist will have everyone licking their plates clean!
-
Spicy Kick: Add a teaspoon of cayenne pepper or diced jalapeños to the meat mixture for a little heat. It’s a fun way to spice up family night!
-
Cheese Variety: Experiment with different cheeses like pepper jack or gouda for a unique, melty topping that gives your meatloaf an indulgent twist. Each cheese offers its own flair to this classic dish.
-
Herb Infusion: Incorporate fresh herbs like parsley or thyme into the meat mixture for an aromatic lift. The freshness will enhance the overall flavor, making your meatloaf even more delightful.
-
Turkey Option: Use ground turkey instead of beef for a leaner but equally tasty version. It’s a great way to reduce fat while keeping that satisfying cheeseburger flavor.
-
Make-ahead Delight: Prepare the meatloaf in advance and refrigerate it overnight; bake it fresh just before serving for ease on busier nights. For something similar, check out my Mexican Chicken Burrito Bowl for a make-ahead option that’s just as satisfying.
With these variations, you’ll never tire of this classic dish, ensuring every family dinner feels just a bit special!
Make Ahead Options
These Cheeseburger Meatloaf recipes truly shine when prepped in advance! You can assemble the meatloaf mixture and shape it into a loaf up to 24 hours ahead of time; simply cover it tightly with plastic wrap and refrigerate to keep it fresh. To ensure the best quality, avoid adding the glaze until you’re ready to bake. When you’re ready to cook, just remove it from the fridge, brush on the glaze, and top it with bacon and cheese. Increase the cooking time slightly if baking straight from the refrigerator (about 5-10 minutes longer). This way, you’ll have a hearty and delicious meal ready to go on those busy weeknights!
Cheeseburger Meatloaf Recipe FAQs
How do I select the right ripeness of ingredients?
Absolutely! When choosing your ground beef, look for a bright red color with minimal browning—a sign that it’s fresh. For the onions, choose those that are firm and have a dry, papery skin. Dill pickles should be crisp and crunchy without any soft spots. The fresher your ingredients, the tastier your Cheeseburger Meatloaf will be!
What is the best way to store leftover cheeseburger meatloaf?
For sure! Store leftover cheeseburger meatloaf in an airtight container in the fridge for up to 3 days. Cover it well with foil or plastic wrap to retain moisture. You want to keep it as juicy and delicious as when it was first baked!
Can I freeze cheeseburger meatloaf, and how should I do it?
The more the merrier! Yes, you can freeze cheeseburger meatloaf. First, wrap it tightly in plastic wrap, followed by aluminum foil for extra protection. Alternatively, place slices in a freezer-safe bag, removing as much air as possible before sealing. It can be frozen for up to 3 months. When you’re ready to enjoy, thaw it in the fridge overnight and reheat it at 350°F (175°C) for 20-25 minutes. This way, you’ll keep all its flavors intact.
What should I do if my meatloaf is too dry?
Very! If your cheeseburger meatloaf turns out dry, next time, consider adding a little more moisture. A small amount of milk, broth, or even an extra egg can help create a juicier texture. Also, don’t skip the resting time after baking—this is crucial to keep it tender, as it allows the juices to redistribute.
Are there any dietary considerations I should keep in mind?
Great question! If you’re concerned about allergies, be aware that the recipe includes dairy (milk and cheese) and gluten (breadcrumbs). For gluten-free options, simply use gluten-free breadcrumbs, and for a dairy-free version, substitute unsweetened almond or oat milk, and use a dairy-free cheese. If you have pets, ensure that no onion or garlic makes it into their portions, as these can be harmful to them.
Can I make the meatloaf ahead of time?
Absolutely! You can prepare the cheeseburger meatloaf mixture a day in advance. Simply assemble it, cover it tightly, and refrigerate for up to 24 hours before baking. Just remember that it might need a few extra minutes in the oven if it’s cold from the fridge. It’s an easy way to simplify your dinner prep!
Cheeseburger Meatloaf Recipe - Juicy Flavor for Family Fun
Ingredients
Equipment
Method
- In a spacious mixing bowl, combine the ground beef, breadcrumbs, milk, ketchup, finely chopped onion, dill pickles, minced garlic, Worcestershire sauce, salt, and black pepper. Gently mix until just combined and form into a loaf shape.
- Preheat your oven to 375°F (190°C) and bake the meatloaf for 30 minutes until the edges start browning.
- In a small bowl, whisk together ketchup, brown sugar, and mustard until smooth for the glaze. Set aside.
- After 30 minutes of baking, brush the prepared glaze over the top, layer bacon slices, and sprinkle cheddar cheese.
- Return the meatloaf to the oven and bake for an additional 20-25 minutes, until bacon is crispy and cheese is melted.
- Use a meat thermometer to check that the internal temperature has reached 160°F (71°C).
- Allow the meatloaf to rest for about 10 minutes after taking it out of the oven.
- Slice the meatloaf into thick pieces and serve warm with sides like fries or salad.
Leave a Reply