
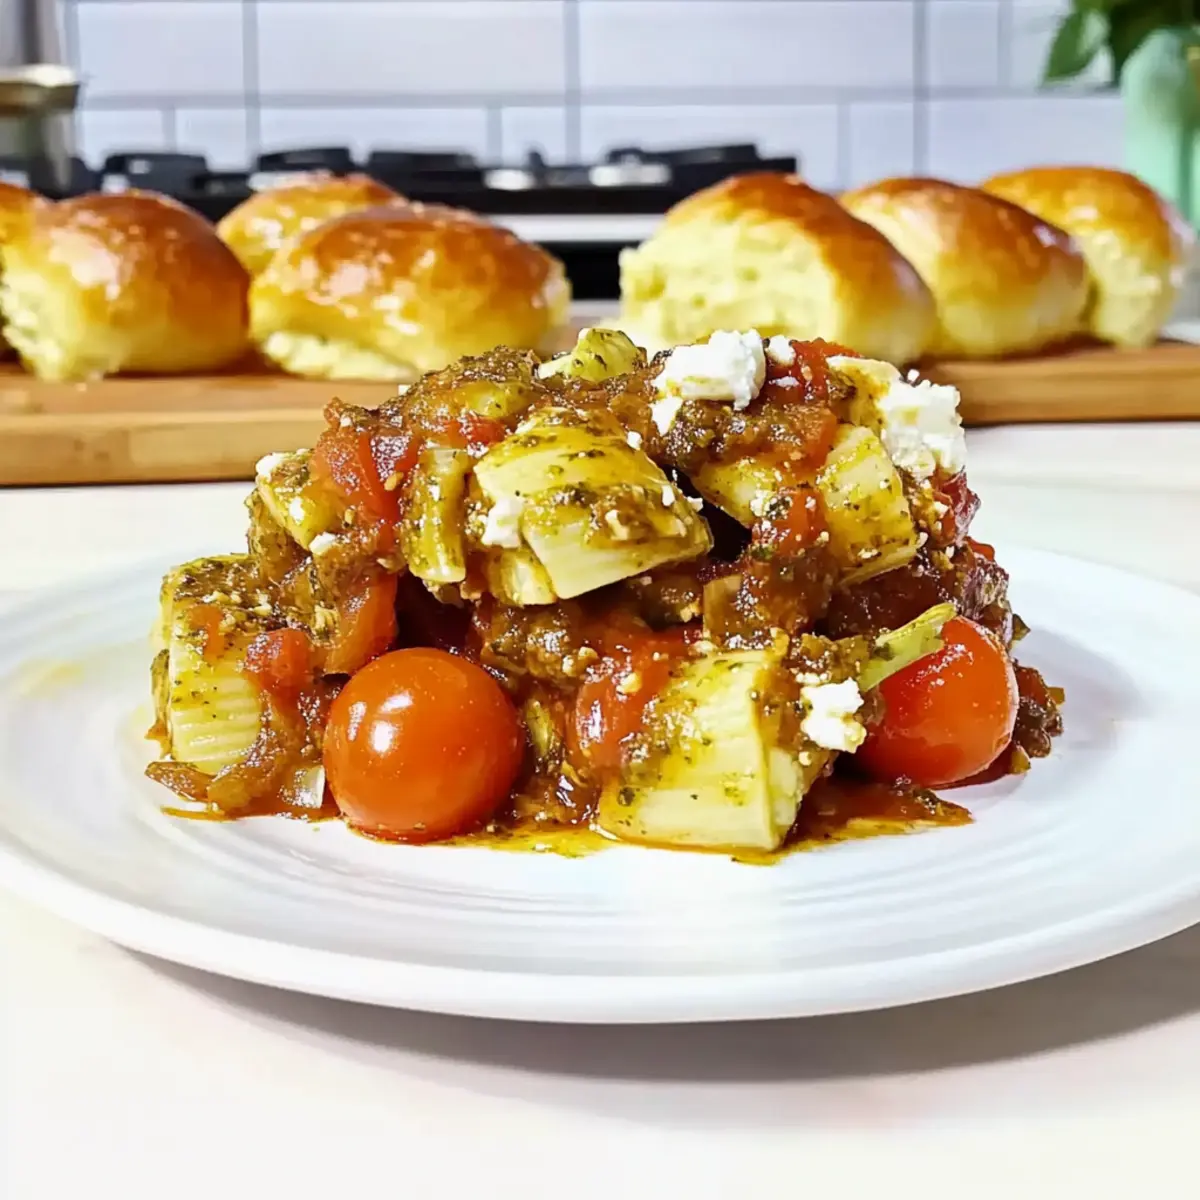
As the days grow longer and the flowers bloom, nothing excites the senses quite like the freshness of spring. I found myself inspired in the kitchen, dreaming up mouthwatering Brisket Sliders that perfectly capture the vibrant spirit of the season. These sliders are light yet satisfying, making them the ideal choice for those warm afternoon gatherings or cozy weeknight dinners. With the subtle smokiness of brisket paired with fresh toppings, they promise to be a crowd-pleaser, leaving everyone craving more. Plus, they’re quick to prepare, so you can spend less time cooking and more time enjoying the sunshine. Ready to elevate your spring table? Let’s dive into these irresistible brisket sliders!
Why Will You Love Brisket Sliders?
Irresistible flavor: The juicy brisket brings a smoky, tender delight to every bite, enhanced by fresh toppings and a light sauce.
Quick preparation: Whip up these sliders in no time, leaving you free to soak in the sun or enjoy leisurely moments with loved ones.
Perfect for gatherings: They’re a guaranteed hit at parties, picnics, or cozy family dinners, transcending seasonal occasions.
Endless customization: Tailor these sliders with your favorite toppings – from zesty pickles to creamy coleslaw, the options are as vibrant as spring itself!
Satisfying and light: Enjoy a fulfilling meal without the heaviness, making these sliders a delightful addition to your spring feasts.
Make-ahead option: Perfect for prepping ahead, so you can serve hot and fresh when it’s time to eat—just heat and enjoy! Try pairing your sliders with a light side salad or a refreshing drink for an extra touch of spring flair.
Brisket Sliders Ingredients
Get ready for a flavor-packed treat!
For the Sliders
- Brisket – This tender cut of meat provides rich flavor and juiciness; leftovers can be perfect for sandwiches.
- Slider Buns – Soft and fluffy, these are essential for holding all the deliciousness together; try whole grain for added texture.
- Cheddar Cheese – Adds a creamy, tangy layer of flavor; feel free to swap for pepper jack for a spicy kick.
For the Toppings
- Pickles – They add a crunchy and tangy bite that perfectly complements the brisket; dill pickles work wonderfully.
- Coleslaw – A fresh, crunchy side that adds a delightful texture; use a light vinaigrette instead of mayo for a healthier option.
- BBQ Sauce – Provides a sweet and smoky glaze, enhancing that delicious brisket flavor; homemade sauce can elevate the dish!
For Serving
- Fresh Herbs – Chopped parsley or cilantro adds a sprinkle of freshness and color; perfect for a touch of spring brightness.
- Greens – Serve with a side of arugula or mixed greens to balance the richness of the sliders; consider a lemon vinaigrette for added zing.
Enjoy these Brisket Sliders as you capture the essence of springtime gatherings!
Step‑by‑Step Instructions for Brisket Sliders
Step 1: Prepare the Brisket
Start by preheating your oven to 300°F (150°C). Rub the brisket with your favorite spices, then place it in a roasting pan. Cover the pan tightly with aluminum foil to trap moisture, and let it cook for about 3 to 4 hours, until the brisket is fork-tender and easily shreds. The aroma of the brisket will fill your kitchen, getting everyone excited for these sliders.
Step 2: Slice the Sliders
Once the brisket has finished cooking, remove it from the oven and let it rest for 30 minutes before slicing. Use a sharp knife to cut the brisket against the grain into thin, juicy slices. This step is crucial for ensuring maximum tenderness in each bite of your brisket sliders, so take your time and enjoy the process.
Step 3: Toast the Buns
While the brisket is resting, prepare your slider buns. Heat a large skillet or griddle over medium heat, and lightly butter each bun’s cut side. Place them, buttered side down, in the skillet for about 2-3 minutes until golden brown and crisp. This extra step adds texture and prevents the slider buns from becoming soggy when assembled.
Step 4: Assemble the Sliders
Take the toasted slider buns and layer a few slices of brisket on the bottom half of each bun. Add a generous dollop of BBQ sauce to elevate the flavor, and then sprinkle a bit of cheddar cheese on top. The heat from the brisket will start to melt the cheese just enough for an irresistible gooey texture in your brisket sliders.
Step 5: Add Toppings
Now it’s time to customize your brisket sliders! Top the brisket with a crunchy scoop of coleslaw and a few pickle slices, adding that extra layer of tang and crunch. Finish with fresh herbs if desired, bringing a vibrant pop of color and flavor. Each slider should look as tempting as it tastes, ready to impress your family or guests.
Step 6: Serve and Enjoy
Place the tops of the slider buns on each assembled slider, securing the delicious fillings within. Arrange the brisket sliders on a platter and serve immediately, paired with a side of mixed greens or a light salad to balance out the richness. These brisket sliders are perfect for sharing, so gather everyone around for a delightful spring feast!
Brisket Sliders Variations & Substitutions
Customize your brisket sliders to make them uniquely yours, bursting with flavors and textures!
-
Gluten-Free: Use gluten-free slider buns to ensure everyone can enjoy these sliders without worry.
-
Saucy Twist: Swap BBQ sauce for a zesty chimichurri to introduce a fresh, herbaceous flavor that dances on your palate.
-
Vegetarian: Replace brisket with black bean or lentil patties for a hearty and nutritious vegetarian option that doesn’t skimp on flavor.
-
Heat Level: Add sliced jalapeños to the toppings for an extra kick that complements the brisket beautifully, igniting your taste buds!
-
Herb Boost: Experiment with different fresh herbs like dill or basil to give your sliders a seasonal twist that invigorates each bite.
-
Cheese Variations: Try blue cheese for a sharp flavor contrast, or switch to pepper jack cheese for a creamy, spicy kick that’ll excite your senses.
-
Crunch Factor: Incorporate crispy fried onions instead of pickles or alongside for an added texture that enhances the overall experience.
-
Digestive Ease: If looking for a lighter option, load your sliders with grilled veggies like bell peppers and zucchini to brighten and lighten your meal.
Feel free to explore these delightful variations to craft the perfect brisket slider for any gathering! If you’re in the mood for a deeper dive into flavors, don’t forget to check out my expert tips to elevate your cooking skills!
How to Store and Freeze Brisket Sliders
Room Temperature: Let cooked brisket sliders cool completely before leaving them out for a short period, ideally no more than 2 hours, to maintain freshness.
Fridge: Store leftover brisket sliders in an airtight container for up to 3 days. To keep them fresh, separate the toppings if possible, especially the coleslaw.
Freezer: For longer storage, freeze the brisket (without the buns and toppings) in a freezer-safe bag for up to 3 months. Thaw in the fridge before reheating.
Reheating: Reheat brisket sliders in a skillet over medium heat or in an oven at 350°F (175°C) for about 10 minutes, or until warmed through, ensuring you savor every juicy bite!
Expert Tips for Brisket Sliders
- Cook Al Dente: When preparing the brisket, make sure to cook until fork-tender but not overcooked, ensuring juicy, flavorful slices.
- Slice with Care: Always slice the brisket against the grain for maximum tenderness in your brisket sliders, making each bite melt in your mouth.
- Toast the Buns: Don’t skip toasting the slider buns; this will keep them crisp and prevent sogginess from the toppings, enhancing your overall slider experience.
- Flavor Layering: Be generous with the BBQ sauce and toppings; the balance of flavors will elevate your brisket sliders and make them a crowd favorite!
- Make-Ahead Tip: For meal prep, you can cook the brisket a day in advance; simply reheat gently before assembling for a quick, satisfying meal.
What to Serve with Brisket Sliders?
Elevate your spring gatherings with delightful sides that enhance the juicy allure of your brisket sliders.
- Crispy Sweet Potato Fries: These are a perfect contrast to the richness of the sliders, offering a sweet and savory balance that everyone will love.
- Zesty Coleslaw: A crunchy, tangy side that elevates your sliders with its bright flavors, ensuring that every bite is refreshing. Try a vinegar-based dressing for a lighter option.
- Fresh Garden Salad: A medley of greens, cherry tomatoes, and cucumbers complemented by a simple lemon vinaigrette can provide a light and crisp accompaniment.
- Grilled Vegetable Skewers: Seasonal veggies like zucchini, bell peppers, and asparagus add a smoky char and a pop of color, enhancing the outdoor feel of spring.
- Lightly Pickled Cucumbers: Their crisp, tangy bite acts as a palate cleanser, accommodating the savory sliders with an exciting crunch.
- Chilled Lemonade or Iced Tea: Keep your drink options light and refreshing; these beverages are ideal for balancing the hearty flavors of the meal. A splash of mint can bring extra freshness.
- Mini Fruit Cups: Offer a sweet contrast, incorporating seasonal fruits like strawberries or watermelon, embracing the joyful hues of spring while being a refreshing treat after savory bites.
Make Ahead Options
These Brisket Sliders are a fantastic choice for meal prep enthusiasts! You can cook the brisket up to 3 days in advance and store it in an airtight container in the refrigerator. When you’re ready to serve, simply reheat the brisket gently on the stove or in the oven to maintain its tenderness. Additionally, prepare the coleslaw and pickles ahead of time, storing them separately in the fridge to keep their crunch. The slider buns can be toasted just before assembly to ensure they stay crispy. By prepping these components ahead of time, you save precious minutes during busy weeknights, allowing you to enjoy a delicious, homemade meal with minimal effort!
Brisket Sliders Recipe FAQs
What type of brisket is best for sliders?
Absolutely! For sliders, a well-marbled brisket flat (the leaner part of the brisket) is ideal. It’s tender and flavorful after cooking, making for juicy slices that complement the other ingredients perfectly.
How should I store leftover brisket sliders?
To enjoy leftovers, store them in an airtight container in the fridge for up to 3 days. If possible, it’s best to separate the toppings like coleslaw to prevent sogginess. When ready to eat, just reassemble and enjoy!
Can I freeze brisket sliders?
Yes, you can! For long-term storage, freeze the cooked brisket (without the buns and toppings) in a freezer-safe bag for up to 3 months. When you’re ready to enjoy them, thaw the brisket overnight in the refrigerator, then reheat gently before assembling.
What are some common mistakes to avoid when making brisket sliders?
One common mistake is overcooking the brisket, which can lead to dryness. Always cook until fork-tender and slice against the grain for the juiciest results. Another tip: don’t skip toasting the buns, as this helps to keep them from becoming soggy from the sauce and toppings!
Are brisket sliders suitable for different diets?
While brisket sliders are meaty delights for carnivores, consider making them vegetarian by using grilled portobello mushrooms as a hearty substitute. As for allergens, always check for gluten in buns and nuts in toppings to cater to everyone at your gathering.
Brisket Sliders: Juicy Bites to Elevate Your Gatherings
Ingredients
Equipment
Method
- Preheat your oven to 300°F (150°C). Rub the brisket with your favorite spices and place it in a roasting pan, tightly covered with aluminum foil. Cook for 3 to 4 hours, until fork-tender.
- Remove the brisket from the oven and let it rest for 30 minutes before slicing against the grain into thin slices.
- Meanwhile, heat a skillet over medium heat and lightly butter the cut sides of the slider buns. Cook them buttered-side down until golden brown and crisp.
- Assemble the sliders by layering brisket slices on the toasted buns, adding BBQ sauce and cheddar cheese.
- Top with coleslaw and pickle slices, and sprinkle fresh herbs if desired. Secure each slider with the top bun.
- Serve immediately on a platter, paired with mixed greens or a light salad.
Leave a Reply