
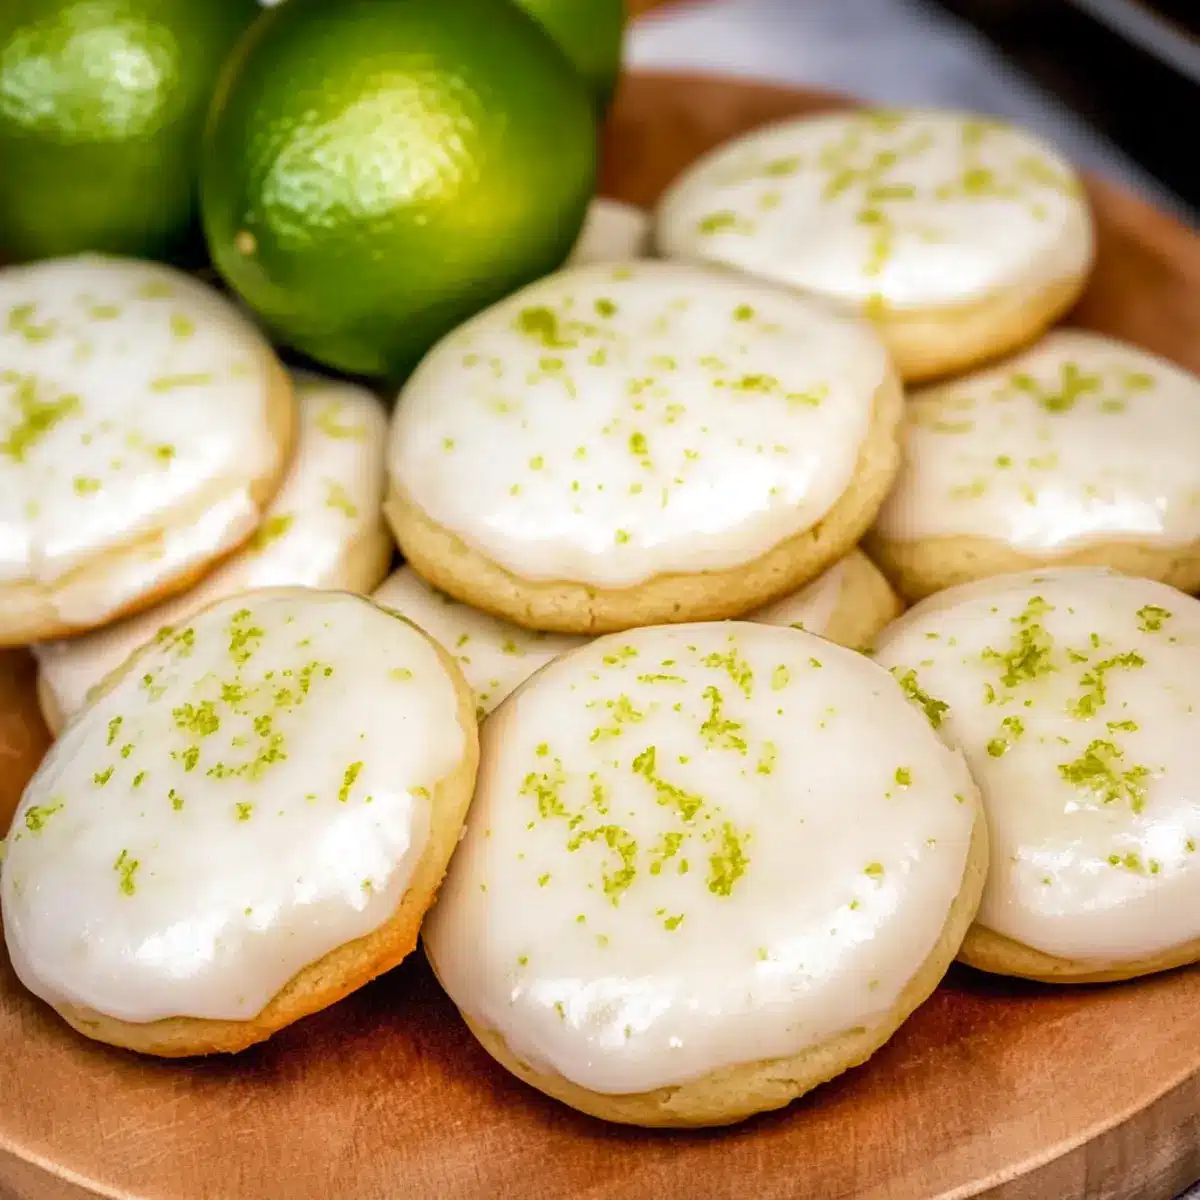
The door swung open, and a wave of citrus aroma flooded the kitchen, instantly brightening my mood. That’s the magic of Key Lime Meltaway Cookies! These little gems are not just cookies; they are unapologetically soft and buttery delights, combining the perfect balance of sweet and tart flavors to lift any gathering. With just a handful of simple ingredients and a quick prep time, this recipe will seamlessly fit into your baking routine. Whether you’re planning a summer picnic or a cozy family dessert, these meltaway cookies are guaranteed to impress your loved ones. Are you ready to bake up some sunshine? Let’s dive into this refreshing recipe!
Why Make Key Lime Meltaway Cookies?
Unmatched Freshness: These cookies are infused with zesty key lime, giving them a bright burst of flavor that’s simply irresistible.
Effortless Preparation: With just a few straightforward steps, even novice bakers can whip up this delightful treat—perfect for those who want a quick yet impressive dessert!
Versatile Treat: Whether it’s a summer barbecue or a cozy evening snack, these cookies fit any occasion seamlessly, similar to the delightful Pumpkin Maple Cookies.
Melt-in-Your-Mouth Texture: Each bite offers a soft, crumbly experience that feels luxurious on the palate, catering to every cookie lover’s desire!
Customizable Delight: Feeling adventurous? Add white chocolate chips or shredded coconut for a tropical twist, or explore the charm of Chocolate Oat Cookies for more variations.
Get ready for compliments when you serve these at your next gathering!
Key Lime Meltaway Cookies Ingredients
Whether you’re a seasoned baker or just starting, gathering the right ingredients is the first step to creating these delightful Key Lime Meltaway Cookies.
For the Cookie Dough
- Unsalted Butter – Provides rich flavor and tenderness; if using salted butter, reduce added salt by half.
- Sugar – A mix of white granulated and brown sugars offers balanced sweetness; you can swap brown sugar with more granulated sugar if desired.
- Egg – Adds moisture and acts as a binding agent; ensure eggs are at room temperature for optimal mixing.
- Lime Zest (Key Limes) – Delivers essential lime flavor; regular limes can work, but they’ll change the flavor profile, so leave bottled juice behind.
- All-Purpose Flour – The main structure component; remember to spoon and level to avoid dense cookies.
- Baking Powder – This leavening agent ensures a fluffy texture; check that it’s fresh—ideally less than six months old.
- Kosher Salt – Balances sweetness and enhances flavors; if using salted butter, cut the additional salt by half.
For the Glaze
- Powdered Sugar – Adds sweetness and creates a smooth texture for the glaze.
- Lime Juice – Imparts tanginess; fresh lime juice greatly enhances flavor.
- Heavy Cream – Contributes richness to the glaze; you can substitute with milk for a lighter option.
- Rum – For an extra layer of flavor in the glaze; this is optional and can be omitted if preferred.
Now that you have all the ingredients for these Key Lime Meltaway Cookies, you’re well on your way to impressing everyone with this delightful treat!
Step‑by‑Step Instructions for Key Lime Meltaway Cookies
Step 1: Preheat the Oven
Begin by preheating your oven to 350°F (175°C). While it’s heating, line two baking sheets with parchment paper to prevent the cookies from sticking. This initial step sets the stage for baking your Key Lime Meltaway Cookies to perfection, ensuring they turn out soft and delightful.
Step 2: Cream Butter and Sugar
In a large mixing bowl, cream together 1 cup of softened unsalted butter with ½ cup of white granulated sugar and ½ cup of brown sugar. Use an electric mixer on medium speed until the mixture is light and fluffy, usually about 2–3 minutes. This process incorporates air, making your cookies tender and deliciously meltable.
Step 3: Add Egg and Lime Zest
Once your butter and sugars are creamy, beat in one room-temperature egg until fully incorporated. Next, add the zest of two key limes, mixing until the mixture is well combined. The key lime zest will infuse your cookies with vibrant citrus flavor, enhancing the overall taste of your meltaway cookies.
Step 4: Combine Dry Ingredients
In a separate bowl, whisk together 2 cups of all-purpose flour, 1 teaspoon of baking powder, and ½ teaspoon of kosher salt. Gradually add this dry mixture to the wet ingredients, stirring gently until just combined. Be careful not to overmix, as this can lead to denser cookies; you want a soft and crumbly texture for your Key Lime Meltaway Cookies.
Step 5: Shape the Cookies
Using a small scoop or tablespoon, portion the cookie dough into balls and flatten them slightly with your hands. Place the dough balls about 2 inches apart on the prepared baking sheets, allowing room for spreading. This step ensures even baking and gives your cookies that distinct meltaway shape everyone loves.
Step 6: Bake the Cookies
Next, place the cookie sheets in the preheated oven and bake for 8-10 minutes. Keep an eye on them; your Key Lime Meltaway Cookies are done when the bottoms are lightly browned, while the tops remain pale. Once complete, remove them from the oven and let them cool on the baking sheets for 2 minutes.
Step 7: Prepare the Glaze
While the cookies cool, whisk together 1 cup of powdered sugar with 2 tablespoons of fresh lime juice, 2 tablespoons of heavy cream, and 1 tablespoon of optional rum in a medium bowl. Mix until the glaze is smooth and glossy, ensuring a delightful tangy sweetness for your cookies.
Step 8: Glaze the Cookies
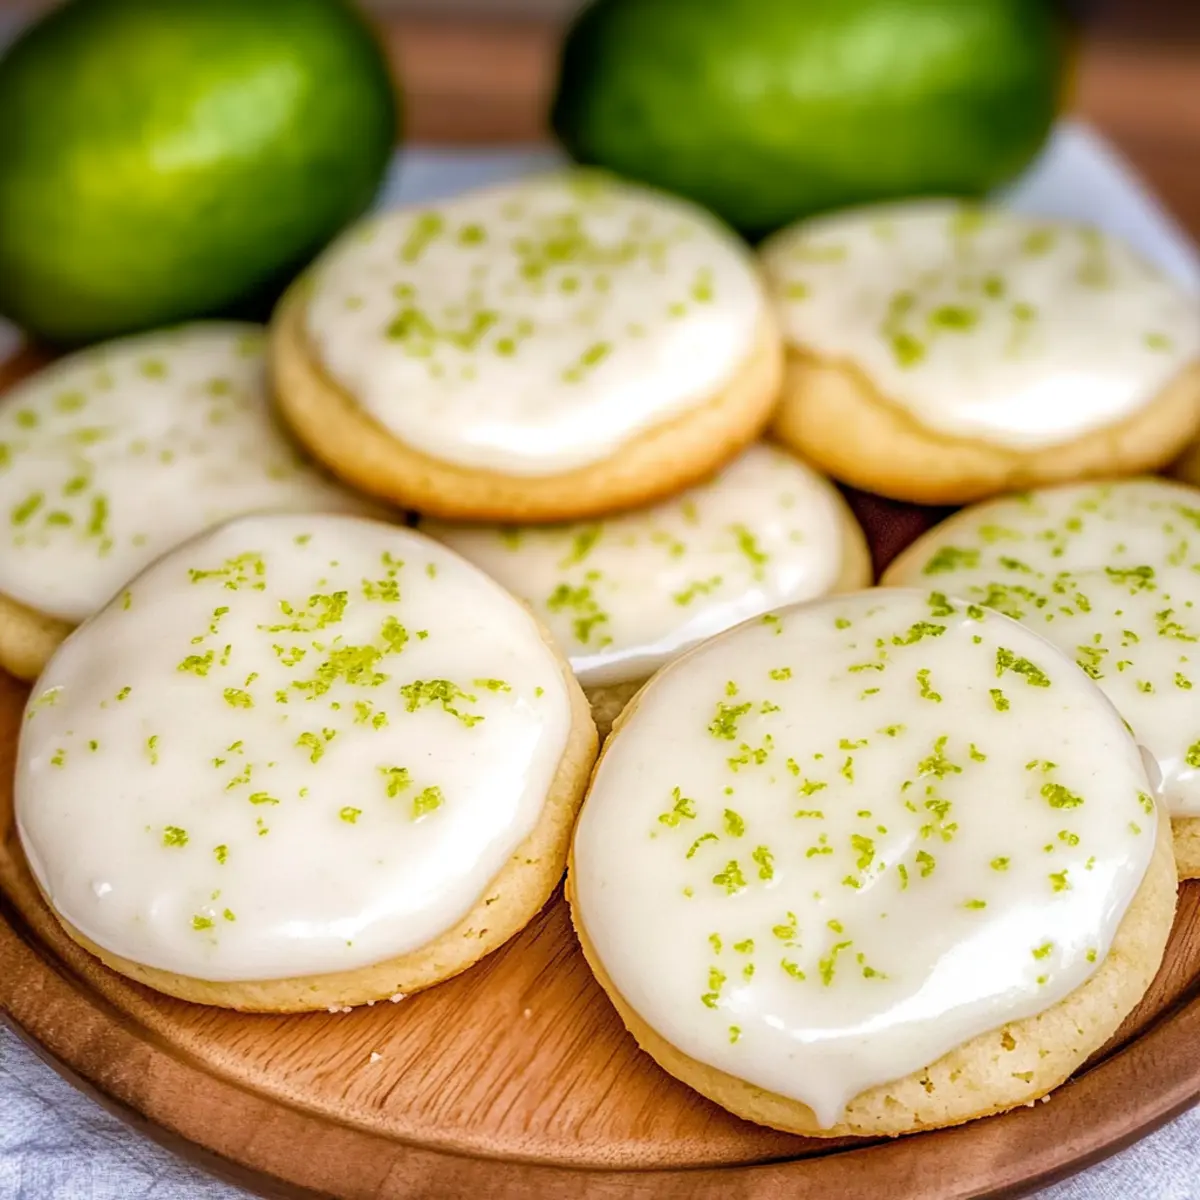
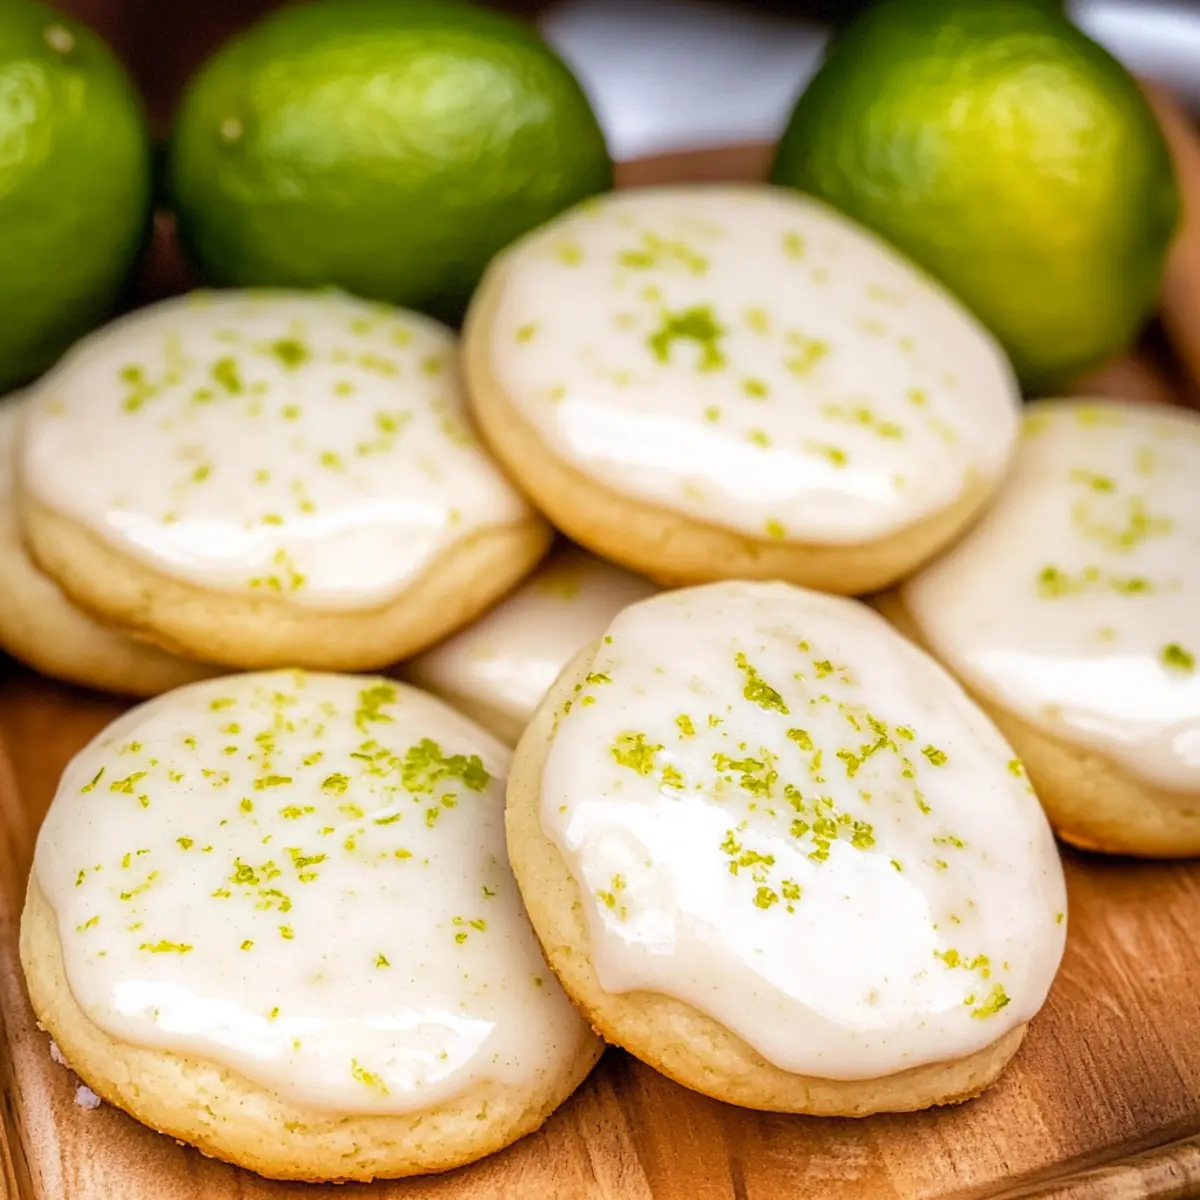
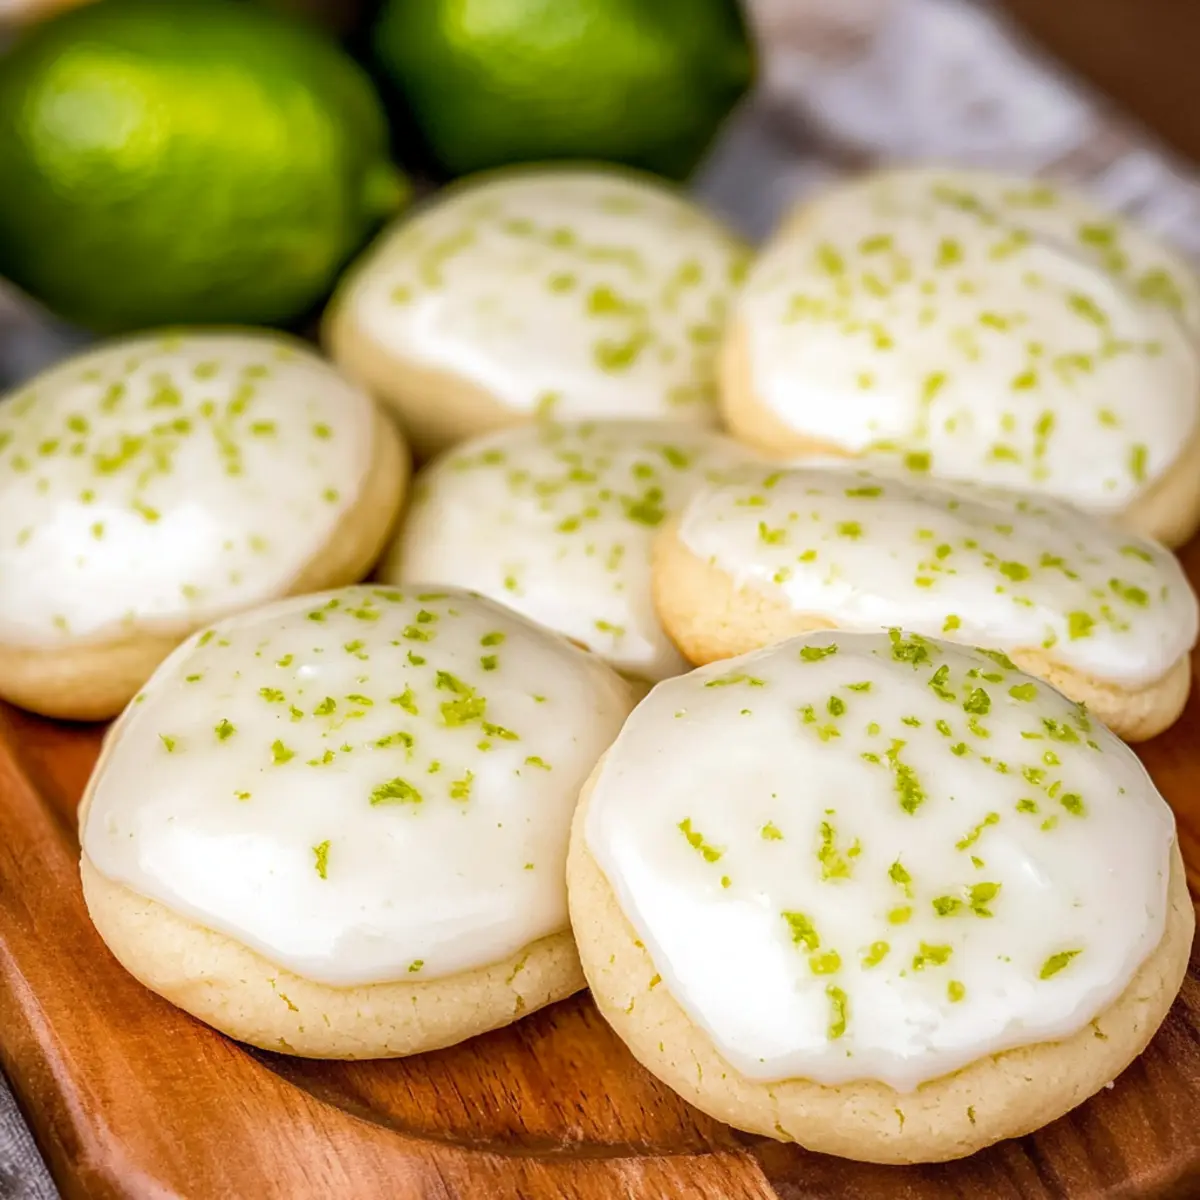
Once the cookies have cooled completely, dip the tops into the glaze, allowing any excess to drip off before placing them back on the wire rack. This adds a luscious finish to your meltaway cookies. For an extra burst of flavor, zest additional key lime over the glazed cookies while the glaze is still wet.
Step 9: Allow to Set
Let the glaze set for about 15-20 minutes before serving. This step allows the glaze to firm up, creating a beautiful presentation and a delightful balance between the sweet and tangy flavors of your Key Lime Meltaway Cookies.
How to Store and Freeze Key Lime Meltaway Cookies
Room Temperature: Store cookies in an airtight container at room temperature for up to 1 week to maintain their soft texture.
Fridge: For longer freshness, refrigerate the cookies in an airtight container for up to 2 weeks. This can enhance their flavor as they age slightly.
Freezer: Freeze the Key Lime Meltaway Cookies for up to 3 months. Place them in a single layer on a baking sheet, freeze until solid, then transfer to a freezer-safe bag or container.
Reheating: To enjoy cookies after freezing, thaw them at room temperature or microwave for a few seconds until soft. Enjoy the delightful texture all over again!
Key Lime Meltaway Cookies Variations
Ready to put your own spin on these delightful cookies? Let your creativity shine with these fun variations!
- Coconut Twist: Add ½ cup of shredded coconut to the dough for a tropical flair. The coconut pairs beautifully with the lime, enhancing that sunny vibe.
- Chocolate Chip Delight: Mix in ½ cup of white chocolate chips for a sweet contrast to the tart lime flavor. Each bite will be a delicious surprise!
- Lemon Zest Swap: Substitute lime zest with lemon zest for a fresh citrus twist. This change offers a new flavor profile that’s equally as delightful.
- Nutty Texture: Incorporate ¼ cup of chopped macadamia nuts for added crunch and flavor. The nuts provide a lovely texture that complements the soft cookies perfectly.
- Spicy Kick: Add a pinch of cayenne pepper or ground ginger to the dough for a subtle heat. This unexpected addition elevates the flavor profile, making it extra interesting.
- Vanilla Essence: Incorporate 1 teaspoon of vanilla extract into the dough for added depth. A dash of vanilla harmonizes beautifully with the citrus notes.
- Almond Glaze: Replace heavy cream in the glaze with almond milk for a nutty flavor twist. This change gives the glaze a unique creaminess that’s simply divine.
- Fruit Infusion: Top the glazed cookies with fresh lime slices or candied ginger for an extra pop of flavor and color. Fresh garnishes not only enhance taste but also make for a stunning presentation.
For even more delicious ideas, consider making some Peanut Butter Cookies or indulge in irresistible Chocolate Oat Cookies. Dive into these variations or explore your creativity further—these Key Lime Meltaway Cookies are just the beginning of your baking adventure!
Make Ahead Options
These Key Lime Meltaway Cookies are perfect for busy home cooks who love to meal prep! You can prepare the cookie dough up to 24 hours in advance; simply wrap it tightly in plastic wrap and refrigerate. For even longer storage, the dough can be frozen for up to 3 months—just thaw it overnight in the fridge before baking. When you’re ready to bake, scoop and shape the cookies directly from the chilled or thawed dough, and pop them in the oven. This method maintains the delightful texture and flavor of your cookies, ensuring they are just as delicious when baked fresh. Enjoy these scrumptious treats without the last-minute stress!
Expert Tips for Key Lime Meltaway Cookies
• Softened Butter: Ensure your butter is at room temperature for easy mixing. Cold butter can lead to a denser cookie texture.
• Gentle Mixing: Mix the dough just until combined to avoid activating gluten, which can make the cookies tough instead of tender.
• Correct Dough Size: Use a small scoop for uniform cookies. This helps them bake evenly and allows for that delightful melt-in-your-mouth experience.
• Cool Before Glazing: Allow cookies to cool completely before glazing; this prevents the glaze from melting and ensures a beautiful, glossy finish.
• Fresh Ingredients: Use fresh lime juice and zest for the best flavor. Avoid bottled juice as it can diminish the bright taste of your Key Lime Meltaway Cookies.
What to Serve with Key Lime Meltaway Cookies
Creating a delightful dessert spread can elevate your Key Lime Meltaway Cookies from tasty to unforgettable.
- Refreshing Iced Tea: The vibrant flavors of key lime pair beautifully with a chilled glass of sweet iced tea, making each bite more enjoyable.
- Fresh Fruit Salad: A medley of seasonal fruits adds a burst of freshness and complements the zesty cookies, creating a colorful and healthy side.
- Chocolate Drizzle Cake: The rich, chocolatey goodness offers a decadent contrast to the tartness of the cookies, satisfying diverse palates at your gathering.
- Coconut Macaroons: These chewy, coconut-filled treats enhance the tropical vibe of the cookies, harmonizing with their delightful citrus notes.
- Minty Mojito: For a refreshing drink option, a mint mojito’s crisp fizz beautifully pairs with the soft texture and citrusy flavor in your cookies.
- Lemon Sorbet: This light and tangy dessert cleanses the palate, making it an ideal palate refresher after indulging in sweet key lime goodness.
- Whipped Cream Topping: A dollop of whipped cream adds a creamy texture that complements the cookies’ softness—perfect for serving alongside coffee!
- Almond Biscotti: The crunchy texture of biscotti provides a delightful contrast, and their nutty flavor pairs well with the citrus notes of lime.
- Coconut Milkshake: This creamy treat combines rich coconut flavor with a hint of lime, creating a tropical escape with every sip.
- Mini Key Lime Pies: Keep the theme going with mini key lime pies that mirror the flavors of your cookies, offering fun individuality in each bite!
Key Lime Meltaway Cookies Recipe FAQs
What type of limes should I use for the best flavor?
Absolutely use key limes for their zesty and slightly different flavor compared to regular limes. If you can’t find them, regular limes will work, but the taste will not be as vibrant. Always opt for fresh limes rather than bottled juice for the most authentic flavor.
How should I store the Key Lime Meltaway Cookies?
I recommend storing your cookies in an airtight container at room temperature for up to 1 week to keep them soft and fresh. If you’d like to store them longer, refrigerating them in an airtight container can extend their freshness to about 2 weeks.
Can I freeze Key Lime Meltaway Cookies?
Yes! Freezing these cookies is a great option if you want to save some for later. After they’ve cooled completely, place them in a single layer on a baking sheet and freeze until solid. Then, transfer them to a freezer-safe bag or container for up to 3 months. This prevents them from sticking together, so you can enjoy them whenever you like!
What should I do if my cookies turn out too dense?
Very often, dense cookies result from overmixing the dough. Be gentle when combining your ingredients; mix just until everything is combined for that melt-in-your-mouth texture. Also, ensure you’re accurately measuring the flour—too much flour can lead to a heavier cookie. Spoon and level the flour instead of scooping directly from the bag for the best results!
How do I make these cookies suitable for someone with allergies?
If you’re baking for someone with allergies, consider substituting the egg with a flax egg (1 tablespoon ground flaxseed mixed with 2.5 tablespoons of water) for a vegan option. Additionally, ensure your baking ingredients are free from any allergenic substances, like gluten, if necessary. Always double-check labels to be safe!
Delight in Key Lime Meltaway Cookies That Melt in Your Mouth
Ingredients
Equipment
Method
- Preheat your oven to 350°F (175°C) and line two baking sheets with parchment paper.
- Cream together 1 cup of unsalted butter, ½ cup of white sugar, and ½ cup of brown sugar until light and fluffy.
- Add 1 egg and the zest of 2 key limes, mixing until well combined.
- Whisk together 2 cups of all-purpose flour, 1 teaspoon of baking powder, and ½ teaspoon of kosher salt in a separate bowl.
- Gradually add the dry mixture to the wet ingredients, stirring gently until just combined.
- Shape the cookie dough into balls and flatten them slightly on the baking sheets.
- Bake for 8-10 minutes until bottoms are lightly browned. Let cool for 2 minutes.
- Whisk together 1 cup of powdered sugar, 2 tablespoons of lime juice, 2 tablespoons of heavy cream, and optional rum for the glaze.
- Once cooled, dip the tops of cookies into the glaze and let excess drip off.
- Allow the glaze to set for about 15-20 minutes before serving.
Leave a Reply