
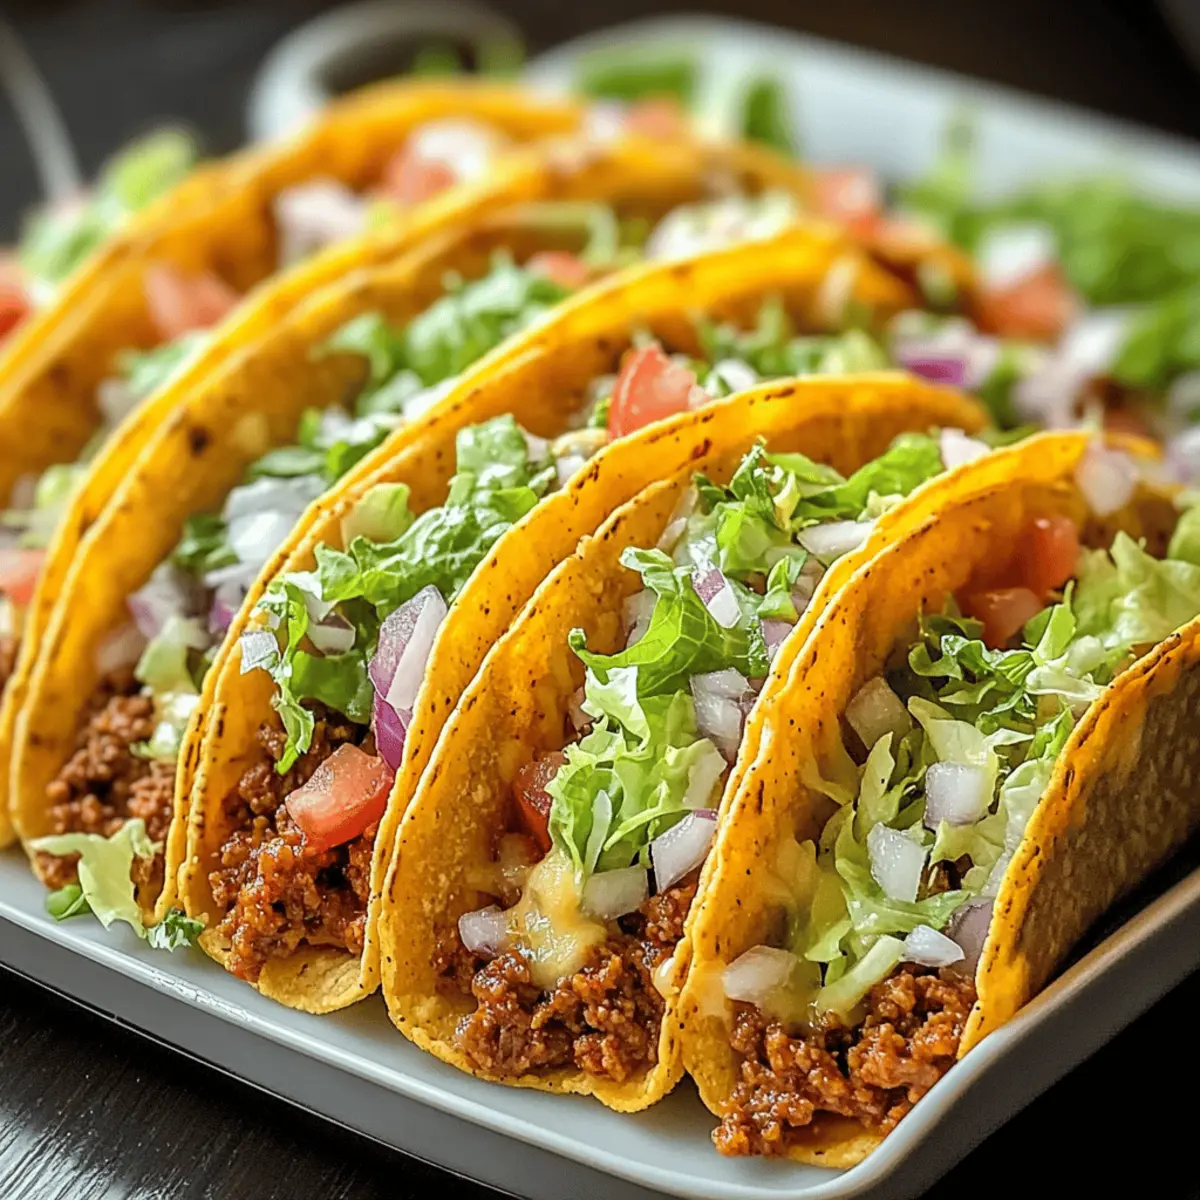
Crispy, cheesy, and utterly satisfying, my Oven-Baked Cheesy Tacos (Crispy & Loaded) have become a staple in my kitchen. On busy weeknights, when I crave a comforting meal without a hassle, these tacos come to the rescue in just 35 minutes. The beauty of this recipe lies in its versatility; whether you’re a meat lover or looking for a vegetarian twist, you can customize each taco with your favorite toppings. Plus, they’re an absolute crowd-pleaser, making them perfect for casual gatherings or cozy family dinners. Imagine the joy on your loved ones’ faces as they dig into these crunchy delights. Ready to take your taco game to the next level? Let’s dive in!
Why are these tacos a game-changer?
Crisp Perfection: These Oven-Baked Cheesy Tacos boast a golden, crispy shell that locks in all the flavorful goodness.
Quick & Easy: Ready in just 35 minutes, they’re perfect for busy weeknights or last-minute crowd gatherings.
Customizable Delight: With a variety of toppings to choose from, you can transform each taco to suit any taste, just like my Ooey Gooey Cheesy or Cheesy Chicken Garlic recipes.
Healthy Options: Substitute ground beef for black beans or lentils to create a satisfying vegetarian version without losing flavor.
Family Favorite: These tacos are not just a meal; they’re a fun experience that everyone will get excited about!
Oven-Baked Cheesy Tacos Ingredients
Transform your dinner plans with these Oven-Baked Cheesy Tacos!
For the Filling
- Ground Beef – Main protein source; feel free to substitute with ground turkey or chicken for a leaner option.
- Taco Seasoning – Essential for flavor; consider using homemade seasoning for a personalized spice blend.
- Tomato Sauce – Adds moisture and tang; for a zestier taste, try swapping with your favorite salsa.
- Olive Oil – Ideal for sautéing the veggies; any neutral oil works well here.
- Onion – Adds depth; shallots can be used for a milder flavor.
- Garlic – Enhances taste; fresh garlic is always a winner, but minced will do.
For the Crunchy Shells
- Taco Shells – Choose between corn or flour to hold the filling; both deliver a satisfying crunch!
For the Cheesy Goodness
- Shredded Cheese – Key for that melty goodness; try a blend of cheeses for an extra burst of flavor.
For Toppings
- Fresh Ingredients (Lettuce, Tomatoes, Onions, Cilantro) – Elevate the flavor and presentation; customize according to your preference for a delightful finish.
Step‑by‑Step Instructions for Oven-Baked Cheesy Tacos
Step 1: Preheat the Oven
Begin by preheating your oven to 375°F (190°C). This crucial step ensures that your Oven-Baked Cheesy Tacos will achieve that perfect, crispy shell. While the oven warms up, gather your ingredients to streamline the cooking process and prepare for a delightful cooking experience.
Step 2: Sauté Vegetables
In a large skillet, heat 1 tablespoon of olive oil over medium heat. Once the oil is shimmering, add finely chopped onion and minced garlic, sautéing for 2–3 minutes until fragrant and translucent. This will provide a flavorful base for your meat mixture and make your kitchen smell wonderful as you prepare this scrumptious recipe.
Step 3: Cook the Meat
Add 1 pound of ground beef to the skillet, cooking it thoroughly while breaking it apart with a spatula. Cook for about 5–7 minutes or until the meat is browned and fully cooked. Stir in taco seasoning and tomato sauce, seasoning with salt and pepper, then let it simmer for an additional 5 minutes. This rich, flavorful filling is what makes these tacos so irresistible!
Step 4: Fill the Taco Shells
Take warmed taco shells and generously fill each one with the savory meat mixture. Use a spoon to ensure each shell has enough filling, leaving a little room at the top for your shredded cheese. This step is key to constructing your Oven-Baked Cheesy Tacos for satisfaction in every bite, so don’t be shy with that delicious meat!
Step 5: Add Cheese and Bake
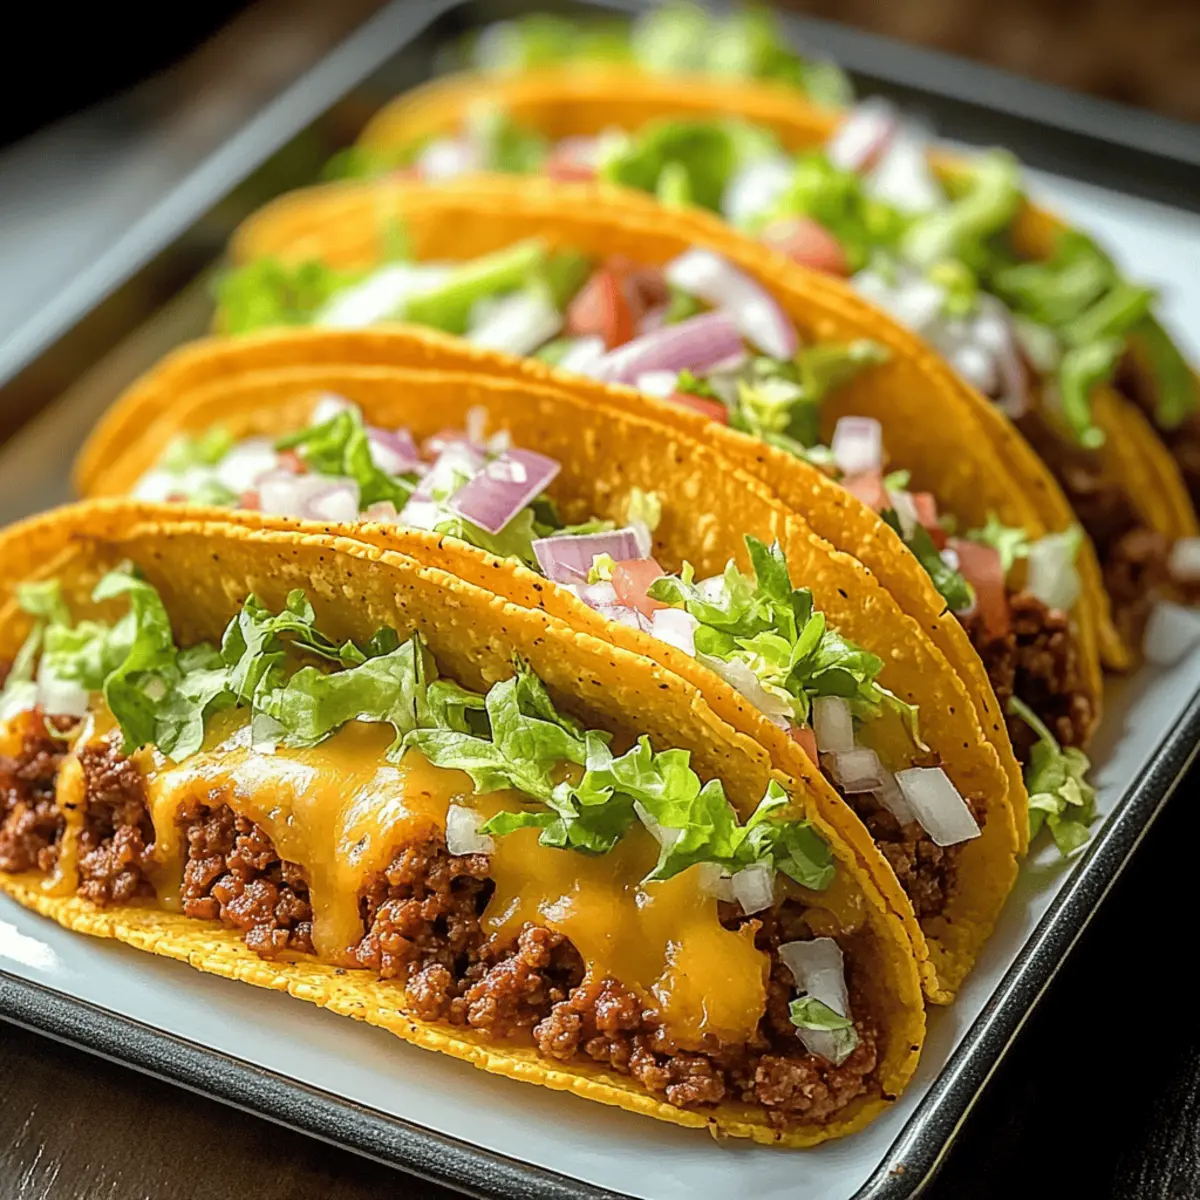
Once the taco shells are filled, top each one with a generous amount of shredded cheese. Place the filled taco shells neatly in a greased baking dish to avoid sticking. Bake them in the preheated oven for 10–15 minutes, or until the cheese is melted and bubbly, and the shells turn a beautiful golden color, creating that delightful crunch.
Step 6: Add Fresh Toppings
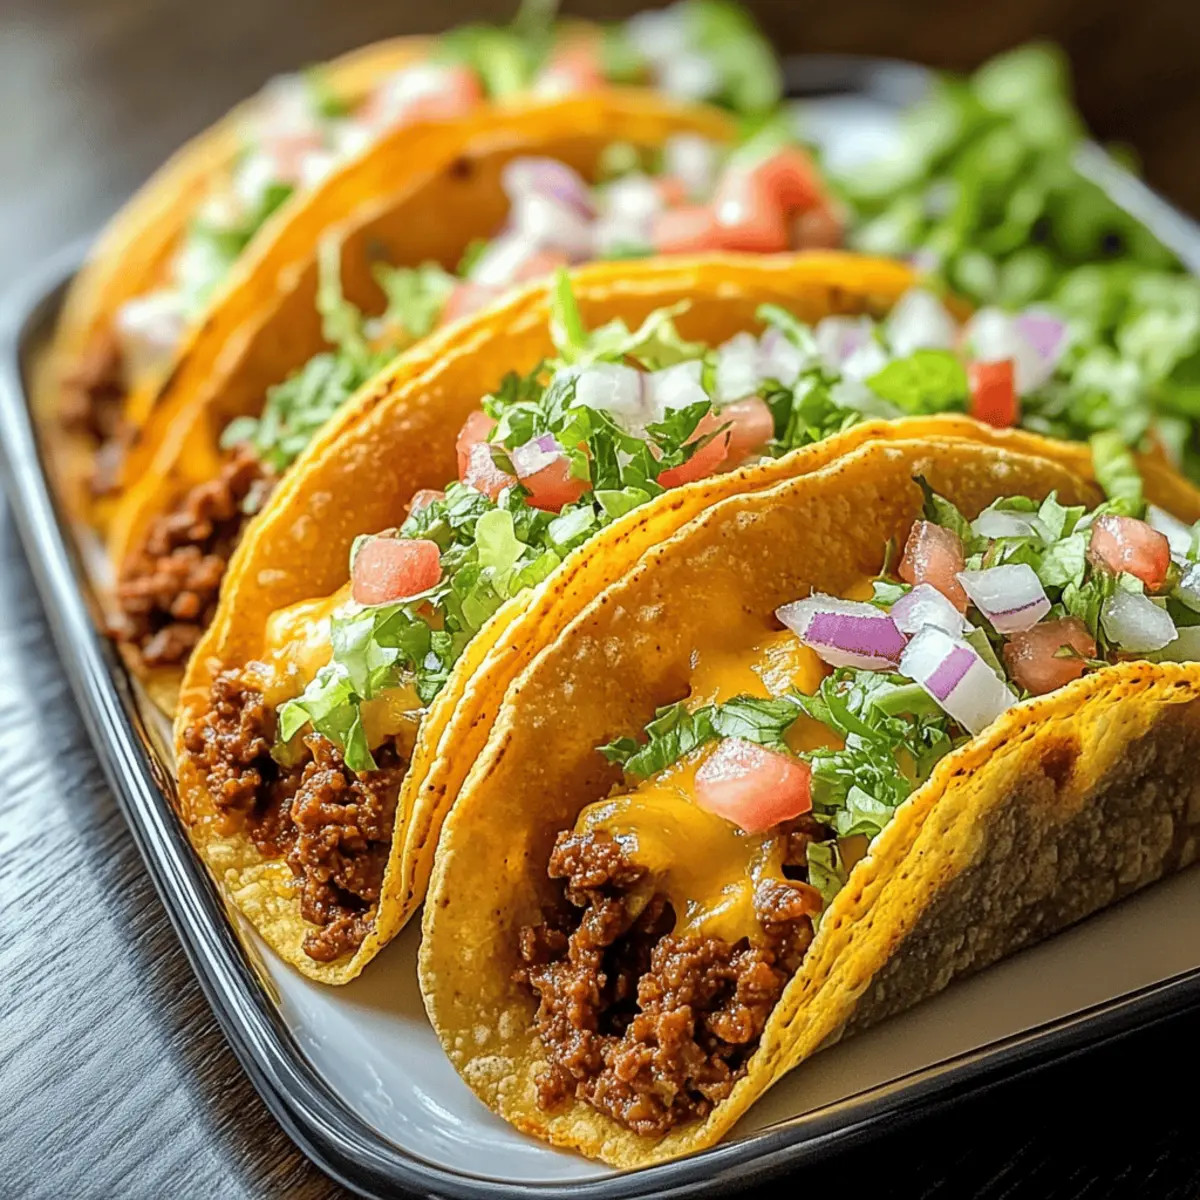
Carefully remove the cheesy tacos from the oven, allowing them to cool for a couple of minutes. Now it’s time to enhance your Oven-Baked Cheesy Tacos with fresh ingredients! Top them with crisp lettuce, diced tomatoes, onions, and cilantro for vibrant flavor and eye-catching presentation. Customize with your favorite condiments to truly make it your own!
What to Serve with Oven-Baked Cheesy Tacos
There’s nothing quite like building a mouthwatering meal around your favorite crispy tacos to create a culinary adventure.
-
Mexican Rice: Fluffy and seasoned, this side adds a delightful contrast, soaking up any extra flavors from your tacos.
-
Guacamole: Creamy avocado blends beautifully with the crunchy texture, enhancing each bite with rich taste and freshness.
-
Fresh Salsa: Bright and zesty, a homemade salsa bursts with flavor, complementing the cheesy filling’s savory notes perfectly.
-
Corn on the Cob: Sweet, buttery corn adds a delightful crunch and sweetness that balances the spice of the tacos.
-
Jicama Salad: Crisp jicama paired with lime and chili creates a refreshing contrast, enhancing your taco experience with some crunch and zing.
-
Chips and Cheese Dip: A warm, cheesy dip alongside tortilla chips elevates the fun factor, making it a perfect starter or side for gatherings.
-
Pico de Gallo: Fresh tomatoes, onions, and cilantro provide a bright flavor that cuts through the richness of melted cheese.
-
Limeade or Margarita: A glass of chilled limeade or a classic margarita brings a refreshing kick that beautifully pairs with the spices of your meal.
How to Store and Freeze Oven-Baked Cheesy Tacos
- Room Temperature: Enjoy your Oven-Baked Cheesy Tacos warm and fresh! If left out, they should not be unrefrigerated for more than 2 hours to ensure safety.
- Fridge: Store leftovers in an airtight container for up to 3-4 days. Reheat them in the oven to retain that delicious crunch.
- Freezer: For longer storage, freeze assembled but unbaked tacos in a single layer, covered well, for up to 2 months. Bake from frozen, adding a few extra minutes to the cooking time.
- Reheating: The best way to reheat is in the oven at 350°F (175°C) for about 10-15 minutes until heated through and crispy. Enjoy your tasty tacos once again!
Oven-Baked Cheesy Tacos Variations
Feel free to customize your Oven-Baked Cheesy Tacos with these delightful twists and alternatives that will excite your taste buds!
- Vegetarian Option: Swap ground beef for black beans or lentils for a hearty, meatless delight. The rich flavors will still shine through, making for a satisfying meal that everyone will love.
- Cheese Blend: Experiment with unique cheese combinations such as pepper jack for a kick or feta for a tangy twist. Mixing cheeses can elevate your taco experience to new flavor heights.
- Spicy Kick: Add diced jalapeños or a sprinkle of cayenne pepper to the meat mixture for a fiery kick. If you enjoy heat, this is a surefire way to awaken every bite!
- Zesty Salsa: Instead of tomato sauce, try using salsa for a zesty and bold flavor. The fresh ingredients in salsa can add a wonderful layer of complexity to your filling.
- Crunchy Toppings: Don’t stop at lettuce and tomatoes; consider adding crunchy toppings like crumbled tortilla chips or corn for added texture and an extra crunch in every bite.
- Guacamole Goodness: A dollop of guacamole on top will add creaminess and a rich flavor that perfectly complements the cheesiness of your tacos.
- Southwestern Flair: Incorporate corn, black olives, or avocado slices for a Southwestern twist that brings colors and flavors of the sun right to your plate! This style is reminiscent of dishes like my Cheesy Cajun Garlic that embrace a fusion of tastes.
- Herb Infusion: Sprinkle fresh cilantro or green onions over your tacos right before serving for a burst of freshness. This simple addition will elevate the overall taste experience, making each bite more vibrant.
Make Ahead Options
These Oven-Baked Cheesy Tacos are perfect for busy cooks looking to save time during the week! You can prepare the filling (ground beef mixture) up to 3 days in advance and store it in an airtight container in the refrigerator. Additionally, you can assemble the tacos by filling the shells and topping them with cheese up to 24 hours before baking; just cover the baking dish tightly to prevent the shells from getting soggy. When you’re ready to serve, simply bake the assembled tacos at 375°F (190°C) for 10–15 minutes until the cheese is bubbly and the shells are crispy. Enjoy the convenience of a comforting meal that’s just as delicious with minimal effort!
Expert Tips for Oven-Baked Cheesy Tacos
-
Preheat Fully: Always preheat your oven to ensure that your tacos not only cook evenly but also achieve that perfect crispy shell.
-
Pack Generously: Fill the taco shells generously to avoid any empty pockets, ensuring every bite is loaded with flavor—a key aspect when making Oven-Baked Cheesy Tacos.
-
Don’t Overcrowd: Arrange the filled taco shells in a single layer within the baking dish. Overcrowding can lead to less crispy shells, so give them some room to achieve that golden perfection.
-
Mix Seasonings: Consider blending store-bought taco seasoning with your own herbs and spices for a unique twist. This can elevate the flavor profile of your Oven-Baked Cheesy Tacos!
-
Cool Before Serving: Allow the tacos to cool for a couple of minutes after baking. This will help the cheese set slightly, making them easier to enjoy without spilling all that delicious filling.
Oven-Baked Cheesy Tacos Recipe FAQs
How do I choose the best ground beef for my tacos?
Absolutely! When selecting ground beef, look for a lean variety, such as 85% lean or higher, to avoid excess grease in your tacos. The meat should be bright red with little to no dark spots, which can indicate older meat. Freshness is key for maximizing flavor and texture!
What’s the best way to store leftover cheesy tacos?
For sure! Store your leftover Oven-Baked Cheesy Tacos in an airtight container in the fridge for up to 3-4 days. Make sure they cool to room temperature before sealing them up to avoid moisture buildup, which can affect texture. To reheat, pop them back in the oven to keep that delicious crunch!
Can I freeze assembled tacos, and how do I do it?
Yes, you can! To freeze assembled but unbaked Oven-Baked Cheesy Tacos, arrange them in a single layer on a lined baking sheet. Cover them well with plastic wrap or foil and freeze for up to 2 months. When you’re ready to enjoy them, bake directly from frozen, adding about 5 extra minutes to the cooking time for perfect results.
What do I do if the taco shells are getting soggy?
Uh-oh! If your taco shells are turning soggy, you can combat this by lightly toasting them in the oven before filling, which helps create a barrier. Make sure to fill them generously but leave a little space at the top to prevent overflow during baking. And remember to not overcrowd them in the baking dish, as proper airflow is essential for crispy shells.
Are these tacos suitable for a gluten-free diet?
Very much so! To make Oven-Baked Cheesy Tacos gluten-free, simply choose corn taco shells, as they’re typically gluten-free. Always check the labels to confirm. Additionally, if using store-bought taco seasoning, look for gluten-free options or create your own seasoning blend at home!
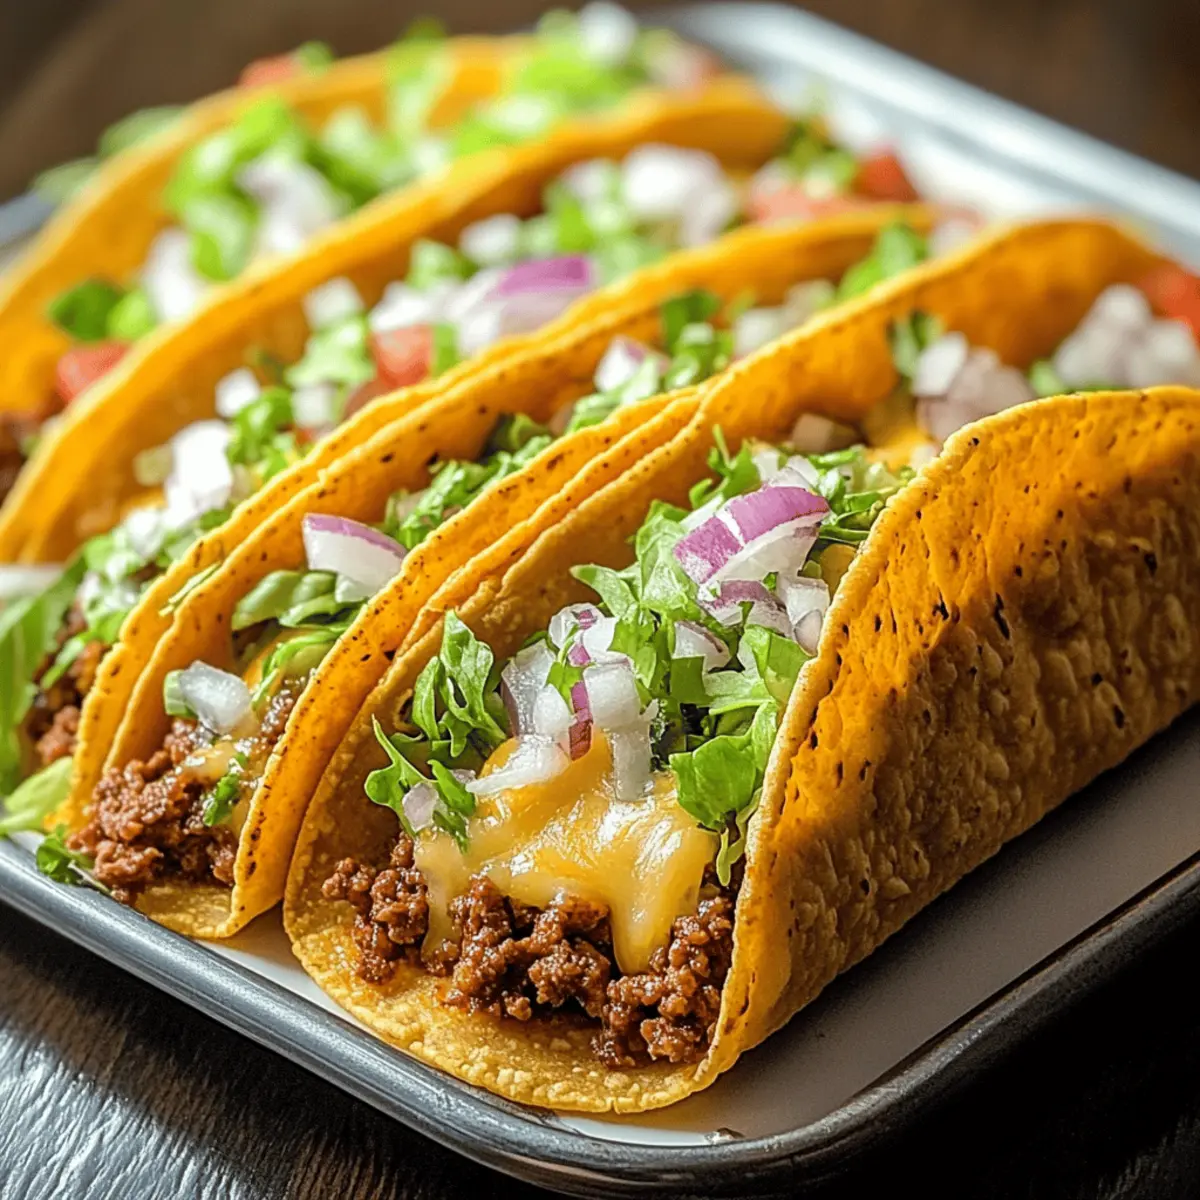
Crispy Oven-Baked Cheesy Tacos That Wow in Every Bite
Ingredients
Equipment
Method
- Preheat your oven to 375°F (190°C). Gather your ingredients to prepare for a delightful cooking experience.
- In a large skillet, heat 1 tablespoon of olive oil over medium heat. Add chopped onion and minced garlic, sauté for 2–3 minutes until fragrant and translucent.
- Add 1 pound of ground beef to the skillet, cooking thoroughly for about 5–7 minutes or until browned. Stir in taco seasoning and tomato sauce, seasoning with salt and pepper, and let simmer for an additional 5 minutes.
- Fill warmed taco shells with the meat mixture, leaving room for cheese.
- Top each filled taco shell with shredded cheese. Place in a greased baking dish and bake for 10–15 minutes until cheese is melted and shells are golden.
- Remove from oven, cool slightly, and top with fresh ingredients before serving.
Leave a Reply