
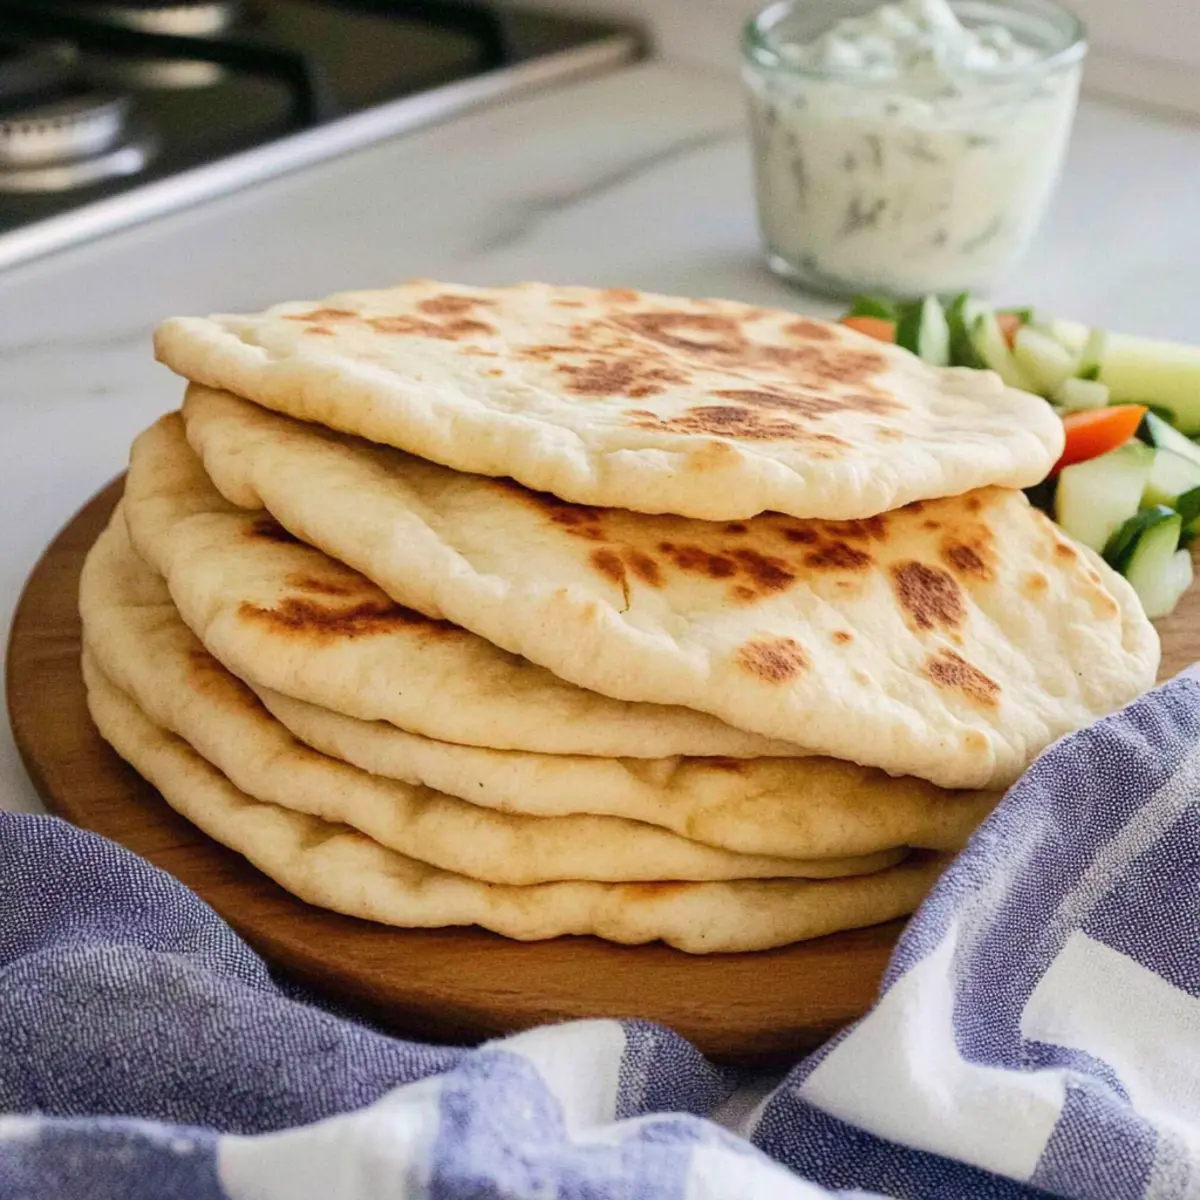
As I stood in the kitchen, the aroma of freshly baked bread wafting through the air, I couldn’t help but feel a surge of excitement. Today, I’m thrilled to share my recipe for Homemade Gyro Bread. This fluffy flatbread is not just a delight to make; it serves as the perfect canvas for countless savory fillings, from classic gyros to innovative wraps. Preparing this versatile bread is a breeze, making it an excellent option for meal prep or hosting a cozy gathering. Plus, you’ll love that it can easily accommodate gluten-free diets without sacrificing texture. So, whether you’re wrapping up some grilled meats or stacking fresh veggies, this gyro bread elevates every bite. Ready to roll up your sleeves and create something delicious together? Let’s dive in!
Why is Homemade Gyro Bread a Must-Try?
Versatility: This gyro bread is a blank canvas, ready to be filled with your favorite ingredients, from tender meats to vibrant veggies. Quick Preparation: You can have fresh bread on the table in under an hour! Gluten-Free Option: Use gluten-free flour for a delicious alternative that everyone can enjoy. Ideal for Meal Prep: Make a big batch and store for quick meals throughout the week—perfect for busy lifestyles. Crowd-Pleaser: Impress friends and family with this homemade delight, whether for a casual lunch or a festive gathering. Pair it with options like Chicken Garlic Bread for even more yum!
Gyro Bread Ingredients
For the Dough
- Warm Water – Essential for activating the yeast; aim for about 105°F for best results.
- Sugar – Provides nourishment for the yeast, promoting a fluffy rise.
- Active Dry Yeast – The magic ingredient that gives this gyro bread its delightful fluffiness.
- All-Purpose Flour – Forms the structure of the bread; for a gluten-free version, choose a blend with xanthan gum.
- Salt – Enhances the bread’s flavor and strengthens the dough.
- Olive Oil – Adds moisture and richness; brushing a bit on before cooking elevates the flavor.
Step‑by‑Step Instructions for Homemade Gyro Bread
Step 1: Activate the Yeast
In a large mixing bowl, combine 1 cup of warm water (around 105°F), 1 tablespoon of sugar, and 2 teaspoons of active dry yeast. Stir gently and let it rest for about 5 minutes until the mixture becomes foamy, indicating that the yeast is active and ready to help your gyro bread rise beautifully.
Step 2: Make the Dough
Once the yeast mixture is foamy, add 3 cups of all-purpose flour, 1 teaspoon of salt, and 2 tablespoons of olive oil to the bowl. Mix everything together until a shaggy dough forms. This process should take around 2-3 minutes. You want the dough to start coming together but not be fully smooth yet, as it will need to be kneaded.
Step 3: Knead the Dough
Transfer the shaggy dough onto a lightly floured surface. Knead it for about 3-4 minutes until it turns smooth and elastic. Take your time here, as proper kneading helps develop the gluten, which is crucial for that delightful fluffiness in your homemade gyro bread.
Step 4: First Rise
Place the kneaded dough in a lightly oiled bowl, turning it to coat all sides. Cover the bowl with a clean kitchen towel or plastic wrap and let it rest in a warm area for about 30 minutes. The dough should double in size, indicating it’s ready for the next step in creating your delicious gyro bread.
Step 5: Shape the Dough
After the dough has risen, gently punch it down to release any air bubbles. Divide it into 6 equal pieces, shaping each into a ball. This step is essential for portioning your gyro bread for easy rolling and cooking, aiming for even thickness, which enhances cooking consistency.
Step 6: Roll Out the Dough
On a floured surface, take one dough ball at a time and roll it out into a 6-inch circle using a rolling pin or your hands. Aim for an even thickness of about ¼ inch. The goal is to create a tender, pliable base for your mouthwatering gyro fillings!
Step 7: Cook the Gyro Bread
Heat a cast iron skillet or non-stick frying pan over medium heat. Once hot, brush it lightly with olive oil. Place one rolled-out dough circle in the skillet and cook for 2-3 minutes or until golden brown. Flip it over and cook the other side for another 2-3 minutes, watching for that beautiful golden color.
Step 8: Keep Warm and Serve
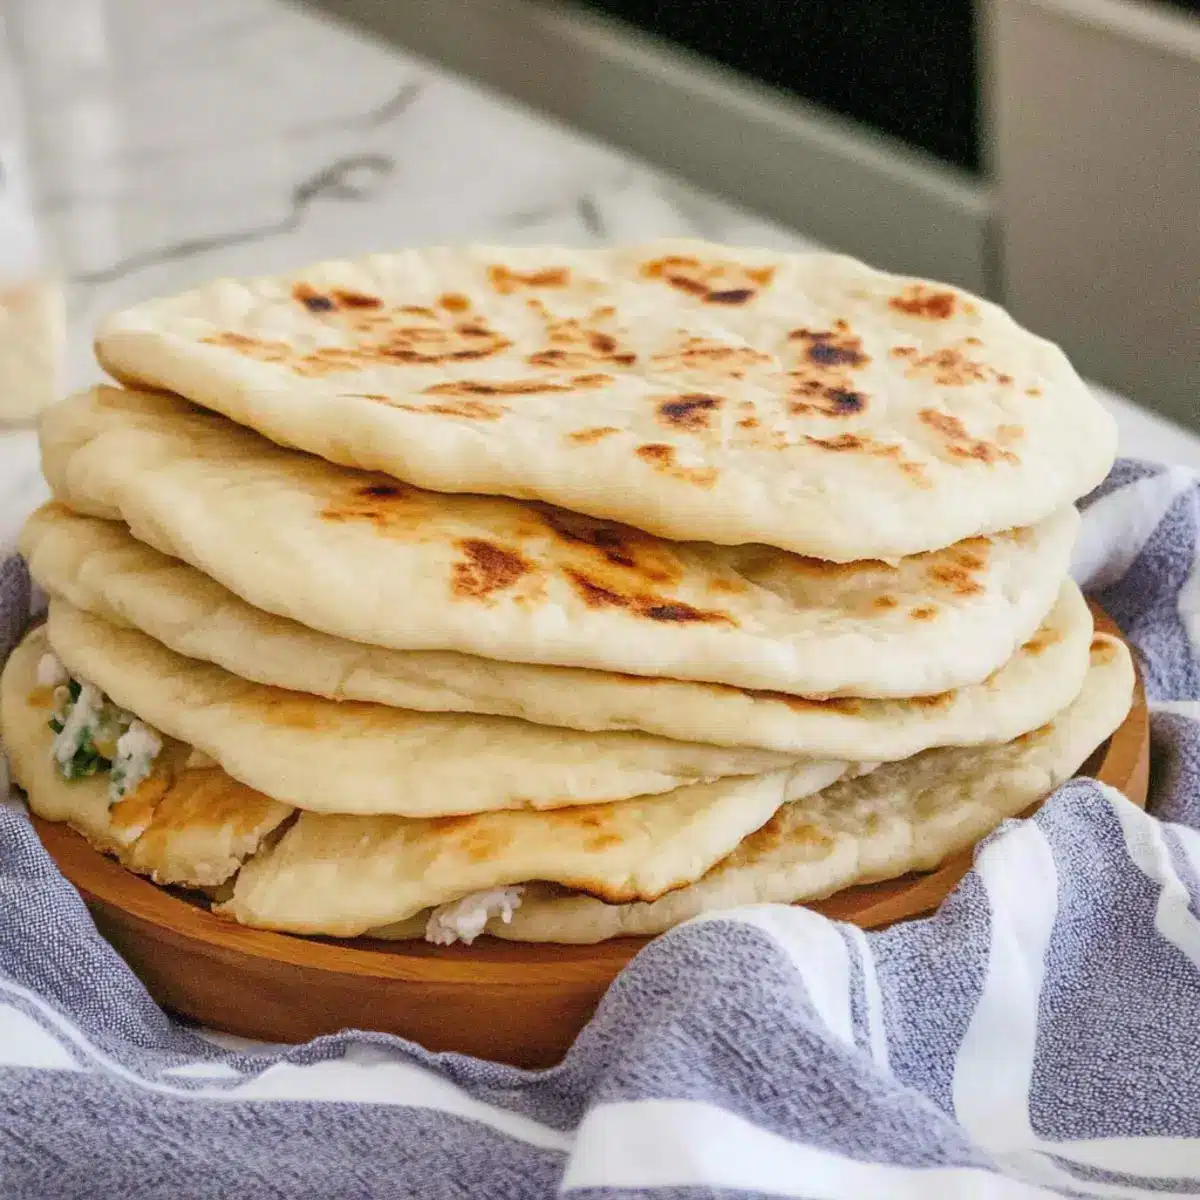
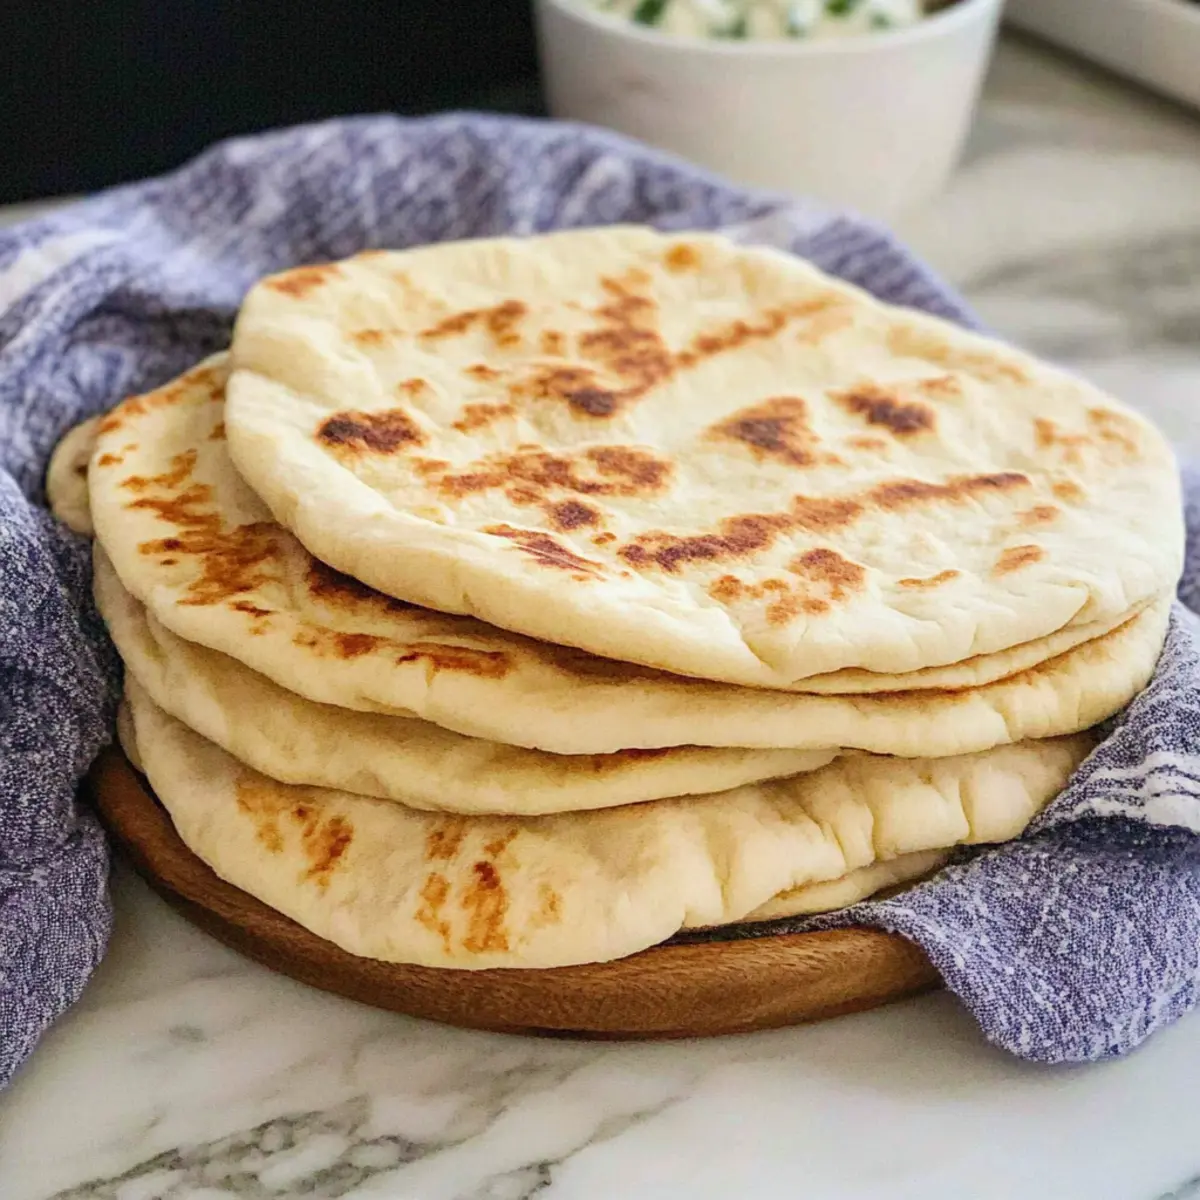
As you cook each piece, transfer the gyro bread to a warm towel to keep it soft. This helps maintain the perfect texture while you finish cooking the rest. Serve these delightful, fluffy gyro breads warm, either with your favorite fillings or simply on their own—they’re the perfect vehicle for endless flavor!
Make Ahead Options
These Homemade Gyro Breads are perfect for meal prep enthusiasts! You can prepare the dough up to 24 hours in advance by following the first five steps, then covering the risen dough tightly with plastic wrap and refrigerating it. This method allows the dough to develop more flavor while saving you time on busy days. Alternatively, you can shape and roll the individual pieces of dough as described in step five, then refrigerate them for up to 3 days. Just be sure to cover them well to prevent drying out. When you’re ready to cook, simply bring the dough back to room temperature, cook as instructed in step seven, and enjoy your delicious gyro bread, just as fluffy and flavorful as if it were made fresh that day!
Gyro Bread Variations & Substitutions
Feel free to get creative with your gyro bread – customization is part of the fun!
- Gluten-Free: Use a high-quality gluten-free flour blend with xanthan gum for a tasty alternative that doesn’t compromise texture.
- Herbed Dough: Add dried oregano or thyme into the dough for a flavor boost. This delicious twist adds an aromatic flair, perfect for Mediterranean dishes.
- Whole Wheat: Substitute half of the all-purpose flour with whole wheat flour for extra fiber and a nuttier taste. Your gyro bread will still be light, with a hint of earthiness!
- Spiced Gyro Bread: Incorporate spices like garlic powder or cumin into the dough for an exciting flavor profile. These aromatic additions will elevate your sandwiches to new heights.
- Cheesy Variety: Mix in shredded feta or mozzarella cheese directly into the dough for a rich, savory flavor that pairs beautifully with spinach or sautéed veggies.
- Sesame Topping: Brush the cooked bread with a bit of olive oil and sprinkle sesame seeds on top while it’s still warm for added crunch and nuttiness.
- Minimalist Version: For a lighter bread, reduce oil to just a drizzle. It still keeps that soft and chewy texture while cutting down on calories.
- Mini Pita Style: Roll the dough into smaller balls to create bite-sized pieces. These mini pita-style breads are perfect for appetizers or kid-friendly meals, served with dips like tzatziki or hummus.
Speaking of delicious variations, don’t forget to try these with a flavorful filling! You might enjoy pairing your gyro bread with a delightful Stuffed Seafood Bread for an unforgettable meal. And for some more fun with dough, check out my Witch Finger Breadsticks—perfect for themed gatherings!
What to Serve with Homemade Gyro Bread?
This delightful flatbread is a blank canvas for a myriad of flavors, perfect for crafting a memorable meal.
-
Savory Meats: Tender rotisserie chicken or lamb kebabs create a flavorful filling that pairs beautifully with the soft gyro bread texture.
-
Fresh Greek Salad: Crisp cucumbers, juicy tomatoes, and tangy feta add a refreshing contrast, making each bite of your wrap even more delightful.
-
Creamy Tzatziki Sauce: This cool, yogurt-based dip loaded with garlic, cucumber, and dill enhances the gyro bread’s warmth and complements any filling. Enjoy it as a side or drizzled inside!
-
Garlic Roasted Potatoes: Crispy, golden potatoes seasoned with garlic and herbs provide a hearty, satisfying side, making for a well-rounded meal.
-
Roasted Vegetables: A mix of seasonal veggies like bell peppers, zucchini, and eggplant adds a sweet, earthy flavor, creating a delightful balance with the bread.
-
Mediterranean Mezze Platter: Offer an array of dips like hummus, baba ganoush, and olives for a festive touch that encourages sharing and sampling.
-
Light White Wine: A chilled glass of Sauvignon Blanc or a refreshing Rosé pairs wonderfully with the Mediterranean flavors, enhancing your dining experience.
-
Dessert Option: Finish off your meal with dessert such as baklava or yogurt parfaits, providing a sweet end to a savory feast.
Feel free to mix and match these suggestions, creating a meal that delights every palate at your table!
Expert Tips for Fluffy Gyro Bread
-
Correct Water Temperature: Use warm water, ideally around 105°F, to activate the yeast properly. Too hot or too cold can hinder the rise.
-
Kneading Is Key: Knead the dough for 3-4 minutes until it’s smooth and elastic; this helps develop gluten for that fluffy gyro bread texture.
-
Rest Time Matters: Allow the dough to rise in a warm area for about 30 minutes; this expansion is critical for lightness and fluffiness in the final product.
-
Even Thickness: Roll out the dough into even ¼ inch circles to ensure consistent cooking. Uneven pieces can result in some parts being undercooked.
-
Storage Tips: Store cooled gyro bread wrapped in plastic or an airtight container in the fridge for 3-5 days, or freeze for up to three months for perfect meal prep.
How to Store and Freeze Gyro Bread
Fridge: Keep your cooled gyro bread wrapped in plastic wrap or stored in an airtight container for up to 3-5 days. This preserves its soft texture and fresh flavor.
Freezer: For longer storage, freeze the gyro bread by wrapping each piece in plastic wrap and then placing them in a freezer-safe bag. They can last for up to 3 months.
Thawing: When ready to enjoy, thaw the gyro bread overnight in the fridge. For a quick option, you can microwave it for about 10-15 seconds to warm it up before serving.
Reheating: Heat on a skillet or in the oven for a minute or two; this brings back that delightful softness and warmth, making it perfect for your favorite fillings!

Homemade Gyro Bread Recipe FAQs
What kind of flour should I use for gyro bread?
For traditional gyro bread, all-purpose flour is ideal as it creates the right structure and texture. However, if you’re looking for a gluten-free option, opt for a gluten-free all-purpose flour blend that contains xanthan gum, which helps mimic the elasticity of gluten.
How do I store leftover gyro bread?
Store your cooled gyro bread in plastic wrap or an airtight container in the fridge for up to 3-5 days. Make sure to let it cool completely before wrapping it, as this helps maintain its soft texture and prevents it from becoming soggy.
Can I freeze gyro bread?
Absolutely! To freeze gyro bread, wrap each piece individually in plastic wrap, and place them in a freezer-safe bag. This way, they can last for up to 3 months. When you’re ready to enjoy them, simply thaw overnight in the fridge or microwave for 10-15 seconds!
What should I do if my dough doesn’t rise properly?
If your dough isn’t rising, the water may have been too hot or too cold, affecting the yeast activation. Ensure your water is around 105°F, and check the yeast’s expiration date. A warm, draft-free environment is also crucial for rising, so try placing the dough in a warm oven or near a heat source for optimal conditions.
Is this gyro bread safe for people with allergies?
Good question! If you’re catering to specific dietary restrictions, simply use gluten-free flour for those avoiding gluten. Always ensure all other ingredients are free from allergens like dairy or eggs. If serving pets, ensure they only consume plain bread without any added oils or spices, as those can be harmful to them.
How can I warm up or reheat the gyro bread?
To refresh your gyro bread, you can heat it in a skillet or an oven. Place it in a heated skillet for about a minute on each side or wrap it in aluminum foil and warm it in the oven at 350°F for about 5-7 minutes. This will help restore its soft, fluffy texture, making it ready for your delicious fillings!
Fluffy Gyro Bread Recipe: Your New Favorite Homemade Flatbread
Ingredients
Equipment
Method
- Activate the Yeast: Combine warm water, sugar, and active dry yeast in a bowl. Let it rest for 5 minutes until foamy.
- Make the Dough: Add all-purpose flour, salt, and olive oil to the yeast mixture. Mix until a shaggy dough forms.
- Knead the Dough: Place dough on floured surface and knead for 3-4 minutes until smooth and elastic.
- First Rise: Put dough in oiled bowl, cover, and let it rise in a warm area for 30 minutes.
- Shape the Dough: Punch down and divide into 6 equal pieces, shaping each into a ball.
- Roll Out the Dough: Roll each ball into a 6-inch circle with an even thickness of ¼ inch.
- Cook the Gyro Bread: Heat skillet, brush with olive oil, cook each circle for 2-3 minutes on each side until golden.
- Keep Warm and Serve: Transfer cooked bread to a warm towel while finishing the rest.
Leave a Reply