
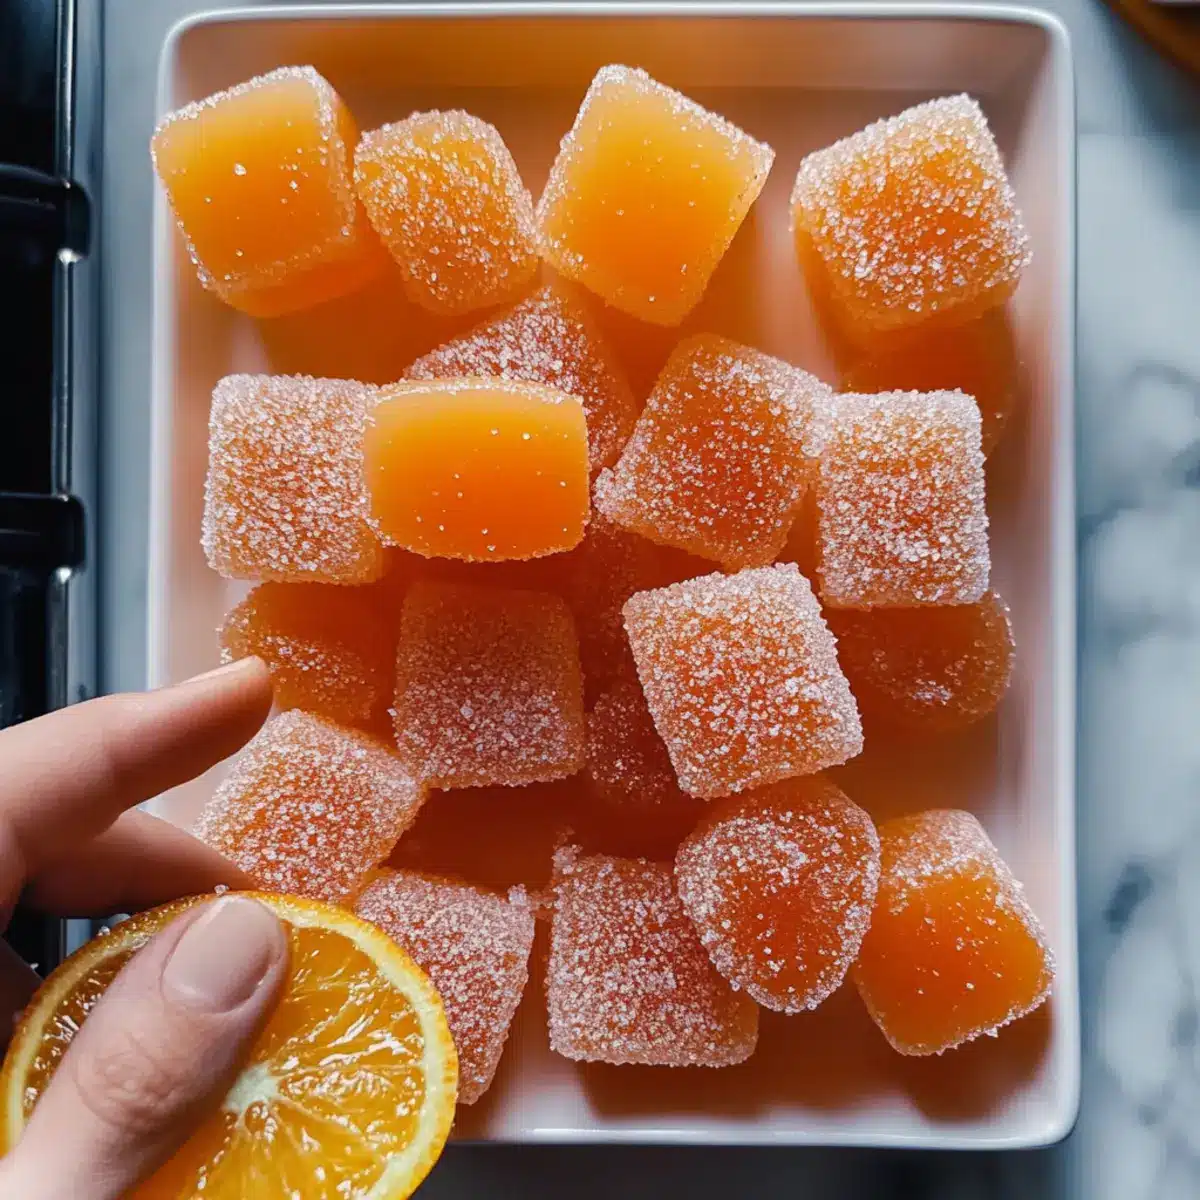
As I stood in my kitchen, the bright aroma of fresh oranges wafted in the air, instantly transporting me to sun-soaked summer days of my childhood. It’s this vivid nostalgia that inspired me to make a batch of Classic Homemade Orange Candy. Not only is this delightful recipe easy to whip up with just a handful of natural ingredients, but it also serves as a cheerful remedy for those fast-food cravings. Soft, chewy, and bursting with tangy sweetness, each piece is a reminder of why homemade treats always win over store-bought sweets. Perfect for gifting or simply indulging yourself, imagine the joy of sharing these vibrant bites with loved ones. Are you ready to create your own sunshine in candy form? Let’s dive into this citrus adventure!
Why Make Classic Homemade Orange Candy?
Nostalgic Delight: This candy brings back summer memories with its vibrant orange flavor and soft, chewy texture.
Easy to Create: With just a few simple ingredients, this recipe is approachable for both novice cooks and seasoned chefs alike.
Versatile Flavors: Experiment with different citrus or add a splash of vanilla for a personalized twist!
Perfect for Gifting: Whether it’s the holidays or just because, this treat makes a thoughtful gift. Pair it with a cup of Homemade Pumpkin Milk for a delightful experience.
Healthier Choice: Ditch the fast food and embrace wholesome sweetness as you indulge in homemade bliss. Each bite is a refreshing escape!
Classic Homemade Orange Candy Ingredients
For the Candy Base
- Oranges – Freshly zested and juiced for that vibrant citrus flavor; experiment with lemons or limes for a different twist!
- Granulated Sugar – Essential for achieving the perfect sweetness and candy texture; note that substitutes may slightly change consistency.
- Water – A vital solvent that helps dissolve the sugar while extracting delightful flavors.
- Corn Syrup – Provides a smooth texture and prevents crystallization; light honey can be an alternative for a unique flavor.
- Gelatin – Necessary for giving the candy its signature structure; opt for vegetarian substitutes if needed.
- Butter – Enhances richness and flavor; for a dairy-free version, try using dairy-free butter.
Optional Coating
- Confectioners’ Sugar – A light dusting adds a sweet finishing touch and prevents sticking; feel free to skip if desired!
Each of these carefully selected ingredients plays a role in crafting your Classic Homemade Orange Candy Recipe. So gather them up and let your kitchen dance with the energizing aroma of tangy oranges!
Step‑by‑Step Instructions for Classic Homemade Orange Candy Recipe
Step 1: Prepare the Oranges
Begin by zesting three vibrant oranges, making sure to avoid the bitter white pith. Once zested, juice the oranges until you achieve about 3/4 cup of fresh orange juice. Set both the zest and juice aside; their bright flavors will be key to your Classic Homemade Orange Candy.
Step 2: Combine Ingredients
In a medium saucepan, mix the freshly squeezed orange juice with 1 cup of water, 2 cups of granulated sugar, and 1/2 cup of corn syrup. Place the saucepan over medium heat, stirring gently until the sugar has completely dissolved. Watch as the mixture begins to simmer, signaling it’s ready for the next step.
Step 3: Simmer the Mixture
Allow the sugar mixture to boil for about 10 minutes. Stir occasionally to prevent any sticking or burning. You’ll notice the liquid thickening slightly, and its sweet, aromatic scent will fill your kitchen, indicating that flavors are concentrating beautifully for the Classic Homemade Orange Candy.
Step 4: Bloom the Gelatin
While the mixture simmers, prepare the gelatin. In a small bowl, sprinkle 2 tablespoons of gelatin over 1/4 cup of cold water, allowing it to sit and bloom for about 5 minutes. This step is crucial as bloomed gelatin will help achieve the perfect texture for your candy.
Step 5: Combine Gelatin and Syrup
Once the gelatin has bloomed, add it to the simmering syrup in the saucepan. Stir well until the gelatin fully dissolves into the syrup. This step ensures the Classic Homemade Orange Candy will have the delightful chewy consistency you’re aiming for.
Step 6: Add Zest and Butter
Next, mix in the orange zest and 2 tablespoons of butter into the syrup. Continue to cook for an additional 5-10 minutes over medium heat, stirring constantly. The mixture should thicken to a honey-like consistency and deepen in color, enhancing the candy’s rich flavor profile.
Step 7: Pour into Baking Dish
Prepare an 8×8-inch baking dish by greasing it or lining it with parchment paper. Carefully pour the warm candy mixture into the prepared dish, using a spatula to spread it evenly. Allow the mixture to cool at room temperature for 1-2 hours, helping it set properly.
Step 8: Chill to Set
Once the candy has cooled, transfer it to the refrigerator and let it chill for 4-6 hours, or even overnight if time allows. This step is vital for ensuring that your Classic Homemade Orange Candy sets firmly and maintains its lovely texture.
Step 9: Cut and Dust
After chilling, remove the candy from the dish and dust it lightly with confectioners’ sugar to prevent sticking. Use a sharp knife to cut it into small, bite-sized pieces. Each piece will showcase the delightful tangy sweetness of your homemade candy, ready to be enjoyed or gifted!
Make Ahead Options
These Classic Homemade Orange Candy preparations are perfect for busy cooks looking to save time! You can zest and juice the oranges up to 24 hours in advance, refrigerating them in an airtight container to maintain freshness. Additionally, you can prepare the syrup mixture (up to 3 days ahead) and store it in the refrigerator—just give it a gentle stir before adding the bloomed gelatin when you’re ready to make the candy. When it’s time to serve, simply follow the final steps to pour into a baking dish, chill until set, and enjoy this delightful treat that tastes just as fresh as the day you made it!
How to Store and Freeze Classic Homemade Orange Candy
Airtight Container: Store your Classic Homemade Orange Candy in an airtight container at room temperature for up to 2 weeks to maintain its chewy texture and vibrant flavor.
Refrigeration: For longer storage, place the candy in the fridge where it can stay fresh for up to 3 weeks. Make sure to keep it sealed to prevent moisture loss.
Freezing: To freeze, wrap individual pieces in wax paper, then place them in a freezer-safe bag. They can be frozen for up to 3 months. Thaw at room temperature before enjoying.
Reheating: If the candy hardens a bit, simply let it sit at room temperature or give a slight warming in the microwave for a few seconds, bringing back some of the softness.
Classic Homemade Orange Candy Variations
Feel free to get creative and customize your Classic Homemade Orange Candy with these delightful twists!
-
Zest Swap: Substitute orange zest with lemon or lime for a refreshing tang that elevates the flavor.
-
Flavor Booster: Add a hint of vanilla or almond extract for an extra layer of deliciousness that dances on your palate.
-
Tropical Twist: Coat candy pieces in shredded coconut for a fun, beachy finish that complements the orange perfectly. Imagine the taste of paradise in every bite!
-
Spicy Kick: Incorporate a pinch of cayenne pepper or red pepper flakes for a surprising heat that balances the sweetness and tickles your taste buds.
-
Natural Sweetener: Use agave syrup instead of corn syrup for a healthier touch while maintaining that smooth candy texture.
-
Dairy-Free Option: Replace regular butter with a dairy-free version for a vegan-friendly treat that everyone can enjoy, ensuring rich, buttery goodness without the dairy.
-
Fruit Fusion: Try mixing in pureed passion fruit or pineapple to your mixture for an exciting blend of fruity flavors that bursts with sunshine.
Feel free to explore these variations while enjoying your homemade treats. And if you’re in the mood for even more delightful recipes, check out these Delightful Stuffed Seafood or indulge in an Oreo Milkshake for a fun dessert pairing!
Expert Tips for Classic Homemade Orange Candy
-
Fresh Ingredients: Use only fresh oranges for the best flavor extraction; stale or low-quality fruit will yield bland candy.
-
Monitor Boiling: Keep a close eye on the boiling mixture to prevent it from burning; it can go from perfect to charred quickly!
-
Dissolve Gelatin Fully: Ensure the gelatin is fully dissolved before adding it to the syrup for the right texture; incomplete dissolution can result in a rubbery candy.
-
Chill Thoroughly: Refrigerate the candy long enough to set it properly; skipping this step may result in a candy that’s too soft and challenging to cut.
-
Customize Flavors: Feel free to experiment with different citrus like lemons or limes in your Classic Homemade Orange Candy Recipe for a unique twist!
What to Serve with Classic Homemade Orange Candy
Imagine the cheerful scene of sharing delectable sweets alongside equally delightful companions, each bite enhancing the sunny flavors of your candy.
- Herbal Tea: A warm cup of chamomile or mint tea harmonizes beautifully, enhancing the candy’s citrus notes with soothing herbal undertones.
- Cheese Platter: Pair it with a selection of creamy brie or tangy goat cheese; the rich textures play off the candy’s chewy sweetness for a sophisticated treat.
- Fresh Fruit Salad: A vibrant mix of berries, melons, and citrus provides a refreshing contrast, brightening the palate between bites of sugary bliss.
- Dark Chocolate: The rich, slightly bitter notes of dark chocolate wonderfully balance the tangy sweetness of the orange candy, creating a delightful taste experience.
- Sparkling Water: A fizzy drink with a hint of lemon or orange flavor refreshes the senses, enhancing the candy’s bright notes while cleansing the palate.
- Homemade Ice Cream: Scoop up some creamy vanilla or citrus-infused ice cream next to your candies for a refreshing and indulgent treat. Each combination promises to amplify the joyful taste of your Classic Homemade Orange Candy!
Classic Homemade Orange Candy Recipe FAQs
How do I know if my oranges are ripe enough?
Absolutely! Look for oranges that are firm and heavy for their size, with a vibrant color and smooth skin. If they have a few dark spots, that’s fine, but avoid those with extensive dark patches or wrinkles as they may be overripe or dry inside.
What’s the best way to store Classic Homemade Orange Candy?
To keep your candy fresh, store it in an airtight container at room temperature for up to 2 weeks. If you’re looking to store it longer, you can keep it in the refrigerator for up to 3 weeks—just be sure it’s well-sealed to prevent it from drying out.
Can I freeze Classic Homemade Orange Candy?
Yes, you can! First, individually wrap each piece in wax paper, then place them in a freezer-safe bag. They can be frozen for up to 3 months. When you’re ready to enjoy, simply thaw them at room temperature. If they feel a bit hard, a quick softening in the microwave for a few seconds can help revive their chewy texture.
What should I do if my candy doesn’t set properly?
If your candy isn’t setting, it might be due to not using enough gelatin or inadequate heating of the mixture. If you’re facing this issue, reheat the mixture gently over low heat until it is warm. Then, sprinkle in more bloomed gelatin (about 1 tablespoon). Stir until fully dissolved, then pour it back into the dish to re-set. Allow it to chill again, and it should firm up beautifully!
Is there a vegetarian option for the gelatin used in this recipe?
Very! You can substitute regular gelatin with a vegetarian-friendly product such as agar-agar or pectin. Just be sure to follow the package instructions for blooming and using these alternatives, as they often differ in quantities and preparation methods. This way, you can enjoy Classic Homemade Orange Candy even if you’re following a vegetarian diet!
Are there any allergy considerations I should keep in mind?
Certainly! If you’re preparing this classic candy for someone with dietary restrictions, make sure to inform them about the use of gelatin (or its substitutes), as some may be derived from animal products. Additionally, if you’re using any butter, consider opting for dairy-free alternatives if you’re catering to lactose intolerant individuals. Always check for cross-contamination with allergens if they have severe reactions!
Classic Homemade Orange Candy Recipe – Sweet, Citrusy Bliss
Ingredients
Equipment
Method
- Zest three oranges and juice them to achieve about 3/4 cup of juice.
- In a medium saucepan, mix orange juice, water, granulated sugar, and corn syrup over medium heat until dissolved.
- Allow the mixture to boil for about 10 minutes, stirring occasionally.
- Sprinkle gelatin over cold water and let it bloom for about 5 minutes.
- Add bloomed gelatin to the syrup and stir until fully dissolved.
- Stir in orange zest and butter; cook for an additional 5-10 minutes.
- Pour the mixture into a greased 8x8-inch dish and let cool for 1-2 hours.
- Chill in the refrigerator for 4-6 hours until set.
- Dust with confectioners’ sugar and cut into pieces.
Leave a Reply