
As I sat on my porch, the warm breeze carried hints of coconut and sunshine, reminding me of vacations in tropical paradise. That’s when the craving struck for some homemade Coconut Cream Dream Bars—a quick dessert that brings a slice of that bliss right into my kitchen. With their easy preparation and the delightful combination of crunchy toasted coconut and creamy filling, these bars are perfect for anyone eager to step away from fast food and into the comforting embrace of homemade goodness. Whether you’re hosting a summer gathering or simply indulging in a sweet treat on a quiet afternoon, this recipe is your ticket to an effortless and satisfying dessert that pleases everyone. Curious how to whip up this tropical delight? Let’s dive into the recipe!
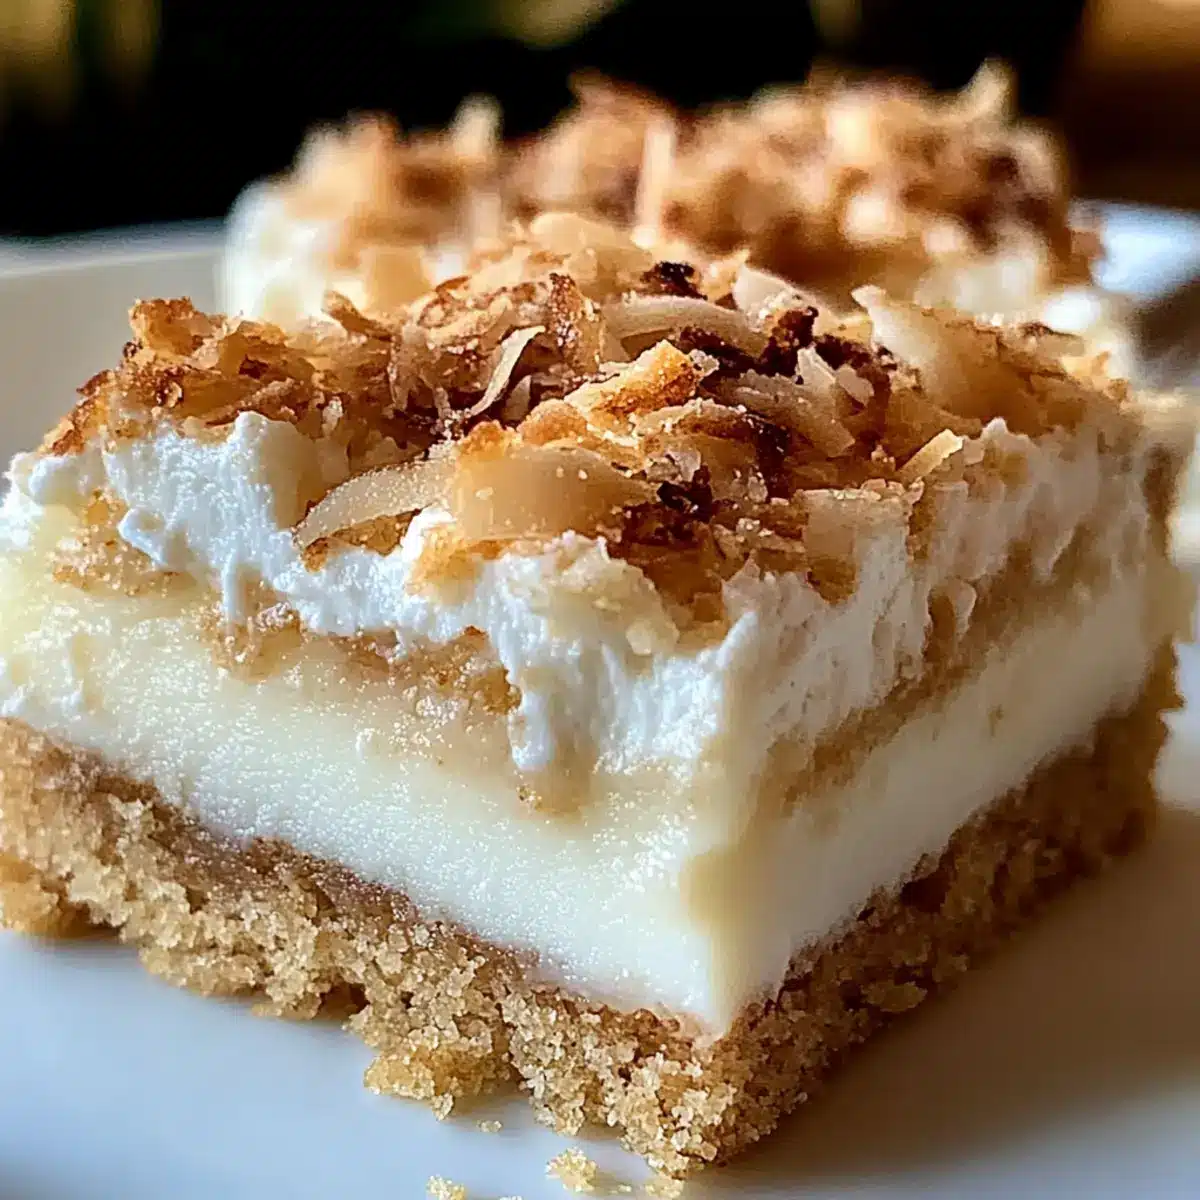
Why are Coconut Cream Dream Bars irresistible?
Tropical Bliss: Each bite transports you to a sun-soaked paradise, bringing the beach vibes right to your kitchen.
Quick & Easy: With minimal effort, you can whip up this delightful treat, perfect for novice bakers and seasoned chefs alike.
Versatile Flavor: Feel free to add a twist with flavor variations like macadamia nuts or a chocolate layer, making it your own!
Perfect for Any Occasion: Whether it’s a potluck or a serene afternoon at home, these bars are sure to impress.
Make-Ahead Convenience: Ideal for busy schedules; prepare them in advance and let the refrigerator do the rest! Embrace this tropical escape in your dessert lineup today!
Coconut Cream Dream Bars Ingredients
• Here’s all you need to create these delicious Coconut Cream Dream Bars!
For the Crust
- Graham Cracker Crumbs – Provides a crunchy base; feel free to swap with digestive biscuits if preferred.
- Granulated Sugar – Sweetens the crust nicely; brown sugar is a great substitute for a richer taste.
- Unsalted Butter (melted) – Binds the crust ingredients together; use coconut oil for a dairy-free option.
For the Filling
- Sweetened Condensed Milk – Creates that rich, creamy texture in your filling; coconut condensed milk can elevate the coconut flavor!
- Eggs – Adds richness and helps set the filling; use flax eggs for a vegan alternative.
- Vanilla Extract – Boosts the overall flavor; opt for real vanilla for the best results.
For the Topping
- Unsweetened Shredded Coconut – Adds texture and a lovely coconut flavor; toasting enhances the deliciousness, so don’t skip this step!
These simple ingredients come together to create a tropical escape right in your kitchen. Enjoy the process and the delightful results of making Coconut Cream Dream Bars!
Step‑by‑Step Instructions for Coconut Cream Dream Bars
Step 1: Preheat and Prepare the Pan
Begin by preheating your oven to 350°F (175°C). While the oven heats, line an 8-inch square baking pan with parchment paper, allowing some overhang for easy removal later. This step helps ensure your Coconut Cream Dream Bars won’t stick, making it easier to cut once they set.
Step 2: Make the Crust
In a medium bowl, combine graham cracker crumbs, granulated sugar, and melted butter. Stir the mixture until it’s well blended and resembles wet sand. Pour the crust mixture into the prepared baking pan and press it down firmly with the back of a measuring cup or your hands to create an even layer. This forms the base of your Coconut Cream Dream Bars.
Step 3: Bake the Crust
Place the pan in the preheated oven and bake the crust for 10 minutes. Keep an eye on it; the edges should turn a light golden brown. Once baked, remove it from the oven and allow it to cool slightly while you prepare the filling. This cooling period is crucial so the crust sets properly.
Step 4: Prepare the Filling
In a large mixing bowl, whisk together the sweetened condensed milk, eggs, and vanilla extract until smooth and fully combined. The mixture should be creamy and well incorporated. Once mixed, pour this heavenly filling over the cooled crust, spreading it evenly with a spatula. This rich layer is what makes your Coconut Cream Dream Bars truly irresistible!
Step 5: Bake the Filling
Return the pan to the oven and bake for an additional 20 minutes. The filling should set, appearing slightly puffed and just firm to the touch. Keep an eye on it to prevent overbaking, as you want it to maintain a creamy texture. Once done, take it out of the oven and let it cool to room temperature.
Step 6: Add the Topping
Sprinkle the unsweetened shredded coconut evenly over the top of the warm filling. If desired, you can toast the coconut in a dry skillet beforehand for added flavor. This step enhances the tropical vibe of your Coconut Cream Dream Bars. Press the coconut lightly into the filling to ensure it adheres as it cools.
Step 7: Chill the Bars
Refrigerate the bars for at least 2 hours or until fully set. This cooling time helps the flavors meld and makes cutting the bars easier. Once chilled and firm, lift the bars out of the pan using the parchment overhang and place them on a cutting board.
Step 8: Cut and Serve
Using a sharp knife, cut the bars into squares or rectangles, depending on your preference. Serve your Coconut Cream Dream Bars chilled, and watch as they bring smiles to your family and friends. These bars are perfect for any occasion, ready to transport everyone to a tropical paradise with each delightful bite!
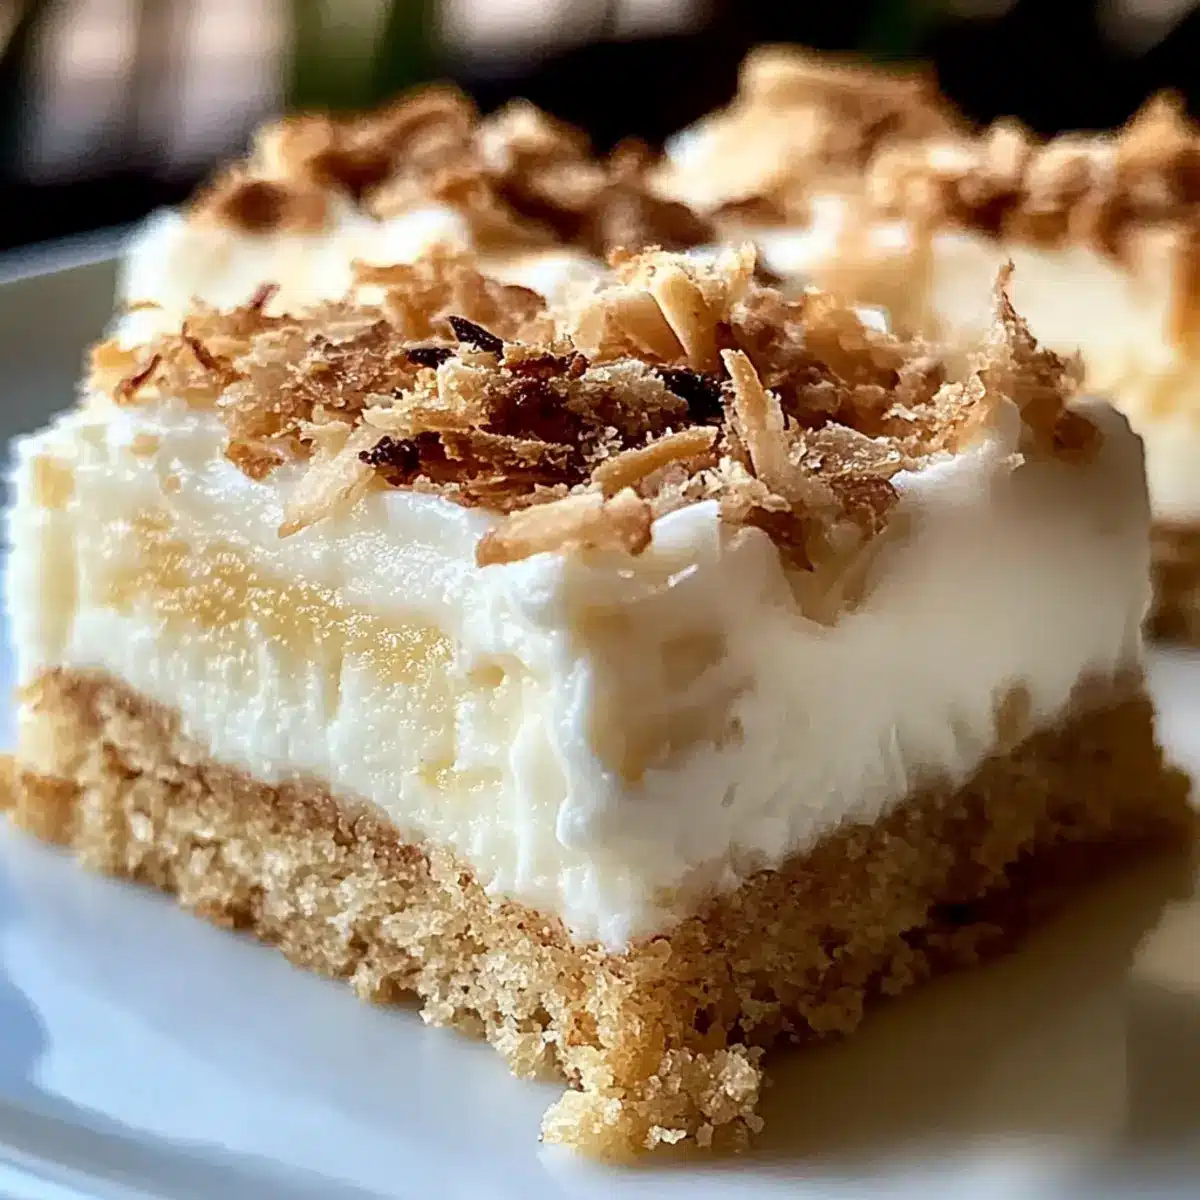
Make Ahead Options
These Coconut Cream Dream Bars are perfect for meal prep enthusiasts looking to save time! You can easily prepare the crust and the filling up to 24 hours in advance; simply bake the crust and let it cool, then combine the sweetened condensed milk, eggs, and vanilla extract in a bowl. Store the crust tightly wrapped in plastic and the filling in the refrigerator. When ready to serve, pour the filling over the crust and bake it fresh—this ensures that your bars are just as delicious as when made the same day. Allowing flavors to meld overnight makes each bite even more delightful!
How to Store and Freeze Coconut Cream Dream Bars
Fridge: Keep the bars in an airtight container in the fridge for up to 5 days. This preserves their creamy texture and fresh taste.
Freezer: For longer storage, freeze the bars in a tightly sealed container for up to 2 months. Individually wrap pieces for easy snacking later.
Thawing: When ready to enjoy, simply thaw at room temperature for about 30 minutes before serving to restore their delightful texture and flavors.
Reheating: Avoid reheating this dessert; serve chilled for the best experience and to maintain the intended creamy consistency.
Expert Tips for Coconut Cream Dream Bars
-
Toast the Coconut: Carefully toast the unsweetened shredded coconut, stirring frequently to prevent burning. This enhances the flavor and adds depth to your bars.
-
Chill Thoroughly: Allow the Coconut Cream Dream Bars to refrigerate for at least 2 hours. This ensures they set properly, makes them easier to cut, and intensifies the flavors.
-
Check Baking Times: If you’re using a different size pan, adjust the baking times accordingly. Overbaking can lead to a less creamy filling, so keep a close eye on it.
-
Cool the Crust: Let the crust cool slightly after baking before adding the filling. This helps maintain a crunchy base and prevents sogginess.
-
Use Quality Ingredients: Opt for high-quality sweetened condensed milk and real vanilla extract to maximize the richness of your Coconut Cream Dream Bars. Quality matters!
Coconut Cream Dream Bars Variations
Feel free to explore these delicious twists to make the Coconut Cream Dream Bars your own!
-
Dairy-Free: Substitute unsalted butter with coconut oil for a rich, creamy texture without dairy. Enjoy the same delightful flavor while keeping it dairy-free!
-
Flavor Boost: Add macadamia nuts to the crust for an extra crunch and a taste of the tropics. They bring a delightful nuttiness that pairs beautifully with the coconut filling.
-
Chocolate Layer: Drizzle or spread a layer of melted chocolate on top for a decadent treat. The chocolate complements the creamy coconut, adding a rich depth to every bite.
-
Fruit Infusion: Consider adding crushed pineapple or mango into the filling mixture. The fruity notes will elevate the bars with a refreshing burst of tropical flavor!
-
Nut-Free Option: Replace the crust ingredients with gluten-free graham crackers, and use coconut oil to ensure a nut-free and approachable dessert for everyone.
-
Almond Extract: Swap vanilla extract for almond extract in the filling for a unique almond-flavored twist. This adds an additional layer of complexity to the already delicious bars.
-
Coconut Frosting: Top the bars with a light coconut frosting made from whipped cream and coconut cream for a stunning presentation that’s sure to impress.
-
Spice it Up: Enhance the flavor with a pinch of cinnamon or nutmeg in the crust for a warm, aromatic hint. These spices will subtly elevate the tropical essence of your bars.
For more delightful desserts that embody tropical flavors, why not try these variations too? Indulge in a refreshing Iced Pumpkin Cream or savor the unique taste of Rose Pistachio Ice Cream. Happy baking!
What to Serve with Coconut Cream Dream Bars
Elevate your dessert experience with delightful pairings that highlight the tropical flavors of this creamy treat!
-
Fresh Fruit Salad: A mix of tropical fruits like mango and pineapple adds a refreshing contrast to the creamy bars. This vibrancy enhances each bite, making it feel light and summery.
-
Whipped Cream: A dollop of lightly sweetened whipped cream smooths out the rich layers of the bars. It’s a classic pairing that invites indulgence and adds a cloud-like texture.
-
Iced Tea: A chilled glass of homemade iced tea, sweetened or unsweetened, complements the tropical notes perfectly. Opt for a hint of mint for an invigorating twist!
-
Chocolate Drizzle: Drizzling dark chocolate over the bars adds a pleasing bitterness that balances the sweetness. This simple addition brings depth and a gourmet touch.
-
Coconut Sorbet: Keep the coconut theme going with a scoop of coconut sorbet on the side. The cold, refreshing treat echoes the flavors of the bars beautifully, perfect for hot days.
-
Mint Garnish: Fresh mint leaves sprinkled over the bars add a vibrant pop of color and a refreshing aroma. This light touch enhances both presentation and flavor.
-
Pineapple Mimosa: For a playful twist, serve the bars with a pineapple mimosa. The bubbly drink adds a festive vibe that’s perfect for gathering moments with friends and family.
These delightful accompaniments will create a well-rounded dessert experience that brings joy to every occasion!
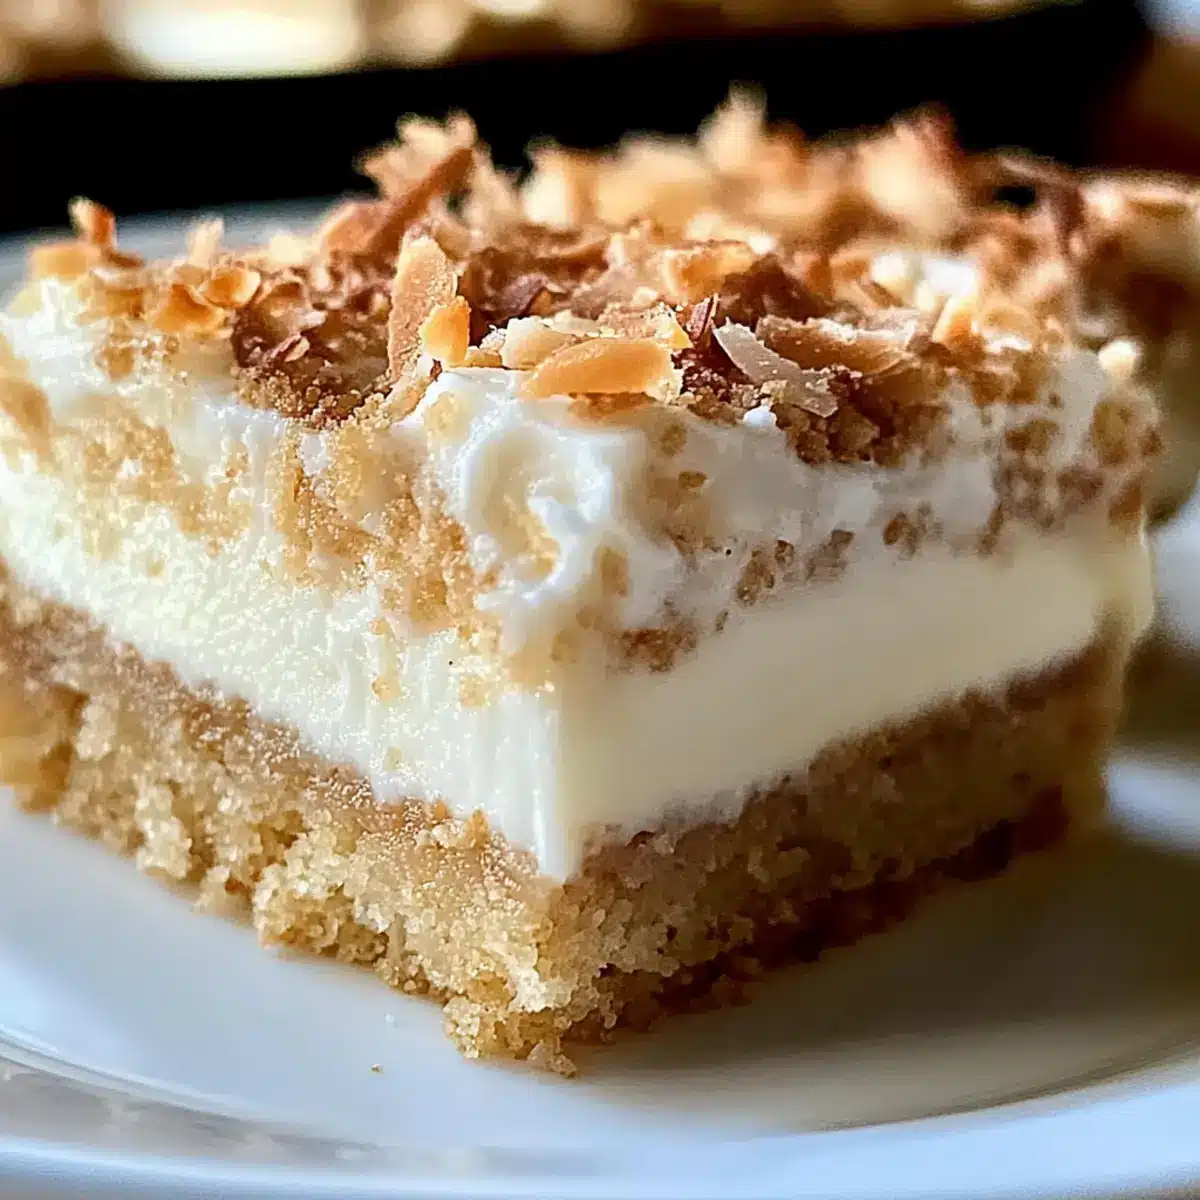
Coconut Cream Dream Bars Recipe FAQs
How do I choose ripe and fresh ingredients for Coconut Cream Dream Bars?
Absolutely! For the best Coconut Cream Dream Bars, ensure your eggs are fresh by checking the date on the carton. Use sweetened condensed milk that’s creamy and rich—believe me, it makes all the difference! Also, choose unsweetened shredded coconut that’s pure white and free from dark spots, which indicates that it’s fresh and has not gone rancid.
How should I store Coconut Cream Dream Bars, and how long do they last?
Very! Store your Coconut Cream Dream Bars in an airtight container in the refrigerator for up to 5 days. This preserves their creamy texture and ensures you can enjoy them at their best. If you want to keep them longer, you can freeze the bars for up to 2 months. Just remember to place them in a tightly sealed container or wrap them individually for easy access later!
Can I freeze Coconut Cream Dream Bars, and if so, how?
Yes, indeed! To freeze, cut the bars into squares after they’ve chilled and firmed up. Wrap each piece tightly in plastic wrap and then place them in a freezer-safe container. This method not only saves space but locks in the delicious flavors. When you’re ready to enjoy, thaw the bars at room temperature for about 30 minutes. It’s a simple and practical way to prepare these tropical treats in advance!
What if my filling doesn’t set properly after baking?
No worries; we’ve all been there! If your Coconut Cream Dream Bars don’t set properly, it might be due to underbaking. Make sure you bake until the filling appears slightly puffed and firm to the touch, usually around 20 minutes. If you find them too soft after chilling, return them to the oven for a few extra minutes, keeping a close eye to avoid overbaking. Just remember, the texture should remain creamy, not dry!
Are there any dietary considerations for Coconut Cream Dream Bars?
Absolutely! While this recipe contains eggs and dairy, you can certainly adapt it to suit different dietary needs. For a vegan version, substitute the eggs with flax eggs (1 tablespoon flaxseed meal mixed with 2.5 tablespoons water, let it sit until it thickens). You can also use coconut oil instead of butter for a dairy-free alternative. Additionally, always check labels for allergens if you are serving guests with dietary restrictions. Enjoy the tropical flavor while keeping everyone happy!
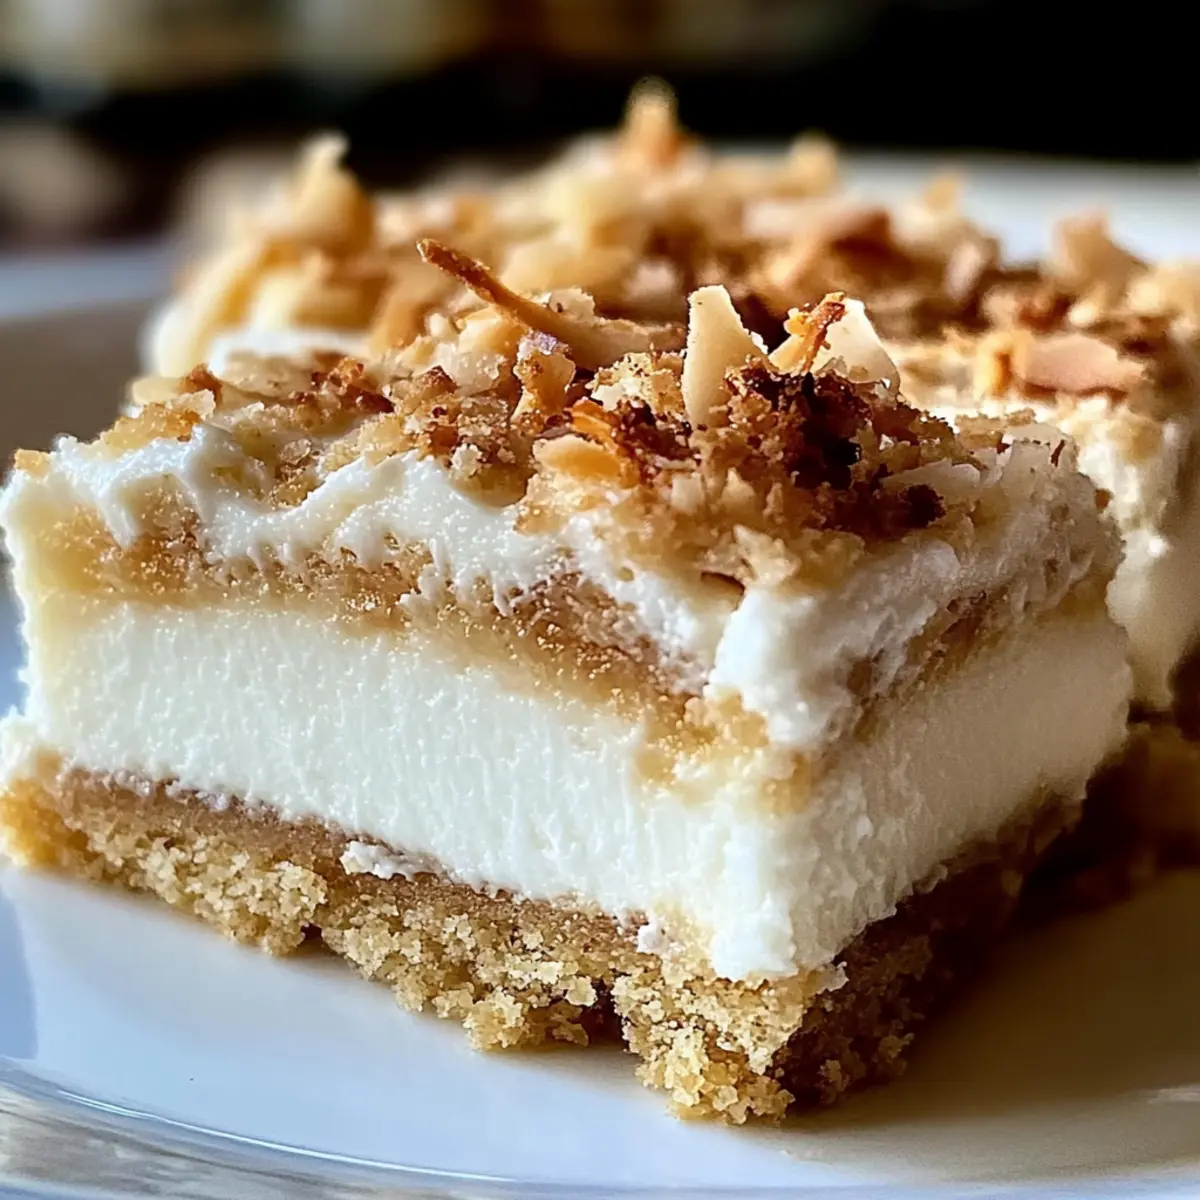
Coconut Cream Dream Bars for a Tropical Sweet Escape
Ingredients
Equipment
Method
- Preheat your oven to 350°F (175°C) and line an 8-inch square baking pan with parchment paper.
- In a medium bowl, combine graham cracker crumbs, granulated sugar, and melted butter until blended.
- Press the crust mixture evenly into the prepared baking pan and bake for 10 minutes.
- Let the crust cool slightly before preparing the filling.
- In a large bowl, whisk the sweetened condensed milk, eggs, and vanilla extract until smooth.
- Pour the filling over the cooled crust and spread evenly.
- Bake for an additional 20 minutes until set and slightly puffed.
- Sprinkle toasted shredded coconut over the filling and press lightly.
- Refrigerate for at least 2 hours until set, then cut into bars.
Leave a Reply