
As I stood in my kitchen, the sweet aroma of melting white chocolate wafted through the air, instantly rendering my worries a thing of the past. This is when I knew it was the perfect time to whip up some Fruity Pebbles fudge. Not only is this vibrant, no-bake dessert a true crowd-pleaser, but it also comes together in less than 20 minutes—ideal for when life gets busy but your sweet tooth calls. Each bite is a delightful trip down memory lane, packed with the playful crunch of Fruity Pebbles and the creamy sweetness that can brighten up any day. Whether you’re planning a festive gathering or simply craving a treat for yourself, this quick recipe offers the perfect balance of nostalgia and joy. Curious how to create this colorful concoction? Let’s dive in!
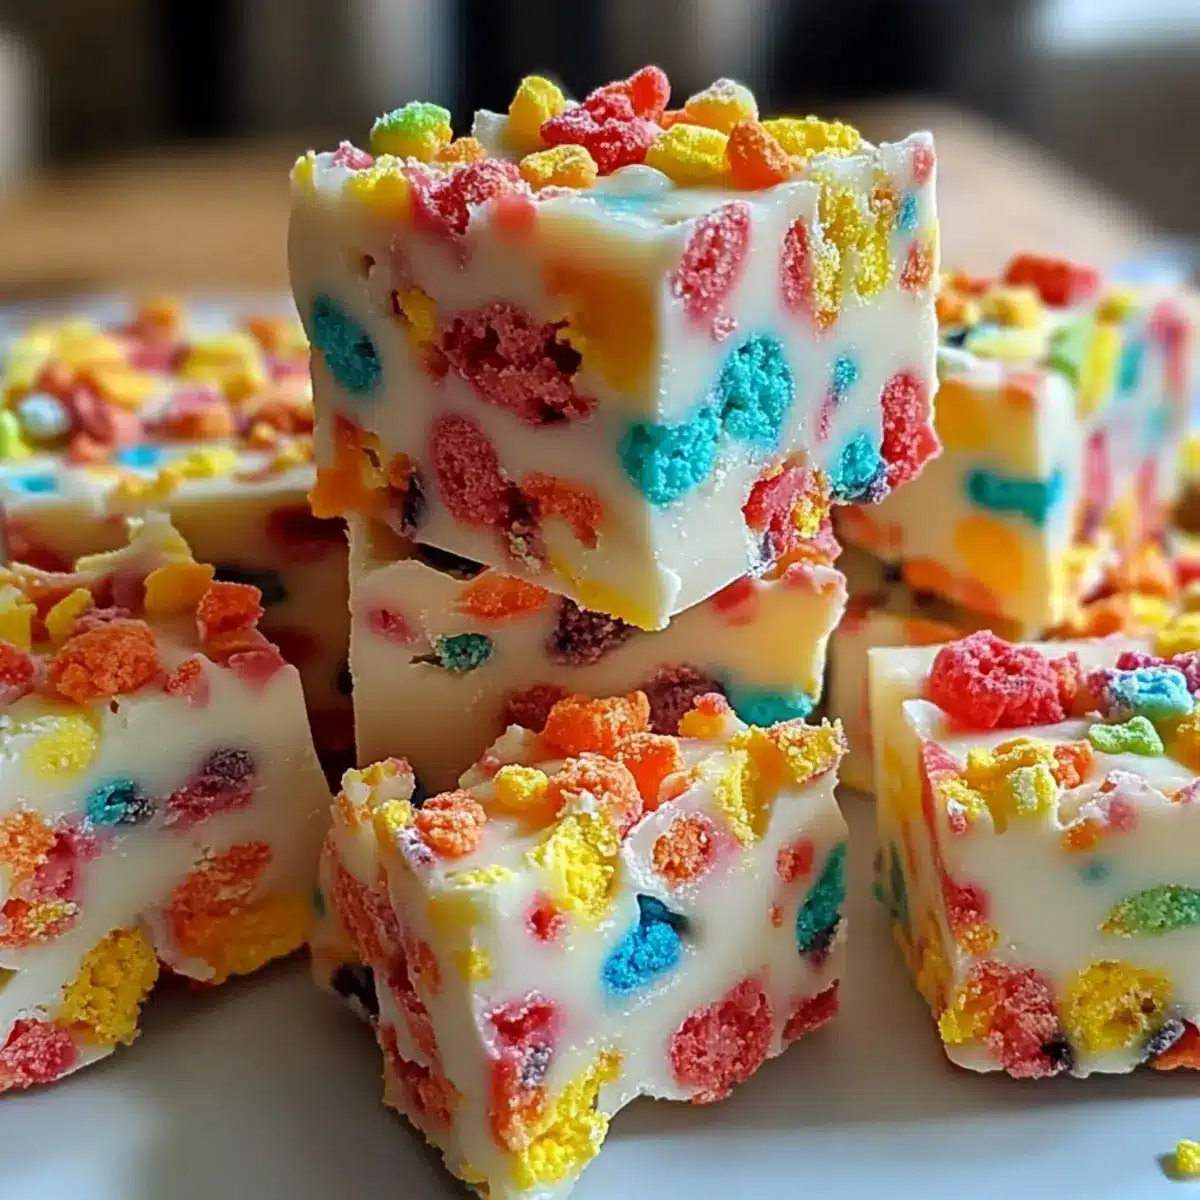
Why is Fruity Pebbles Fudge a Must-Try?
Vibrant visual appeal: This colorful fudge is not just a treat for the taste buds but also for the eyes, making it a hit at any gathering.
Quick and easy preparation: With under 20 minutes to whip up this no-bake dessert, you’ll have a delicious treat ready in no time—perfect for busy days or unexpected guests.
Nostalgic flavors: The combination of creamy white chocolate and childhood favorite Fruity Pebbles evokes warm memories, bringing a smile to everyone’s face.
Customizable ingredients: Feel free to add in your favorites or substitute for dietary preferences without compromising on flavor. Options like semi-sweet chocolate or gluten-free flour ensure that this fudge can cater to different tastes.
Perfectly shareable: Cut into bite-sized pieces, it’s an ideal dessert for parties, potlucks, or cozy nights in, pleasing a wide variety of palates. Don’t forget to pair it with ice cream or yogurt for an extra indulgence!
Want even more delicious inspiration? Check out our Easy No-Bake Treats for quick dessert options to satisfy your sweet tooth!
Fruity Pebbles Fudge Ingredients
For the Fudge Base
• White Chocolate – the star ingredient that brings creamy sweetness; consider replacing half with semi-sweet chocolate for a richer taste.
• Fruity Pebbles Cereal – adds vibrant color and delightful crunch; no substitutions suggested!
• Butter – essential for richness and creamy consistency; you can use dairy-free butter for a vegan option.
• Granulated Sugar – sweetens the fudge perfectly, balancing the flavors; it’s essential for texture, so no substitutes here.
• Flour – helps thicken and structure the fudge; gluten-free flour can work just as well.
• Sweetened Condensed Milk – provides creaminess and moisture; swap for evaporated milk with a pinch of sugar or coconut milk for a lighter touch.
Optional Toppings
• Additional Fruity Pebbles – sprinkle on top for an eye-catching finish and extra crunch; they keep the fun factor alive!
Step‑by‑Step Instructions for Fruity Pebbles Fudge
Step 1: Melt the White Chocolate
Begin by placing your white chocolate in a microwave-safe bowl. Heat it in the microwave in 15-second intervals, stirring between each interval until it’s completely smooth and creamy. This should take about 1 to 2 minutes total. Be careful not to scorch it!
Step 2: Prepare the Flour
In a separate microwave-safe bowl, add the flour and heat it for one minute. This step is crucial as it eliminates any potential bacteria, ensuring your Fruity Pebbles fudge is safe to enjoy. After heating, stir the flour to cool slightly before adding it to the mixture.
Step 3: Cream the Butter and Sugar
In a large mixing bowl, combine the softened butter and granulated sugar. Using an electric mixer, beat the mixture on medium speed until it becomes light and fluffy, which usually takes about 3 minutes. The mixture should turn pale and airy, providing the perfect base for your fudge.
Step 4: Combine with Melted White Chocolate
Once the butter and sugar are fluffy, add the melted white chocolate to this mixture. Stir gently with a spatula until fully combined, ensuring no lumps remain. The rich white chocolate should blend seamlessly into the sweet butter mixture, creating a luscious base for your Fruity Pebbles fudge.
Step 5: Incorporate the Warmed Flour
Carefully fold in the warmed flour into the chocolate mixture. Stir until it is smooth and free of lumps—this will help structure your fudge. Follow this by adding the sweetened condensed milk, mixing thoroughly until everything is well combined and creamy, marking the base of your fruity treat.
Step 6: Fold in the Fruity Pebbles
Now, gently fold in the Fruity Pebbles cereal. Aim to distribute them evenly throughout the fudge mixture without crushing the colorful pieces, maintaining that delightful crunch. This step is where the vibrant color and flavor of the Fruity Pebbles come alive, enhancing the fudge’s fun factor.
Step 7: Transfer to the Dish
Pour the fudge mixture into a greased 8×8-inch dish, spreading it evenly into the corners with a spatula. Optionally, sprinkle some extra Fruity Pebbles on top for an eye-catching finish. The mixture should be smooth and evenly distributed, ready to set in the fridge.
Step 8: Set and Cut the Fudge
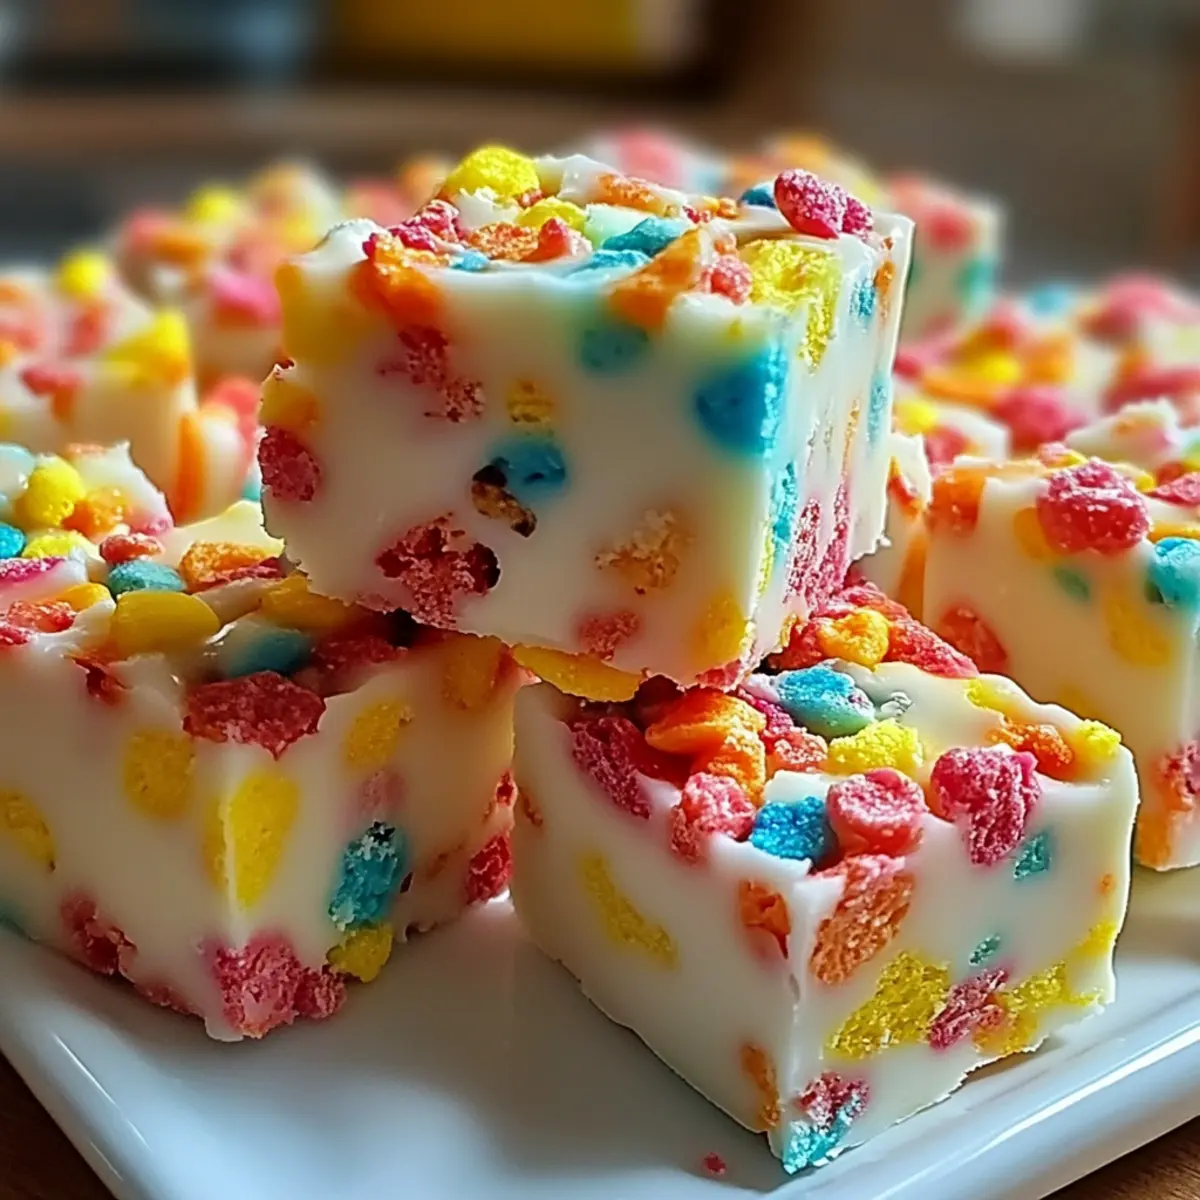
Refrigerate the fudge for at least one hour, allowing it to firm up. Once set, remove it from the fridge and cut it into 2×2 inch pieces using a sharp knife. Running the knife under hot water for cleaner cuts can be helpful, ensuring your Fruity Pebbles fudge pieces are perfect for sharing.
Expert Tips for Fruity Pebbles Fudge
-
Melt Chocolate Slowly: Avoid scorching the white chocolate by melting it in short 15-second bursts, stirring frequently to achieve a smooth consistency.
-
Use a Warm Knife: For clean cuts, warm your knife under hot water before slicing the fudge, giving you nice, even squares that are beautiful for sharing.
-
Chill Properly: Allow the fudge to set in the refrigerator for at least one hour. This extra chill time ensures a firm texture that holds up well when cut.
-
Mix Carefully: When folding in the Fruity Pebbles, do so gently to keep them intact and maintain the crunchy texture that defines this fun dessert.
-
Store Wisely: Keep the Fruity Pebbles fudge in an airtight container at room temperature for up to a week or in the fridge for extended freshness.
Fruity Pebbles Fudge Variations
Feel free to get creative with your Fruity Pebbles fudge; these fun twists and swaps will elevate your treat to new heights!
-
Chocolate Variation: Mix in semi-sweet chocolate for a delightful balance of chocolate and vanilla flavors. This little adjustment brings a richer depth while maintaining that nostalgic sweetness.
-
Nutty Crunch: Add chopped walnuts or pecans for a crunchy surprise. The nuttiness beautifully complements the sweetness and gives a wholesome edge.
-
Alternative Cereal: Switch out Fruity Pebbles for your favorite cereal to explore new flavors. Whether it’s Cocoa Pebbles or even a fruity granola, the options are limitless and fun!
-
Dairy-Free Delight: Use coconut oil instead of butter and dairy-free chocolate to make your fudge vegan-friendly without sacrificing creaminess. You’ll love how it still maintains a vibrant taste!
-
Fruity Twist: Incorporate mini marshmallows or dried fruit for a chewy texture and a burst of natural sweetness. This adds another dimension to the fudge, perfect for adventurous eaters.
-
Spicy Fun: Introduce a pinch of cinnamon or cayenne for a kick of warmth. The spice elevates the overall flavor profile and surprises the palate beautifully.
-
Swaps for Sweetened Condensed Milk: Replace it with evaporated milk or coconut milk for a coconut twist. This brings a tropical flair to the fudge, making it even more delightful, especially during the warm months.
-
Party Additions: Fold in colorful sprinkles or edible glitter before pouring the mixture into the dish for an eye-catching presentation. Perfect for festive occasions, this little touch can make your fudge the centerpiece of treats!
Explore these variations and don’t hesitate to experiment more, making each batch uniquely yours! If you’re looking for more exciting ideas, be sure to check our Easy No-Bake Treats for quick dessert options, tailored for your sweet cravings!
Storage Tips for Fruity Pebbles Fudge
Room Temperature: Store the Fruity Pebbles fudge in an airtight container at room temperature for up to 1 week, ensuring it stays fresh and flavorful.
Fridge: For extended freshness, place the fudge in the refrigerator where it can last up to 2 weeks. Just make sure it’s in a sealed container to avoid absorbing any odors.
Freezer: You can freeze the fudge for up to 3 months. Cut it into pieces, wrap them tightly in plastic wrap, and place in a freezer-safe container for easy serving later.
Reheating: If you prefer to enjoy it slightly warm, gently microwave a piece for 10-15 seconds; this will bring back its creamy texture while keeping the crunch of the Fruity Pebbles intact.
Make Ahead Options
These Fruity Pebbles fudge bars are a fantastic choice for meal prep enthusiasts! You can prepare the entire fudge mixture up to 24 hours in advance; simply follow the instructions up until pouring the mixture into the dish. Once you’ve spread it into the greased 8×8-inch dish, refrigerate it until you’re ready to serve. To maintain their delightful texture and vibrant colors, be sure to store the fudge in an airtight container in the refrigerator if you’re prepping beyond a day. When it’s time to enjoy, just remove from the fridge, slice them into bite-sized pieces, and watch your loved ones smile at this easy, delicious treat!
What to Serve with Fruity Pebbles Fudge?
Brighten up your dessert table with delightful pairings that complement this colorful treat’s sweetness and texture.
- Vanilla Ice Cream: The creamy texture of vanilla ice cream contrasts beautifully with the rich fudge, creating a comforting dessert duo. Drizzle some hot fudge on top for an extra indulgence!
- Fresh Berries: Juicy strawberries or blueberries provide a refreshing burst of flavor, balancing the sweetness of the fudge while adding a pop of color to your plate.
- Whipped Cream: Soft, fluffy whipped cream is always a crowd-pleaser, enhancing richness without overpowering the fudge’s nostalgic taste.
- Chocolate Milk: For the young and young at heart, a tall glass of cold chocolate milk makes a fun and delicious drink that pairs perfectly with the creamy fudge.
- Fruit Salad: A light and fruity salad can help cleanse the palate between sweet bites, featuring a medley of seasonal fruits for vibrant flavors and textures.
- Coffee or Tea: For adults, a warm cup of coffee or tea offers a delightful contrast, balancing sweetness with richness and creating a cozy finishing touch to your treat.
- Nutty Trail Mix: A crunchy mix of nuts and dried fruits provides an interesting textural contrast to the fudge’s smooth richness, plus it’s a great snacking option on the side.
- Sprinkles: An extra touch of sprinkles on top of whipped cream elevates the fun factor, making this duo an instant hit with kids and adults alike.
Fruity Pebbles Fudge Recipe FAQs
How do I choose ripe ingredients for Fruity Pebbles fudge?
For this recipe, the ingredients don’t have a ripeness concern like fresh fruits do, but it’s essential to select high-quality white chocolate. Look for a brand with cocoa butter listed as a primary ingredient for the best creamy results.
How should I store leftover Fruity Pebbles fudge?
Store the fudge in an airtight container at room temperature for up to one week. If you want it to last longer, place it in the refrigerator, where it can remain fresh for up to two weeks. Just ensure it’s sealed tightly to keep out any odors from your fridge!
Can I freeze Fruity Pebbles fudge?
Absolutely! To freeze, cut the fudge into squares and wrap each piece tightly in plastic wrap. Place them in a freezer-safe container or bag. It will stay good for up to three months. When you’re ready to enjoy, simply let it thaw at room temperature or microwave for 10-15 seconds to regain its deliciously creamy texture.
What should I do if my fudge doesn’t set properly?
If your fudge won’t set, it may need more cooling time. Place it back in the fridge for an additional hour and check again. If it still feels too soft, re-melt the fudge mixture gently, mix in a bit more flour (1 to 2 tablespoons at a time), and refrigerate until firm.
Can this fudge be made vegan or gluten-free?
Yes, it can! For a vegan version, simply use dairy-free butter and substitute sweetened condensed milk with coconut milk. If you’re making it gluten-free, swap regular flour for gluten-free flour, and you’re all set to enjoy this colorful treat without worry!
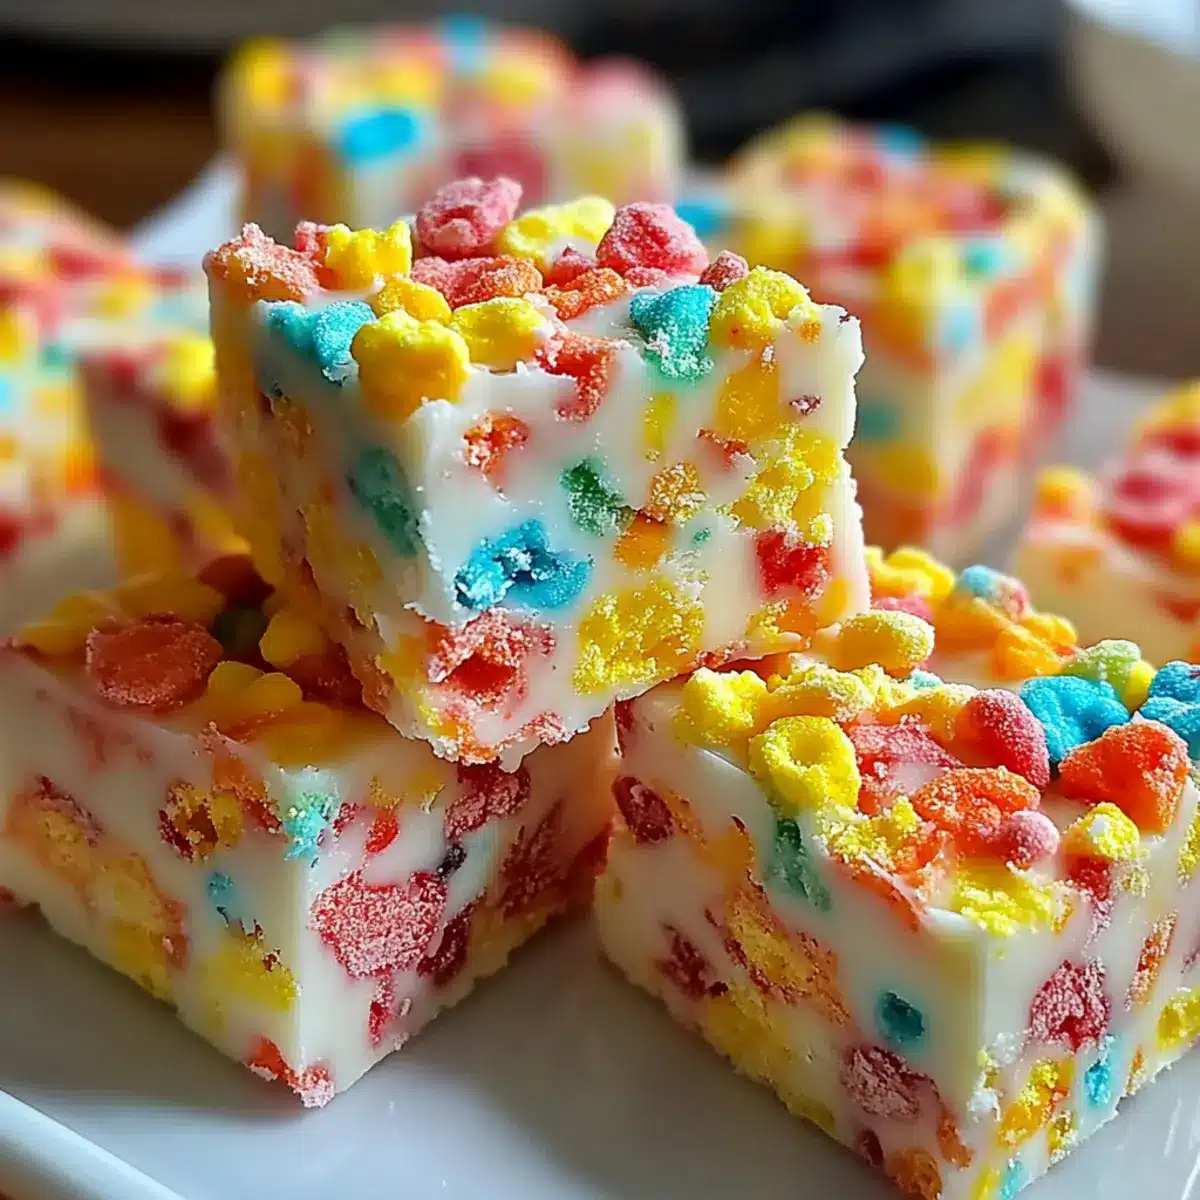
Fruity Pebbles Fudge: A Colorful No-Bake Delight for Everyone
Ingredients
Equipment
Method
- Melt the White Chocolate in a microwave-safe bowl in 15-second intervals until smooth.
- Prepare the Flour by heating it in a separate bowl for one minute to eliminate bacteria.
- Cream the Butter and Sugar using an electric mixer until light and fluffy, about 3 minutes.
- Combine with the melted White Chocolate and stir until fully blended.
- Incorporate the warmed Flour into the mixture until smooth, then add the Sweetened Condensed Milk.
- Fold in the Fruity Pebbles carefully to maintain their texture.
- Transfer the mixture to a greased 8x8-inch dish, smoothing it out evenly.
- Set in the refrigerator for at least one hour before cutting into 2x2 inch pieces.
Leave a Reply