
As the sun blazes down and the scent of summer fills the air, there’s something truly magical about turning simple ingredients into joy-filled treats. That’s where my Red White and Blue Cupcakes come in, rounding out your holiday gatherings with a splash of patriotism. This easy recipe features fluffy white chocolate cupcakes topped with vibrant swirls of buttercream—a real showstopper at any picnic or barbecue. Not only do these cupcakes deliver on taste, but they’re also a breeze to whip up, making your seasonal celebrations even sweeter. So, are you ready to impress your friends and family with a festive dessert that looks as good as it tastes? Let’s dive in!
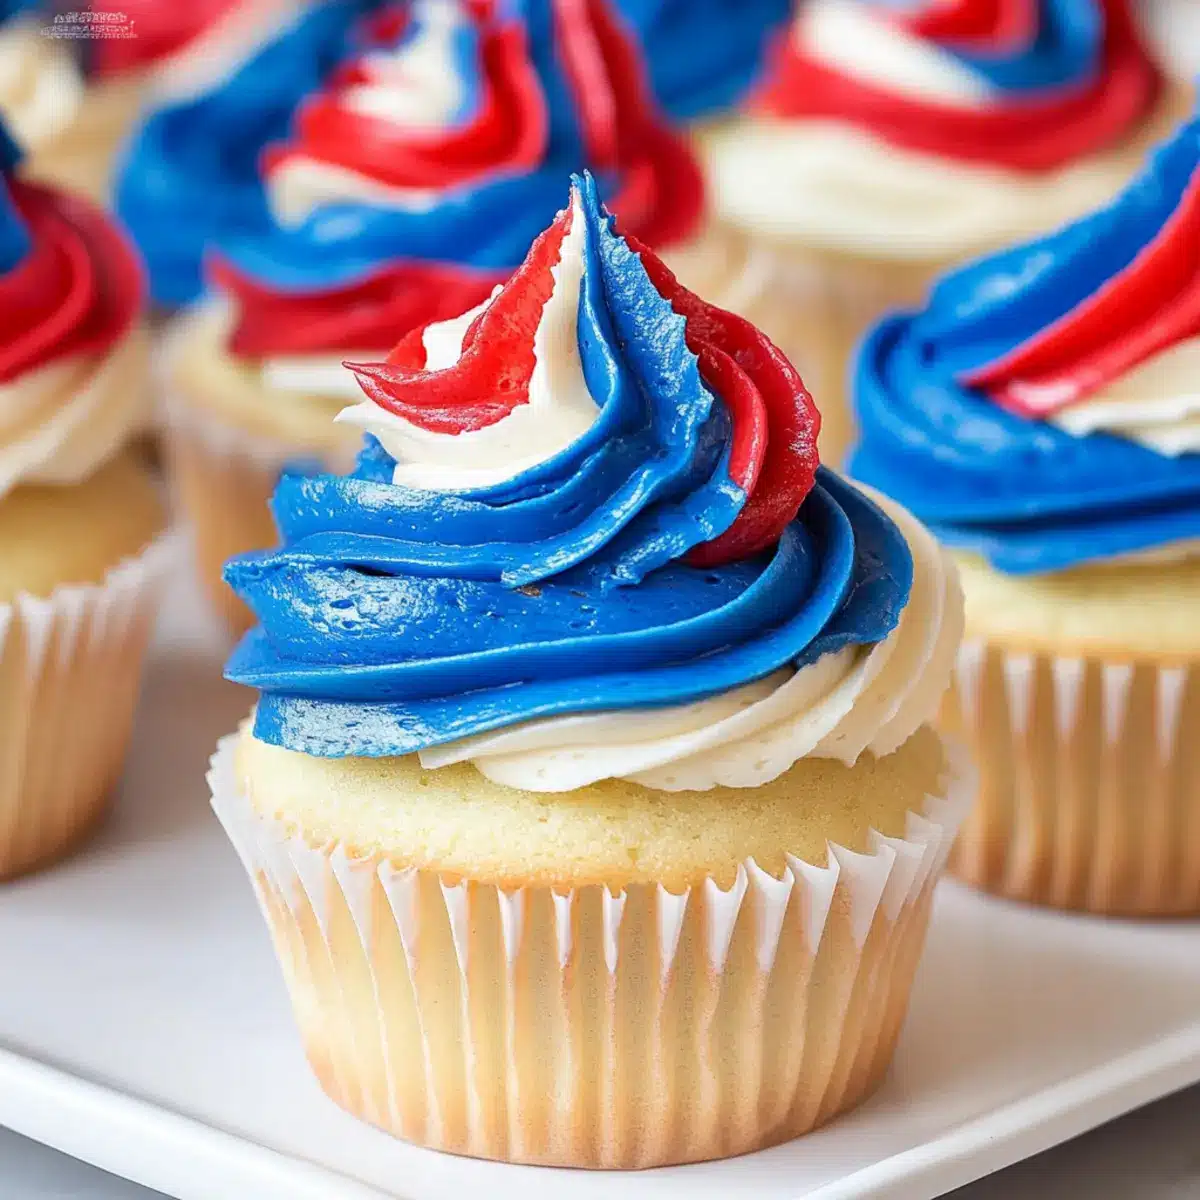
Why Are These Cupcakes Perfect for Summer?
Deliciously Festive: These Red White and Blue Cupcakes bring a burst of color and flavor to any summer gathering, instantly elevating your dessert game.
Easy to Make: With simple steps, you can whip up these stunning treats faster than you can say “Fourth of July.”
Crowd-Pleaser: Their visually appealing design and scrumptious taste make them a sure hit, delighting kids and adults alike at barbecues, picnics, or even seasonal celebrations.
Customizable: Feel free to add sprinkles or swap the buttercream with cream cheese frosting for a unique twist! For more festive fun, check out my Cauldron Mac Cheese recipe.
Memorable Treat: Not just tasty, but the vibrant swirls of color also create a memorable dessert experience that will have everyone talking long after the last bite.
Red White and Blue Cupcakes Ingredients
For the Cupcakes
• Butter (9 tablespoons, softened) – Adds moisture and richness; if needed, you can use margarine.
• Granulated Sugar (¾ cup plus 1½ tablespoons) – Provides sweetness and structure; substitute with coconut sugar for a less refined option.
• White Chocolate (¼ cup) – Enhances flavor and moisture; milk or dark chocolate can be used, but will alter the color.
• All-Purpose Flour (2 cups) – Forms the base structure; opt for a gluten-free blend for a different dietary need.
• Baking Powder (1 teaspoon) – Helps cupcakes rise; no substitutions recommended.
• Baking Soda (¼ teaspoon) – Balances acidity and aids in rising; no substitutions recommended.
• Milk (1 cup plus 1 tablespoon) – Adds moisture; almond milk or any dairy-free alternative works too.
• Vanilla Extract (1 teaspoon) – Enhances flavor; almond extract can be a nice change.
• Egg Whites (3) – Provides structure and lightness; whole eggs will change the texture.
For the Buttercream Frosting
• Confectioner’s Sugar (5½ cups) – Sweetens and thickens the frosting; no substitutions recommended.
• Butter (2 cups, softened) – The base for buttercream, giving it a dreamy texture; margarine is a possible alternative.
• Whipping Cream (2 tablespoons) – Adds lightness to the frosting; milk can be used for a thicker option.
• Food Coloring – Perfect for creating vibrant swirls in the frosting; use gel colors for better consistency.
These Red White and Blue Cupcakes not only look stunning but are irresistibly delicious, making them the star of your summer celebrations!
Step‑by‑Step Instructions for Red White and Blue Cupcakes
Step 1: Preparation
Start by preheating your oven to 350°F (175°C). While waiting, line a cupcake pan with colorful liners that will add to your festive presentation. This sets the foundation for your gorgeous Red White and Blue Cupcakes—visual excitement starts with a bright, cheery pan!
Step 2: Batter Mixing
In a stand mixer, cream together 9 tablespoons of softened butter and most of your granulated sugar until the mixture appears light and fluffy, about 3-4 minutes. Next, melt ¼ cup of white chocolate carefully in the microwave, then allow it to cool slightly before adding it to the butter mixture, stirring until fully incorporated for that rich flavor.
Step 3: Adding Dry Ingredients
Gradually add 2 cups of all-purpose flour, 1 teaspoon of baking powder, ¼ teaspoon of baking soda, 1 cup plus 1 tablespoon of milk, and 1 teaspoon of vanilla extract to the butter mixture. Mix until just combined—be careful not to overmix, as this keeps your Red White and Blue Cupcakes light and airy, achieving that perfect batter texture.
Step 4: Whipping Egg Whites
In a separate bowl, whisk 3 egg whites until fluffy peaks form, gradually incorporating the reserved sugar (1½ tablespoons) as you whisk. This will take about 2-3 minutes and results in a light mixture that brings the cupcakes their characteristic lift and fluffiness. Gently fold the whipped egg whites into your batter, being cautious not to deflate them.
Step 5: Baking
Distribute the batter evenly into the lined cupcake pan, filling each liner about two-thirds full. Place the cupcake pan in the preheated oven and bake for 19-20 minutes. Monitor closely; they are done when a toothpick inserted in the center comes out clean. Once baked, remove them from the oven and let them cool completely on a wire rack.
Step 6: Buttercream Preparation
While the cupcakes cool, prepare the buttercream frosting. In a clean mixing bowl, cream 2 cups of softened butter until light and fluffy. Gradually add in 5½ cups of confectioner’s sugar, along with 1 teaspoon of vanilla extract and 2 tablespoons of whipping cream. Beat until the frosting is airy and well combined, ready to envelope your cupcakes beautifully.
Step 7: Coloring Frosting
Divide the prepared buttercream into three separate bowls. Leave one bowl plain white for the frosting base, then add vibrant food coloring to the other two bowls, creating your desired red and blue shades. Mix thoroughly for an eye-catching finish that truly reflects the spirit of your Red White and Blue Cupcakes.
Step 8: Decorating
To create a stunning swirl effect, use a piece of plastic wrap to layer the colored frosting together, then pipe it directly onto the cooled cupcakes. Start in the center and swirl outwards, achieving that special festive look. The colorful decoration is what makes these cupcakes the showstopper of your summer celebration!
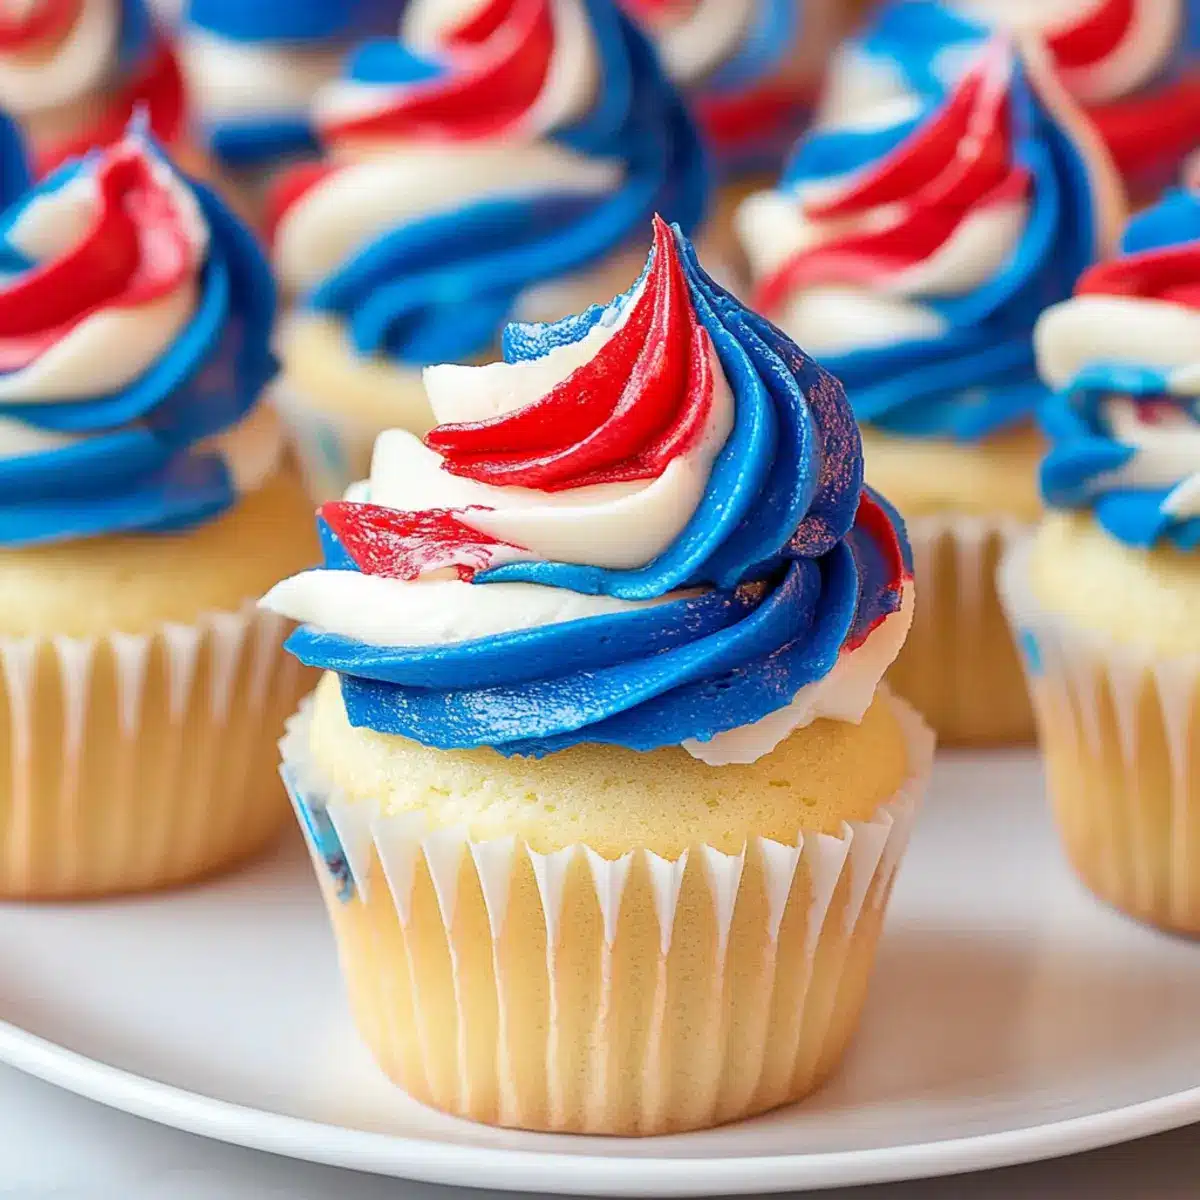
What to Serve with Red White and Blue Cupcakes?
Elevate your summer gathering with delightful accompaniments that complement the vibrant, sweet flavors of these festive cupcakes.
-
Fresh Fruit Salad: A colorful medley of seasonal fruits adds freshness and balances the sweetness of the cupcakes, making for a light, refreshing side.
-
Grilled Vegetables: Smoky, charred vegetables like zucchini or bell peppers provide a savory contrast, making for a well-rounded meal that delights the palate.
-
Lemonade or Iced Tea: Cool down with a pitcher of tangy lemonade or refreshing iced tea—perfect drinks to quench thirst while enhancing the summertime vibe.
-
Ice Cream Sundaes: Pair the cupcakes with a scoop of vanilla or strawberry ice cream, topped with chocolate drizzle or sprinkles, for a delightful dessert experience.
-
Patriotic Charcuterie Board: Create a fun spread featuring cheeses, meats, and crackers, incorporating red and blue fruits for visual festivity—ideal for sharing amid friends and family.
-
Chocolate Dipped Strawberries: These sweet treats not only look stunning but also provide a luxurious, fruity flavor that echoes the colors of your cupcakes.
-
Classic Macaroni Salad: Creamy and savory, this classic side dish is a barbecue staple that pairs well with sweet desserts, adding great texture to your plate.
-
S’mores Bites: Mini s’mores made with graham crackers, chocolate, and marshmallows echo summer campfires and are sure to impress any crowd.
-
Vanilla Milkshake: A thick and creamy shake adds a nostalgic touch, perfectly complementing the flavors of these Red White and Blue Cupcakes while keeping the festive theme alive.
How to Store and Freeze Red White and Blue Cupcakes
- Room Temperature: Unfrosted cupcakes can be stored in an airtight container at room temperature for up to 4 days, keeping them soft and fresh.
- Fridge: If already frosted, store the cupcakes in the refrigerator to maintain their freshness. They can last for about 3 days but may lose some of their visual appeal.
- Freezer: For longer storage, unfrosted cupcakes can be frozen for up to 3 months. Wrap them in plastic wrap and place them in a freezer bag for best results.
- Reheating: To enjoy frozen cupcakes, thaw them in the refrigerator overnight. Once thawed, you can frost them or enjoy them as is!
Expert Tips for Red White and Blue Cupcakes
-
Room Temperature Ingredients: Make sure your butter and eggs are at room temperature to achieve better emulsification, resulting in a lighter texture for your Red White and Blue Cupcakes.
-
Gentle Mixing: Avoid overmixing your batter after adding dry ingredients. Mix just until incorporated to maintain the fluffiness and lightness essential to delicious cupcakes.
-
Perfect Peaks: When whisking egg whites, ensure your bowl is completely clean and dry—any fat can prevent them from reaching stiff peaks. A light, fluffy egg white mixture is key!
-
Watch the Bake Time: Keep a close eye on your cupcakes as they bake. Ovens can vary, so check a minute or two before the suggested time to avoid overbaking.
-
Decorating Fun: When piping frosting, start with a dollop in the center for easier control, ensuring a beautiful swirl that will impress your guests and highlight your vibrant flavors!
Make Ahead Options
These Red White and Blue Cupcakes are perfect for busy home cooks looking to streamline their holiday preparations! You can make the cupcakes themselves up to 2 days in advance, allowing them to cool completely before storing them in an airtight container at room temperature to maintain their moist texture. Additionally, you can prepare the buttercream frosting up to 3 days ahead; simply keep it refrigerated in a sealed container and bring it to room temperature before piping it onto your cupcakes. When ready to serve, just frost and decorate your cupcakes, and they’ll be just as delicious and visually stunning as if made fresh that day! Enjoy the time-saving benefits while impressing your guests!
Red White and Blue Cupcakes Customization
Feel free to unleash your creativity and tailor these delightful cupcakes to match your taste or dietary needs!
-
Gluten-Free: Use a gluten-free flour blend in place of all-purpose flour for a sweet treat everyone can enjoy.
Swap the flour with a quality gluten-free mix, and you’re ready to create a batch that doesn’t skimp on taste or texture. -
Dairy-Free: Substitute almond milk and dairy-free butter for a creamy, guilt-free option.
Your cupcakes will remain moist and flavorful, making them perfect for those who prefer a dairy-free diet! -
Flavor Infusion: Replace white chocolate with flavored chips like raspberry or dark chocolate.
This brings an exciting twist and unforgettable flavor profile, ensuring each bite surprises your taste buds. -
Frosting Twist: Try using cream cheese frosting instead of buttercream for a tangy kick.
The rich and creamy blend can elevate the taste and add a delightful creaminess that complements the sweetness beautifully. -
Fun Toppings: Top your cupcakes with festive sprinkles or edible glitter to amp up the visual appeal.
This extra touch makes them irresistibly inviting and perfect for any celebration, reminiscent of a dessert table at a party. -
Mini Cupcakes: Bake mini versions for an adorable bite-sized treat that’s perfect for gatherings.
These delightful little cupcakes will be a hit at any picnic or barbecue, allowing guests to enjoy without the commitment of a full-sized cupcake.
For even more delightful recipes, check out my adorable Skeleton Cupcakes Spooky or the scrumptious Sticky Steak Bites for more culinary inspiration!
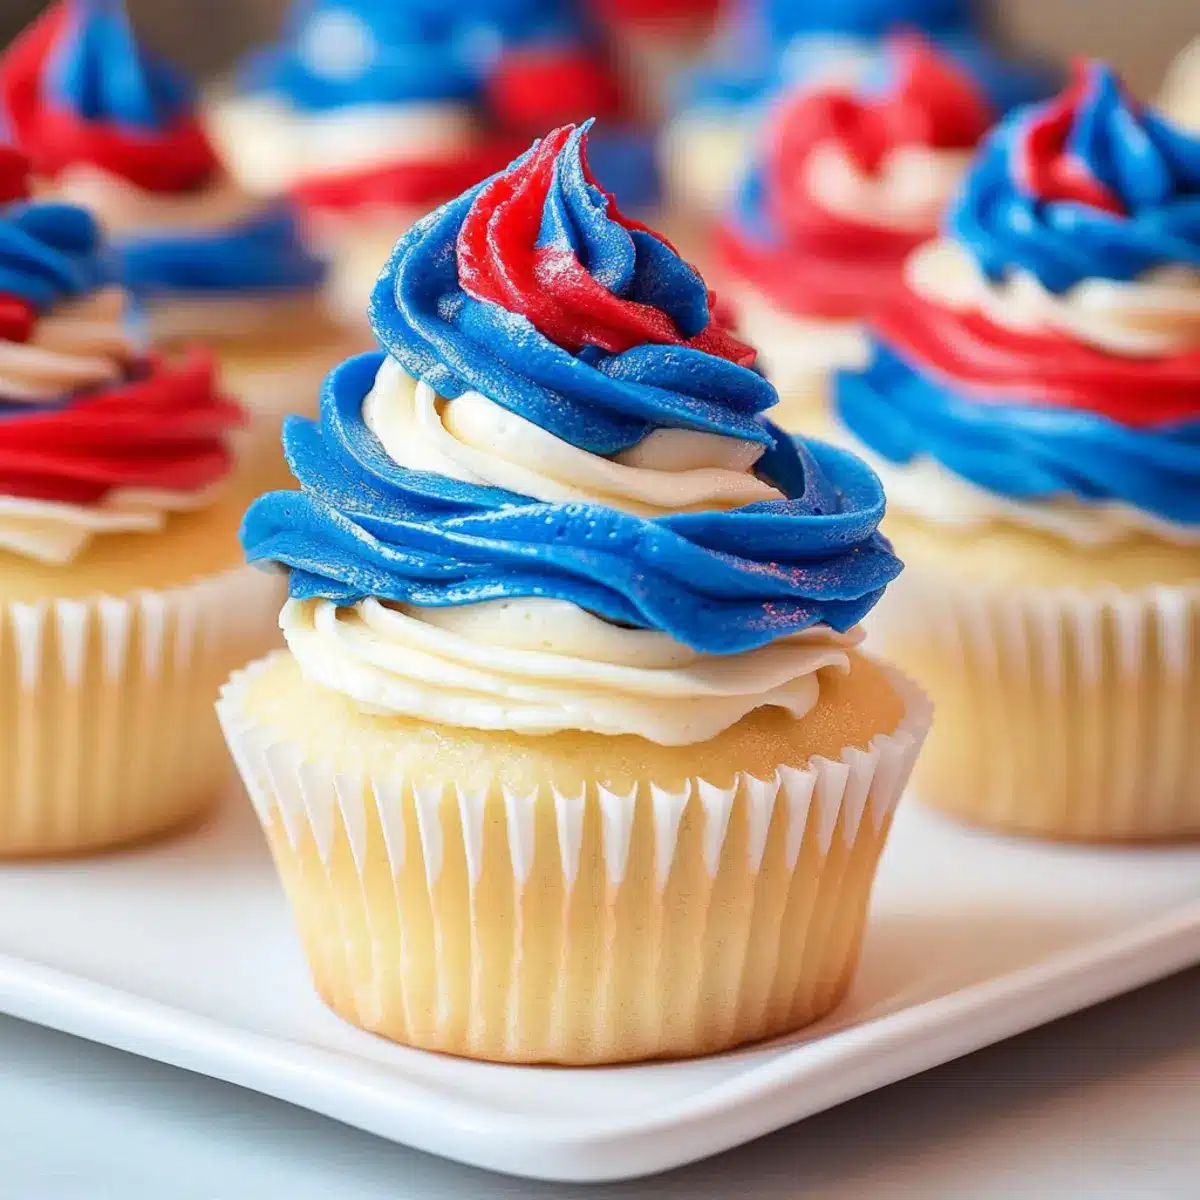
Red White and Blue Cupcakes Recipe FAQs
What is the best way to select ripe ingredients for the cupcakes?
Absolutely! For the best results, choose your butter and eggs at room temperature for optimal emulsification. This contributes to the light, fluffy texture of the cupcakes. Look for fresh ingredients, especially when selecting your eggs—check for a clean shell and no cracks.
How should I store my leftover cupcakes?
If you have any leftover cupcakes, unfrosted ones can be kept in an airtight container at room temperature for up to 4 days. For frosted cupcakes, the refrigerator is your best bet, storing them for about 3 days. Just remember to place them in a container where they won’t get squished!
Can I freeze the Red White and Blue Cupcakes?
Yes, you definitely can! To freeze unfrosted cupcakes, wrap each one tightly in plastic wrap and place them in a freezer bag. They can be frozen for up to 3 months. When you’re ready to enjoy them, simply thaw in the refrigerator overnight before frosting and serving.
What if my cupcakes don’t rise properly?
Oh no! If your cupcakes don’t rise, it could be due to overmixing the batter or old leavening agents. Always check the expiration dates on your baking soda and baking powder; they should be fresh for the best rise. Additionally, be gentle when folding in the whipped egg whites, as overmixing can deflate that airiness needed for a good rise.
Are these cupcakes safe for those with allergies?
Very! This recipe contains common allergens such as eggs, dairy, and gluten, so it’s important to be cautious if you or your guests have any food allergies. For a gluten-free version, you can substitute all-purpose flour with a gluten-free flour blend. If you’re looking to make these cupcakes dairy-free, feel free to use margarine instead of butter and select a dairy-free milk alternative. Always verify ingredient labels for allergens!
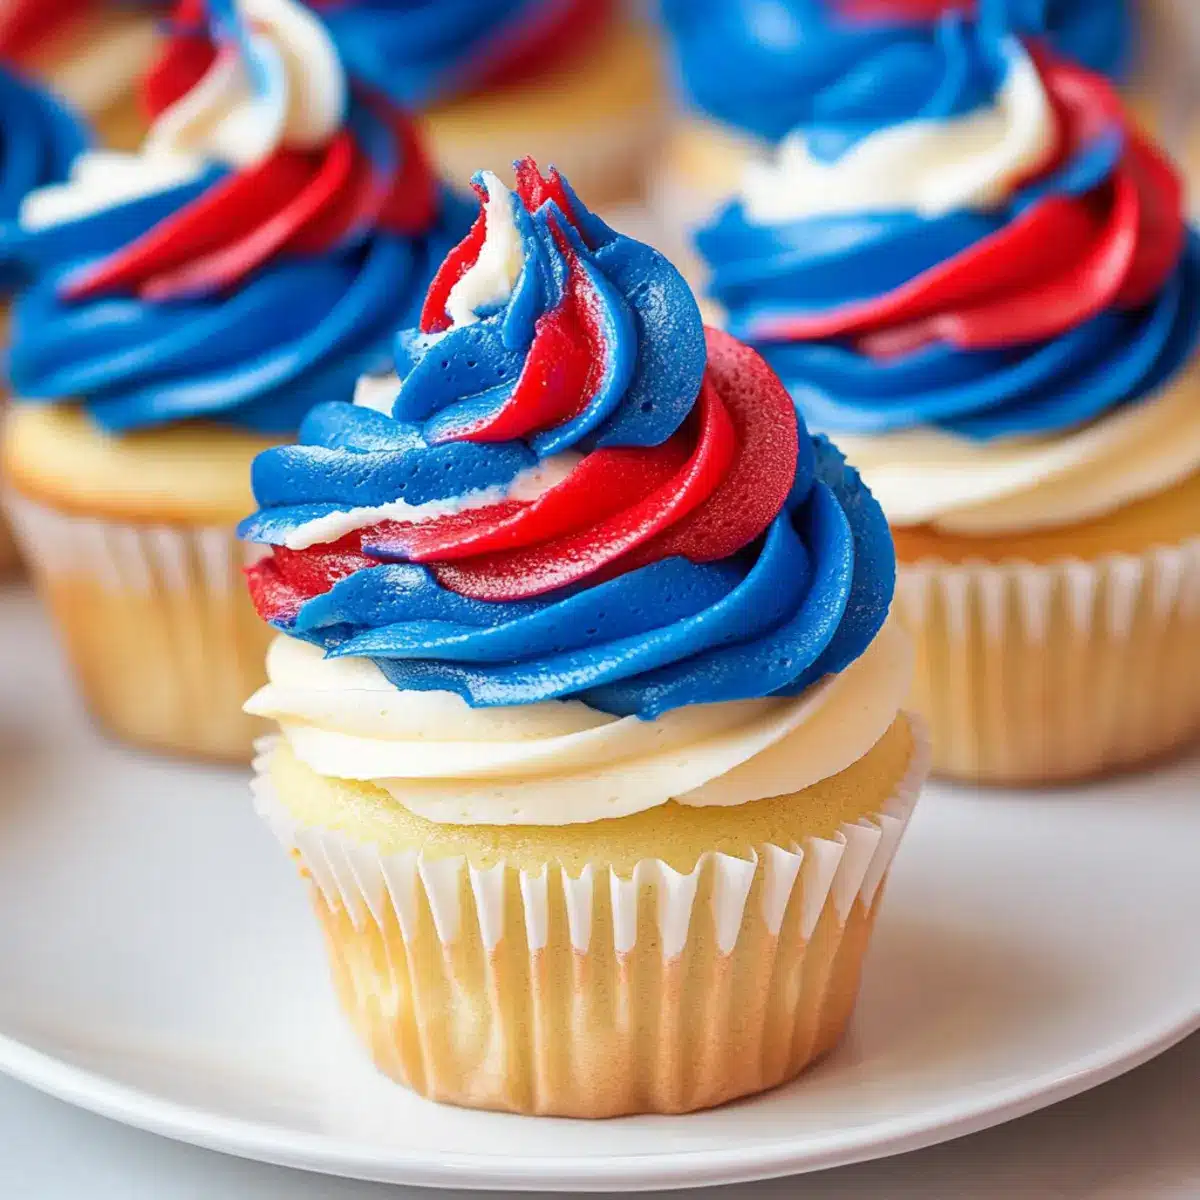
Red White and Blue Cupcakes for Perfect Summer Celebrations
Ingredients
Equipment
Method
- Preheat your oven to 350°F (175°C) and line a cupcake pan with colorful liners.
- In a stand mixer, cream together 9 tablespoons of softened butter and most of the granulated sugar until light and fluffy.
- Melt ¼ cup of white chocolate and let it cool slightly before adding to the butter mixture.
- Gradually add 2 cups of all-purpose flour, 1 teaspoon of baking powder, ¼ teaspoon of baking soda, 1 cup plus 1 tablespoon of milk, and 1 teaspoon of vanilla extract to the butter mixture.
- Whisk 3 egg whites until fluffy peaks form, gradually adding 1½ tablespoons of reserved sugar.
- Fold the whipped egg whites into the batter gently.
- Evenly distribute the batter into the cupcake pan, filling each liner about two-thirds full and bake for 19-20 minutes.
- Allow the cupcakes to cool completely on a wire rack.
- In a clean mixing bowl, cream 2 cups of softened butter until fluffy; gradually add 5½ cups of confectioner's sugar, 1 teaspoon of vanilla extract, and 2 tablespoons of whipping cream.
- Divide the buttercream into three bowls; color two with vibrant food coloring.
- Use a piece of plastic wrap to layer the colored frosting for a swirl effect and pipe it onto the cooled cupcakes.
Leave a Reply