
There’s a certain delight that sweeps over me when I whip up a dish that feels both cozy and fancy, like my Easy Honey Garlic Butter Shrimp. With just a mere 20 minutes required, you can impress family or friends with perfectly crispy shrimp nestled in a luscious sauce that balances sweet honey and rich garlic. The beauty of this recipe lies not only in its quick prep time but also in its ability to transform your dinner table into something extraordinary without the fuss of complicated techniques. Whether you’re craving a weeknight meal or looking to treat a loved one, this shrimp dish is sure to be a hit. Are you ready to discover how simple gourmet dining can actually be?
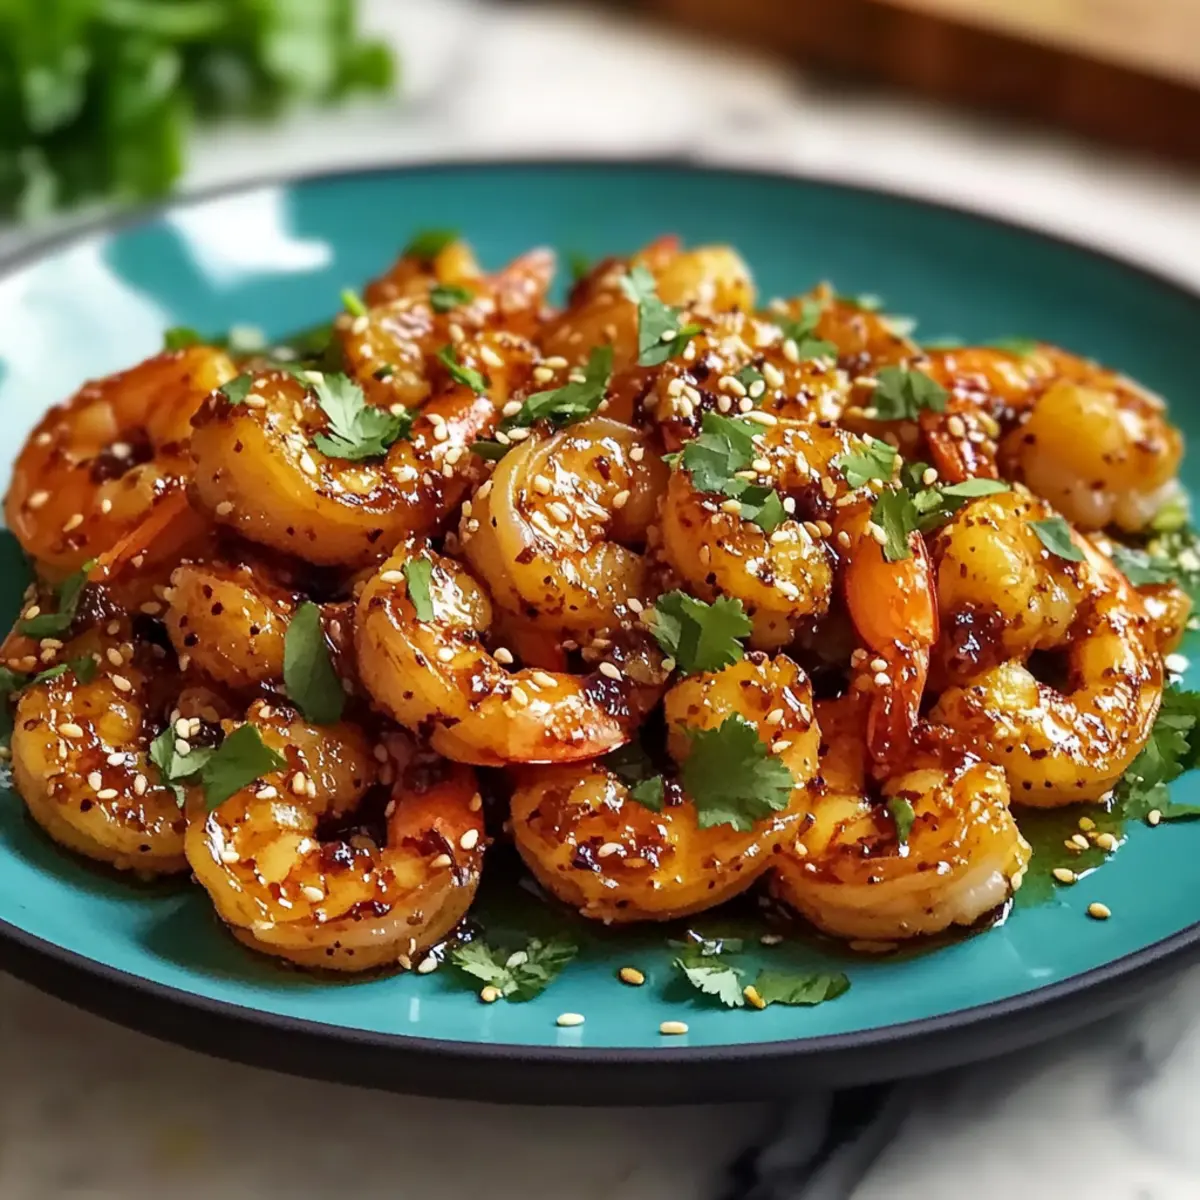
Why is Honey Garlic Butter Shrimp Irresistible?
Flavor Explosion: Sweet honey and buttery garlic unite to create a sauce that’s nothing short of addictive.
Quick to Prepare: You can whip this dish up in just 20 minutes, perfect for busy weeknights or spontaneous gatherings.
Impressive Presentation: The shrink-wrapped, glossy sauce elevates the dish, making it feel gourmet while being simple enough for any home cook!
Versatile Pairings: Serve it over rice, or add it to lettuce wraps for a fresh twist. Alternatively, try it with quinoa for a wholesome meal!
Customizable: Easily modify the recipe by swapping shrimp for chicken or tofu, and feel free to toss in some veggies for added nutrition. For more tantalizing options, check out my Crunchy Honey Cajun Chicken Bowls for a flavor-packed meal and Peanut Butter Cup Dump Cake as a sweet dessert to round out your evening!
Honey Garlic Butter Shrimp Ingredients
• The key to this delicious dish lies in the high-quality ingredients used.
For the Shrimp
- Large Shrimp (1 lb, peeled and deveined, tail-on) – This is the main protein; feel free to use any firm white fish for a seafood alternative.
- Cornstarch (1/3 cup) – It provides a crispy coating; substitute with flour for a different texture, but expect varying results.
- Vegetable Oil – Needed for shallow frying; any neutral oil like canola or grapeseed works well.
For the Sauce
- Olive Oil (1 tbsp) – Enhances the flavor of the sauce; you can use avocado oil if desired.
- Toasted Sesame Oil (1/2 tsp) – It adds a rich, nutty flavor; be cautious as it’s potent and should not be directly replaced.
- Unsalted Butter (3 1/2 tbsp) – Adds richness to the sauce; margarine can be used for a dairy-free version.
- Chili Powder (1 tsp) – Provides warmth and depth; adjust the amount to your spice preference or swap for paprika for a milder taste.
- Salt (3/4 tsp) – Essential to enhance flavors; tweak this according to your taste.
- Black Pepper (1/2 tsp) – Adds mild heat that complements the dish; you can omit for a less spicy flavor.
For Aromatics
- Garlic (1 tbsp, freshly minced) – Indispensable for aroma and flavor; do not substitute.
- Fresh Ginger (1/2 tsp, grated) – Adds zest to the recipe; you might replace it with ground ginger, but fresh is recommended for optimal flavor.
- Red Pepper Flakes (1 tsp) – Provides additional spice; consider leaving it out for a milder version.
For Balancing Flavor
- Honey (4 tbsp) – The sweetener that ties everything together in this Honey Garlic Butter Shrimp dish; maple syrup is a great vegan alternative.
- Rice Vinegar (1 tbsp) – Offers acidity for balance; apple cider vinegar works as a suitable substitute.
For Garnish
- Fresh Cilantro (2 tbsp, chopped) – Adds freshness; use parsley if cilantro isn’t your thing.
- Toasted Sesame Seeds (1 tsp) – For crunch and visual appeal; optional but highly recommended.
Step‑by‑Step Instructions for Honey Garlic Butter Shrimp
Step 1: Prep Shrimp
Start by patting the shrimp dry using paper towels, removing any excess moisture to ensure they achieve a crisp, golden crust during frying. This step is crucial for getting that delightful texture that makes your Honey Garlic Butter Shrimp stand out. Set the prepared shrimp aside while you get your frying station ready.
Step 2: Coat Shrimp
In a shallow bowl, combine the cornstarch, chili powder, salt, and black pepper. Dredge each shrimp in the mixture, ensuring they are well-coated, then shake off any excess. This crispy coating will add an irresistible crunch to your dish. Once coated, arrange the shrimp on a plate and prepare for frying.
Step 3: Heat Oil
In a large skillet, pour in enough vegetable oil to cover the bottom and heat over medium-high heat for about 2-3 minutes, or until shimmering. You’ll know it’s ready when small bubbles form around the edges. Make sure the oil is hot enough for frying; this ensures your Honey Garlic Butter Shrimp cooks evenly and becomes beautifully crispy.
Step 4: Fry Shrimp
Carefully add a batch of the coated shrimp to the skillet, being cautious not to overcrowd the pan. Fry the shrimp for about 1.5 to 2 minutes on each side, or until they are golden brown and cooked through. Use tongs to flip them gently, then transfer them to a paper towel-lined plate to drain any excess oil and keep them crispy while you cook the remaining shrimp.
Step 5: Make Sauce
In the same skillet, reduce the heat to medium and add 1 tablespoon of olive oil along with 1.5 tablespoons of butter. After the butter melts, add the minced garlic and grated ginger, stirring constantly for about 30 seconds until fragrant. This aromatic base is essential for the velvety sauce that will envelop your Honey Garlic Butter Shrimp.
Step 6: Combine Ingredients
Next, stir in the red pepper flakes, honey, and rice vinegar, allowing the mixture to simmer for about 1 minute. You want to see it become glossy and bubbly, which indicates that the flavors are melding beautifully together. This flavorful sauce is what makes the shrimp truly irresistible.
Step 7: Finish Sauce
Whisk in the remaining 2 tablespoons of butter and the toasted sesame oil, stirring until creamy and well combined. This method gives your sauce a luxurious texture, enhancing the overall dish. As the butter melts, it will enrich the sauce, beautifully coating your Honey Garlic Butter Shrimp.
Step 8: Toss Shrimp
Gently return the fried shrimp to the skillet and toss them in the sauce, ensuring each piece is thoroughly coated. Allow them to simmer together for an additional 30 seconds, letting those flavors meld perfectly. The shrimp will soak up all that sweet, garlicky goodness, bringing the dish to life.
Step 9: Serve
Carefully transfer your Honey Garlic Butter Shrimp to a serving plate, garnishing with freshly chopped cilantro and toasted sesame seeds for a lovely finishing touch. Serve immediately and watch as your family or friends delight in this mouthwatering dish, perfect alongside rice or in wraps.
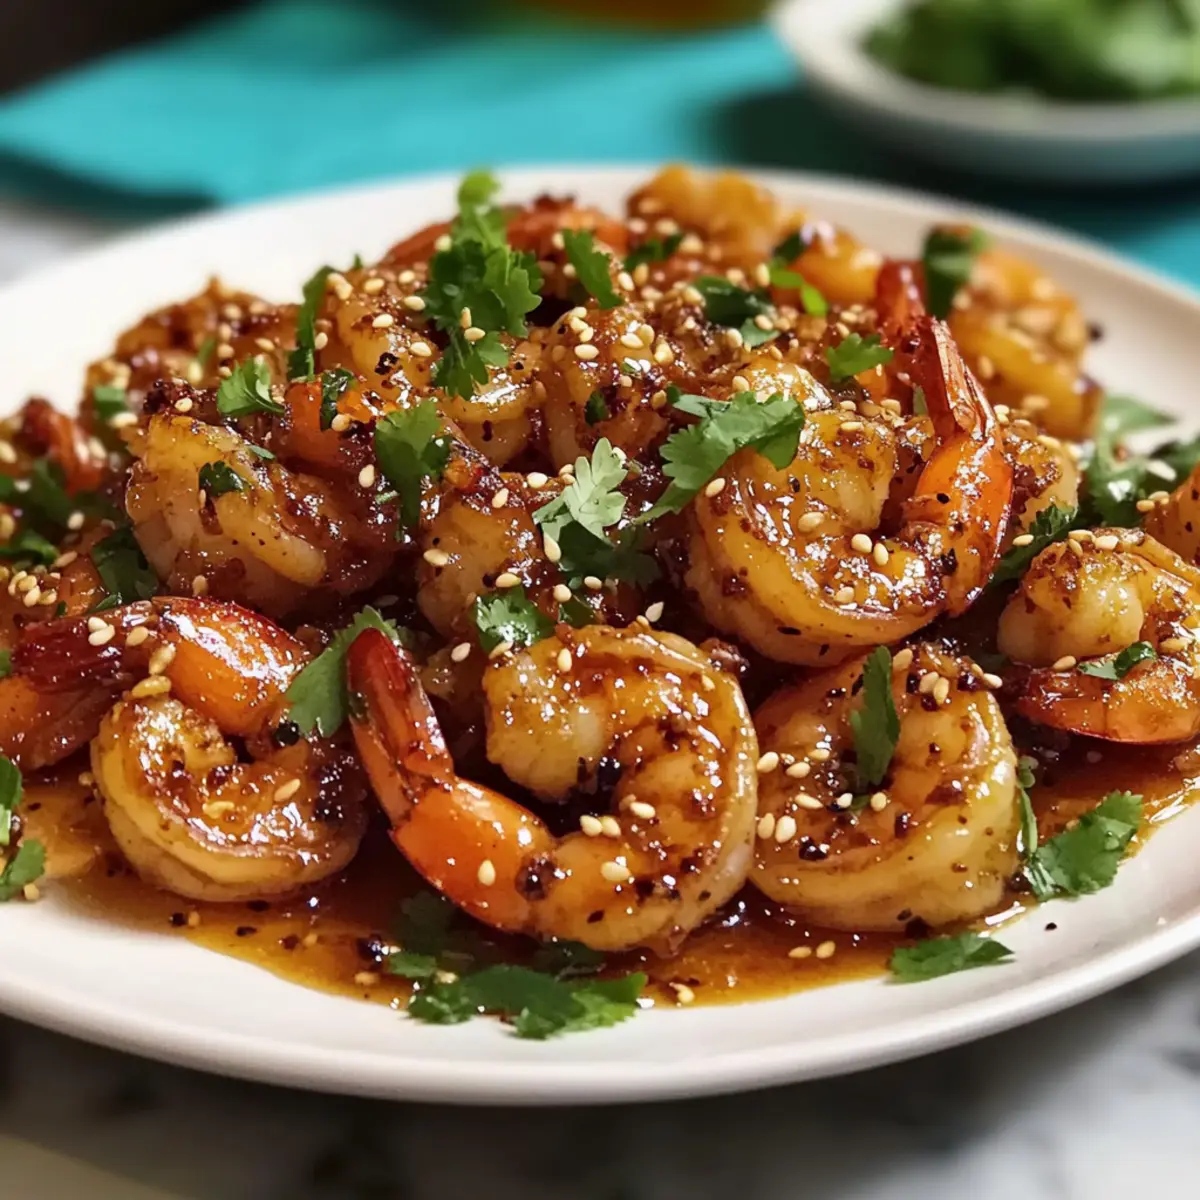
How to Store and Freeze Honey Garlic Butter Shrimp
-
Fridge: Store leftovers in an airtight container for up to 2 days. Gently reheat in a skillet over low heat to retain the shrimp’s texture and avoid overcooking.
-
Freezer: If you have extra cooked Honey Garlic Butter Shrimp, freeze it in a freezer-safe container for up to 3 months. To reheat, thaw in the fridge overnight and warm in a skillet.
-
Reheating: To ensure the shrimp stay tender, reheat them on low heat, adding a tablespoon of water or broth to the pan to create steam and prevent drying out.
-
Avoid Microwaving: While tempting, avoid microwaving shrimp as it can lead to a rubbery texture. Stick to skillet reheating for the best results.
Honey Garlic Butter Shrimp Variations
Feel free to embrace your culinary creativity and make this Honey Garlic Butter Shrimp your own with these delightful twists!
-
Chicken Replacement: Swap shrimp for chicken breast, thinly sliced. Cook until golden and juicy for a comforting alternative.
-
Tofu Option: For a plant-based twist, use firm tofu instead. Pan-fry until crispy, soaking up the addictive sauce beautifully.
-
Veggie Boost: Toss in colorful bell peppers or snap peas during the sauce-making step for added nutrition and crunch.
-
Spice Switch: Try sriracha in place of red pepper flakes for a bolder kick of heat. Adjust to your spice preference for the perfect balance.
-
Creamy Addition: Stir in a splash of coconut milk for a creamy sauce that offers a unique take while remaining light and flavorful.
-
Zesty Citrus: Add a squeeze of fresh lime juice before serving to enhance the vibrant flavors and brighten up the dish!
-
Different Garnishes: Switch cilantro with fresh parsley or scallions for a completely different herbaceous flair that suits your palate.
-
Grain Base: Serve atop quinoa for a nutty flavor or brown rice for a healthier twist, creating a heartier meal.
For more tasty inspirations, check out my Cheesy Chicken Garlic Bread Sandwich for a comforting bite or dive into a delicious Honey Lime Chicken Avocado Rice for another flavorful adventure!
Expert Tips for Honey Garlic Butter Shrimp
-
Pat Dry: Ensuring shrimp are patted dry is crucial for achieving that delightful crispiness when frying. Excess moisture can lead to a soggy texture.
-
Work in Batches: Avoid overcrowding the skillet while frying; fry shrimp in batches to ensure even cooking and a perfect golden color.
-
Stir Constantly: When making the sauce, stir garlic and ginger constantly to prevent them from browning—browned bits can alter the delicious flavor of your Honey Garlic Butter Shrimp.
-
Adjust Spices: Feel free to adjust red pepper flakes based on your heat preference. You can also try swapping them with sriracha for a more intense flavor.
-
Use Fresh Ingredients: For the best taste, always opt for fresh garlic and ginger. They provide a vibrant flavor that enhances this delicious dish.
Make Ahead Options
These Easy Honey Garlic Butter Shrimp are perfect for meal prep, allowing you to enjoy gourmet flavors without the last-minute rush! You can coat the shrimp in cornstarch up to 24 hours in advance; this will keep them crispy when cooked. If you prefer, you can also prepare the sauce (honey, garlic, ginger, and spices) and store it in an airtight container in the refrigerator for up to 3 days—this will ensure all those wonderful flavors meld together. When ready to serve, simply fry the shrimp and toss them in your pre-made sauce for a quick and delicious meal that feels just as indulgent as when freshly made!
What to Serve with Easy Honey Garlic Butter Shrimp
When your kitchen is filled with the intoxicating aroma of garlic and honey, you’ll want to create the perfect meal experience to match.
- Steamed Jasmine Rice: Its delicate aroma and fluffy texture provide the ideal canvas, soaking up the luscious sauce while being wonderfully neutral.
- Sautéed Broccoli: Bright green and tender, the slight bitterness of broccoli beautifully balances the sweetness of the shrimp. It’s a refreshing side that adds texture and nutrition.
- Crispy Spring Rolls: These crunchy delights offer a delightful contrast to the velvety shrimp. Fill them with fresh veggies and serve with a dipping sauce for a fun appetizer.
- Quinoa Pilaf: Nutty and wholesome, quinoa complements the meal while adding a boost of fiber. Toss in some herbs for extra flavor and freshness!
- Lettuce Wraps: For a light and crunchy counterpart, wrap the shrimp in cool lettuce leaves. Drizzle with extra sauce for a refreshing twist that’s also fun to eat!
- Chilled White Wine: A crisp Sauvignon Blanc pairs wonderfully, cutting through the richness of the sauce, while its acidity complements the honey. Perfect for an evening of entertaining!
- Mango Salsa: This fruity accompaniment introduces a tropical sweetness and vibrant colors that elevate the meal, creating layers of flavor and visual appeal.
- Garlic Butter Noodles: Tossed in a simple garlic butter sauce, these noodles make a comforting and filling partner for the shrimp, ensuring no sauce goes untouched.
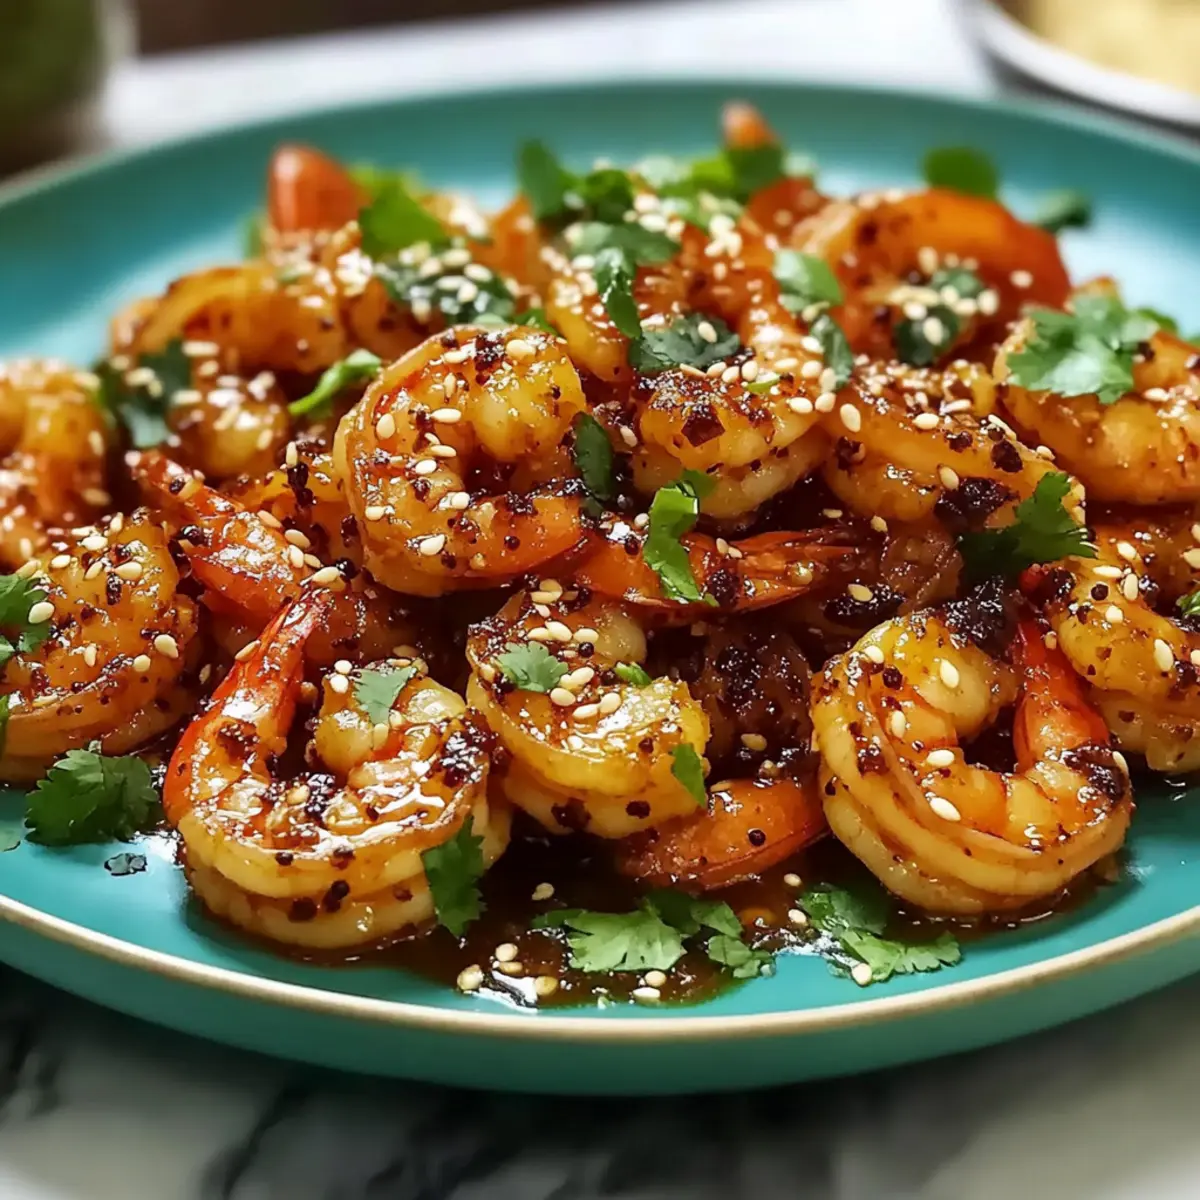
Honey Garlic Butter Shrimp Recipe FAQs
What type of shrimp should I use for Honey Garlic Butter Shrimp?
I recommend using large shrimp that are peeled and deveined, with the tails on for visual appeal. If you have seafood allergies, you can substitute shrimp with any firm white fish like tilapia or cod.
How should I store leftovers of Honey Garlic Butter Shrimp?
Store any leftovers in an airtight container in the refrigerator. They will stay fresh for up to 2 days. When you’re ready to enjoy, gently reheat them in a skillet over low heat to maintain their texture and flavor without overcooking.
Can I freeze cooked Honey Garlic Butter Shrimp?
Absolutely! If you have extra shrimp, place them in a freezer-safe container, and they can last for up to 3 months. When you’re ready to eat, thaw them in the fridge overnight and warm them gently in a skillet to bring them back to life.
Why is my shrimp not getting crispy?
The key to crispy shrimp is ensuring they are patted dry before coating. Excess moisture can lead to sogginess. Additionally, avoid overcrowding the skillet while frying, as this can trap steam and prevent crisping. Fry in batches, if necessary, for the best results!
Can I modify this recipe for dietary restrictions?
Definitely! If you’re looking for alternatives, you can replace butter with margarine for a dairy-free option. For a vegan twist, use maple syrup instead of honey and substitute shrimp for tofu or chicken. Always check for allergens regarding specific ingredients to fit your dietary needs.
Is there a way to spice this dish up further?
If you love heat, consider adding more red pepper flakes or swapping them for sriracha to increase the spice level. You can also add sautéed vegetables like bell peppers or snap peas to enhance color and nutrition, making your Honey Garlic Butter Shrimp even more flavorful!
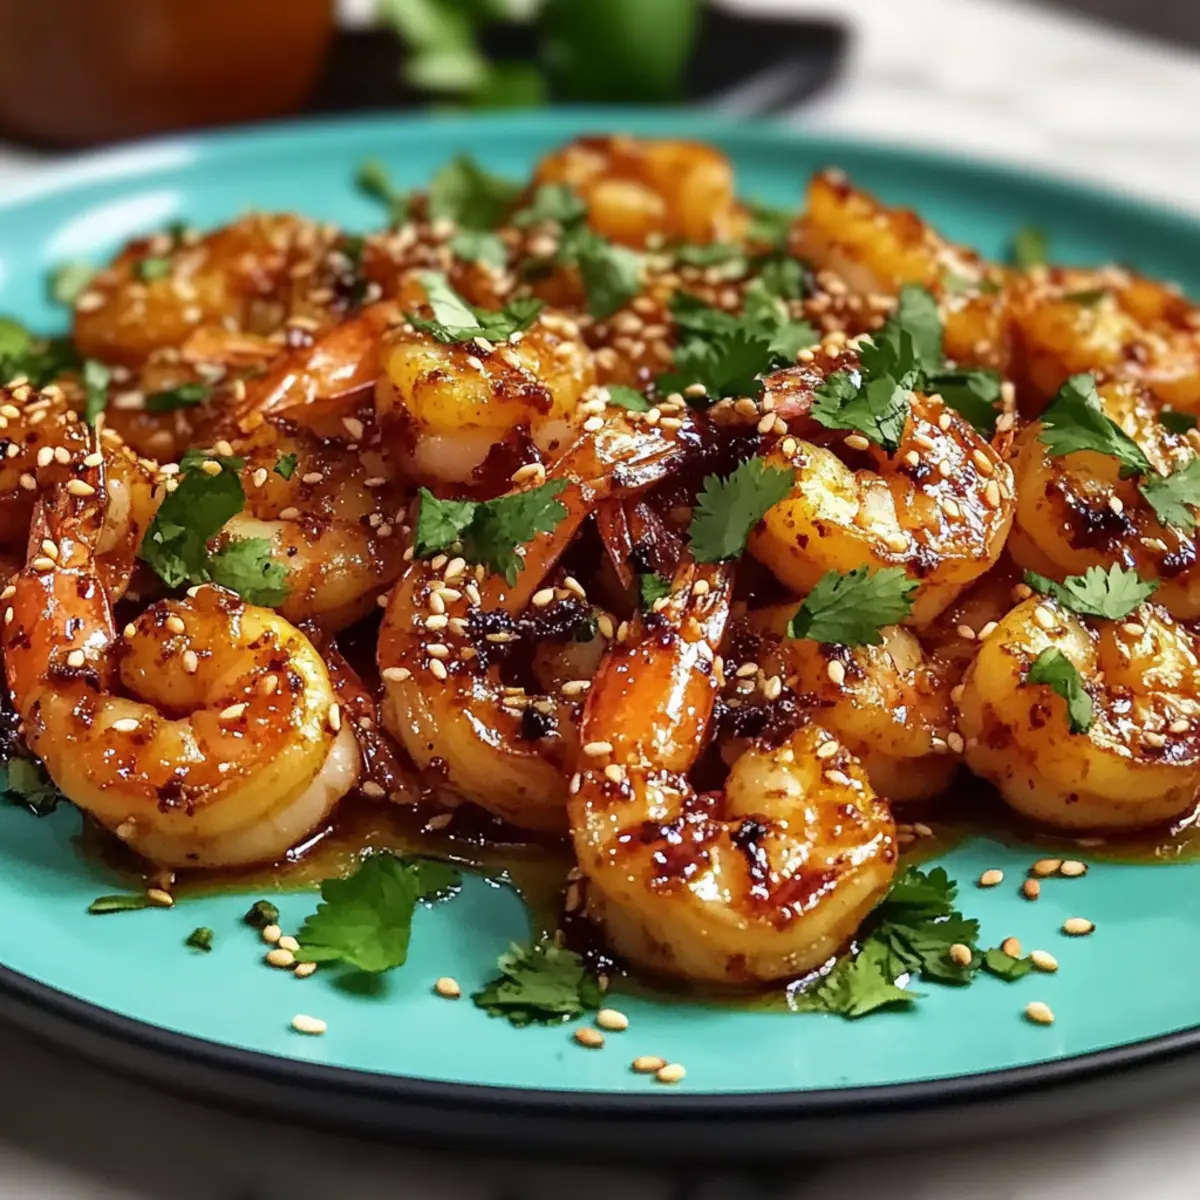
Honey Garlic Butter Shrimp That Will Make You Weak at the Knees
Ingredients
Equipment
Method
- Start by patting the shrimp dry using paper towels, removing any excess moisture.
- In a shallow bowl, combine cornstarch, chili powder, salt, and black pepper. Dredge the shrimp in the mixture, ensuring they are well-coated.
- In a large skillet, heat enough vegetable oil over medium-high heat for about 2-3 minutes, until shimmering.
- Carefully add a batch of the coated shrimp to the skillet and fry for about 1.5 to 2 minutes on each side until golden brown.
- In the same skillet, reduce heat to medium, add olive oil, and 1.5 tablespoons of butter. Add minced garlic and ginger, stirring until fragrant.
- Stir in red pepper flakes, honey, and rice vinegar, letting the mixture simmer for about 1 minute.
- Whisk in the remaining 2 tablespoons of butter and the toasted sesame oil until creamy and well combined.
- Return the fried shrimp to the skillet and toss them in the sauce, letting them simmer for an additional 30 seconds.
- Transfer to a serving plate, garnishing with cilantro and sesame seeds. Serve immediately.
Leave a Reply