
As I stood in my kitchen, the aroma of sizzling salmon mingled with memories of seaside picnics and carefree days. It’s those simple moments that inspired my craving for Crispy Salmon Cakes, a dish that’s become a beloved staple at my table. In just 20 minutes, you can whip up these golden delights—perfectly crispy on the outside and tender inside, they’re far superior to anything you’d find in a takeout box. Not only are they quick to prepare, but they also bring the whole family together, making for a beautiful evening of homemade goodness. Whether you’re looking for a weeknight meal or an elegant treat for friends, these salmon cakes will surely please every palate. Are you ready to experience a fresh twist on seafood comfort food? Let’s dive into the recipe!
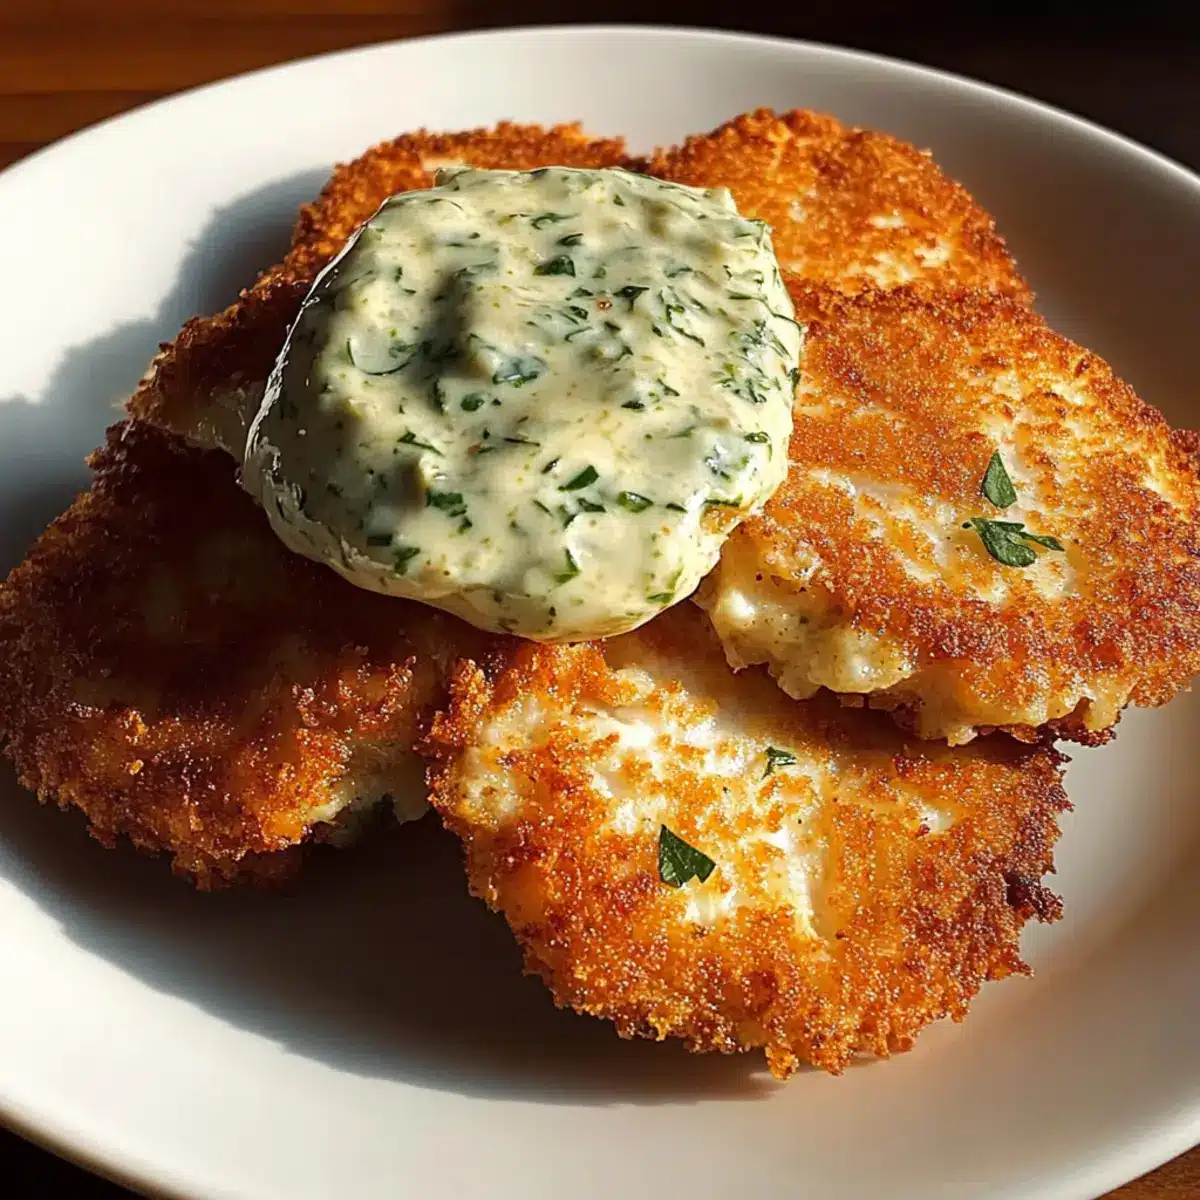
Why You’ll Love These Crispy Salmon Cakes
Quick Preparation: In just 20 minutes, you can create a delicious dish that rivals any restaurant takeout.
Flavors That Shine: The combination of fresh salmon, herbs, and creamy dill sauce adds a burst of flavor that will have you savoring every bite.
Crowd-Pleasing Appeal: Perfect for family dinners or gatherings, these cakes are sure to impress both picky eaters and seafood lovers alike.
Versatile Delight: Customize your salmon cakes with various seafood or veggies, making them suitable for any occasion—try them with Coconut Crusted Salmon for even more delicious options!
Healthy and Filling: Packed with protein and made from fresh ingredients, while also offering gluten-free options, these cakes are a guilt-free hit at any meal!
Crispy Salmon Cakes Ingredients
For the Salmon Cakes
• Salmon – Main protein source; use fresh or canned salmon for convenience.
• Breadcrumbs – Provides structure and crunch; seasoned breadcrumbs enhance the flavor.
• Mayonnaise – Binds ingredients together; adjust for desired consistency to prevent cakes from falling apart.
• Dill – Adds a fresh, aromatic flavor; parsley can be used for a milder taste.
• Lemon Juice – Brightens the overall flavor; freshly squeezed is best for optimal taste.
• Eggs – Acts as a binder; ensure they’re well-beaten for even consistency.
• Salt and Pepper – Enhances flavor; adjust to your taste preferences.
For the Serving Sauce
• Sour Cream or Yogurt – For a creamy base in your dill sauce, either can add a richer texture to the topping.
• Fresh Dill – Use for an extra pop of flavor in the sauce, perfectly complementing your Crispy Salmon Cakes.
• Garlic Powder – Optional; adds a depth of flavor that pairs nicely with the salmon.
Now that you have the delicious Crispy Salmon Cakes ingredients, let’s bring this beautiful recipe to life!
Step‑by‑Step Instructions for Crispy Salmon Cakes
Step 1: Mix the Ingredients
In a large mixing bowl, combine the flaked salmon, seasoned breadcrumbs, mayonnaise, fresh dill, lemon juice, and well-beaten eggs. Use a fork to mix thoroughly until all ingredients are evenly incorporated. You should achieve a cohesive mixture that holds together well—this will form the foundation of your delicious Crispy Salmon Cakes.
Step 2: Form the Patties
Once the mixture is well-combined, dampen your hands and scoop out portions to form patties about the size of your palm. Gently shape them, keeping them about ¾ inch thick to ensure even cooking. Place each patty on a plate, and if the mixture feels too wet, add a little more breadcrumbs to achieve the optimal consistency.
Step 3: Preheat the Skillet
Heat a skillet over medium-high heat and add enough oil to generously coat the bottom, about 2-3 tablespoons. Allow the oil to heat up until shimmering, indicating it’s ready for frying. This is crucial for achieving that mouthwatering crispy exterior on your Salmon Cakes, so don’t rush this step.
Step 4: Cook the Salmon Cakes
Carefully place the formed patties in the hot skillet, giving them enough space to cook without crowding. Fry the cakes for about 4-5 minutes on one side, or until they turn a beautiful golden brown. You’ll know they’re ready to flip when they easily release from the skillet.
Step 5: Flip and Finish Cooking
Once golden, gently flip the salmon cakes using a spatula, and cook for an additional 4-5 minutes on the other side. Keep an eye on them to ensure they don’t burn. You’re aiming for a lovely crispiness all around, so adjust the heat as necessary for even cooking.
Step 6: Serve with Sauce
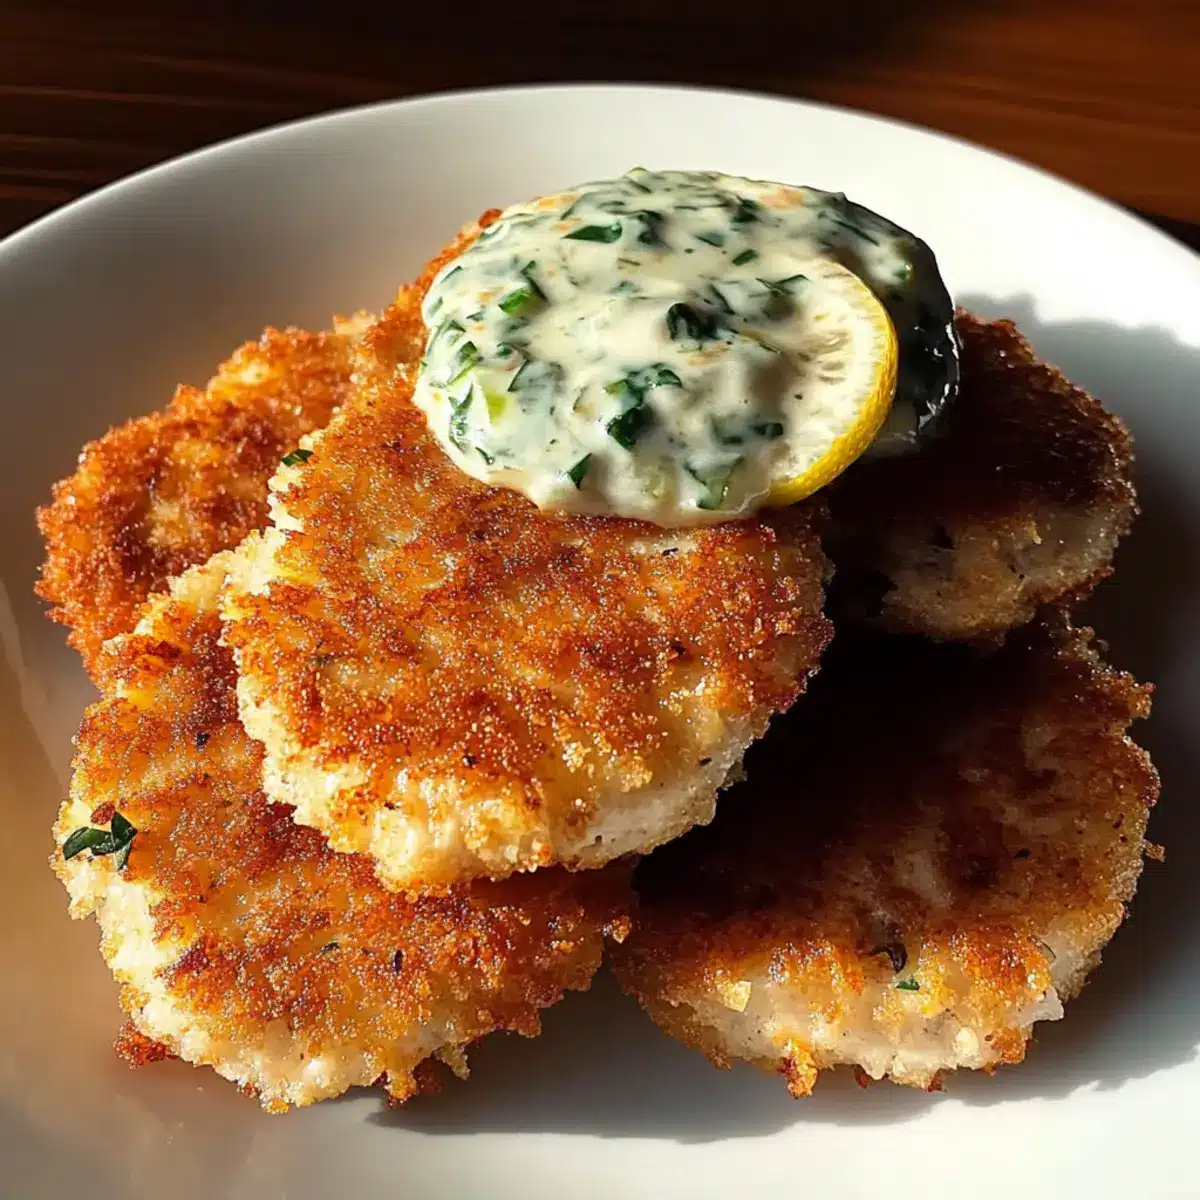
Once your Crispy Salmon Cakes are golden and cooked through—look for an internal temperature of 145°F—remove them from the skillet and place on a paper towel-lined plate to drain excess oil. Serve immediately with a creamy dill sauce, elevating your meal with a burst of flavor that complements the tender fish beautifully.
Make Ahead Options
These Crispy Salmon Cakes are perfect for meal prep enthusiasts! You can mix the salmon mixture up to 24 hours in advance and refrigerate it, covered, to save time on a busy weeknight. Simply form the patties and store them in an airtight container, separating each layer with parchment paper to maintain quality. If you want to go longer, you can freeze the uncooked salmon cakes for up to 2 months; just thaw them overnight in the fridge before cooking. When you’re ready to serve, fry them in a hot skillet as instructed, and enjoy your delicious homemade dish with minimal effort!
Crispy Salmon Cakes Variations & Substitutions
Feel free to personalize your Crispy Salmon Cakes with these delightful options that will enhance flavor and cater to your preferences!
-
Tuna Twist: Substitute salmon with canned tuna for a quick and budget-friendly option that still delivers on taste.
For a family favorite, tuna offers a different flavor profile while keeping the essence of the dish intact. -
Crab Delight: Swap in lump crab meat for a touch of luxury and a sweet, tender texture that’s sure to impress your guests.
Imagine the melt-in-your-mouth goodness of crab cakes, bringing you a taste of coastal dining right at home. -
Vegetable Boost: Add finely chopped bell peppers, zucchini, or scallions to the mix for a colorful and nutritious twist.
This variation introduces a veggie crunch that complements the salmon while packing in extra flavor and nutrients. -
Spice It Up: Incorporate some diced jalapeños, red chili flakes, or hot sauce for a spicy kick that warms your senses.
Perfect for those who love a little heat—this addition transforms classic salmon cakes into a tantalizing treat! -
Herb Variations: Replace dill with fresh cilantro or basil for an aromatic twist that brings new life to the flavor profile.
Enjoy the refreshing qualities of cilantro or the aromatic depth of basil, which can elevate your cakes to new heights. -
Avocado Cream Sauce: Instead of dill sauce, try a luscious avocado cream or zesty sriracha aioli for a rich and creamy pairing.
This offers a delightful contrast, with creamy textures and vibrant flavors that will leave you craving more. -
Gluten-Free Alternative: Use gluten-free breadcrumbs or crushed rice crackers to cater to gluten-free diners while maintaining delicious crunch.
It’s a great way to ensure everyone can enjoy this dish without sacrificing flavor or texture!
These variations can offer a refreshing take on your Crispy Salmon Cakes, just like savoring a delightful evening filled with flavor and laughter—so dive in and let your culinary creativity shine!
Expert Tips for Crispy Salmon Cakes
Well-Drained Salmon: Ensure canned salmon is thoroughly drained to prevent excess moisture, which can make the cakes too wet to hold together.
Breadcrumb Balance: If your mixture feels loose, add more breadcrumbs until it holds shape nicely. Too few can lead to cakes that fall apart during cooking.
Perfect Heat: Maintain medium-high heat while frying. Cooking too slowly results in soggy cakes, while too high can cause burning without cooking through.
Check for Doneness: Use a meat thermometer to ensure internal temperature reaches 145°F. This guarantees safe, succulent salmon cakes every time.
No Overcrowding: Cook in batches if needed. Overcrowding the pan lowers the heat and can lead to unevenly cooked crispy salmon cakes.
How to Store and Freeze Crispy Salmon Cakes
Fridge: Store leftover Crispy Salmon Cakes in an airtight container for up to 3 days. Reheat in a skillet over medium heat to regain their crispy texture.
Freezer: For longer storage, freeze uncooked salmon cakes on a baking sheet until solid, then transfer to a freezer bag for up to 2 months. Thaw in the fridge before cooking.
Refrigerate: You can form the patties up to 1 day in advance. Keep them covered in the fridge until you’re ready to cook, ensuring they stay fresh and flavorful.
Reheating: For best results, reheat in the oven at 350°F for about 10 minutes or until heated through, allowing them to retain their crispiness.
What to Serve with Crispy Salmon Cakes
Enhance your meal experience with delightful sides and accompaniments that complement the flavors of salmon cakes beautifully.
- Creamy Mashed Potatoes: The luscious texture of mashed potatoes pairs perfectly with the crispy exterior of the salmon cakes, adding comfort to your dinner table.
- Fresh Green Salad: A light salad with mixed greens, cherry tomatoes, and a zesty vinaigrette provides a refreshing contrast, balancing the richness of the cakes.
- Roasted Asparagus: Tender asparagus spears roasted with olive oil and garlic bring a burst of color and a subtle crunch, making a visually appealing side.
- Quinoa Pilaf: Fluffy quinoa with herbs and spices offers a nutty flavor and complements the salmon cakes without overshadowing their deliciousness.
- Tartar Sauce: A classic accompaniment, tartar sauce adds a tangy kick that enhances the flavors of the crispy salmon cakes delightfully.
- Garlic Bread: Warm, toasty garlic bread brings a comforting, savory element, perfect for soaking up any sauce left on your plate.
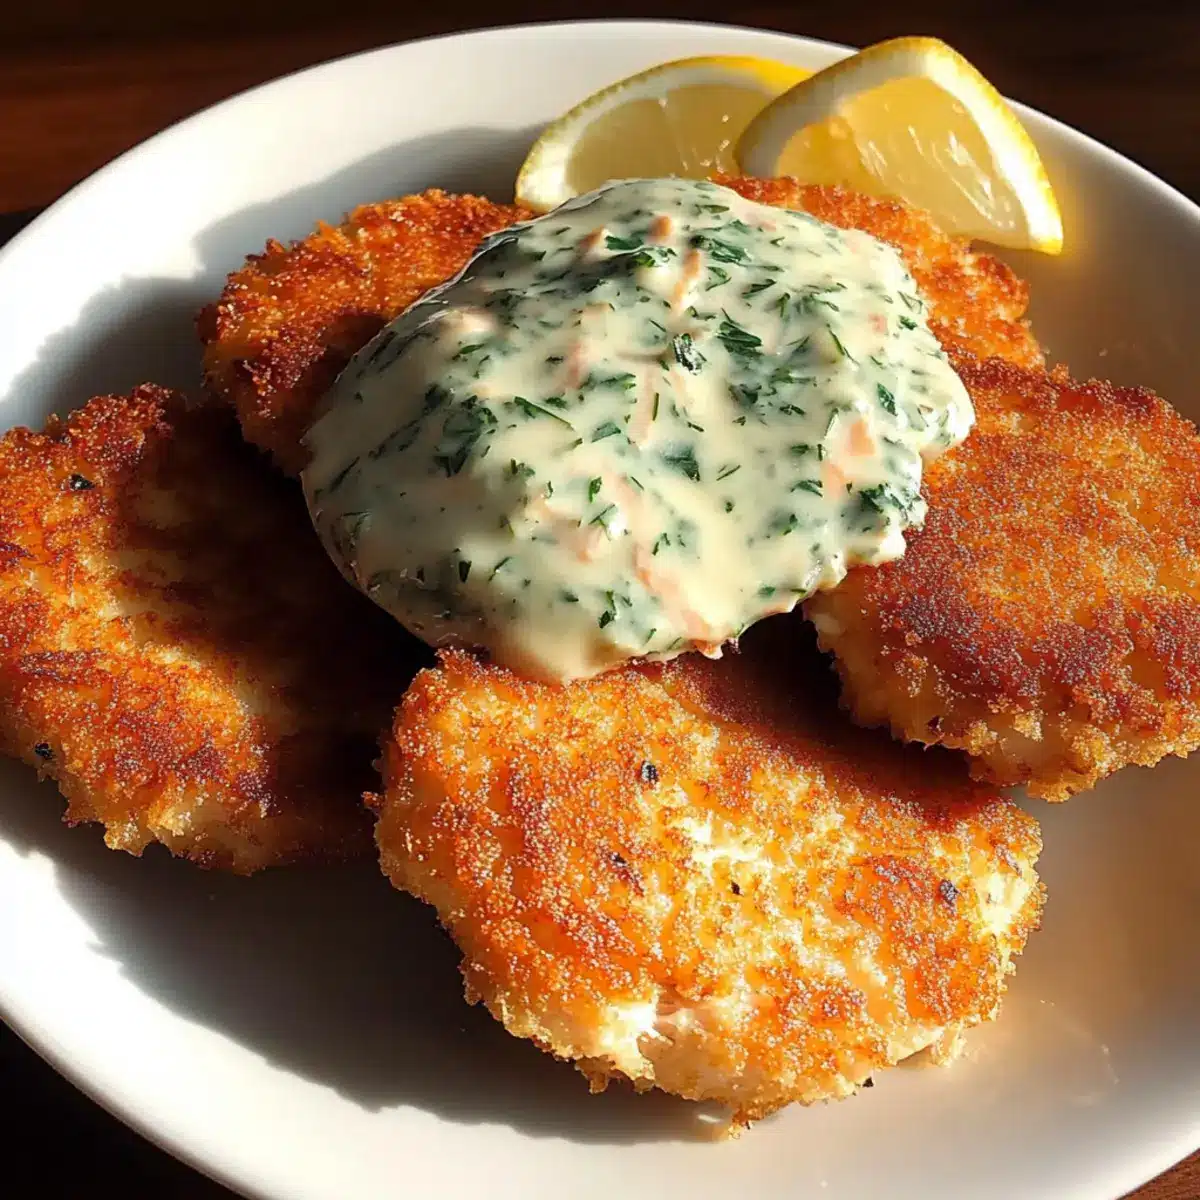
- Lemon Wedges: A simple yet effective addition, a squeeze of fresh lemon brightens every bite, enhancing the flavors and offering a citrusy zing.
- Chardonnay: A chilled glass of Chardonnay pairs beautifully, its crispness enhancing the seafood while bringing out the freshness of the dish.
Crispy Salmon Cakes Recipe FAQs
What type of salmon should I use?
You can use either fresh or canned salmon for these Crispy Salmon Cakes. If using canned, make sure it’s well-drained to avoid excess moisture, which could make your cakes fall apart during cooking. Fresh salmon may require cooking beforehand, but it brings a delightful, flaky texture.
How long can I store leftover salmon cakes?
Leftover Crispy Salmon Cakes can be stored in an airtight container in the refrigerator for up to 3 days. For the best reheating results, warm them in a skillet over medium heat to restore their crunchy exterior while heating through.
Can I freeze salmon cakes?
Absolutely! To freeze uncooked salmon cakes, place them on a baking sheet and freeze until solid. Once frozen, transfer them to a freezer bag, where they’ll stay fresh for up to 2 months. Be sure to thaw them in the fridge before cooking for even results.
What if my salmon mixture is too wet?
If you find your salmon cake mixture is too wet to hold together, don’t worry! Simply add more breadcrumbs, a little at a time, until you achieve a firm, cohesive mixture that can be easily shaped into patties. This step is crucial for the perfect crispy texture.
Are there any dietary restrictions I should keep in mind?
Certainly! This recipe is easily adaptable to cater to gluten-free diets by using gluten-free breadcrumbs. Additionally, check for any allergies related to seafood or eggs. If serving to pets, be cautious with salt and spices in the recipe, as many ingredients like onion powder can be harmful to them.
How can I achieve crispier salmon cakes?
To get the crispiest salmon cakes, consider cooking them in an air fryer at 375°F for 8-10 minutes, flipping them halfway through. Alternatively, make sure to use enough oil in the skillet and avoid overcrowding, as this will help the cakes fry evenly and maintain their delightful crunch.
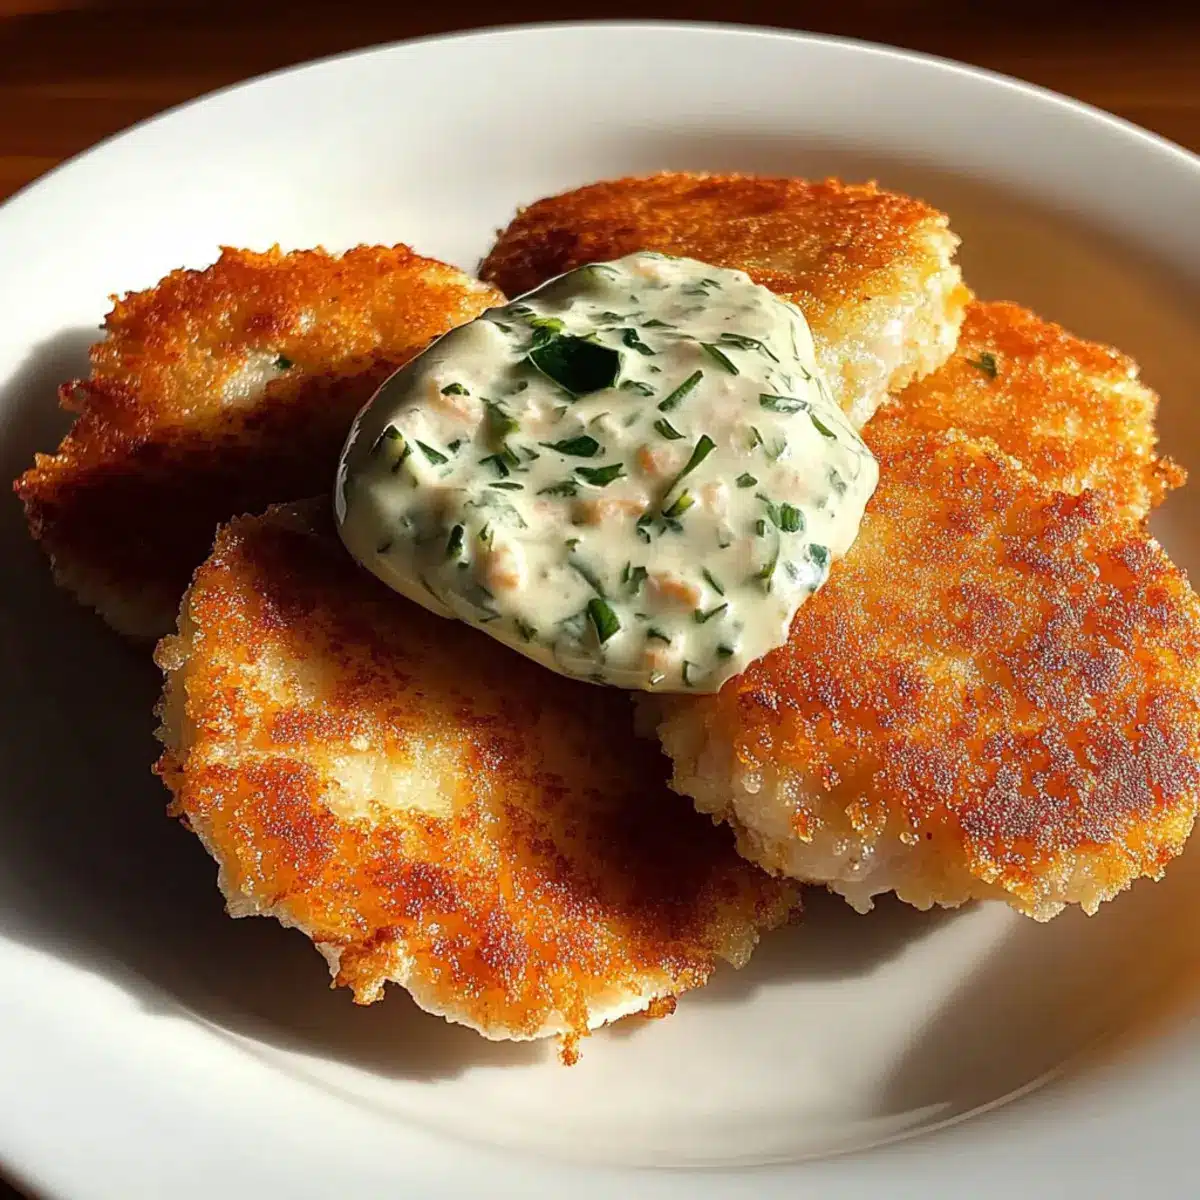
Crispy Salmon Cakes: Quick, Easy, and Totally Delicious
Ingredients
Equipment
Method
- In a large mixing bowl, combine the flaked salmon, seasoned breadcrumbs, mayonnaise, fresh dill, lemon juice, and well-beaten eggs. Mix thoroughly until all ingredients are evenly incorporated.
- Dampen your hands and scoop out portions to form patties about the size of your palm, about ¾ inch thick.
- Heat a skillet over medium-high heat and add enough oil to coat the bottom, about 2-3 tablespoons.
- Carefully place the formed patties in the hot skillet and cook for about 4-5 minutes on one side or until golden brown.
- Gently flip the salmon cakes and cook for an additional 4-5 minutes on the other side.
- Once golden and cooked through, remove them from the skillet and place on a paper towel-lined plate to drain excess oil. Serve immediately with a creamy dill sauce.
Leave a Reply