
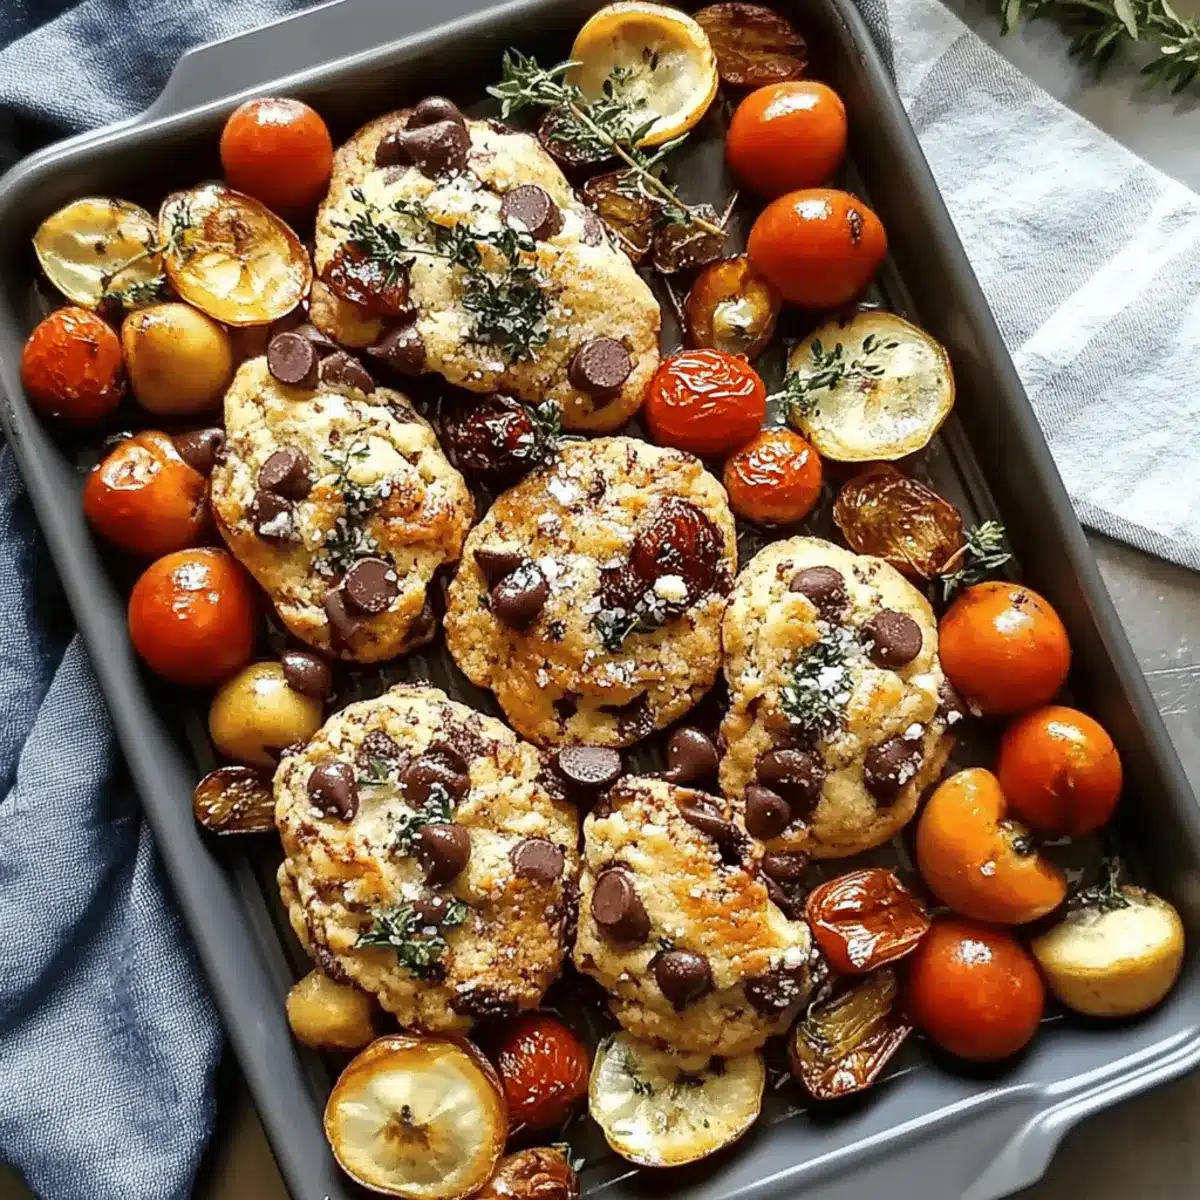
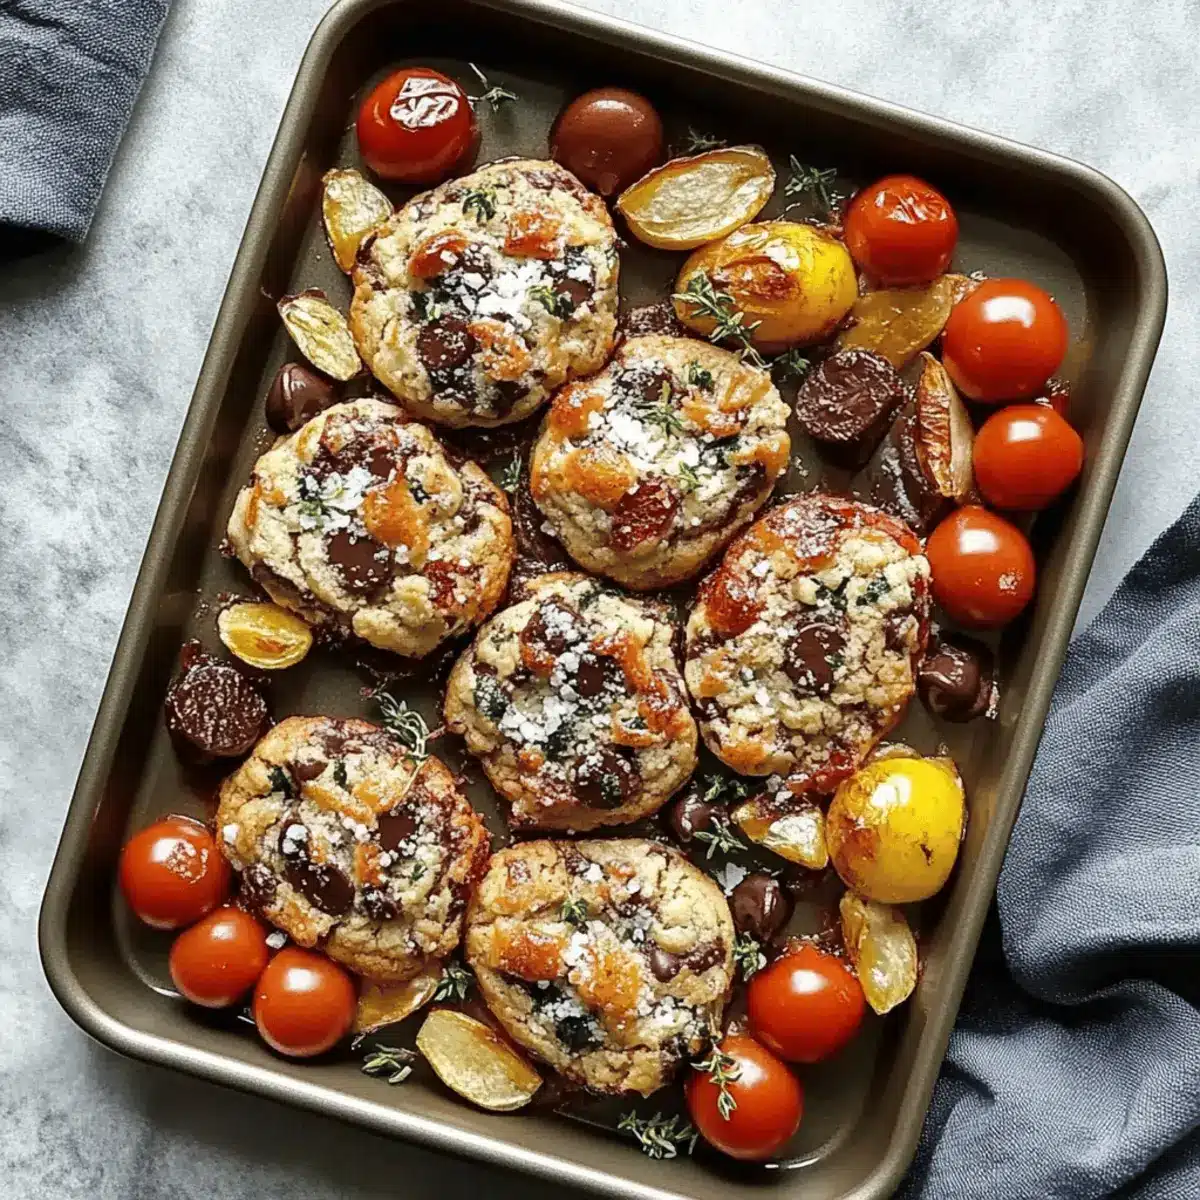
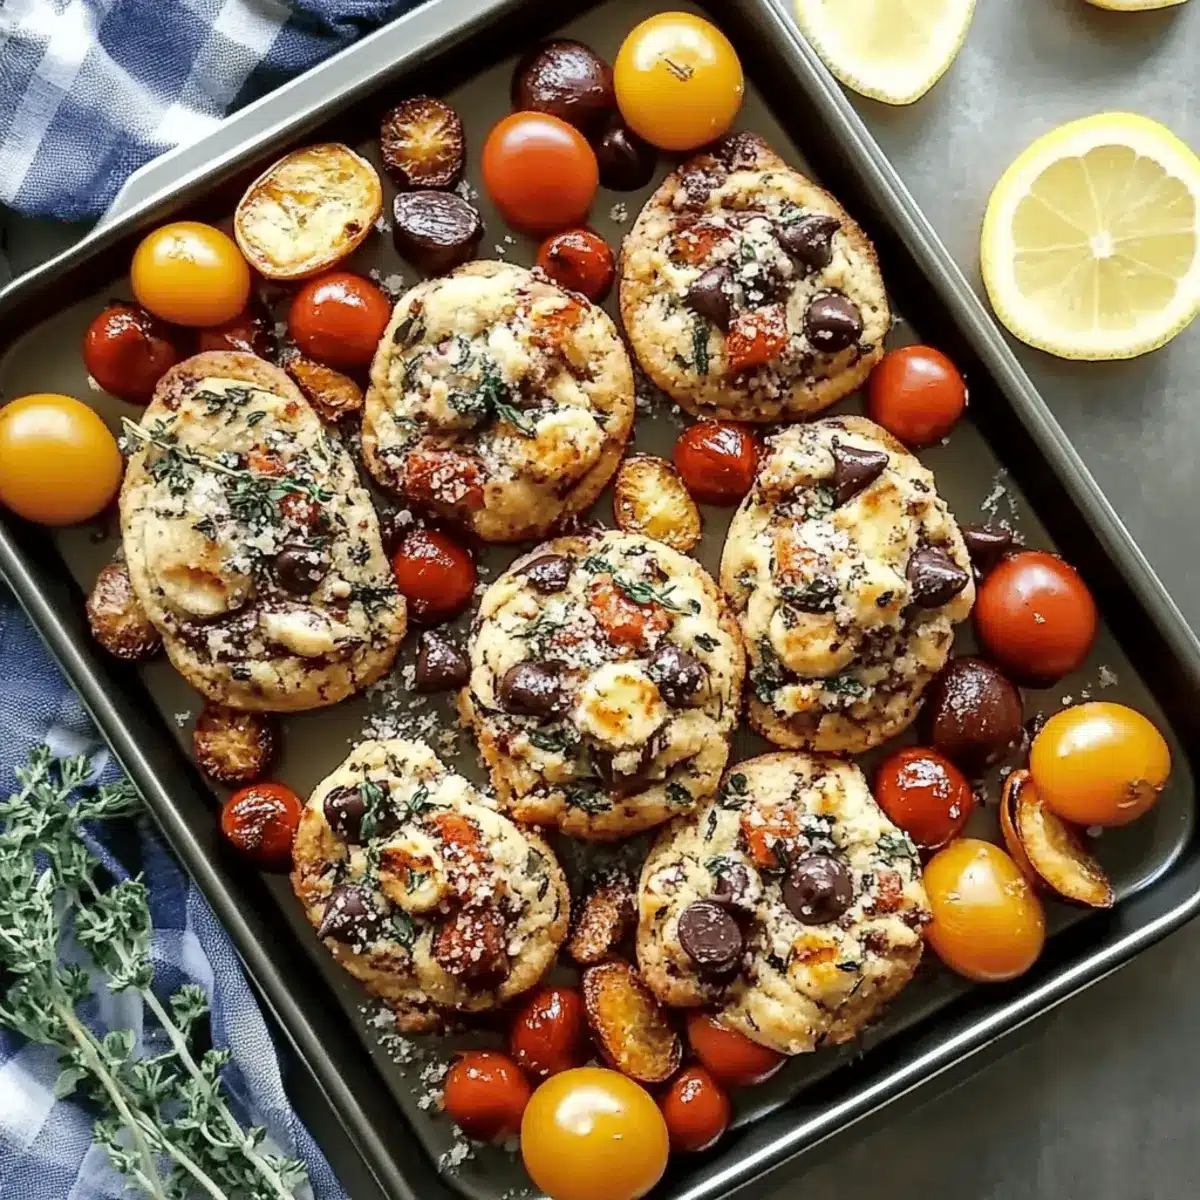
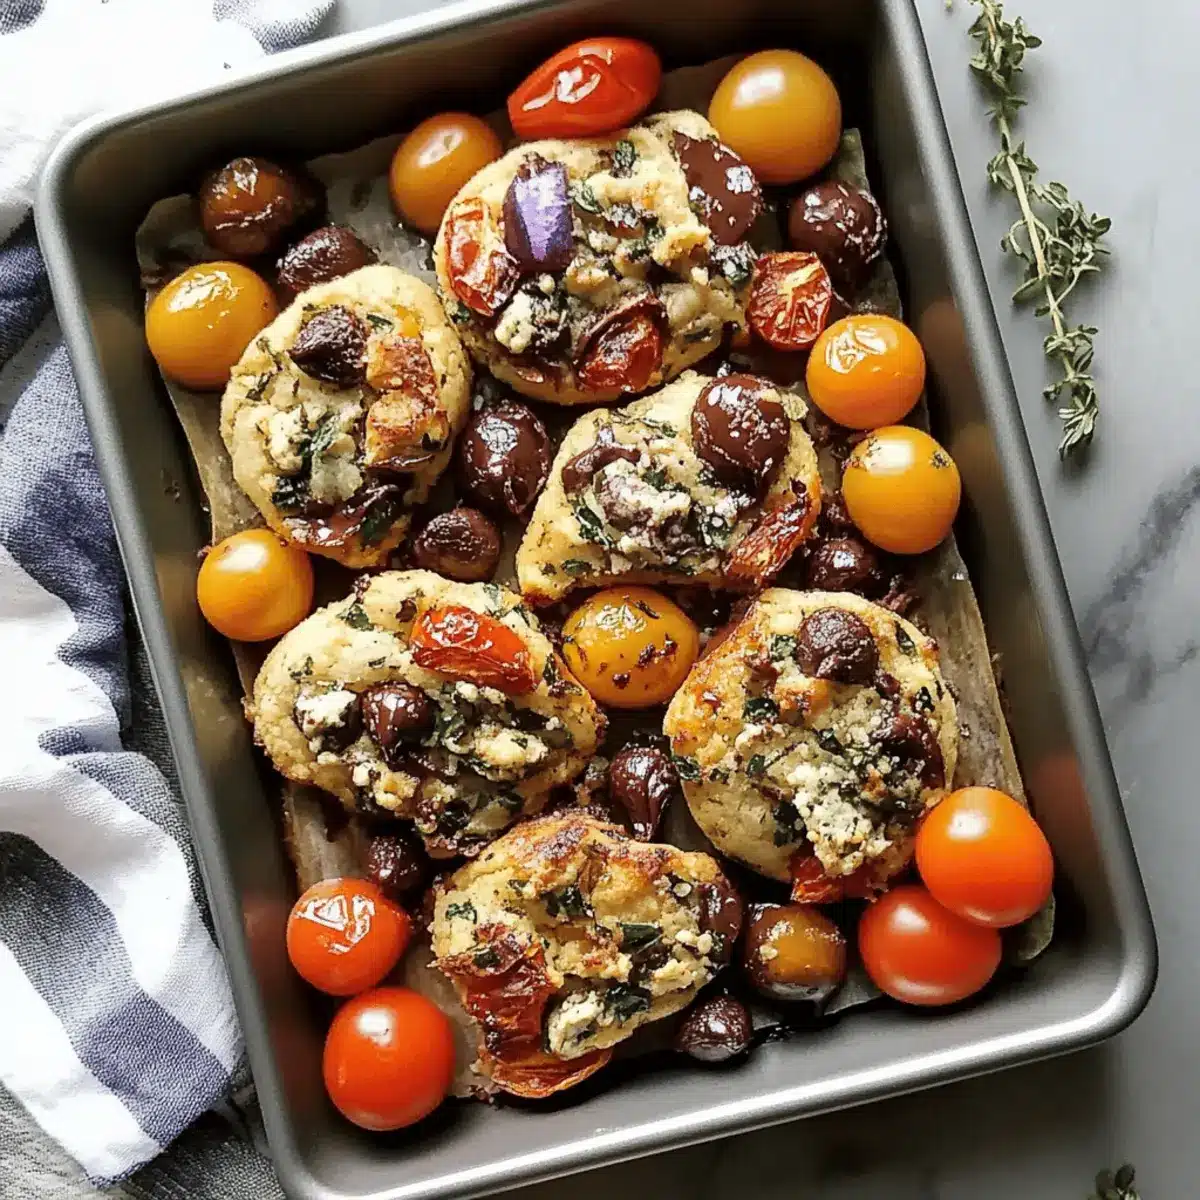
Baking is a magical process, transforming simple ingredients into something truly delightful. One of my all-time favorites is the Classic Chewy Chocolate Chip Cookies recipe, with its warm, buttery aroma wafting through the kitchen. It’s a straightforward, easy-to-follow recipe that delivers cookies with perfectly crispy edges and a soft, gooey center, making it an ideal treat for any occasion. The best part? You can whip these cookies together in just one bowl—no mess and minimal cleanup! Plus, they’re completely versatile, allowing you to play around with various mix-ins like nuts or different chocolate types to personalize your batch. Ready to dive into the joy of cookie-making? Let’s get started!
Why Are These Cookies So Irresistible?
Rich Flavor: Indulge in the sweet harmony of butter and brown sugar that creates a delectable taste, making every bite unforgettable.
Textural Perfection: Experience the balanced contrast of crispy edges and gooey centers that will satisfy every cookie lover’s craving.
One-Bowl Wonder: Enjoy the ease of preparation—just mix everything in one bowl for a quick, no-fuss baking session.
Versatile Options: Customize with endless mix-ins, from nuts to different types of chocolate, ensuring a unique treat every time.
Perfect for Sharing: Whether it’s a casual gathering or a cozy night in, these cookies are sure to delight friends and family, inviting smiles with every cookie. For more great ideas, check out my Cheesy Chicken Garlic for a savory balance or explore fun variations with Healthy Sticky Chicken.
Classic Chewy Chocolate Chip Cookie Ingredients
• Get ready to create cookie magic with this simple and delightful ingredient list!
For the Cookie Dough
- All-Purpose Flour – Structure. Can substitute with gluten-free flour blend for a gluten-free version.
- Granulated Sugar – Sweetness and crispiness. Substitute with brown sugar for a more caramelized flavor.
- Brown Sugar – Moisture and chewiness. Light or dark brown sugar can be used interchangeably.
- Unsalted Butter – Richness and flavor. Can replace with coconut oil for a dairy-free option (slightly adjust for moisture).
- Eggs – Binding agent and moisture. Egg replacer can be used for vegan versions.
- Vanilla Extract – Flavor enhancer. Use pure extract for best results.
- Baking Soda – Leavening agent. Substitute with baking powder (use double the amount) if needed.
- Salt – Enhances flavor. Use sea salt for a more pronounced taste.
- Chocolate Chips – Sweetness and texture. Replace with chopped chocolate or a mix of milk and dark chocolate for variety.
Step‑by‑Step Instructions for Classic Chewy Chocolate Chip Cookies
Step 1: Preheat the Oven
Begin by preheating your oven to 350°F (175°C). This crucial step ensures that your cookies bake evenly and develop that golden-brown color you desire. While the oven heats, get your baking sheets lined with parchment paper to prevent sticking and make cleanup a breeze.
Step 2: Cream the Butter and Sugars
In a large mixing bowl, combine the softened unsalted butter, granulated sugar, and brown sugar. Use a hand mixer or wooden spoon to cream these ingredients together until the mixture becomes light and fluffy, taking about 2–3 minutes. This is where the magic begins, as the butter’s richness combines beautifully with the sugars.
Step 3: Add the Eggs and Vanilla
Next, beat in the eggs one at a time, ensuring each egg is fully incorporated before adding the next. Follow this by adding in the vanilla extract. Mix until well combined, allowing the sweet aromas to fill your kitchen. This step adds moisture and further enhances the flavor of your Classic Chewy Chocolate Chip Cookies.
Step 4: Combine Dry Ingredients
In a separate bowl, whisk together the all-purpose flour, baking soda, and salt. This helps evenly distribute the leavening agent throughout the flour. Gradually add your dry ingredients to the butter-sugar mixture, gently mixing just until you see no dry flour remaining. Be careful not to overmix—this keeps your cookies tender and chewy.
Step 5: Fold in the Chocolate Chips
Now it’s time to add the star of the show: chocolate chips! Gently fold them into the cookie dough using a spatula, ensuring they are evenly distributed. Visualize those melty pockets of chocolate within each chewy cookie, ready to delight everyone who takes a bite.
Step 6: Scoop the Dough
Using a tablespoon or cookie scoop, portion out the cookie dough onto the lined baking sheets, leaving a few inches of space between each scoop. This spacing allows room for spreading while baking. Aim for around 12 cookies per sheet to give them plenty of space to bake evenly.
Step 7: Bake to Perfection
Place the baking sheets into your preheated oven and bake for 10–12 minutes. Keep an eye on the cookies; you want the edges to turn golden brown while the centers remain slightly underbaked. This contrast is key to achieving that perfect chewy texture in your Classic Chewy Chocolate Chip Cookies.
Step 8: Cool and Enjoy
Once baked, remove the cookie sheets from the oven and allow your cookies to cool on the sheets for about 5 minutes. This resting time lets the cookies firm up a bit before transferring them to a wire rack to cool completely. Now, they’re ready to be enjoyed fresh out of the oven!
How to Store and Freeze Chocolate Chip Cookies
Room Temperature: Store your cookies in an airtight container at room temperature for up to 1 week to maintain freshness and softness.
Freezer: For longer storage, freeze the cookies in a single layer on a baking sheet, then transfer them to a zip-lock bag. They can last up to 3 months.
Reheating: To enjoy cookies warm, reheat in the microwave for about 10-15 seconds or in a preheated oven at 350°F (175°C) for about 5 minutes.
Cookie Dough Storage: If you want to bake fresh cookies later, scoop the dough into balls and freeze them. Store in a zip-lock bag for up to 3 months for easy access to homemade treats anytime!
Sheet Pan Greek Chicken & Veggies Variations
Feel free to put your own spin on this delightful one-pan meal that’s sure to tantalize your taste buds!
-
Herb Swap: Dill or Oregano: Substitute the dried herbs for fresh dill or oregano for a vibrant, aromatic twist. Fresh herbs bring an extra layer of flavor that awakens the dish.
-
Veggie Variety: Bell Peppers or Zucchini: Add colorful bell peppers or succulent zucchini for a fresh crunch. These veggies absorb the savory juices, making each bite even more satisfying.
-
Heat Factor: Spicy Option: Incorporate a pinch of red pepper flakes or diced jalapeños for a spicy kick. Just be mindful—start with a small amount and adjust to your desired heat level.
-
Citrus Burst: Lemon Zest Addition: Add lemon zest along with the juice for an extra citrusy zing. This brightens up the dish, making it feel even more refreshing.
-
Cheesy Top: Feta Crumbles: Sprinkle feta cheese over the dish before baking for a creamy, tangy addition. This adds a delightful richness that pairs beautifully with the chicken and veggies.
-
Grain Boost: Quinoa or Couscous: Serve this chicken and veggies over a bed of quinoa or couscous instead of directly on the sheet pan. This adds heartiness and complements the proteins and veggies deliciously.
-
Mediterranean Twist: Olives and Capers: Throw in some olives or capers for a briny touch that enhances the Mediterranean theme. These ingredients offer a punch of flavor, making each bite adventurous.
-
Marinade Magic: Yogurt-Based Marinade: For an even juicier finish, marinate the chicken in Greek yogurt mixed with lemon juice and spices before roasting. The yogurt tenderizes the meat while adding an incredible depth of flavor.
Feeling inspired? You can also explore other flavor profiles with options like Honey Lime Chicken or try a hearty take with Spicy Chipotle Chicken for a zesty meal that wakes up your palate!
Make Ahead Options
These Classic Chewy Chocolate Chip Cookies are perfect for meal prep enthusiasts! You can prepare the dough in advance and refrigerate it up to 24 hours before baking. Simply scoop the dough into balls and place them on a baking sheet for easy handling. Cover the sheet tightly with plastic wrap and store it in the fridge to maintain freshness. When you’re ready to enjoy warm cookies, simply preheat your oven and bake straight from the fridge for an additional minute or two. This method keeps your cookies just as delicious, with the added convenience of having dough ready when those cookie cravings hit!
What to Serve with Classic Chewy Chocolate Chip Cookies
Baking these cookies is just the beginning of a delightful experience; pairing them with the right accompaniments can elevate your enjoyment.
-
Cold Glass of Milk: A timeless favorite that complements the sweetness of the cookies, balancing the richness with creamy goodness.
-
Rich Coffee: The bitter notes of coffee deepen the flavors of chocolate, creating a perfect harmony for an afternoon treat.
-
Vanilla Ice Cream: Scoop of creamy sweetness served alongside warm cookies creates a delightful melt-in-your-mouth experience.
-
Fresh Berries: Bright and juicy, berries add a refreshing contrast that cuts through the cookie’s sweetness and provides a pop of color.
-
Chocolate Sauce: Drizzling warm chocolate sauce over the warm cookies amps up the chocolate flavor, perfect for the indulgent at heart. A mix of textures and flavors is always a good idea.
-
Caramel Sauce: This buttery, sweet sauce drizzled over your cookies gives a gooey richness that is simply irresistible.
-
Herbal Tea: For a calmer pairing, enjoy a cup of chamomile or mint tea that soothes and contrasts the cookie’s sweetness.
Each of these pairings offers something unique, making the experience of enjoying your Classic Chewy Chocolate Chip Cookies even more memorable.
Expert Tips for Classic Chewy Chocolate Chip Cookies
- Perfect Dough Mixing: Avoid overmixing after adding flour; this helps keep your cookies soft and tender.
- Chilling for Crispiness: For a crispy texture, chill the dough for about 30 minutes before baking. This also enhances flavors!
- Flavor Tweaks: Experiment with different chocolate chip varieties or mix-ins, such as nuts, to elevate your classic chewy cookies.
- Strategic Baking: Keep an eye on the cookies in the final minutes; slight underbaking gives you that gooey center everyone loves.
- Storing for Freshness: Store cookies in an airtight container to maintain their freshness, or freeze them for future indulgence!
Classic Chewy Chocolate Chip Cookies Recipe FAQs
What’s the best way to select ripe ingredients?
Absolutely! For the best flavor in your cookies, make sure your butter is at room temperature—this allows for easier mixing and proper texture. When choosing chocolate chips, opt for high-quality brands, as they make a noticeable difference. The chocolate should have a rich aroma, and for freshness, check the expiration date.
How should I store my cookies?
Store your classic chewy chocolate chip cookies in an airtight container at room temperature for up to 1 week. This will help maintain their delightful softness. If you find yourself needing more time, you can also freeze them; they’ll keep well in a zip-lock bag for up to 3 months.
Can I freeze the cookie dough?
Definitely! Freezing cookie dough is a great option for future baking. Simply scoop tablespoon-sized dough balls onto a baking sheet lined with parchment paper, then freeze them until solid. Once frozen, transfer the dough balls to a zip-lock bag, where they can last for up to 3 months. When you’re ready to bake, pop them directly into the oven, adding an extra minute or two to the baking time.
What do I do if my cookies are too flat?
If you find that your cookies are spreading too much and turning out flat, make sure your butter isn’t too soft during the mixing process; it should be softened but still slightly cool. You can also try chilling the dough for about 30 minutes before baking—this helps firm it up. Ensure you’re measuring the flour correctly, as too little can cause spreading.
Are your cookies safe for pets or people with allergies?
While cookies are a delightful treat for humans, they aren’t safe for pets, especially due to the chocolate content, which is toxic to dogs. As for allergies, if you’re cooking for someone with specific dietary restrictions (like gluten or dairy), consider substituting all-purpose flour with a gluten-free blend and using coconut oil instead of butter. Always check labels for allergens in chocolate chips as well.
Can I customize my cookies with mix-ins?
Very! I encourage you to get creative! You can add nuts like walnuts or pecans for a delightful crunch, or consider mixing in dried fruit for a sweet twist. Spices, such as cinnamon, can also elevate flavors beautifully. Every variation can turn your classic chewy chocolate chip cookies into a unique treat!
Savory Sheet Pan Greek Chicken & Veggies for Easy Dinner Delight
Ingredients
Equipment
Method
- Preheat your oven to 350°F (175°C) and line baking sheets with parchment paper.
- Cream the softened butter, granulated sugar, and brown sugar together until light and fluffy for about 2-3 minutes.
- Beat in the eggs one at a time, then add the vanilla extract and mix until well combined.
- In a separate bowl, whisk together the flour, baking soda, and salt. Gradually add to the butter-sugar mixture.
- Fold in the chocolate chips until they are evenly distributed throughout the cookie dough.
- Scoop dough onto the lined baking sheets, leaving enough space between each.
- Bake for 10-12 minutes until edges are golden brown while centers remain slightly underbaked.
- Allow cookies to cool on sheets for 5 minutes before transferring to a wire rack.
Leave a Reply