
As the sun begins to brighten those lazy summer days, there’s nothing quite like the refreshing taste of homemade popsicles to cool you down. These vibrant Red White and Blue Popsicles not only look striking on a plate, but they also provide healthy snacking for everyone at your gathering. Combining the scrumptious flavor of fresh raspberries with creamy coconut milk creates a delightful contrast that makes these treats a guilt-free indulgence. Plus, with low sugar content and customizable layers, you can whip them up easily to suit any taste, making them a perfect fit for kids and adults alike. Are you ready to bring some color and joy to your summer? Let’s dive into this delicious recipe together!
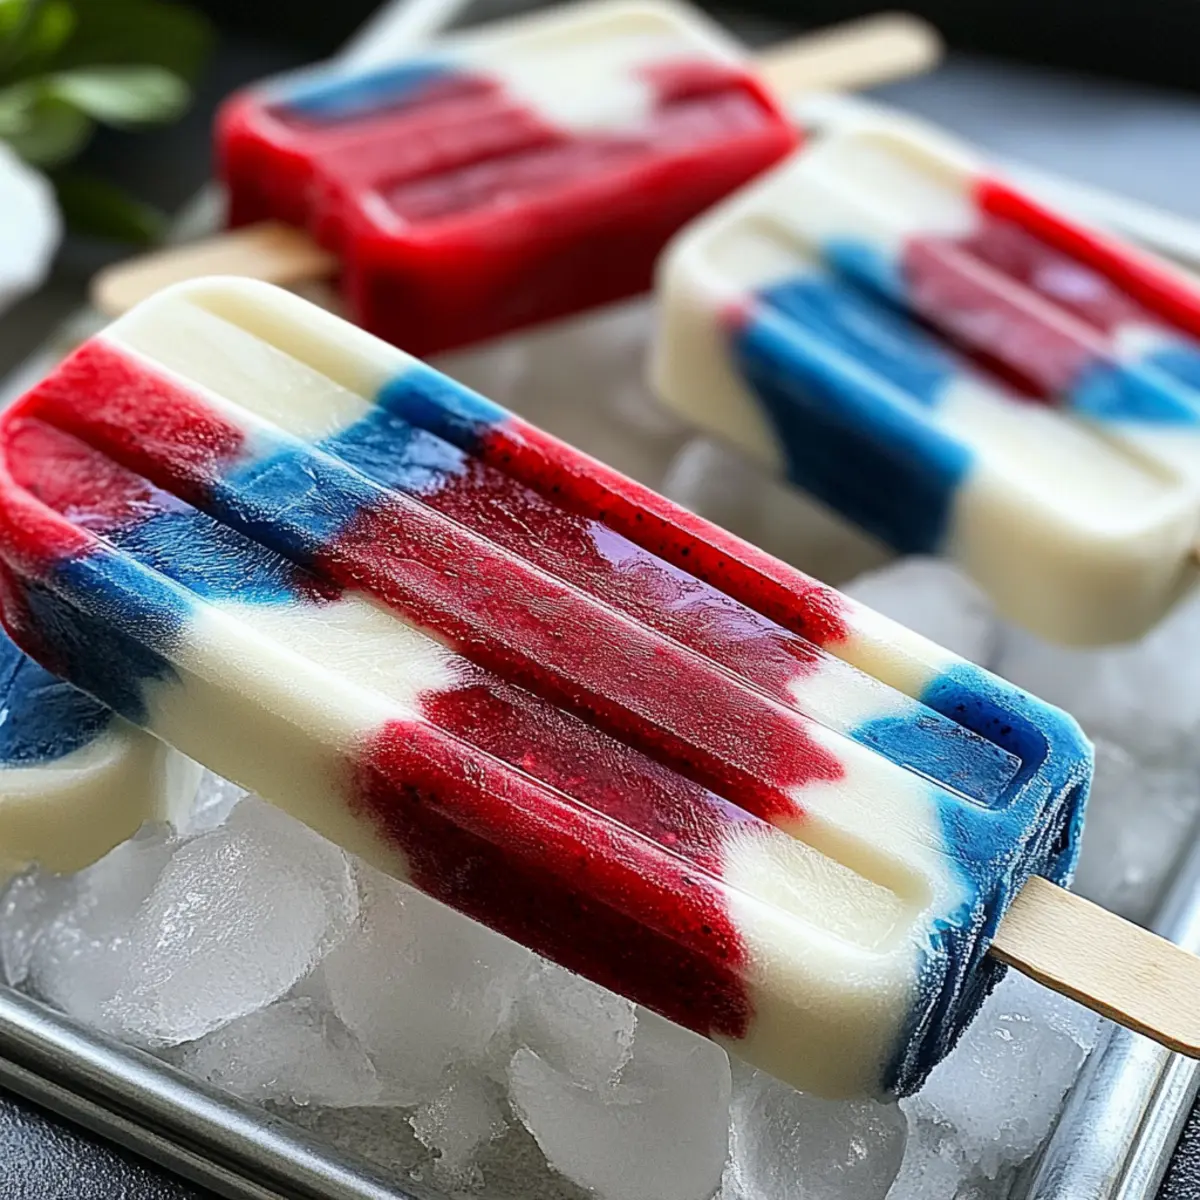
Why Are These Popsicles So Irresistible?
Vibrant Colors: The stunning red, white, and blue layers make these popsicles a showstopper at any summer gathering.
Healthy Indulgence: Made with fresh fruits and creamy coconut milk, they are low in sugar and full of vitamins.
Customizable Flavors: Feel free to switch out raspberries for your favorite berries or add yogurt for a tangy twist!
Easy to Make: With simple ingredients and straightforward steps, this recipe is perfect for both novice chefs and seasoned pros.
Family-Friendly Fun: These popsicles are not only delicious but also a hit with both kids and adults, ensuring smiles all around.
Perfect for Any Occasion: Whether at a Fourth of July barbecue or a casual backyard get-together, these popsicles bring festive joy to your table.
Red White and Blue Popsicles Ingredients
These healthy popsicles are easy to make and deliciously customizable!
For the Red Layer
- Raspberries – Provide a tart sweetness and vibrant red color; substitute with strawberries for a different flavor.
- Maple Syrup – Acts as a natural sweetener in the recipe; honey or agave can be used as alternatives.
- Water – Assists in blending the raspberry mixture smoothly; use coconut water for added flavor.
For the White Layer
- Coconut Milk – Creates a creamy texture for the white layer; almond milk is a suitable dairy-free alternative.
For the Blue Layer
- Blue Spirulina Powder – Adds a unique blue hue that is also nutritious; no direct substitute, but blue food coloring is an alternative (though less healthy).
These ingredients combine to make delightful Red White and Blue Popsicles that capture the spirit of summer!
Step‑by‑Step Instructions for Red White and Blue Popsicles
Step 1: Blend the Red Layer
In a blender, combine fresh raspberries, maple syrup, and a splash of water. Blend on high until the mixture is smooth and vibrant, about 1-2 minutes. Pour approximately 1.5 tablespoons of the raspberry mixture into each popsicle mold, leaving some space at the top. Place the molds in the freezer for 30 minutes, or until the layer is firm to the touch.
Step 2: Prepare the White Layer
While the red layer sets, rinse the blender and add coconut milk along with maple syrup. Blend until creamy and well combined, about 1 minute. Once the red layer is frozen, carefully pour 1-1.5 tablespoons of the white coconut layer on top of the red layer in each mold. Return the molds to the freezer and let them freeze for at least 2 hours.
Step 3: Make the Blue Layer
Rinse the blender one last time and blend together coconut milk, blue spirulina powder, and maple syrup until smooth, approximately 1 minute. When the white layer is solid, pour this blue mixture into the molds, filling them to the top. Insert popsicle sticks and freeze until firm, which should take about 5 hours, or ideally overnight for the best texture.
Step 4: Release Popsicles
To release your delightful Red White and Blue Popsicles, run warm water over the outside of the molds for about 10 seconds. Carefully pull the popsicles out, enjoying the vibrant layers. Serve immediately for the freshest flavor or store any leftovers in an airtight container in the freezer for later enjoyment.
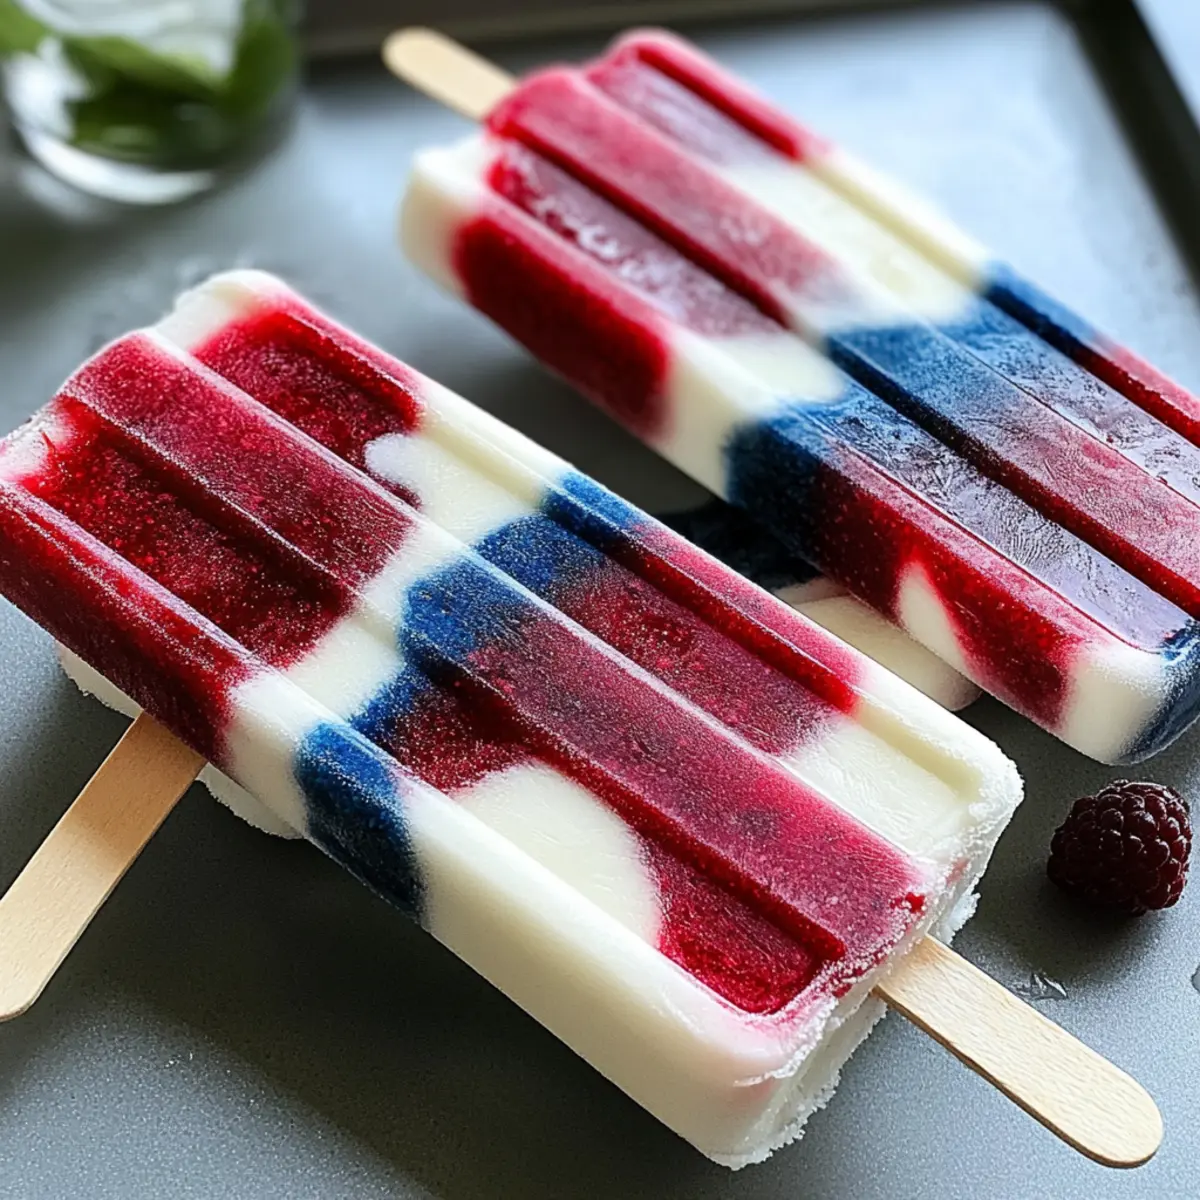
Red White and Blue Popsicles Variations
Feel free to get creative with your Red White and Blue Popsicles and make them your own!
- Berry Swap: Substitute raspberries with strawberries, blueberries, or blackberries for a different fruity flavor burst.
- Yogurt Creaminess: Fold in Greek yogurt into the white layer for added creaminess and a delightful tang.
- Natural Sweeteners: Experiment with agave or honey instead of maple syrup to suit your sweet tooth and dietary needs.
- Coconut Twist: Use coconut water instead of regular water for the red layer to enhance the tropical flavor profile.
- Extra Nutrition: Incorporate a scoop of your favorite protein powder into the white layer for a healthy boost.
- Citrus Zest: Add a squeeze of lemon or lime in the raspberry mixture for a zesty brightness that dances on your palate.
- Additional Layers: Create a rainbow effect by layering different fruits, such as kiwi or mango, for even more visual appeal and taste.
- Spicy Kick: For the adventurous, a hint of chili powder can add a surprising kick to the red layer for a flavor twist!
For fun variations and delicious ideas, why not also check out some other tasty recipes like Parmesan Roasted Red or enjoy a treat like Sweet Sticky Steak? Let your culinary creativity shine!
Expert Tips for Red White and Blue Popsicles
- Layer Freezing: Ensure each layer is frozen solid before adding the next to prevent blending and create distinct layers.
- Flavor Flexibility: Don’t hesitate to experiment! Swap raspberries for strawberries or blueberries to customize your Red White and Blue Popsicles.
- Smooth Blending: When blending, if the mixture is too thick, add a little more water or coconut milk for a smoother consistency.
- Storage Solutions: Store in an airtight container if not serving immediately, but consume within two days for the best taste and texture.
- Healthy Sweeteners: Adjust sweetness to your taste with alternatives like honey or agave, ensuring a healthy yet delicious result.
What to Serve with Red White and Blue Popsicles
As sunny days beckon summer gatherings, find the perfect accompaniments to elevate your fresh, colorful treats!
-
Grilled Chicken Skewers: Juicy, tender skewers infused with a smoky flavor complement the popsicles’ sweetness beautifully.
-
Watermelon Salad: A refreshing mix of watermelon, mint, and feta pairs perfectly with fruity popsicles, balancing sweetness and savory saltiness.
-
Coconut Rice: Its creaminess echoes the texture of the popsicles, creating a delightful contrast of flavors.
-
Frozen Yogurt Parfaits: Layered with granola and fresh berries, these create a delightful dessert experience alongside your popsicles.
-
Lemonade Spritzers: A cool, tangy beverage will cut through the sweetness of the popsicles, keeping everyone refreshed during warm days.
-
Fruit Platter: A vibrant mix of seasonal fruits accentuates the colors and flavors of your popsicles, inviting everyone to snack.
With these delightful pairings, you’re sure to create a joyful, flavorful celebration perfect for those warm summer festivities!
How to Store and Freeze Red White and Blue Popsicles
Fridge: Keep popsicles in an airtight container in the refrigerator for up to 2 days for the best flavor and texture.
Freezer: Store in a freezer-safe container for up to 1 month. Ensure they’re tightly packaged to prevent freezer burn and maintain their vibrant layers.
Reheating: There’s no need to reheat these treats, but if you encounter any difficulty in removing them, run warm water over the molds for about 10 seconds before pulling them out.
Serving Tip: Pop out the popsicles and enjoy immediately, or serve them at your next gathering for a refreshing summer snack!
Make Ahead Options
These Red White and Blue Popsicles are a fantastic option for meal prep, perfect for busy summer days! You can prepare the red raspberry layer and store it in the molds up to 24 hours in advance, simply blending and freezing it until set. The white layer can also be prepped a day ahead and poured on top of the red layer, ensuring it remains creamy. Store the popsicles in the freezer, and for the blue layer, blend and add it just before serving to maintain its vibrant color. Just remember to cover the molds tightly to prevent freezer burn, and you’ll enjoy delightful popsicles whenever you need a quick and healthy treat!
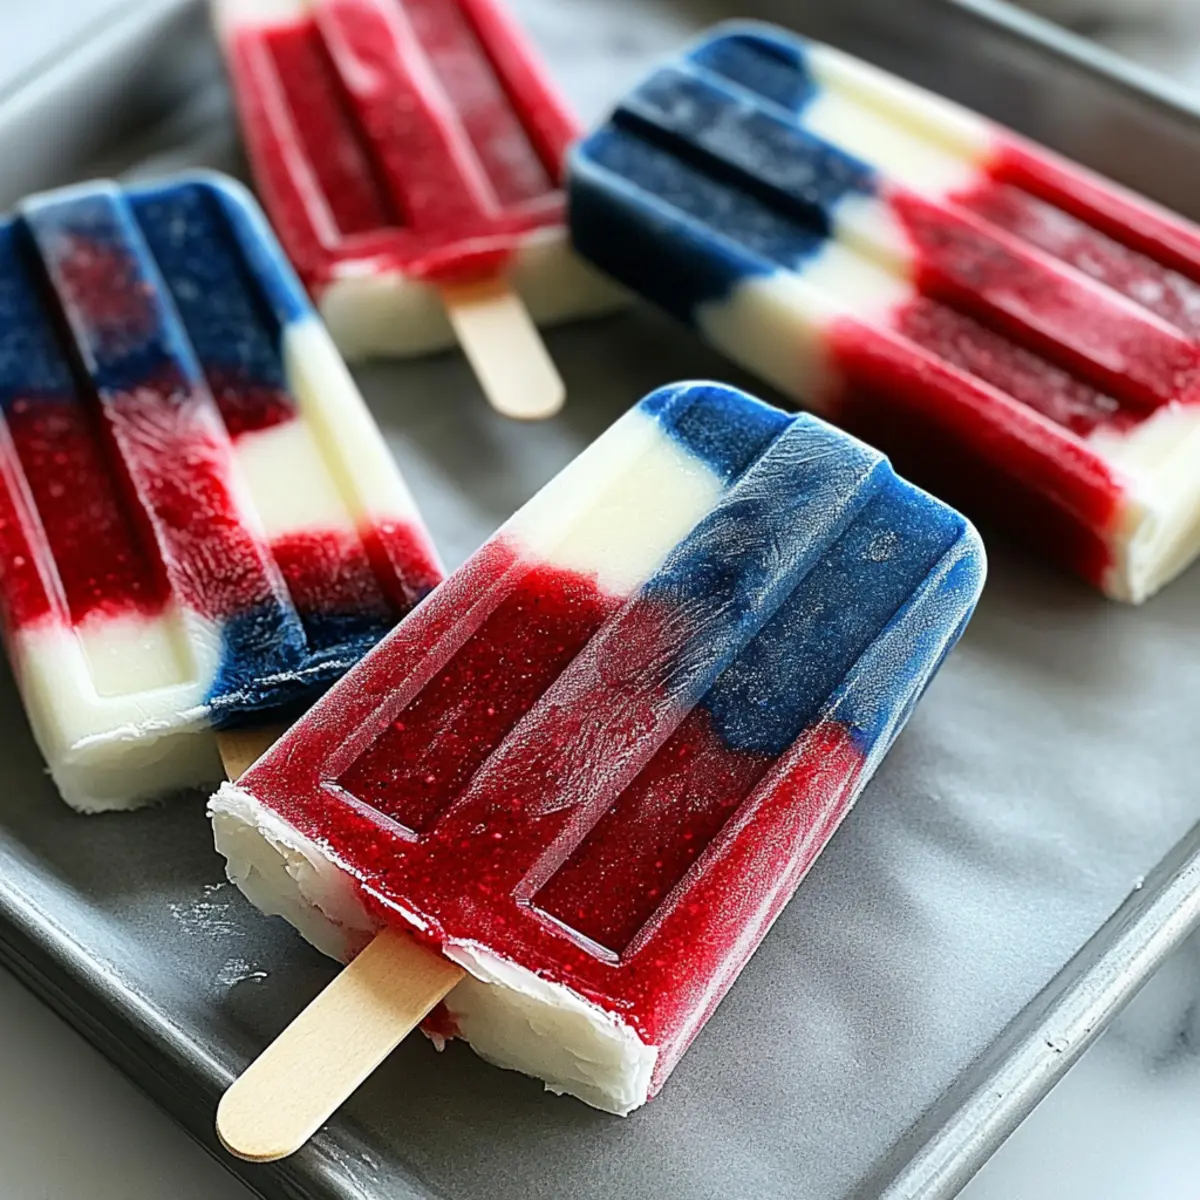
Red White and Blue Popsicles Recipe FAQs
How do I select ripe raspberries?
Absolutely! Look for raspberries that are plump and vibrant in color, with no dark spots all over. The berries should give slightly when pressed, indicating they’re ripe and juicy. Avoid any that are overly soft or have a sour smell!
How should I store my Red White and Blue Popsicles?
For the best flavor and texture, store the popsicles in an airtight container in the refrigerator for up to 2 days. If you’re keeping them for a longer period, a freezer-safe container will work beautifully, allowing them to last up to 1 month without losing quality. Just make sure they’re well-packaged to prevent freezer burn!
Can I freeze these popsicles for later?
Yes, you can! Once fully set, transfer the popsicles to a freezer-safe container, making sure they’re not touching to avoid sticking together. They can remain frozen for up to 1 month, so you can always have a refreshing treat on hand – just make sure to pop them out for serving, and enjoy!
What if my popsicles are too hard to remove from the molds?
If you find them stubborn, run warm water over the outside of the molds for about 10 seconds. This gentle heat will help loosen them up. If they still resist, just give them a little wiggle as you pull!
Are these popsicles safe for pets?
While the ingredients are mostly safe for most pets, it’s best to keep these popsicles away from dogs and cats. Ingredients like maple syrup can be too sugary for their diets. Always check individual ingredient safety before sharing!
Can I adjust the sweetness in the popsicles?
Very much so! You can easily tweak the sweetness by adjusting the amount of maple syrup you use. If you prefer, swap it out for honey or agave syrup as well. Feel free to taste-test the mixtures before freezing for a flavor that’s just right for you!
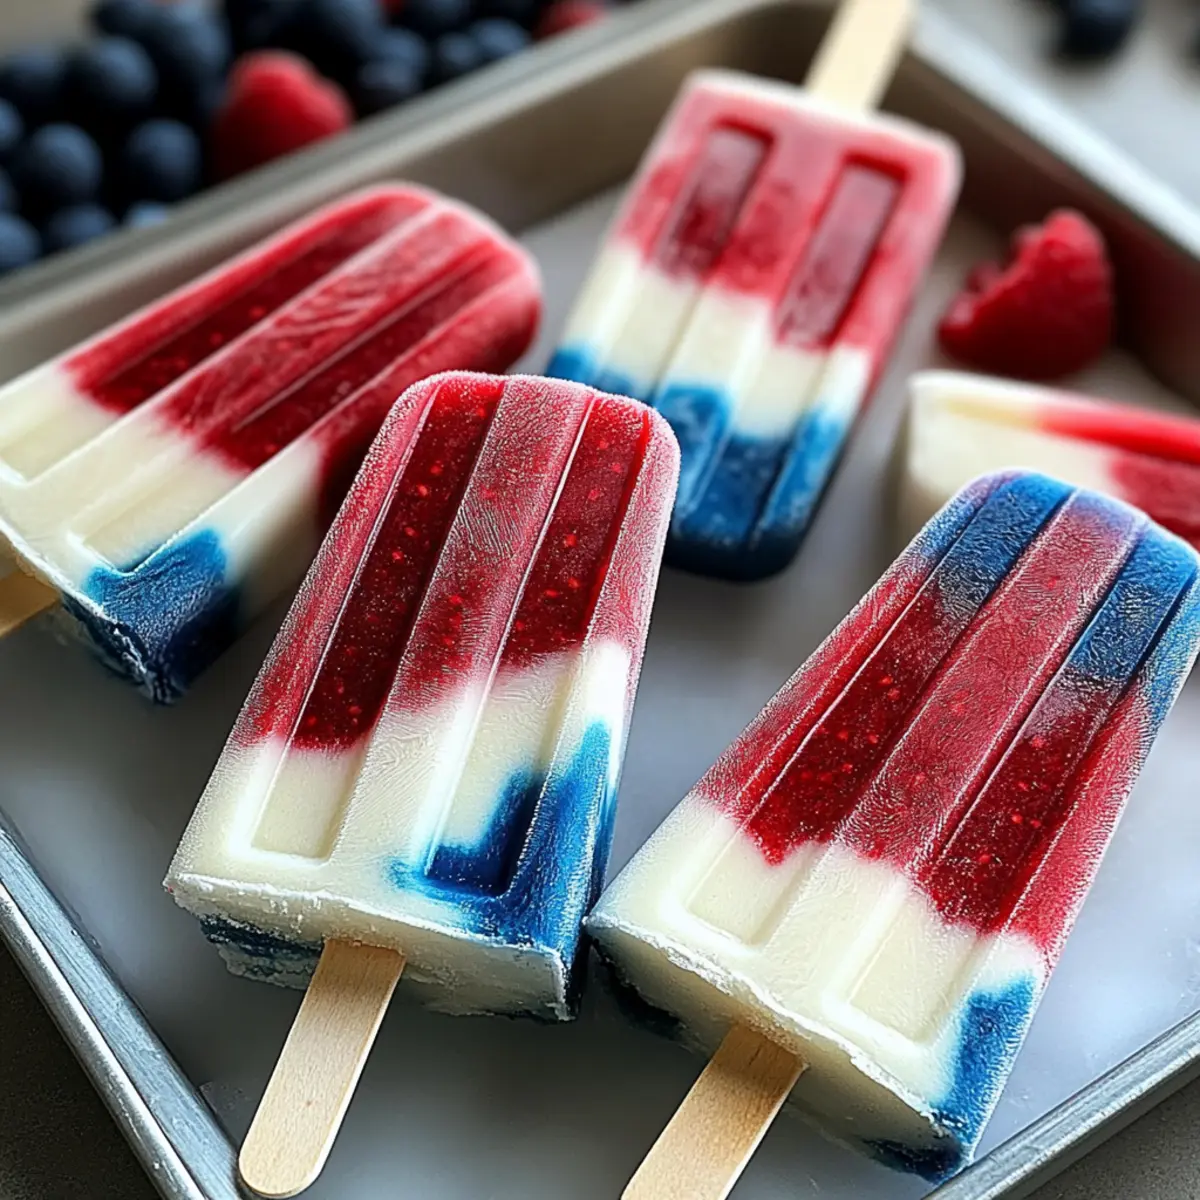
Red White and Blue Popsicles: Guilt-Free Summer Bliss
Ingredients
Equipment
Method
- Blend the red layer ingredients until smooth. Pour into molds and freeze for 30 minutes.
- Blend the white layer ingredients until creamy. Add to the molds over the frozen red layer and freeze for at least 2 hours.
- Blend the blue layer ingredients until smooth. Pour into molds and freeze until firm, ideally overnight.
- Run warm water over the molds for 10 seconds to release popsicles. Enjoy!
Leave a Reply