
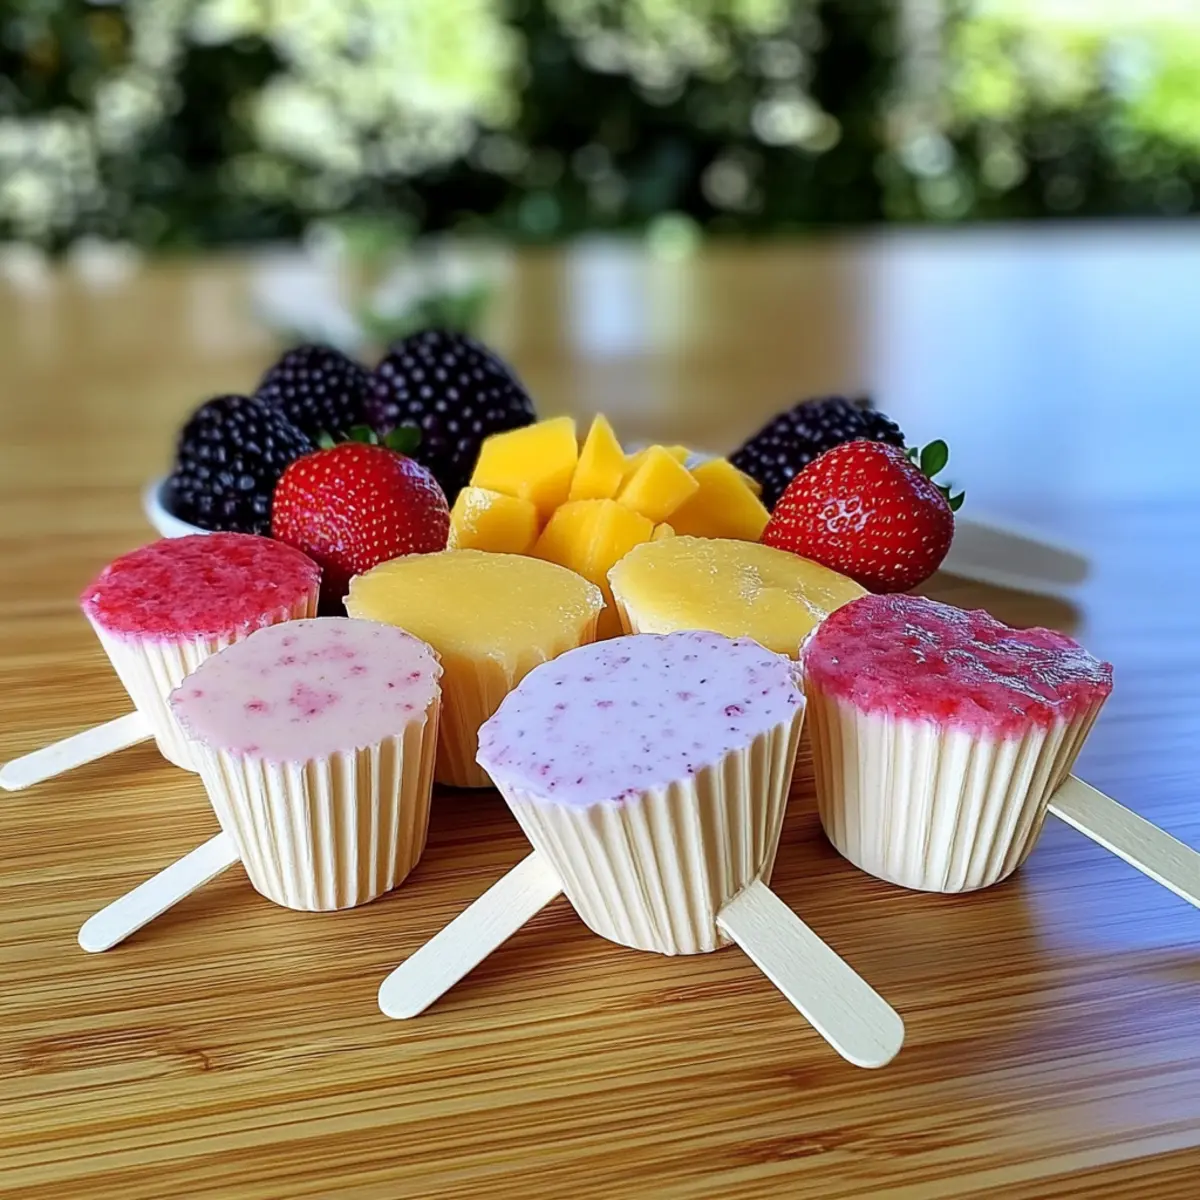
As the sun blazes down, there’s nothing quite like savoring a cool treat to quench your thirst and brighten your spirits. Enter my Fruity Yogurt Pops—your new go-to for staying refreshed this summer! These delightful, vibrant pops not only bring a rainbow of fruity flavors to your palate, but they also pack a nutritious punch. They’re incredibly easy to whip up and cater to both vegan and gluten-free lifestyles, making them a guilt-free indulgence for everyone. Imagine biting into a creamy, frozen pop that promises only the best from fresh fruits and wholesome yogurt. Trust me, you’ll want to keep this simple recipe on hand all season long. What flavor combinations are you excited to try?
Why make Fruity Yogurt Pops?
Refreshing and Light: Perfect for hot summer days, these pops offer a refreshing escape that feels indulgent without the guilt.
Easy to Make: With just a blender and popsicle molds, you can whip up a batch in no time!
Customizable: Tailor flavors to your cravings! Use seasonal fruits like berries or tropical favorites for endless variations.
Nutritious Twist: Packed with wholesome ingredients, they’re not just a sweet treat but also a great source of energy and dietary fiber.
Family-Friendly Fun: Get the kids involved! Making these pops is a fun activity that leads to a healthy reward, perfect for a sunny day.
Fruity Yogurt Pops Ingredients
• Discover the delightful components needed for making refreshing Fruity Yogurt Pops.
For the Pops
- Fresh Fruit – Use seasonal favorites like peaches, berries, or mangoes for natural sweetness; avoid overly ripe fruit to maintain texture.
- Yogurt – Acts as the creamy base; opt for coconut or almond yogurt for a vegan twist.
- Liquid Sweetener (Agave or Honey) – Enhances the pop’s sweetness; maple syrup is an excellent alternative depending on fruit ripeness.
- Mint or Basil (optional) – Adds a delightful herbal freshness for a unique flavor experience.
For Toppings (optional)
- Chopped Nuts or Seeds – Introduce extra crunch and nutrition before freezing; consider adding them for added texture.
- Melted Dark Chocolate – Drizzle over pops for a decadent touch just before serving.
Get ready to blend these ingredients and create a batch of delicious Fruity Yogurt Pops that will keep you cool all summer long!
Step‑by‑Step Instructions for Fruity Yogurt Pops
Step 1: Gather and Prepare Ingredients
Begin by gathering your chosen fresh fruits, yogurt, and liquid sweetener to make your Fruity Yogurt Pops. Chop larger fruit pieces into smaller chunks for easier blending. If using herbs like mint or basil for flavor, finely chop those as well. Prepare your popsicle molds by lightly greasing them with coconut oil to prevent sticking later.
Step 2: Blend Ingredients
In a blender, combine the chopped fruits, yogurt, and your preferred sweetener. Blend on high for 30–60 seconds until the mixture is smooth and creamy, ensuring there are no lumps remaining. The vibrant colors of the ingredients should come together in a luscious, uniform blend that beckons for a taste.
Step 3: Pour Mixture into Molds
Carefully pour the blended mixture into your prepared popsicle molds. Fill each mold evenly, leaving a small amount of space at the top to allow for expansion as the pops freeze. This will keep your Fruity Yogurt Pops from overflowing and maintain their perfect shape.
Step 4: Initial Freezing
Place the filled molds in the freezer for about 1 hour to slightly firm up the mixture. This initial freezing allows the pops to hold their shape when you insert the sticks and ensures a better texture once fully frozen.
Step 5: Insert Sticks
After an hour, take the molds out of the freezer and carefully insert popsicle sticks into each pop. Position them centrally and deep enough to ensure they remain upright during the final freezing process. This step is crucial for easy removal and enjoyment of your Fruity Yogurt Pops.
Step 6: Final Freezing
Return the molds to the freezer and allow them to freeze completely for an additional 4 to 5 hours, or until solid. You’ll know they’re ready when the pops feel firm to the touch, and the vibrant hues have deepened slightly with freezing.
Step 7: Remove Pops from Molds
To remove your delicious Fruity Yogurt Pops, run warm water over the outside of the molds for a few seconds to help loosen them. Gently pull on the sticks to release the pops, being careful not to apply too much force which could break them.
Step 8: Serve and Enjoy
Once removed from the molds, serve your Fruity Yogurt Pops immediately for the best texture and flavor. These delightful frozen treats are perfect for cooling down on hot summer days or as a healthy snack option for the whole family.
Fruity Yogurt Pops Variations
Feel free to unleash your creativity and customize these pops with your favorite flavors and ingredients!
- Tropical Twist: Use pineapple, mango, or coconut for a refreshing island vibe that evokes sunny beach days.
- Berry Blast: Combine strawberries, blueberries, and raspberries for a vibrant, antioxidant-rich berry mix that’s simply delicious.
- Herb-Infused: Add a handful of freshly chopped mint or basil to elevate the flavor profile and create a unique taste experience.
- Nutty Crunch: Stir in some chopped almonds or sunflower seeds for an added crunch and nutritional boost before freezing.
- Creamy Delights: Mix in a dollop of coconut cream for an even richer consistency and a sweeter taste.
- Chocolate Drizzle: After freezing, top your pops with melted dark chocolate for a decadent touch that will satisfy any sweet tooth.
- Spicy Kick: Add a pinch of cayenne or chili powder for those daring to introduce a little heat, turning up the flavor!
- Swirled Sensation: Create a marbled effect by swirling a mix of yogurt and fruit puree before freezing for a beautiful presentation.
For an extra kick, consider pairing your pops with a nutty granola bar or a side of creamy coconut whipped cream to amplify your treat! And, as you experiment with these delightful variations, don’t forget to check out tips for making the perfect pops, ensuring your summer treats are as delicious as possible!
How to Store and Freeze Fruity Yogurt Pops
Fridge: Store any leftover yogurt mixture in an airtight container in the fridge for up to 3 days. Be sure to re-blend it before using for the next batch of pops.
Freezer: Once fully frozen, keep the Fruity Yogurt Pops stored in an airtight container in the freezer to maintain their texture and flavor for up to 2 weeks.
Removing Pops: If you need to remove the pops from molds, run warm water over the outside for a few seconds, allowing them to slide out smoothly without breaking.
Serving Tips: Enjoy the pops immediately after removing them from the molds for the best consistency and flavor, perfect for cooling off on a hot day.
Expert Tips for Fruity Yogurt Pops
-
Avoid Overripe Fruit: Use seasonal, slightly firm fruit to maintain the pops’ texture. Overripe fruit can lead to a mushy consistency.
-
Blend Smoothly: Ensure all ingredients are blended for 30–60 seconds to achieve a creamy texture. Any lumps will disrupt the pops’ delightful mouthfeel.
-
Grease Molds: Lightly grease your popsicle molds with coconut oil before filling. This will help the Fruity Yogurt Pops release effortlessly after freezing.
-
Monitor Freezing Time: Allow the pops to freeze entirely for 4–5 hours. Incomplete freezing can result in a watery texture, diminishing the flavor experience.
-
Store Properly: Keep the pops in an airtight container in the freezer to preserve flavor and texture for up to two weeks.
Make Ahead Options
These Fruity Yogurt Pops are perfect for meal prep, making them an ideal choice for busy weeknights or hot summer days. You can blend the yogurt and fruit mixture up to 24 hours in advance, storing it in an airtight container in the refrigerator. Just remember to re-blend it before pouring into molds to ensure a smooth texture. Additionally, the pops can be made and frozen for up to two weeks, so you have refreshing treats ready whenever cravings strike. When you’re ready to serve, simply run warm water over the molds for a few seconds to release the pops, and enjoy your guilt-free indulgence!
What to Serve with Fruity Yogurt Pops
As you embrace the joy of these creamy treats, consider pairing them with delightful sides to create a refreshing summer feast.
- Crispy Fruit Salad: A colorful medley of seasonal fruits that enhances the fruity flavors in the pops while adding texture and freshness.
- Creamy Coconut Whipped Cream: This luscious topping adds a rich, velvety feel that beautifully complements the cold pops.
- Nutty Granola Bars: Homemade or store-bought, these bars provide a satisfying crunch and additional energy to fuel summer adventures.
- Herbed Quinoa Salad: Light and refreshing, this salad introduces a savory element that balances the sweetness of the pops, making it a delightful main.
- Chilled Lemonade: A zesty drink offering a citrusy kick, lemonade is the perfect thirst quencher for hot days, pairing exceptionally well with fruity flavors.
- Dark Chocolate Drizzle: Elevate your pops with a drizzle of melted dark chocolate, adding a decadent contrast that will make each bite even more pleasurable.
- Minty Iced Tea: Infused with fresh herbs and refreshing flavors, this tea complements the fruity notes of the pops, making it a wonderful summer beverage option.
- Trail Mix: A variety of nuts and dried fruits can provide a crunchy, satisfying snack, making your gathering feel more complete while balancing sweetness with saltiness.
- Frozen Watermelon Slices: Simple yet satisfying, these ice-cold treats not only provide hydration but also complement the fruity theme of the pops exceptionally well.
- Raspberry Lemon Sorbet: For a delightful contrast, serve this tangy sorbet on the side and enjoy a fusion of flavors and textures to elevate your dessert experience.
Fruity Yogurt Pops Recipe FAQs
What kind of fruit should I use for the Fruity Yogurt Pops?
You’ll want to use fresh, seasonal fruit like peaches, berries, or mangoes, as these types provide natural sweetness and vibrant flavors. Avoid overly ripe fruit, which may lead to a mushy texture in the final pops. Look for fruit that is firm and has vibrant color to create pops that are both delicious and visually appealing!
How should I store my Fruity Yogurt Pops?
To keep your pops fresh, store them in an airtight container in the freezer for up to 2 weeks. If you have any leftover yogurt mixture, it can be kept in the fridge for up to 3 days, but make sure to re-blend it before using for the next batch. This will ensure that your pops remain delicious and creamy!
Can I freeze the Fruity Yogurt Pops for longer than 2 weeks?
While I recommend consuming the pops within 2 weeks for the best taste and texture, you can store them for up to 3 months in the freezer. Be sure to wrap them individually in plastic wrap or aluminum foil to prevent freezer burn. Just pull them out and enjoy whenever you’re in the mood for a refreshing treat!
How can I troubleshoot if my pops are hard to remove from the molds?
If your Fruity Yogurt Pops are sticking to the molds, try running warm water over the outside of the molds for 10 to 20 seconds. This will help loosen them. Additionally, lightly greasing the molds with coconut oil before pouring in the mixture can prevent sticking and make removal easier.
Are Fruity Yogurt Pops safe for people with common allergies?
Absolutely! These pops can be adapted to suit various dietary needs! For those with dairy allergies, simply use almond or coconut yogurt. If you’re concerned about sweeteners, agave or maple syrup are all great substitutes. Feel free to customize to ensure everyone can enjoy these tasty treats without worry!
Delicious Fruity Yogurt Pops to Keep You Cool This Summer
Ingredients
Equipment
Method
- Gather your fresh fruits, yogurt, and liquid sweetener. Chop larger fruit pieces and prepare the popsicle molds by greasing them with coconut oil.
- Blend the chopped fruits, yogurt, and sweetener on high for 30–60 seconds until smooth and creamy.
- Pour the blended mixture into the molds, filling them evenly and leaving space at the top.
- Freeze for about 1 hour to firm up the mixture before inserting the sticks.
- After an hour, insert popsicle sticks into each mold centrally.
- Return to the freezer and freeze completely for 4 to 5 hours.
- To remove, run warm water over the molds for a few seconds, then gently pull on the sticks.
- Serve immediately for the best texture and flavor.
Leave a Reply