
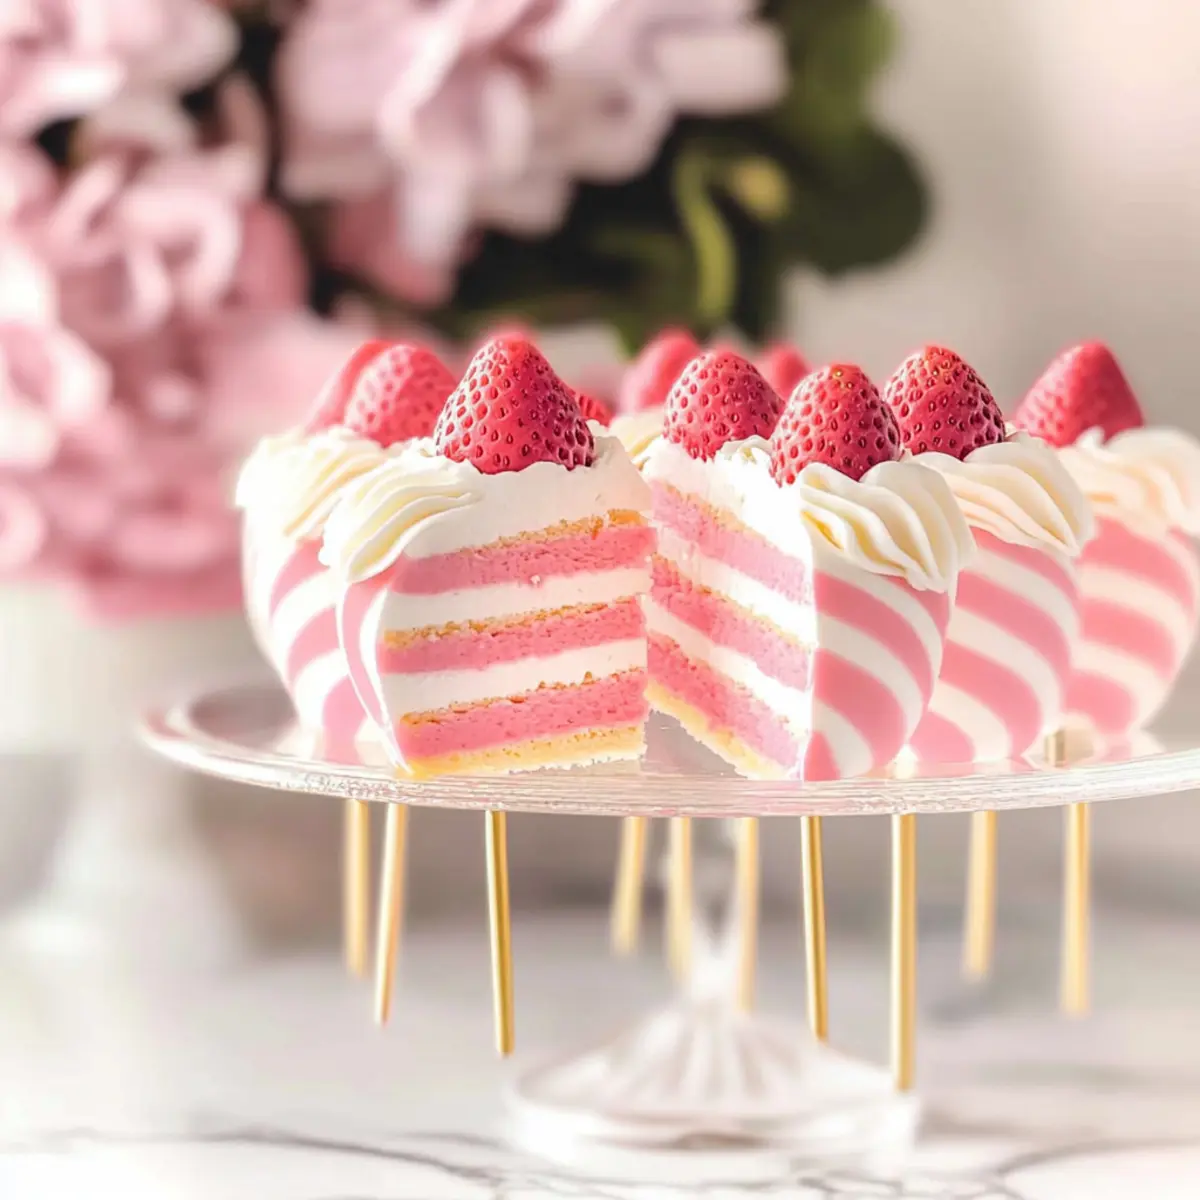
As I rummaged through my kitchen the other day, a thought struck me: what better way to show appreciation this Mother’s Day than with delightful Love Heart Cake Pops? These sweet little treats not only look adorable, but they’re also incredibly easy to prepare, making them a perfect project for bakers of any level. Imagine the smiles when you present these colorful bites at a family gathering or serve them alongside a warm cup of coffee. With their charming appearance and blissful taste, these cake pops embody the essence of spring and are sure to be a heartfelt gift for moms, grandmas, or any special woman in your life. Ready to spread some love and sweetness? Let’s dive into these delectable baking ideas!

Why Are Love Heart Cake Pops Special?
Unique Presentation: These cake pops are visually captivating, transforming ordinary cake into charming little hearts that are perfect for Mother’s Day celebrations.
Simple to Make: Even beginner bakers will find joy in whipping these treats up; no fancy techniques required!
Versatile Flavors: You can customize each pop with different flavors and colors, tying them to your mom’s taste perfectly.
Shareable Delight: Ideal for gatherings, these pops are bite-sized morsels that make sharing easy and fun. Pair them with a lovely dessert spread including Pumpkin Cake Cozy or Chocolate Tuxedo Cake for an unforgettable treat table!
Sweet Memories: Each pop is not just a treat; it’s a joyful moment of connection, perfect for creating lasting memories with loved ones.
Love Heart Cake Pops Ingredients
For the Cake
• Cake Mix – Use your favorite flavor for a delightful base; vanilla or chocolate pairs well with each decoration.
• Eggs – Essential for binding; make sure they are at room temperature for optimal results.
• Oil – Adds moisture; vegetable or canola oil are good options.
• Water – Replaces the liquid in your cake mix; feel free to substitute with milk for added richness.
For the Coating
• Candy Melts – These melts create a colorful coating; choose pink, red, or white for the perfect Mother’s Day vibe.
• Coconut Oil – Mix into the candy melts to achieve a smooth consistency when melting.
For Decoration
• Sprinkles – These add a festive touch; use heart-shaped sprinkles for extra cuteness!
• Lollipop Sticks – Essential for making your cake pops easy to hold; you can find them at most craft stores.
• Baking Foam or Styrofoam Block – Perfect for setting your cake pops upright while they dry.
With these ingredients, you’ll create scrumptious Love Heart Cake Pops that are sure to bring smiles and warmth to your Mother’s Day celebration!
Step‑by‑Step Instructions for Love Heart Cake Pops
Step 1: Preheat the Oven
Begin by preheating your oven to 350°F (175°C). This step ensures that your Love Heart Cake Pops bake evenly and achieve that delightful fluffy texture. As the oven heats, gather your baking equipment such as a mixing bowl, whisk, and a 9×13-inch cake pan, and make sure they are clean and ready for action.
Step 2: Prepare the Cake Mix
In a large mixing bowl, combine your cake mix, room temperature eggs, oil, and water or milk. Stir the mixture vigorously with a whisk or electric mixer until smooth and well blended, about 2-3 minutes. The batter should appear thick and creamy, free of lumps. Pour this lovely mix into the prepared cake pan and spread it evenly.
Step 3: Bake the Cake
Place the cake pan in your preheated oven and bake for 25-30 minutes. You’ll know it’s done when a toothpick inserted into the center comes out clean. Once baked, allow the cake to cool in the pan for about 10 minutes, then transfer it to a wire rack. Let it cool completely before moving to the next delicious step.
Step 4: Crumble the Cake
Once the cake is completely cool, crumble it into fine pieces in a large bowl. Use your hands or a fork to break it apart until it has a crumb-like texture. This crumbled cake will serve as the base for your Love Heart Cake Pops, so ensure there are no large chunks remaining for the best consistency.
Step 5: Add Frosting
Mix in about 1/2 cup of frosting into the crumbled cake. The frosting binds the crumbs together, creating a dough-like consistency. Use your hands to combine until the mixture holds together when pressed, but is not too sticky. Feel free to adjust the amount of frosting based on your preference; just ensure it’s moist enough to form hearts.
Step 6: Shape the Cake Pops
Take small portions of the mixture and shape them into heart forms, about 1 inch wide. Place all shaped hearts on a baking sheet lined with parchment paper. This is a fun step, so feel free to get creative with your heart shapes! Once done, refrigerate the hearts for about 30 minutes to help them firm up before coating.
Step 7: Melt the Candy Coating
While the cake pops chill, melt your candy melts according to package instructions. Adding a teaspoon of coconut oil will ensure your Love Heart Cake Pops have a smooth, glossy finish. Use a microwave-safe bowl and melt in 30-second intervals, stirring until fully melted and smooth, resembling a silky paste.
Step 8: Dip the Cake Pops
Remove the chilled hearts from the refrigerator. Dip each lollipop stick into the melted candy coating and insert it about halfway into a heart. This step helps the coating grip the cake pop. Next, dip the entire heart into the melted candy coating, ensuring it is evenly covered. Allow any excess to drip off gently.
Step 9: Decorate the Cake Pops
Before the candy coating sets, sprinkle your heart-shaped sprinkles or any festive decorations over your Love Heart Cake Pops. This is where they truly shine! Place the coated cake pops upright in a baking foam or Styrofoam block to dry completely, which should take about 30 minutes.
Step 10: Serve and Enjoy
Once the coating has hardened, serve your delightful Love Heart Cake Pops! Arrange them on a decorative platter or gift box to share the love with friends and family. Whether at brunch or as a sweet surprise, these charming little treats are sure to brighten any Mother’s Day celebration!
Expert Tips for Love Heart Cake Pops
• Room Temperature Ingredients: Ensure your eggs and any other dairy are at room temperature to create a smoother batter and better texture.
• Consistent Crumbles: Crumble the cake into fine pieces; larger chunks can make shaping the Love Heart Cake Pops challenging and uneven.
• Frosting Balance: Start with 1/2 cup of frosting, adding more if necessary. Too much frosting can make the mixture too sticky.
• Chill for Firmness: Let the shaped hearts chill for a solid 30 minutes; this helps them hold their shape during dipping, preventing them from falling apart.
• Creative Coatings: Don’t hesitate to mix and match candy melts or use different sprinkles to personalize your Love Heart Cake Pops for a special touch.
• Proper Drying: Allow the pops to dry completely in Styrofoam before moving them; this prevents smudging and maintains their beautiful appearance.
Make Ahead Options
These delightful Love Heart Cake Pops are perfect for meal prep enthusiasts! You can bake the cake up to 24 hours in advance; simply cool it completely, then crumble and store the cake in an airtight container in the refrigerator. Additionally, you can shape the heart forms and refrigerate them for up to 3 days before dipping. When you’re ready to serve, melt your candy coating, dip the chilled hearts, and decorate them with sprinkles. This way, you’ll have charming treats ready to delight at a moment’s notice, saving you precious time on busy days while ensuring they remain just as delicious and festive!
Love Heart Cake Pops Variations
Feel free to get creative and customize your Love Heart Cake Pops with these fun variations for an extra touch of love!
-
Gluten-Free: Swap out regular cake mix for a gluten-free version, ensuring everyone can enjoy these delightful treats without worry.
-
Flavor Infusions: Experiment with different extracts like almond or raspberry to add a unique twist to your cake batter. Your cake pops’ flavor will shine even brighter!
-
Alternative Coatings: Instead of candy melts, use white chocolate or dark chocolate for a richer taste; just remember to adjust the melting process accordingly.
-
Fruit Fillings: Incorporate fruit preserves into your cake mixture for a surprise burst of flavor, like strawberry or apricot, giving each bite a lovely fruity twist.
-
Nutty Addition: Add finely chopped nuts, like pistachios or almonds, to your cake mixture for a delicious crunch that elevates your cake pops’ texture.
-
Colorful Sprinkles: Get festive with different themed sprinkles (think seasonal colors) or edible glitter for an eye-catching finish; it’s a fun way to match any celebration!
-
Dairy-Free: Use a dairy-free cake mix and frosting to make these pops suitable for everyone; you’ll still get that delectable taste without the dairy.
-
Spicy Kick: For those who love a bit of heat, mix in a pinch of cayenne or chili powder into your cake for a surprising spicy twist that balances the sweetness.
These variations allow you to personalize your Love Heart Cake Pops further and make them even more special! Consider pairing them with a lovely dessert spread, including Peanut Butter Cake or Oreo Poke Cake, to truly impress your loved ones.
What to Serve with Delightful Mother’s Day Desserts
Treat your loved ones to a complete sweet experience that brings warmth, joy, and delightful flavors to any celebration.
-
Fresh Berries: Juicy strawberries, raspberries, or blueberries complement the sweetness of desserts while introducing a refreshing contrast that enhances the occasion.
-
Whipped Cream: Light and fluffy, this indulgent addition offers a creamy richness that pairs beautifully with cake pops, accentuating their charm.
-
Herbal Tea: A warm cup of chamomile or mint tea adds an aromatic, calming touch, connecting beautifully with the sweetness of your baked treats.
-
Chocolate Fondue: Set up a fun fondue station for dipping fruits, marshmallows, or even leftover cake bites. The lively interaction lends a sense of joy to any gathering!
-
Decadent Coffee: A cup of rich espresso or velvety cappuccino elevates the experience, grounding the sweetness of cake pops while embracing the cultural significance of cheerful sharing.
-
Mini Cheesecakes: Serve bite-sized cheesecakes topped with seasonal fruits as an elegant treat that balances the celebratory vibe of your dessert spread.
-
Fruit-Infused Water: Refresh guests with infused water featuring lemon, cucumber, or berries, which can cleanse the palate and keep everyone hydrated between those decadent treats!
With these delectable pairings alongside your Love Heart Cake Pops, your Mother’s Day celebration is destined to be a memorable one, filled with laughter, sweetness, and love!
Storage Tips for Love Heart Cake Pops
Room Temperature: Store your Love Heart Cake Pops in an airtight container at room temperature for up to 5 days to maintain their freshness.
Refrigerator: If you prefer a firmer texture, you can refrigerate the cake pops for up to 2 weeks. Ensure they are well-wrapped to prevent moisture loss.
Freezer: For longer storage, freeze your cake pops in an airtight container for up to 3 months. Thaw them overnight in the fridge before serving for the best taste and texture.
Reheating: If the candy coating has lost its shine, gently warm the cake pops in a warm oven (not hot) for a few minutes to restore their glossy finish before serving.
Love Heart Cake Pops Recipe FAQs
How do I select the right cake mix for Love Heart Cake Pops?
Absolutely! Choose a cake mix that aligns with your taste preferences—vanilla or chocolate are popular choices. I often suggest opting for a mix without any additional flavors to keep your cake pops versatile, allowing the candy coating and decorations to shine.
What is the best way to store Love Heart Cake Pops?
You can store your Love Heart Cake Pops in an airtight container at room temperature for up to 5 days. If you prefer a firmer texture, refrigerate them for up to 2 weeks, but make sure they’re well-wrapped to avoid moisture loss. For longer storage, they can be frozen for up to 3 months—just remember to thaw them overnight in the fridge before serving!
Can Love Heart Cake Pops be frozen?
Very! To freeze Love Heart Cake Pops, place them in a single layer in an airtight container, ensuring they don’t touch one another to maintain shape. You can also individually wrap them in plastic wrap before placing them in the container. When ready to enjoy, simply move them to the refrigerator overnight to gently defrost.
What if my cake pops aren’t holding their shape?
No worries! If your cake pops are falling apart, it’s often due to excess moisture in the mixture. Make sure you’re only using about 1/2 cup of frosting to bind the cake crumbs together. Also, chilling them for at least 30 minutes before dipping in the coating can help—this way, they’ll firm up nicely, allowing for crisp edges.
Are there any allergy considerations for Love Heart Cake Pops?
Definitely! When making Love Heart Cake Pops, be mindful of common allergens. If you’re baking for someone with a gluten sensitivity, consider using a gluten-free cake mix. Also, be aware of any nut allergies if you’re using coconut oil or specific sprinkles. Always check ingredient labels to ensure they are allergy-friendly!
How can I customize the flavor of my Love Heart Cake Pops?
The more the merrier! To customize, try different cake mixes like lemon or red velvet for a delightful twist. You can also enhance the base mixture with flavor extracts (like almond or vanilla) or mix in different fillings like jam or cream cheese to surprise your taste buds. Get creative with colors, too, by using colored candy melts for various occasions!
Decadent Love Heart Cake Pops: Sweet Treats to Share with Joy
Ingredients
Equipment
Method
- Preheat your oven to 350°F (175°C). Gather your baking equipment.
- In a large mixing bowl, combine cake mix, eggs, oil, and water. Mix until smooth.
- Pour the mixture into the prepared cake pan and spread evenly. Bake for 25-30 minutes.
- Once baked, let the cake cool for about 10 minutes, then transfer to a wire rack.
- Crumble the cooled cake into fine pieces in a large bowl.
- Mix in 1/2 cup of frosting until the mixture holds together without being sticky.
- Shape small portions into heart forms and place on a lined baking sheet. Refrigerate for 30 minutes.
- Melt candy melts with coconut oil in a microwave, stirring until smooth.
- Dip each lollipop stick in the melted candy, insert it into a heart, and then coat the heart.
- Decorate with sprinkles before the coating sets. Place upright to dry.
- Once dry, serve your Love Heart Cake Pops on a decorative platter.
Leave a Reply