
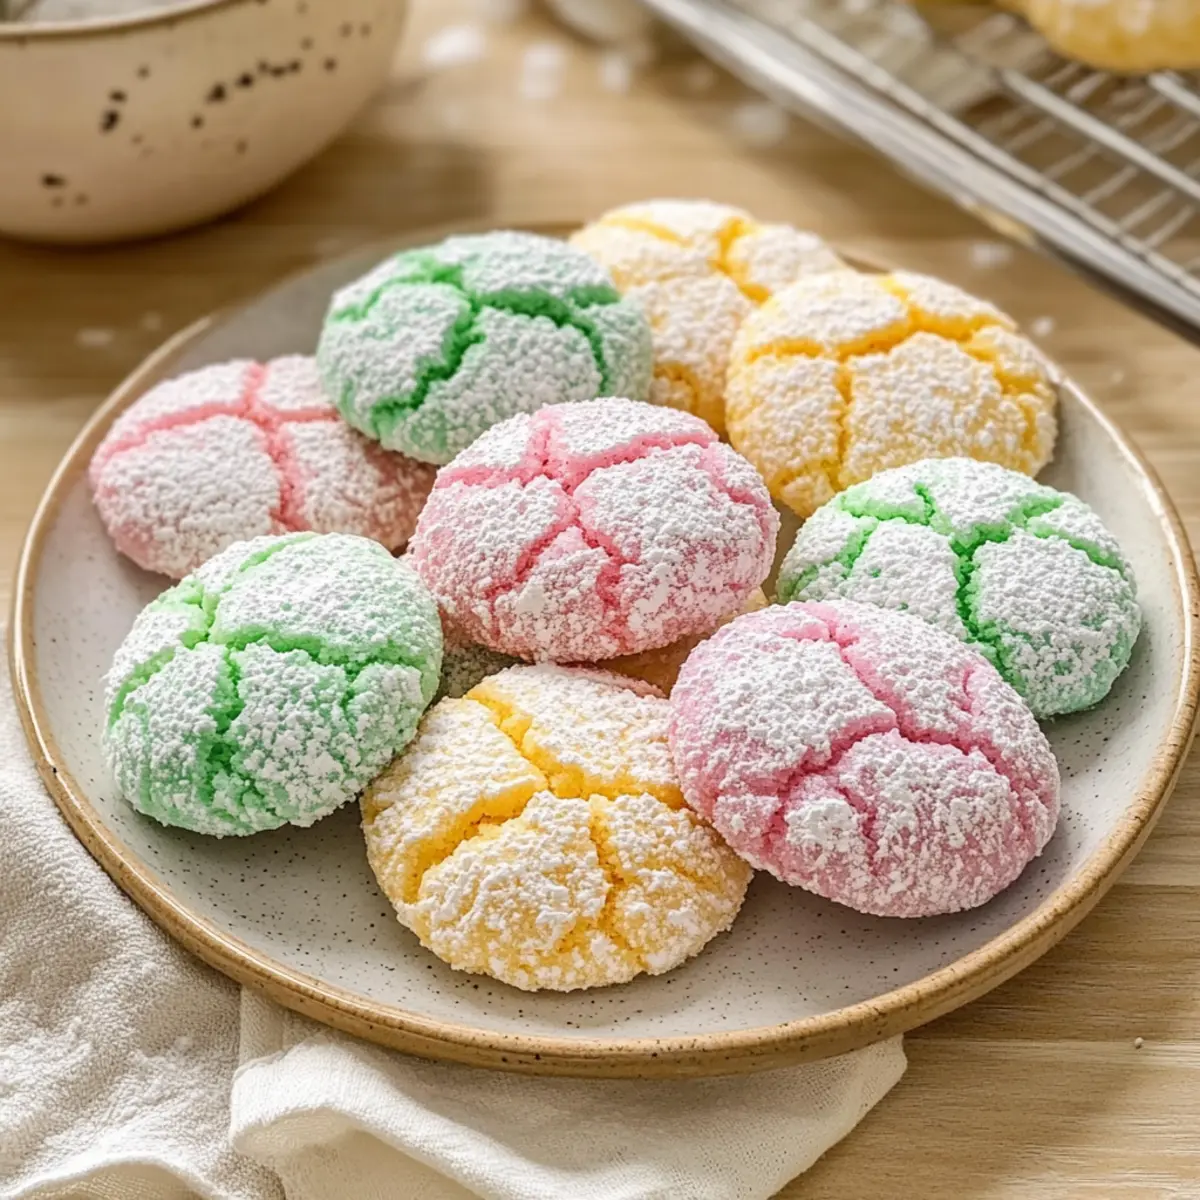
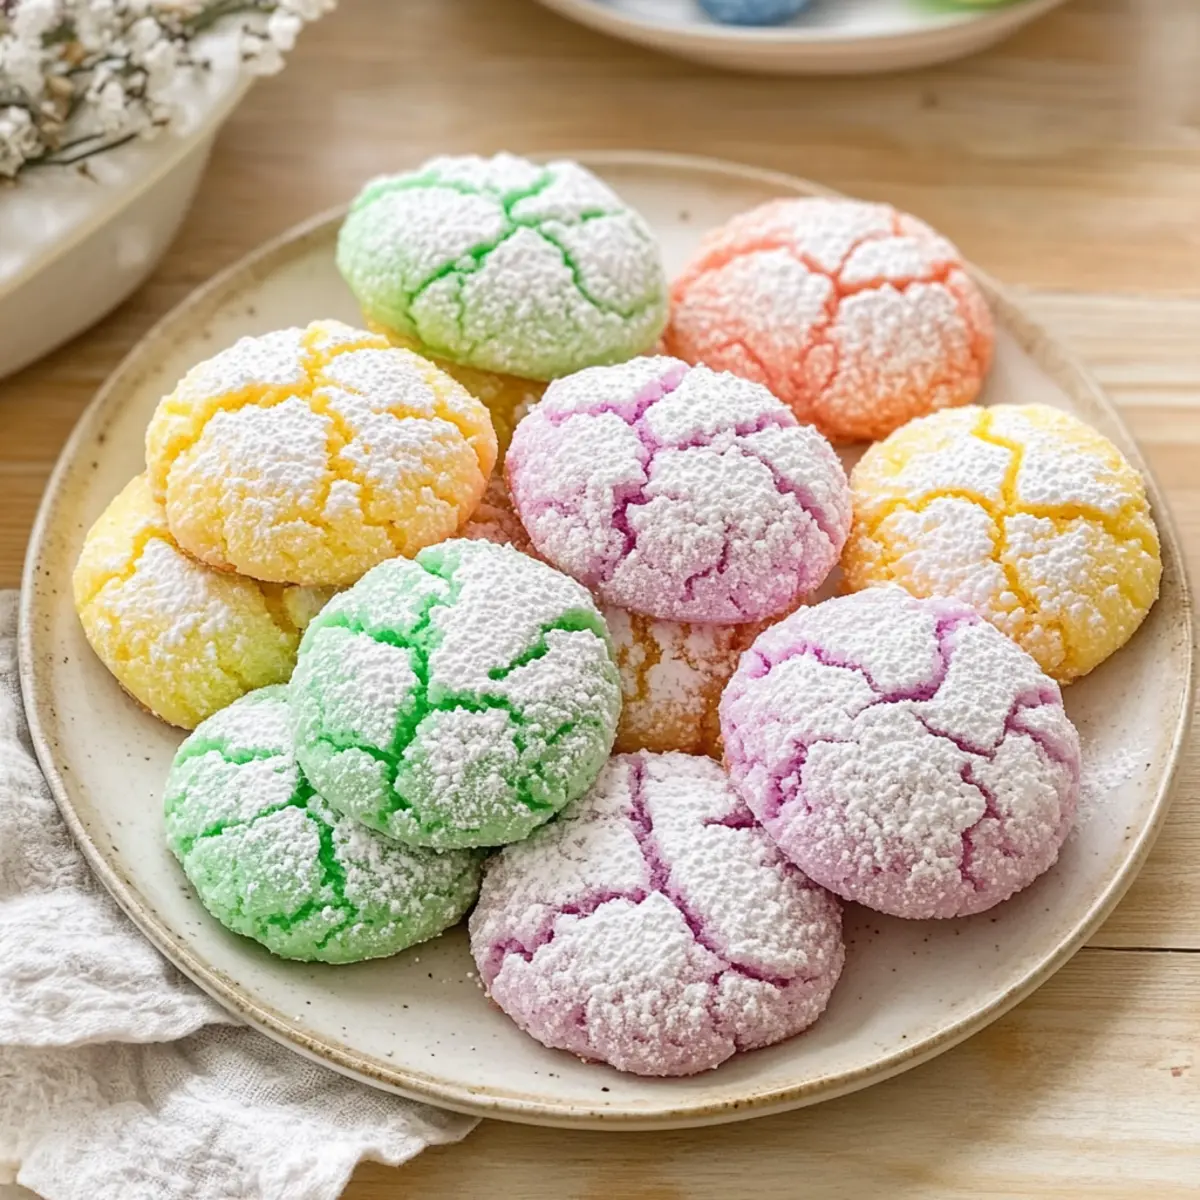
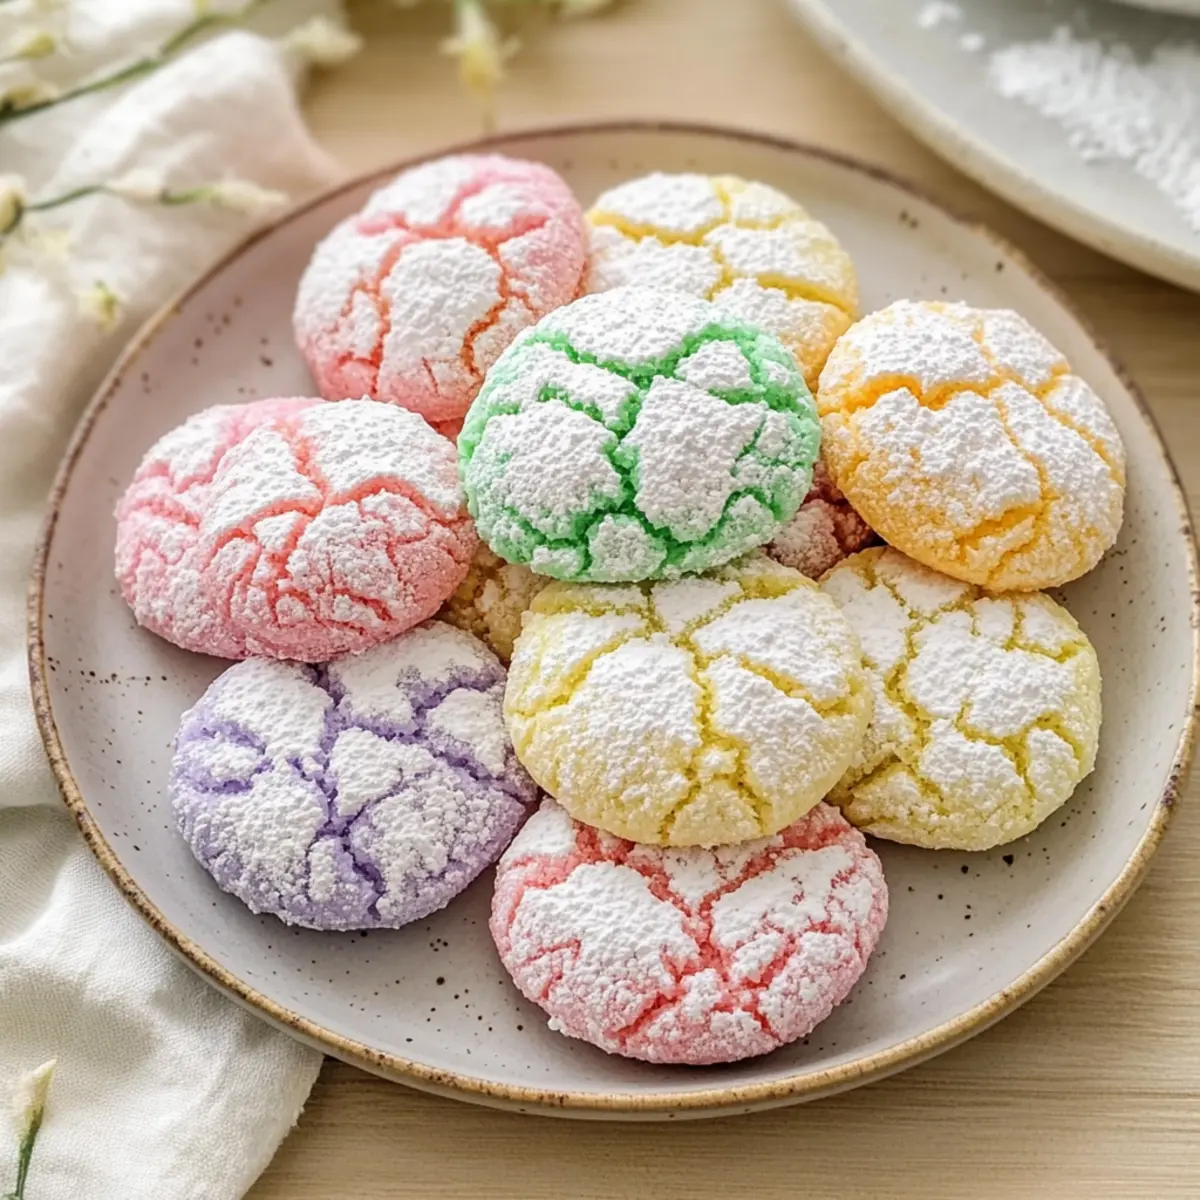
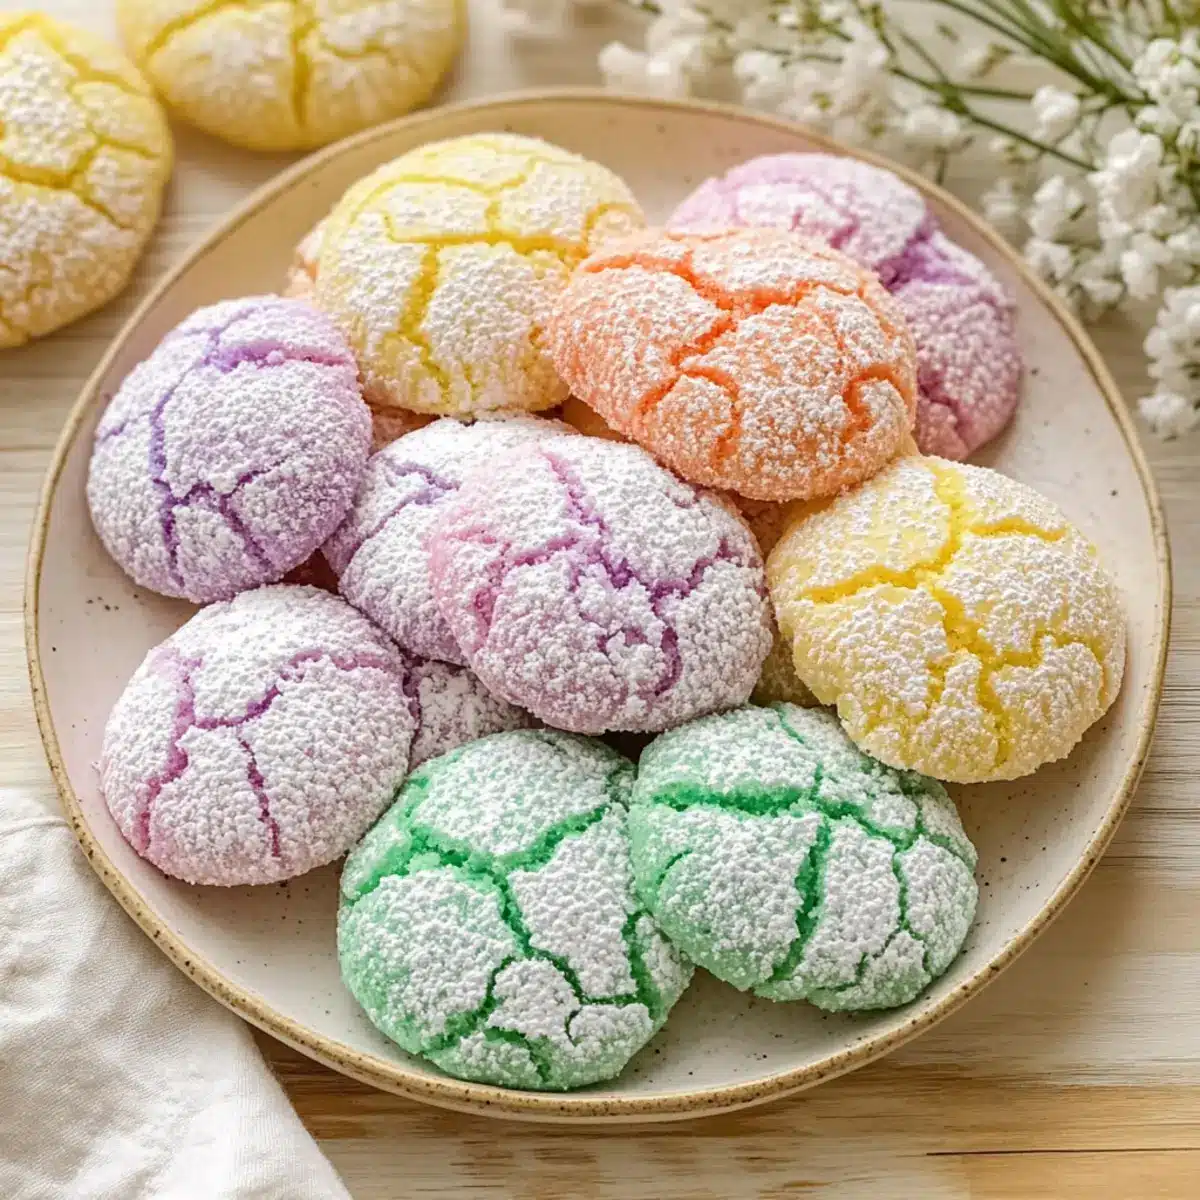
As I glided into my kitchen, the sweet smell of vanilla filled the air, whisking me away to springtime memories of colorful celebrations. These Springtime Crinkle Cookies, with their pastel hues and sugary crinkle tops, have become a cherished staple in my home. Not only are they an easy dessert perfect for any cheerful gathering, but their quick prep time allows even the busiest home-chef to whip them up without fuss. With a tender, chewy center balanced by a crisp edge, these treats are ideal for sharing at Easter brunches or delightful baby showers. Ready to bring a slice of spring to your kitchen? Let’s dive into the rainbow of flavors these cookies offer!
Why Are Springtime Crinkle Cookies So Irresistible?
Vibrant Colors: These cookies are a feast for the eyes, featuring stunning pastel hues that brighten up any occasion.
Easy to Make: With straightforward steps, even novice bakers can create these delightful treats without any trouble.
Perfectly Chewy: Their tender centers paired with a crisp, crinkly exterior make each bite a delightful experience.
Versatile Delight: Serve them at Easter, baby showers, or spring parties, and watch them disappear in no time!
Storage-Friendly: Keep them fresh for days or even freeze for later enjoyment, making them a convenient treat.
These Springtime Crinkle Cookies are sure to win over any crowd! For more colorful ideas, check out my Halloween Mummy Cookies or indulge in the vibrant Spider Web Cookies for different festive occasions!
Springtime Crinkle Cookie Ingredients
Get ready to whip up a batch of these delightful Springtime Crinkle Cookies!
For the Dough
- All-Purpose Flour – Provides structure and lift; you can use gluten-free flour if needed.
- Baking Powder – Adds leavening for a soft texture; remember to check for freshness!
- Salt – Enhances flavor; a pinch goes a long way in balancing the sweetness.
- Unsalted Butter – Adds richness and moisture; substitute with vegan butter for a dairy-free option.
- Granulated Sugar – Sweetens the cookies and contributes to their softness; consider using brown sugar for added depth.
- Large Eggs – Binds the ingredients together for structure; no substitutes here for the best results.
- Vanilla Extract – Imparts a lovely aroma and flavor; opt for higher quality for the best taste.
- Almond Extract (optional) – Adds a subtle nutty note; feel free to omit it if there are allergies.
For the Coating
- Powdered Sugar – Coats the cookies to create that signature crinkle and adds sweetness; it’s essential for this recipe.
For the Color
- Gel Food Coloring – Provides vibrant pastel colors; steer clear of liquid food coloring to maintain dough consistency.
With these ingredients at hand, you’re all set to create irresistible Springtime Crinkle Cookies that will light up any gathering!
Step‑by‑Step Instructions for Springtime Crinkle Cookies
Step 1: Preheat and Prepare
Preheat your oven to 350°F (175°C) and line a baking sheet with parchment paper. This preparation is crucial for creating the perfect baking environment for your Springtime Crinkle Cookies. Ensure the oven is fully heated before placing your cookies inside to achieve that lovely crinkly texture we adore.
Step 2: Mix Dry Ingredients
In a medium bowl, whisk together the all-purpose flour, baking powder, and salt until well combined. This step not only mixes the dry ingredients but also helps to aerate the flour, contributing to the light texture of your cookies. Set this bowl aside while you prepare the wet ingredients for your delicious treats.
Step 3: Cream Butter and Sugar
In a large mixing bowl, beat the softened unsalted butter and granulated sugar together until the mixture is light and fluffy, about 3-4 minutes. The creamy texture should be pale and voluminous, indicating that air has been incorporated. This step is essential for the rich flavor of the Springtime Crinkle Cookies.
Step 4: Incorporate Eggs and Extracts
Add the large eggs one at a time, mixing each egg thoroughly before adding the next. Once combined, stir in the vanilla and almond extracts to infuse this wonderful mixture with flavor. The batter should become smooth and glossy, promising a delightful taste with each cookie.
Step 5: Combine Wet and Dry Ingredients
Gradually fold the dry ingredients into the wet mixture, mixing gently until a thick dough forms. Be careful not to overmix, as this can affect the texture of your Springtime Crinkle Cookies. The dough should be cohesive and slightly sticky, inviting you to continue with the fun part of coloring.
Step 6: Color and Chill the Dough
Divide the dough into portions and add your chosen gel food coloring to each. Knead gently until the color is uniformly distributed, then place the dough in the refrigerator for at least 30 minutes. Chilling helps to firm up the dough, preventing the cookies from spreading too much while baking.
Step 7: Shape and Coat the Cookies
Once chilled, roll tablespoon-sized balls of dough in your hands, then coat each ball generously with powdered sugar. Ensure each cookie is thoroughly covered for that signature crinkle effect. Place the sugar-coated balls on the lined baking sheet, leaving about 2 inches of space between each ball for baking.
Step 8: Bake the Cookies
Bake your cookies in the preheated oven for 10-12 minutes, or until the tops are cracked and the edges are set while keeping the centers soft. This visual cue is crucial for achieving the perfect texture of your Springtime Crinkle Cookies, with a chewy interior and crisp exterior.
Step 9: Cool Before Serving
Once baked, allow the cookies to cool on the baking sheet for a few minutes, letting them firm up slightly. Then transfer them to a wire rack to cool completely. This step ensures your Springtime Crinkle Cookies maintain their delightful chewy texture and are ready for sharing at your next gathering.
Make Ahead Options
These Springtime Crinkle Cookies are perfect for meal prep, allowing busy home cooks to enjoy delightful treats without the last-minute rush! You can prepare the dough up to 24 hours in advance by mixing all the ingredients and chilling it in the refrigerator. Just remember to cover it tightly to avoid drying out. Alternatively, you can scoop and roll the cookies into balls, coat them with powdered sugar, and freeze them for up to 3 months! When you’re ready to bake, simply place them directly on a baking sheet and add an extra minute or two to the baking time for fresh, warm cookies that are just as delicious.
What to Serve with Springtime Crinkle Cookies?
As you gather friends and family to enjoy these delightful treats, pair them with complementary flavors and textures for a memorable feast.
-
Classic Milk: A tall glass of cold milk perfectly balances the sweetness of the cookies, enhancing the overall experience.
-
Fresh Fruit Salad: A medley of seasonal fruits adds freshness and a burst of color, making for a refreshing contrast to the cookies.
-
Whipped Cream: Light, airy whipped cream provides a luscious, creamy element that pairs beautifully with the chewy texture. Serve it as a dip or a dollop on the side for extra indulgence.
-
Lemonade Spritzers: A refreshing lemonade spritzer brings a zesty brightness that cuts through the sweetness, making each bite feel invigorating.
-
Chocolate Dipping Sauce: Rich chocolate sauce offers a decadently sweet twist; dip your cookies for a delightful treat that’s sure to wow!
-
Easter-Scented Tea: A floral herbal tea infused with hints of chamomile or lavender complements the cookies’ flavors, creating a calming atmosphere ideal for gatherings.
-
Cute Easter Cupcakes: Serve a platter of pastel-colored cupcakes that echo the cookies’ appearance for visually appealing dessert symmetry. Delightful bites that contribute to the festive spirit of any occasion!
-
Vanilla Ice Cream: Scoop a generous dollop of vanilla ice cream alongside the cookies for a classic dessert combo that’s hard to resist. The creaminess will elevate the flavors while adding a heavenly touch.
-
Sparkling Water: For a lighter option, bubbly sparkling water adds a refreshing fizz that cleanses the palate between bites of these sugary delights.
Creating a full meal around Springtime Crinkle Cookies can turn an ordinary gathering into a bright, cheerful feast that everyone will remember!
Springtime Crinkle Cookies: Delightful Customizations
Feel free to sprinkle a little creativity into your baking! The possibilities are as colorful as the cookies themselves.
- Gluten-Free: Swap all-purpose flour for a gluten-free blend to make these cookies suitable for gluten-sensitive friends.
- Dairy-Free Delight: Use vegan butter instead of unsalted butter for a deliciously dairy-free version that still tastes amazing.
- Flavor Twists: Instead of almond extract, try coconut or peppermint extract for a unique twist on flavor.
- Pastel Sprinkles: Mix in pastel sprinkles or chocolate chips to add extra texture and festive flair.
- Nutty Crunch: Add finely chopped nuts like pecans or walnuts to introduce delightful crunch without sacrificing flavor.
- Lemon Zest: Incorporate some fresh lemon zest into the dough for a refreshing citrus twist that complements the sweetness.
- Spicy Kick: For those who love heat, mix in a pinch of cayenne pepper or cinnamon to elevate the flavor profile.
- Chocolate Lovers: Fold in cocoa powder to transform your dough into a chocolate version and top with chocolate drizzle for an extra special treat.
With these variations, your Springtime Crinkle Cookies can be tailored to suit any taste or occasion. And if you’re exploring more sweet ideas, why not check out my delightful Peanut Butter Cookies or the irresistibly chewy Soft Pumpkin Cookies? Happy baking!
How to Store and Freeze Springtime Crinkle Cookies
Room Temperature: Store cookies in an airtight container at room temperature for up to 5 days to maintain freshness and sweetness.
Fridge: If you prefer a colder treat, keep them in the fridge for up to a week, but be aware they might lose some of their softness.
Freezer: For long-term storage, freeze the cookies in an airtight container or freezer bag for up to 3 months. Thaw at room temperature before enjoying.
Reheating: To revive their fresh-baked taste, reheat cookies in the oven at 300°F (150°C) for about 5 minutes. Enjoy your Springtime Crinkle Cookies as if they were just baked!
Expert Tips for Springtime Crinkle Cookies
• Chill Dough Properly: Ensure you chill the dough for at least 30 minutes to avoid spreading and achieve the perfect crinkle.
• Use Gel Coloring: Opt for gel food coloring instead of liquid to maintain dough consistency and vibrant colors.
• Avoid Overbaking: Keep a close eye on the cookies; remove them when the edges are set but the centers remain soft for the best chewy texture.
• Measure Flour Accurately: Spoon flour into your measuring cup and level off with a knife to avoid excess flour, which can lead to dry cookies.
• Dust with Powdered Sugar: Dust your hands with powdered sugar when shaping dough balls to prevent sticking and ensure a flawless coating.
With these tips in your baking arsenal, you’re well on your way to mastering delicious Springtime Crinkle Cookies that everyone will adore!
Springtime Crinkle Cookies Recipe FAQs
How do I choose the right ingredients for Springtime Crinkle Cookies?
Absolutely! When selecting your ingredients, look for all-purpose flour that’s fresh and has been stored properly. Make sure your baking powder is within its expiration date for the best rise in your cookies. For the butter, use unsalted for better control of flavor, and grab high-quality vanilla extract to enrich your cookie’s taste. If you prefer a gluten-free option, feel free to swap the all-purpose flour with a gluten-free blend; just ensure it contains xanthan gum for the right texture.
How should I store my Springtime Crinkle Cookies?
Very! To keep your cookies fresh, store them in an airtight container at room temperature for up to 5 days. If you live in a warm climate, you may want to keep them in the fridge, but be aware that this might slightly affect their chewiness. For longer storage, you can freeze the cookies; just make sure they’re in a proper freezer bag or container for up to 3 months.
Can I freeze the uncooked dough for Springtime Crinkle Cookies?
Absolutely! To freeze the dough, divide it into tablespoon-sized balls and roll them in powdered sugar as you normally would. Freeze the balls on a baking sheet until firm, then transfer them to a freezer-safe bag, making sure to label it with the date. When you’re ready to bake, no need to thaw; just bake straight from the freezer, adding an extra couple of minutes to the baking time.
What if my Springtime Crinkle Cookies spread too much while baking?
Oh, no! If this happens, the likely culprit is not chilling the dough long enough or using too much flour. Make sure to chill your dough for at least 30 minutes, as this firms it up and prevents spreading. Also, be sure to accurately measure your flour; spoon it into your measuring cup and level it off with a knife to avoid adding too much.
Are there any dietary considerations for Springtime Crinkle Cookies?
Yes! If you or someone you’re serving has allergies, it’s crucial to take note of the ingredients. Almond extract is optional, and you should omit it if there are nut allergies. For those with gluten sensitivity, a gluten-free flour blend is a great alternative, and you can substitute unsalted butter with vegan butter for a dairy-free treat. Always double-check ingredients if you’re unsure!
How can I ensure my Springtime Crinkle Cookies have the perfect texture?
Absolutely, achieving the right texture can be a game-changer! Make sure your butter is room temperature, as this helps create a fluffy mixture when creaming with sugar. Don’t overmix the dough once you incorporate the dry ingredients; this can lead to tough cookies. Lastly, bake just until the edges are set, but the centers seem soft—this way, they will maintain that chewy center we all love.
Springtime Crinkle Cookies: Colorful Chewy Delights to Savor
Ingredients
Equipment
Method
- Preheat your oven to 350°F (175°C) and prepare a baking sheet with parchment paper.
- Whisk together the flour, baking powder, and salt in a medium bowl.
- In a large mixing bowl, beat the butter and sugar until light and fluffy for about 3-4 minutes.
- Add the eggs one at a time, mixing thoroughly before adding the next egg, then stir in both extracts.
- Fold the dry ingredients into the wet mixture gently until a thick dough forms.
- Divide the dough, add gel food coloring to each part, knead gently, then chill in the refrigerator for at least 30 minutes.
- Roll the dough into tablespoon-sized balls and coat them generously in powdered sugar.
- Bake for 10-12 minutes or until the tops are cracked and edges set, with soft centers.
- Allow cookies to cool on the baking sheet for a few minutes before transferring to a wire rack.
Leave a Reply