
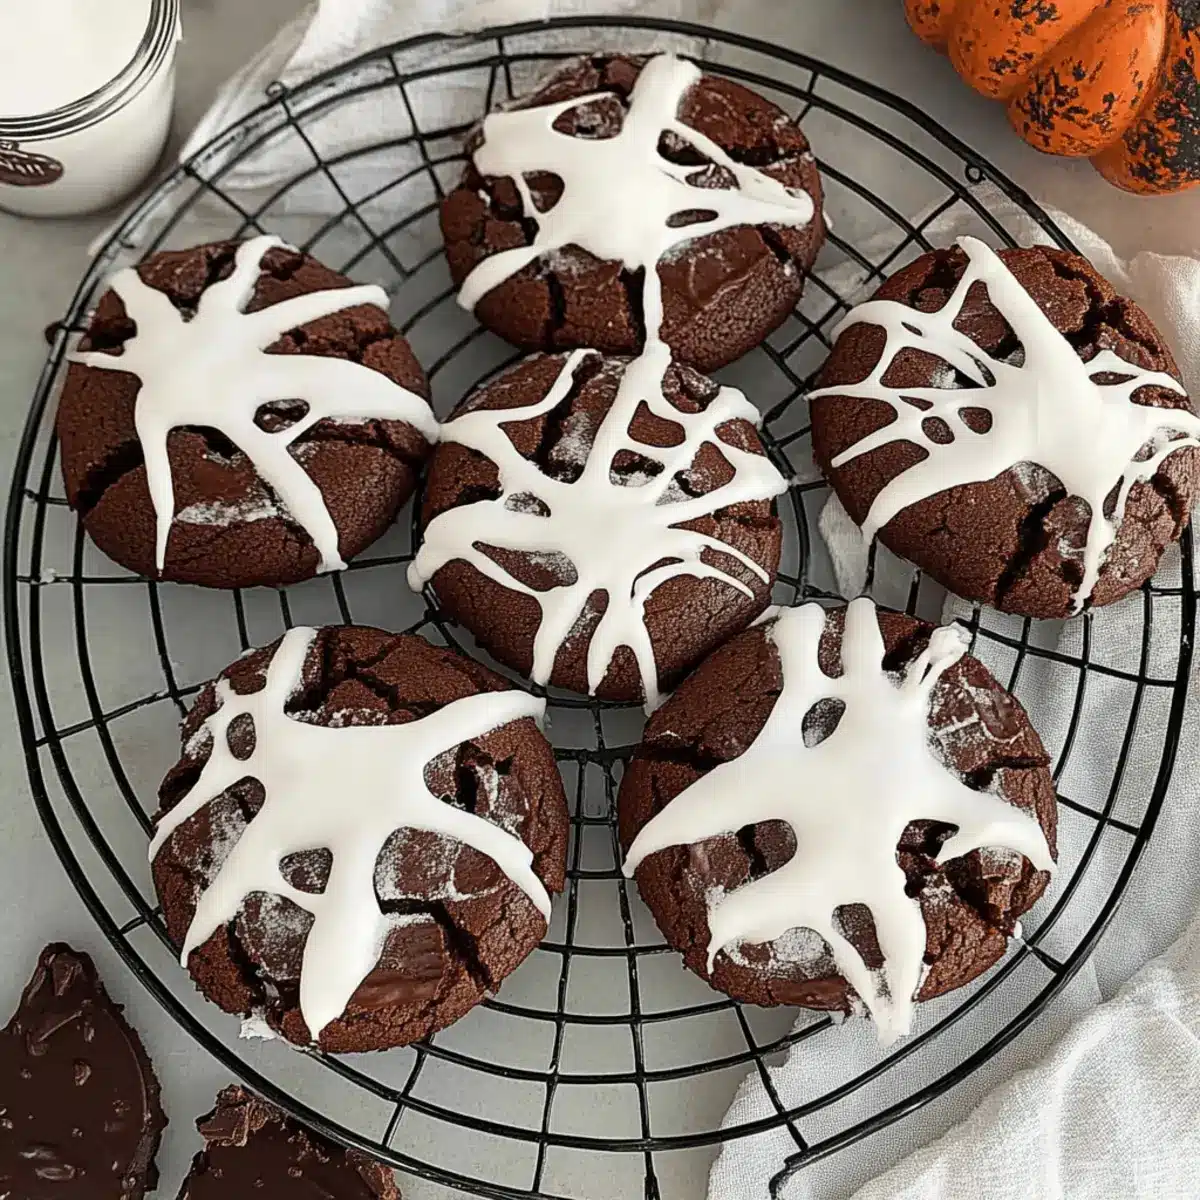
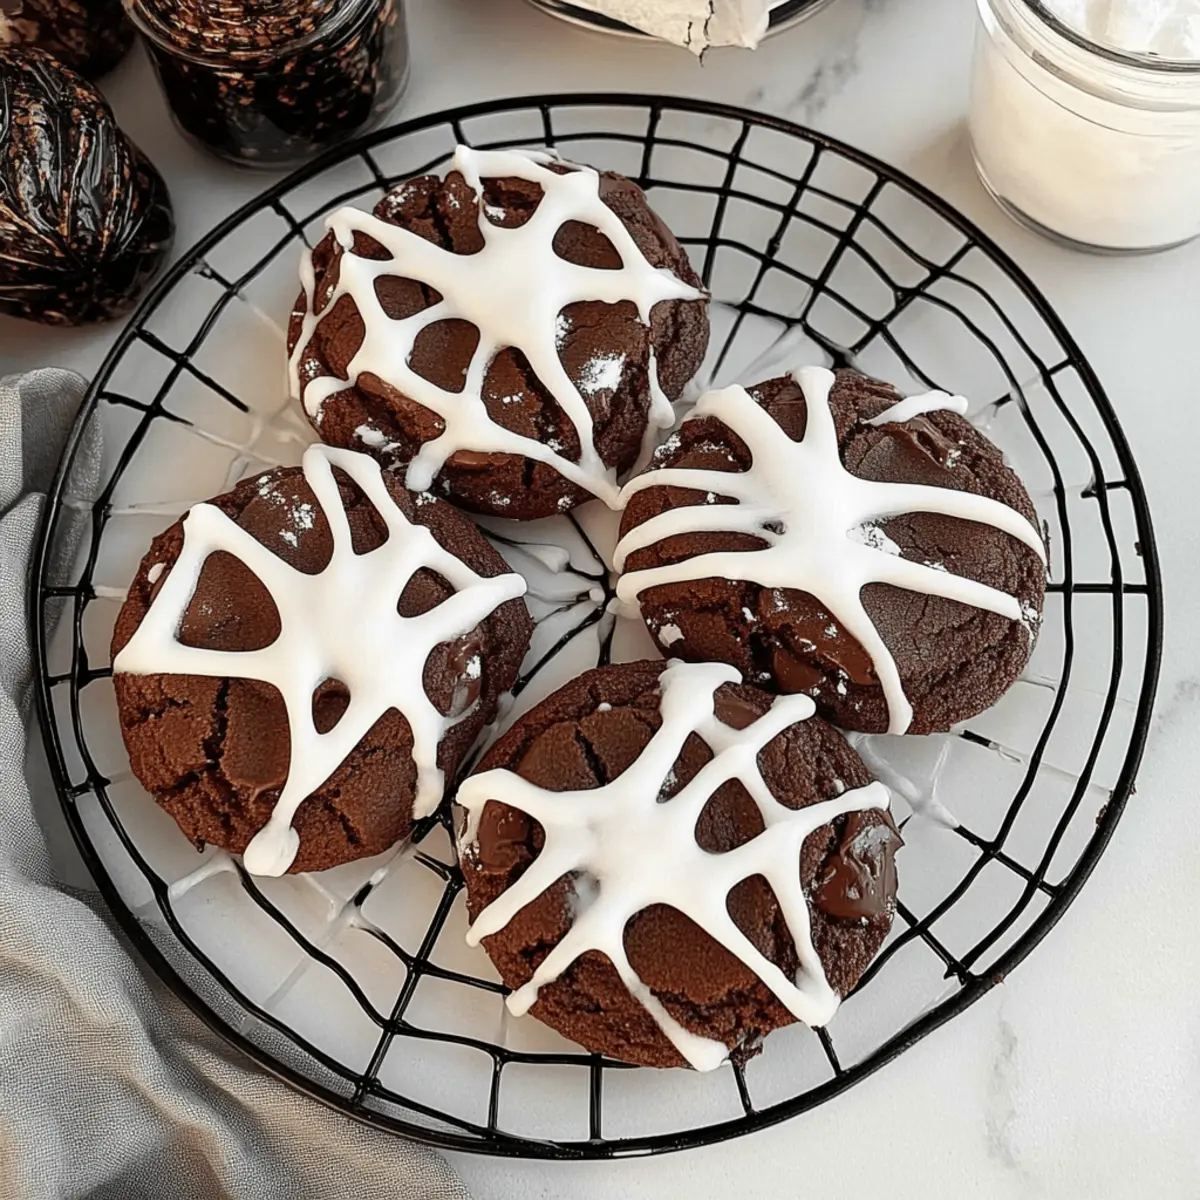
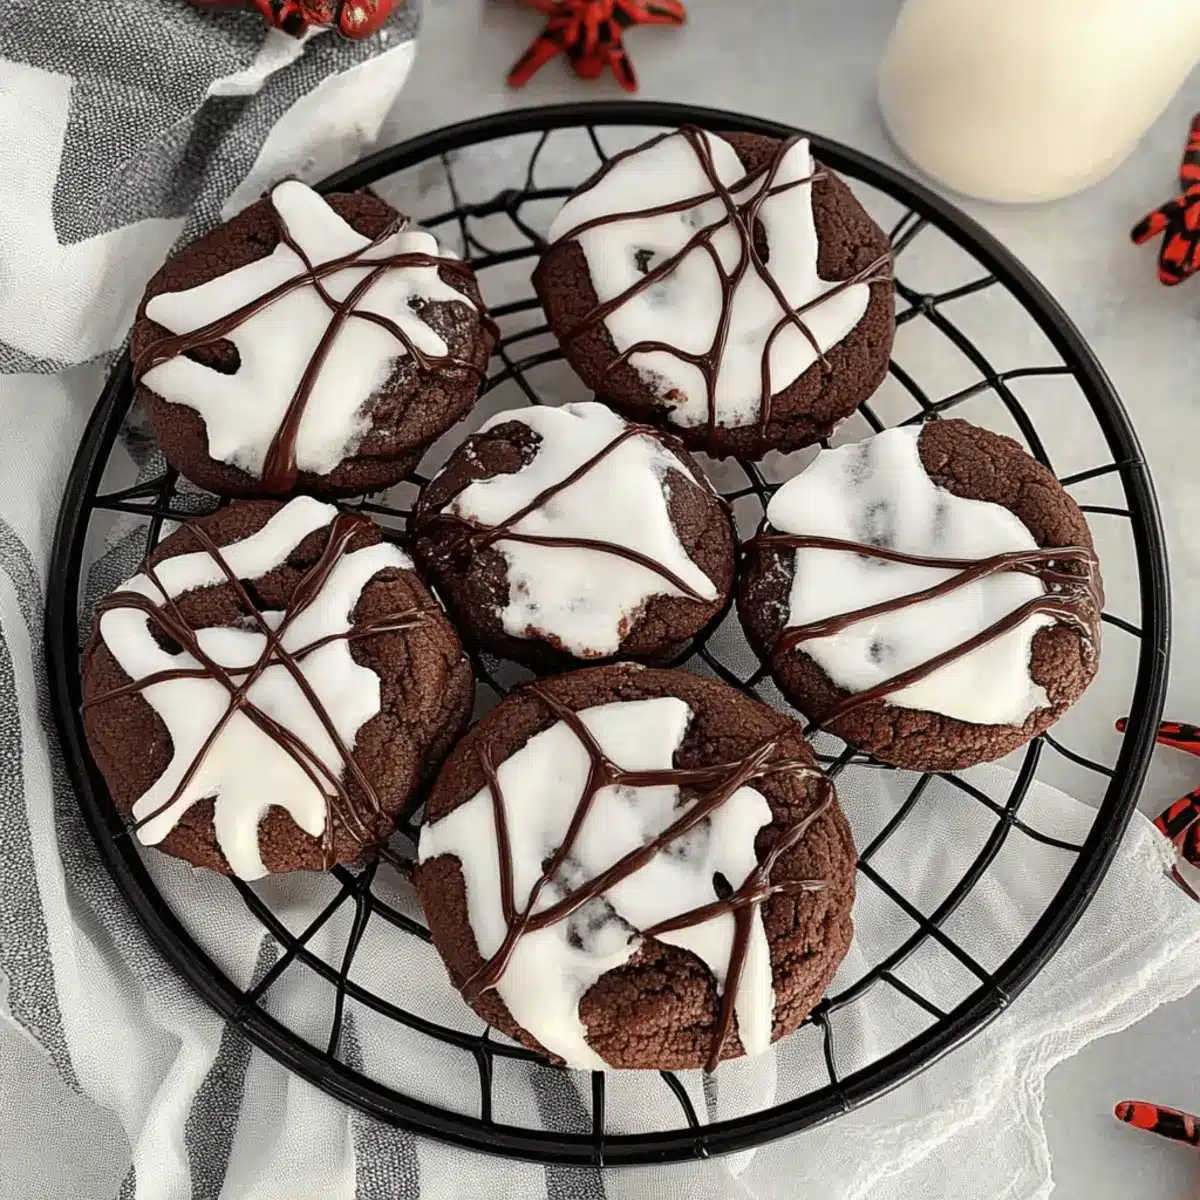
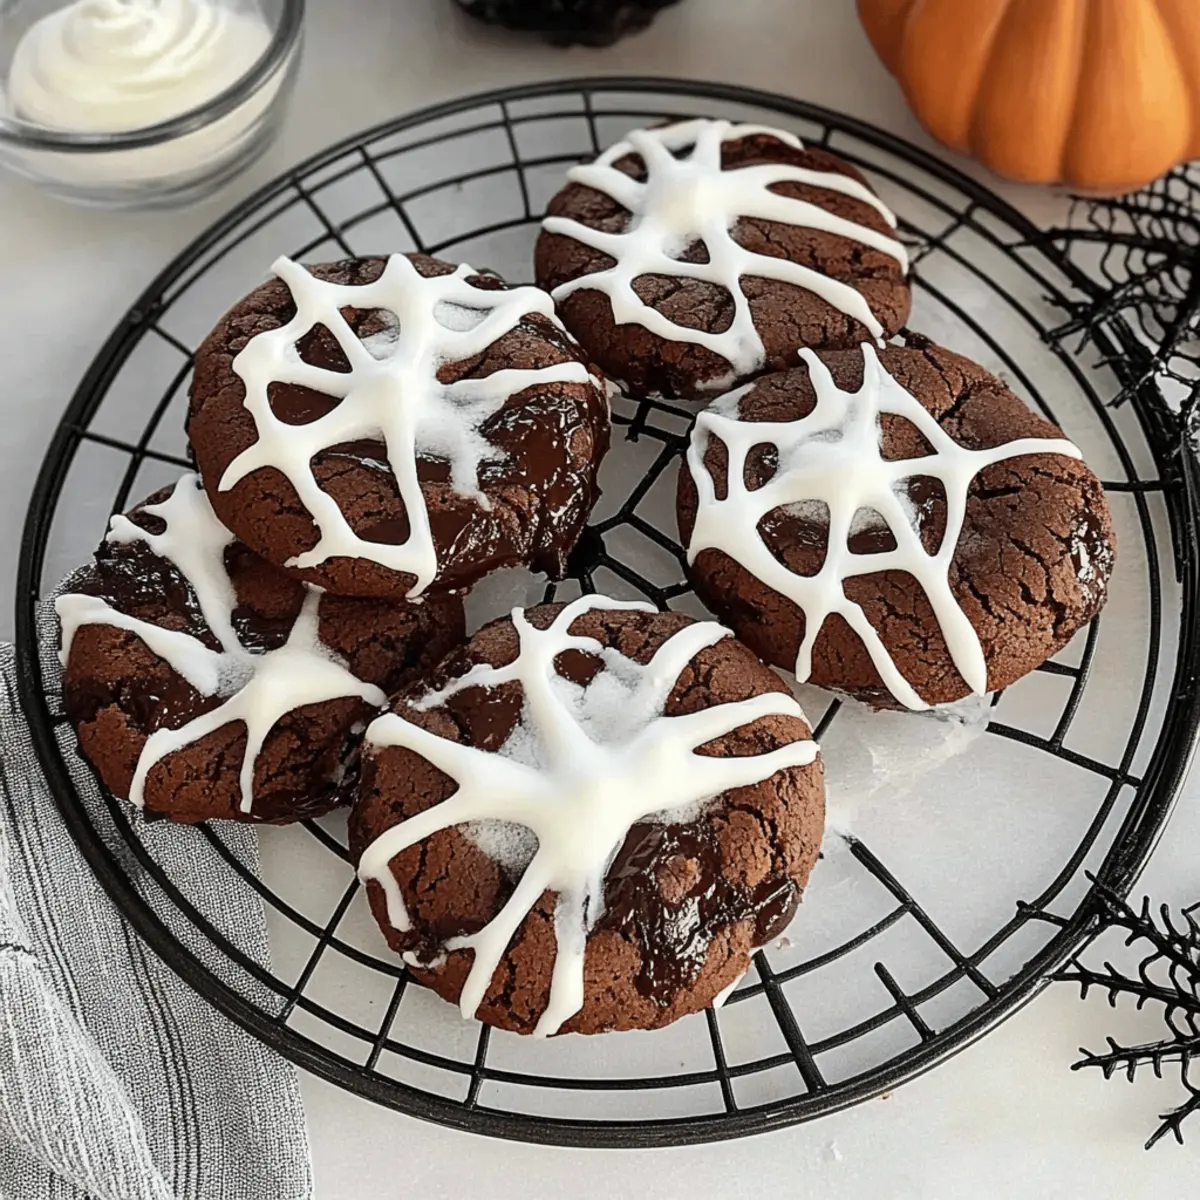
The oven hummed softly as I stood in my kitchen, surrounded by the intoxicating aroma of melting chocolate. Halloween is around the corner, and that can only mean one thing: it’s time to whip up a batch of my delightfully spooky Spider Web Cookies. These festive cookies bring joy to both the young and the young at heart, with a chewy double chocolate base topped by a blissfully gooey marshmallowweb. Not only are they a fun addition to any Halloween gathering, but they also come together quickly without the fuss of chilling the dough. In just a matter of minutes, you’ll have a batch of enchanting treats that are sure to impress! Who can resist the charming combination of rich chocolate and fluffy marshmallow? Ready to create some magical memories this Halloween? Let’s dive into the recipe!
Why are Spider Web Cookies a must-try?
Spooktacular Fun: These cookies not only taste amazing, but they also make a fun project for the whole family. Perfect for Halloween gatherings!
Rich Chocolate Delight: With a double chocolate base and gooey marshmallow topping, they’re a chocoholic’s dream come true.
Quick and Easy: No chilling time necessary! You can whip these up in no time, making them perfect for last-minute treats.
Versatile Options: Feel free to customize with different toppings or chocolate types; go ahead and get creative!
Crowd-Pleasing Appeal: These cookies will surely impress guests and kiddos alike, making them a highlight at your Halloween festivities.
Spider Web Cookies Ingredients
For the Cookie Base
- Unsalted Butter – Adds richness and moisture to the cookies. Substitution: Can use margarine or coconut oil for dairy-free options.
- Granulated Sugar – Provides sweetness and contributes to the cookie’s texture.
- Brown Sugar (packed) – Enhances sweetness and adds moisture for chewier cookies.
- All-Purpose Flour – Acts as the structure for the cookies. Note: Gluten-free flour can be used for a gluten-free version.
- Unsweetened Cocoa Powder – Delivers rich chocolate flavor and dark color.
- Baking Soda – Leavening agent that helps the cookies rise.
- Kosher Salt – Balances sweetness and enhances flavor.
- Vanilla Extract – Adds depth of flavor.
- Eggs – Bind ingredients and provide structure.
- Chocolate Chips (semi-sweet or milk) – Enhance the chocolatey flavor and add texture.
For the Spider Web Topping
- Mini Marshmallows – Used to create the marshmallow spider web topping.
Get ready to enjoy making these delightful Spider Web Cookies!
Step‑by‑Step Instructions for Spider Web Cookies
Step 1: Prepare Cookie Dough
Begin by preheating your oven to 350°F (175°C). In a large mixing bowl or stand mixer, cream together ½ cup of unsalted butter, ½ cup of granulated sugar, and ½ cup of packed brown sugar until the mixture is light and fluffy, around 3–5 minutes. Add 2 large eggs and 1 teaspoon of vanilla extract, mixing well until fully incorporated to create a smooth cookie dough.
Step 2: Combine Dry Ingredients
In a separate bowl, whisk together 1 ½ cups of all-purpose flour, ½ cup of unsweetened cocoa powder, 1 teaspoon of baking soda, and ½ teaspoon of kosher salt until well blended. Gradually incorporate the dry mixture into the butter mixture, stirring until just combined. Fold in 1 cup of chocolate chips for an extra touch of decadence in your Spider Web Cookies, ensuring an even distribution throughout the dough.
Step 3: Shape Cookies
Using a 2 oz cookie scoop, portion out the dough onto a lined baking sheet. Space the cookies about 2 inches apart, placing only 6 on each sheet to allow room for spreading. This will help them bake evenly. Each scoop should create a nicely rounded mound perfect for a chewy cookie texture.
Step 4: Bake
Bake the Spider Web Cookies in your preheated oven for 12 minutes, watching for them to look slightly underbaked with soft centers. Once they’re done, remove them from the oven and allow them to cool on the baking sheet for 3–5 minutes. Then, transfer the cookies to a wire rack to cool completely and maintain that delightful chewy texture.
Step 5: Make Spider Web
While the cookies are cooling, prepare the marshmallow topping. In a heatproof bowl, microwave 1 cup of mini marshmallows for 45 seconds. Stir until they are fully melted and smooth, creating a gooey base for your spider webs. Be attentive to the marshmallows, as they can become too sticky if overheated.
Step 6: Create Spider Webs
Once the melted marshmallows have cooled slightly, it’s time to decorate! Pinch off small amounts of the melted marshmallow and stretch them into thin strands over each cookie, creating a spider web effect. Be sure to adhere the strands to the cookie edges for a dramatic presentation. Repeat this for all cookies, ensuring each one has its own unique web design.
What to Serve with Spider Web Cookies
These delightful treats are not just a standalone indulgence; they can truly elevate your Halloween festivities when served alongside complementary bites and sips.
-
Chilled Pumpkin Spice Latte: A creamy, spiced beverage that perfectly balances the sweetness of the cookies with its warm, festive flavors.
-
Festive Fruit Platter: A vibrant assortment of seasonal fruits, like pears and apples, brings a fresh contrast to the rich chocolate, making every bite refreshing.
-
Chocolate Dipped Pretzels: The salty crunch of these pretzels adds a delightful texture, creating a fun contrast to the softness of the Spider Web Cookies.
-
Pumpkin Pie Bites: Miniature pumpkin pie treats provide a warm, spiced alternative, making your dessert spread truly festive and enjoyable for all.
-
Spooky Punch: A tangy fruit punch, perhaps with floating gummy worms, adds a fun Halloween twist that kids (and adults) will love.
-
Caramel Corn: A crunchy and sweet snack that adds a lovely contrast of textures while incorporating familiar fall flavors.
-
Creamy Vanilla Ice Cream: A scoop of this classic offers a cool and creamy complement to the chocolatey cookies, perfect for a sweet indulgence.
-
Ginger Snap Cookies: Their spicy bite offers a nice contrast to the soft sweetness of your Spider Web Cookies, creating a delightful mix of flavors on your dessert table.
Spider Web Cookies Variations & Substitutions
Feel free to let your creativity shine by customizing these delightful Spider Web Cookies to suit your taste or dietary needs!
-
Dairy-Free: Substitute unsalted butter with coconut oil or margarine to keep the cookie base rich and moist.
-
Flour Alternative: Use gluten-free flour blend in place of all-purpose flour to make these cookies gluten-free, enabling everyone to enjoy them!
-
Flavorful Twist: Add a teaspoon of espresso powder to the dough for a delightful mocha flavor that enhances the chocolate even further.
-
Nutty Delight: Swap out some of the butter for creamy peanut butter for a delicious nutty flavor that complements the chocolate beautifully.
-
White Chocolate Version: Replace semi-sweet chocolate chips with white chocolate chips, creating a sweet and visually stunning contrast against the dark cookie base.
-
Festive Decorations: Top your cookies with colorful sprinkles or edible glitter, making them even more festive for Halloween gatherings. Imagine the sparkle as you serve them!
-
Crunch Factor: Add in ½ cup of chopped nuts, like walnuts or pecans, to give your cookies an extra crunch and depth of flavor.
-
Spicy Kick: Incorporate a pinch of cayenne pepper or cinnamon into the dough for a surprising twist that adds warmth without overwhelming the sweet richness.
With these variations, your Spider Web Cookies can take on a whole new personality! Looking for even more cookie inspiration? Check out my recipes for Chocolate Chip Cookies or Pumpkin Maple Cookies to sweeten up your fall festivities!
Storage Tips for Spider Web Cookies
Room Temperature: Store cookies in an airtight container at room temperature for up to 4-5 days to maintain their chewy texture and freshness.
Refrigerator: If you prefer colder cookies, you can store them in the fridge for up to a week, but ensure they’re tightly sealed to prevent drying out.
Freezer: Freeze unbaked cookie dough balls in a single layer, then transfer them to a freezer bag for up to 3 months. Adjust baking time if baking from frozen.
Reheating: To enjoy your Spider Web Cookies warm, gently reheat them in the microwave for 10-15 seconds until just warm, perfect for a comforting treat!
Make Ahead Options
These Spider Web Cookies are fantastic for meal prep! You can prepare the cookie dough up to 3 days in advance; simply cover it tightly and refrigerate it until you’re ready to bake. For even longer storage, scoop out the dough into balls and freeze them in a single layer on a baking sheet for up to 3 months. Once frozen, transfer the dough balls to a freezer bag. When you’re ready to enjoy these tasty treats, bake the frozen cookie dough directly from the freezer, adding an extra minute or two to the baking time. This way, you’ll have fresh, gooey Spider Web Cookies with minimal effort, perfect for busy weeknights or last-minute Halloween gatherings!
Tips for the Best Spider Web Cookies
Watch the Marshmallows: Stay vigilant while microwaving the mini marshmallows; they can quickly turn hot and sticky.
Cooling Time Matters: Allow your cookies to cool sufficiently on a wire rack to keep their perfect chewy texture and avoid sogginess.
Dough Portions: Use a 2 oz cookie scoop for even-sized cookies; this ensures they bake at the same rate for uniform results.
Avoid Overmixing: When combining the dry ingredients with the wet, mix just until combined; overmixing can lead to dense cookies.
Creative Toppings: Don’t hesitate to experiment with different types of chocolate chips or colorful sprinkles for a festive spin on your Spider Web Cookies!
Spider Web Cookies Recipe FAQs
How can I choose the best chocolate for my Spider Web Cookies?
Absolutely! For the richest flavor, I recommend using semi-sweet chocolate chips. However, if you’re a white chocolate lover, you can swap them out for white chocolate chips to create a different flavor profile. Just make sure the chocolate’s quality is good, as it plays a significant role in the overall taste of the cookies.
How do I store my Spider Web Cookies for the freshest taste?
To maintain their delightful chewiness, store your cookies in an airtight container at room temperature for up to 4-5 days. I often separate them with parchment or wax paper to prevent sticking. If you’d like to keep them longer, you can refrigerate them for up to a week, just make sure they’re tightly sealed.
Can I freeze the dough for later use?
Yes, absolutely! To freeze unbaked cookie dough, scoop the dough into balls and place them in a single layer on a baking sheet. Freeze until solid, then transfer the balls to a freezer bag for up to 3 months. When you’re ready to bake, just adjust the baking time by a couple of minutes if baking from frozen, and enjoy fresh cookies at a moment’s notice!
What if my cookies turn out too flat or crispy?
If your Spider Web Cookies are too flat, it may be due to the butter being too soft or the dough being overmixed. Make sure to not over-creme the butter and sugars, and mix the dry ingredients just until incorporated. For a chewier texture, consider adding an extra egg yolk or using less flour.
Are there any dietary substitutions I can make for my Spider Web Cookies?
Very! For a dairy-free version, you can use margarine or coconut oil instead of unsalted butter, and for a gluten-free option, substitute all-purpose flour with a gluten-free flour blend. Just ensure that your chocolate chips are also dairy-free if needed. It’s wonderful to make these cookies accessible for everyone!
Delicious Spider Web Cookies That Make Halloween Spooktacular
Ingredients
Equipment
Method
- Preheat your oven to 350°F (175°C). Cream together butter, granulated sugar, and brown sugar until light and fluffy. Add eggs and vanilla extract, mixing until smooth.
- In a separate bowl, whisk together flour, cocoa powder, baking soda, and salt. Gradually mix the dry ingredients into the butter mixture. Fold in chocolate chips.
- Using a cookie scoop, drop the dough onto a lined baking sheet, spacing them 2 inches apart.
- Bake for 12 minutes, allow the cookies to cool on the baking sheet for 3-5 minutes, then transfer them to a wire rack.
- Microwave the mini marshmallows for 45 seconds until melted, stirring until smooth.
- Pinch off small amounts of melted marshmallows and stretch them over each cookie to create a spider web design.
Leave a Reply