
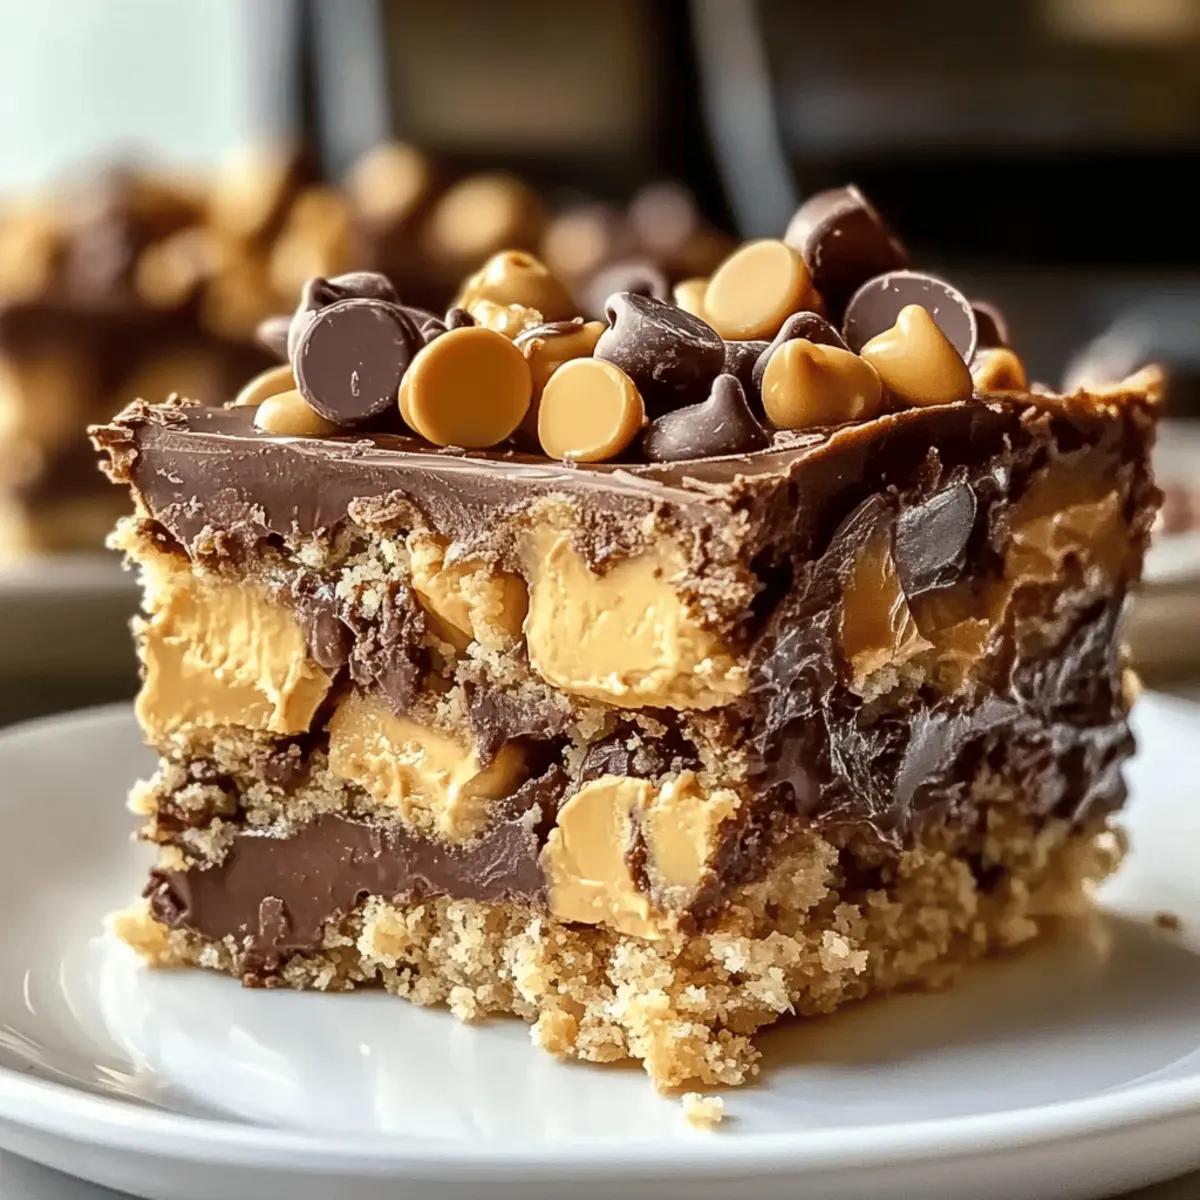
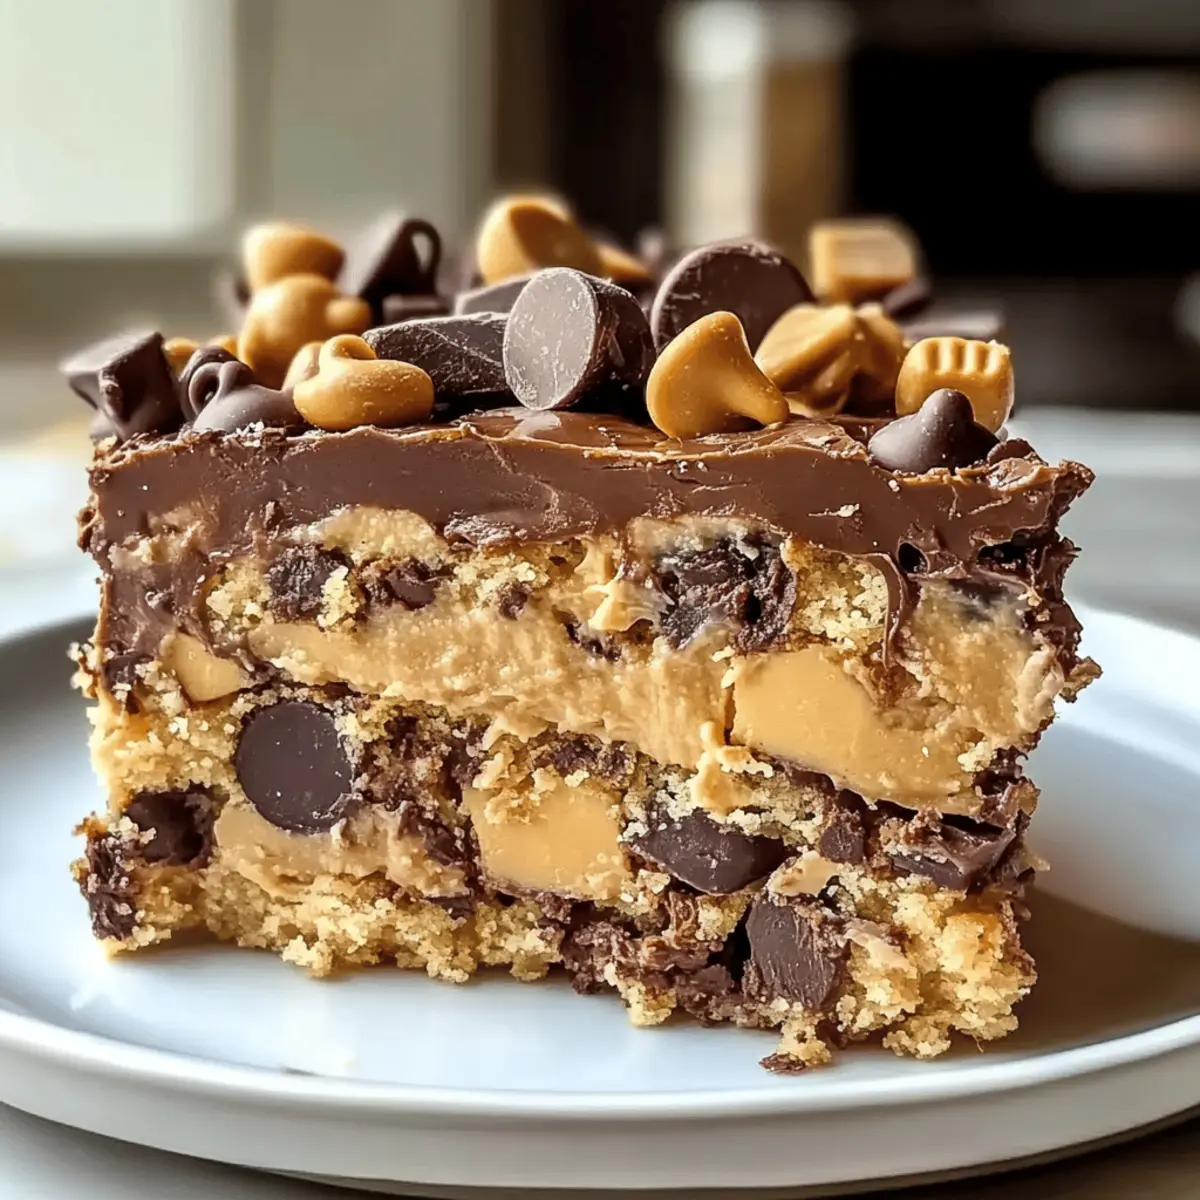
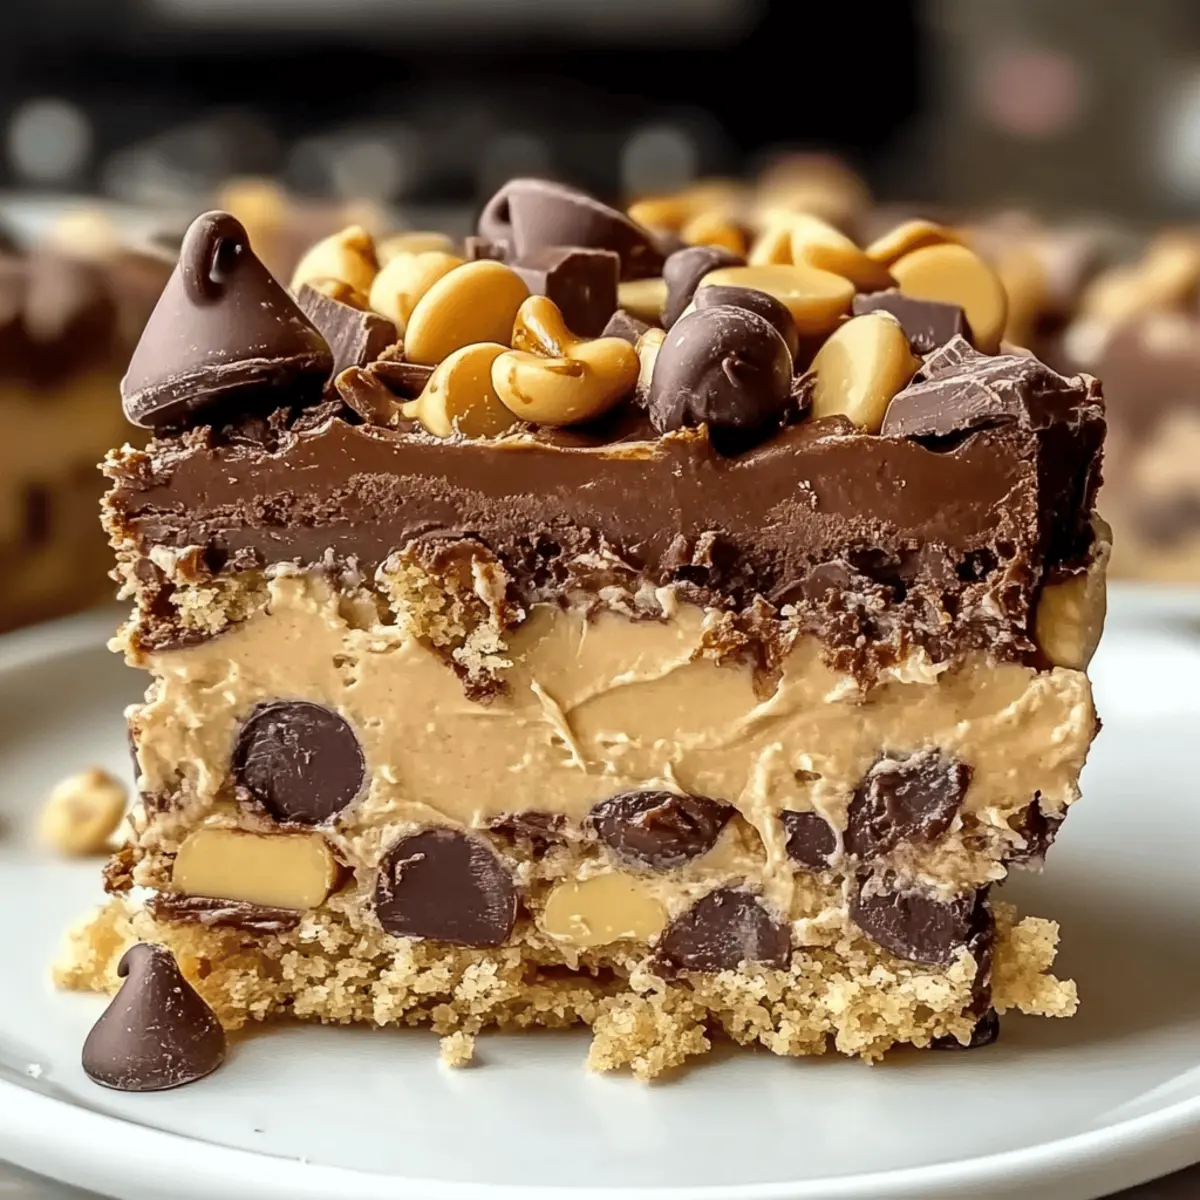
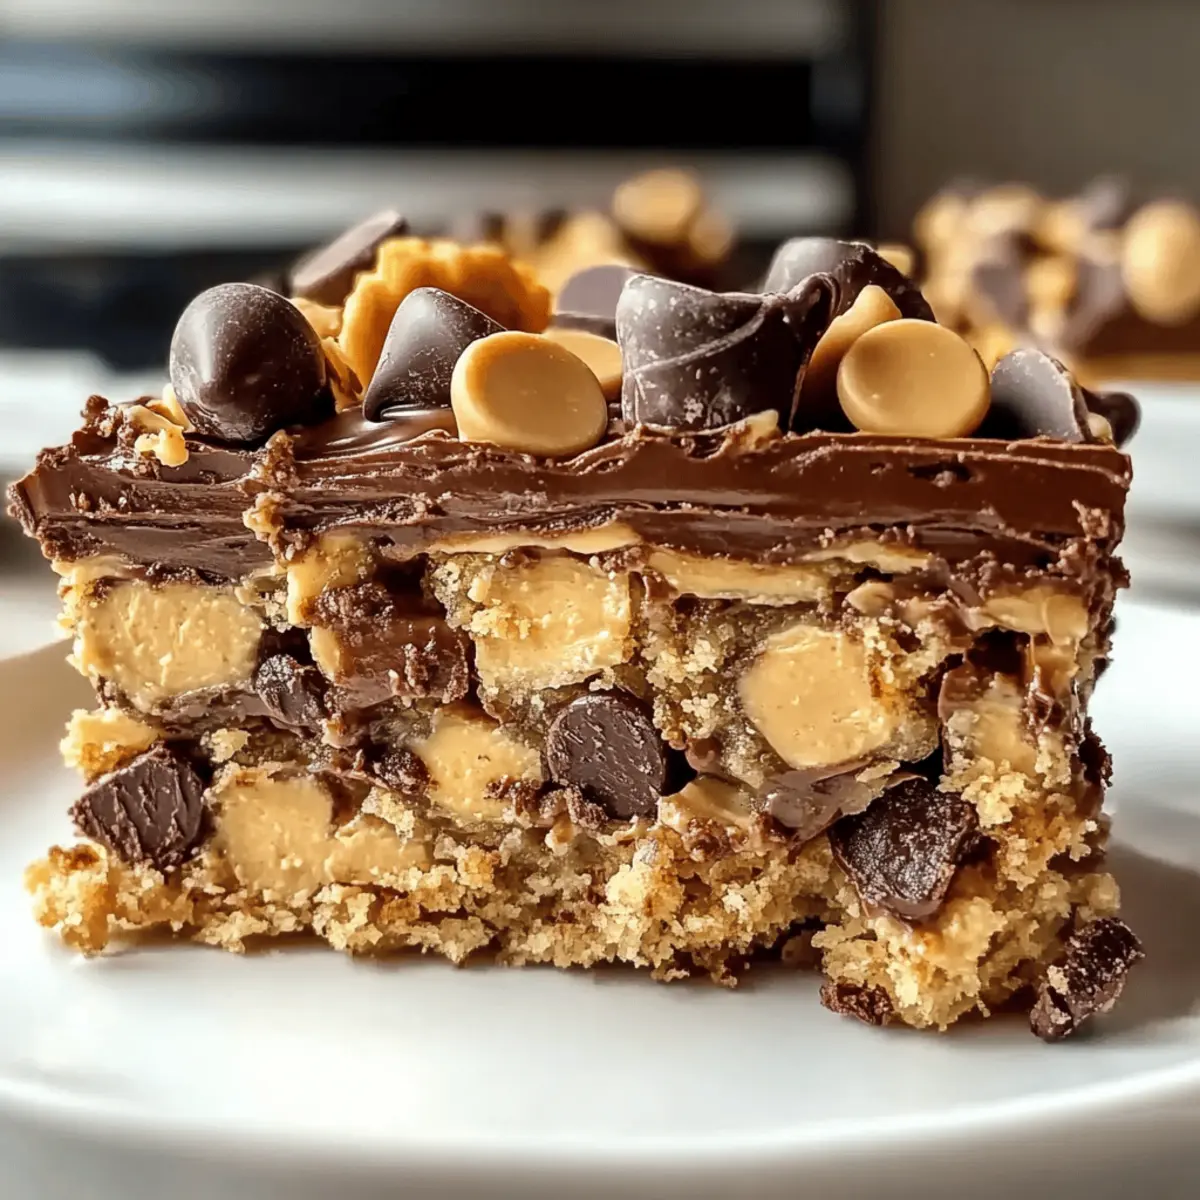
As I stood in my kitchen, I stumbled upon a delightful surprise: a Peanut Butter Cup Dump Cake that promised to become my new go-to dessert. With just a handful of ingredients and minimal effort, this easy recipe guarantees sheer delight, making it perfect for those of us who want to ditch the fast food rut. The gooey layers of chocolate and creamy peanut butter come together to create a crowd-pleasing treat that’s ready for any occasion—be it a cozy family gathering or a last-minute dinner party. Plus, you can customize it with your favorite mix-ins! Why not indulge in a slice of comforting goodness that requires no fuss? Trust me, you’ll want to keep this one bookmarked! Curious how to whip up this delicious dessert? Let’s dive into the details!
Why is this Dump Cake a Must-Try?
Simplicity: This Peanut Butter Cup Dump Cake requires minimal ingredients and effort, making it perfect for anyone looking to whip up a sweet treat without the hassle.
Crowd-Pleaser: The delightful combination of chocolate and peanut butter flavors creates a dessert that pleases both kids and adults alike, leaving everyone wanting seconds!
Customizable: Get creative by swapping cake mixes or adding your favorite candy pieces. You can easily make it your own!
Time-Saving: With just a few steps and about 45 minutes in the oven, you’ll have a decadent dessert ready to impress, making it a fantastic choice for unexpected guests.
Serve Warm: Best enjoyed fresh from the oven, a warm slice with a scoop of vanilla ice cream elevates this dessert to a new level of indulgence.
Get ready to share this easy and delicious recipe with your friends and family!
Peanut Butter Cup Dump Cake Ingredients
For the Cake Base
- Yellow Cake Mix – Provides a sweet, fluffy foundation; try a chocolate cake mix for an even deeper flavor.
- Water – Needed to hydrate the cake mix for baking; always use the amount specified on the box.
For the Peanut Butter Layer
- Peanut Butter – Adds a creamy, rich texture; both creamy and crunchy varieties are delightful.
For the Chocolatey Goodness
- Chocolate Chips – Enhance the cake with rich chocolate flavor; consider using peanut butter chips for a double dose of indulgence.
- Candy Pieces (optional) – Sprinkle your favorites for extra fun and texture; get creative with choices like M&Ms or crushed Reese’s.
What’s Next?
Be inspired to whip up this Peanut Butter Cup Dump Cake! It’s bound to become a favorite dessert that requires minimal effort while delivering maximum satisfaction.
Step‑by‑Step Instructions for Peanut Butter Cup Dump Cake
Step 1: Preheat the Oven
Begin by preheating your oven to 350°F (175°C). This temperature is ideal for ensuring the Peanut Butter Cup Dump Cake bakes evenly, turning out moist and gooey. While the oven warms up, gather your baking dish, which should be a 9×13 inch pan, and set it aside for layering the ingredients.
Step 2: Add the Cake Mix
Transfer the yellow cake mix into the prepared baking dish, spreading it evenly across the bottom. This will serve as the luscious base for your cake. Make sure to break up any lumps in the mix for a smooth texture, which will be crucial for that perfect gooey consistency once baked.
Step 3: Layer with Peanut Butter
Dollop generous spoonfuls of peanut butter over the cake mix, spacing them out across the surface. As you do this, the creamy richness will seep down during baking, enhancing the overall flavor and texture of the Peanut Butter Cup Dump Cake. Aim for an even distribution to create a delightful melt-in-your-mouth experience.
Step 4: Sprinkle the Chocolate Chips
Next, sprinkle a generous handful of chocolate chips evenly over the peanut butter layer. This adds a rich chocolate flavor that complements the creaminess of the peanut butter beautifully. Feel free to mix in some peanut butter chips or your favorite candy pieces for added sweetness and festive flair.
Step 5: Pour the Water
Without mixing, carefully pour water over the top of the layered ingredients. Ensure the water is distributed evenly to hydrate the cake mix below, which is essential for a moist, cake-like texture. As you pour, you’ll notice how the layers interact, creating a tempting visual effect.
Step 6: Bake to Perfection
Place the baking dish in your preheated oven and bake for 40-45 minutes. Keep an eye on it; the Peanut Butter Cup Dump Cake is ready when the center is set, and you see bubbly edges. A light golden hue on top indicates it’s achieved that perfect balance of gooey and firm.
Step 7: Cool Before Serving
Once baked, remove the dump cake from the oven and let it cool for about 10-15 minutes. This cooling time allows the layers to settle and firm up slightly, making it easier to serve. The aroma will fill your kitchen, making it hard to resist diving in right away!
Step 8: Serve and Savor
After cooling, slice into the Peanut Butter Cup Dump Cake and serve it warm, perhaps with a scoop of vanilla ice cream on top. The warmth, combined with the rich peanut butter and chocolate flavors, creates an irresistible dessert experience for you and your guests. Enjoy every bite of this delightful treat!
What to Serve with Peanut Butter Cup Dump Cake?
Indulge your senses by surrounding this delightful dessert with complementary flavors and textures that elevate every bite.
-
Vanilla Ice Cream: A scoop of creamy vanilla ice cream contrasts beautifully with the warm cake, providing a delightful temperature and texture difference.
-
Whipped Cream: Light and airy, whipped cream adds a fluffy finish, enhancing the rich flavors of chocolate and peanut butter while balancing sweetness.
-
Caramel Sauce: Drizzling warm caramel provides a luscious element that deepens the dessert experience, bringing an extra layer of decadence.
-
Nutty Toppings: Chopped nuts, such as pecans or walnuts, add a satisfying crunch, beautifully contrasting the cake’s softness while enriching the peanut flavor.
-
Fruit Salad: A refreshing fruit salad with berries or tropical fruits cuts through the richness of the cake, providing a burst of natural sweetness and acidity.
-
Coffee or Espresso: Serving a cup of freshly brewed coffee or espresso enhances the dessert’s chocolate notes, creating a perfect finishing touch to your meal.
Try pairing this Peanut Butter Cup Dump Cake with these delightful options to turn it into a memorable dessert party experience!
How to Store and Freeze Peanut Butter Cup Dump Cake
Fridge: Store leftover Peanut Butter Cup Dump Cake in an airtight container for up to 4 days. Reheat individual slices in the microwave for a quick dessert fix.
Freezer: For longer storage, freeze the cake after it has cooled completely. Wrap it tightly in plastic wrap, then in aluminum foil, and it will last up to 3 months. Thaw in the fridge before reheating.
Reheating: To enjoy the cake warm and gooey again, reheat it in the oven at 350°F (175°C) for about 10-15 minutes, or until heated through.
Serving Tips: Serve warm and consider adding a scoop of ice cream or a drizzle of chocolate sauce when bringing it back to life!
Make Ahead Options
These Peanut Butter Cup Dump Cakes are a dream come true for busy home cooks looking to save time! You can easily prepare the cake mix and layer it with peanut butter, chocolate chips, and any optional candy pieces up to 24 hours in advance. Simply cover the assembled dish with plastic wrap and refrigerate to keep everything fresh and prevent any moisture loss. When you’re ready to bake, just pour the water over the top and pop it in a preheated oven—no need to mix! Your cake will emerge just as delicious, gooey, and rich, ensuring you have a crowd-pleasing dessert with minimal last-minute effort.
Peanut Butter Cup Dump Cake Variations
Feel free to put your creative spin on this delightful Peanut Butter Cup Dump Cake that’s ready to impress!
-
Chocolate Cake Mix: Swap the yellow cake mix for chocolate or devil’s food cake mix to intensify the chocolate flavor.
-
Nutty Addition: Fold in some chopped nuts like walnuts or pecans for a crunchy element that complements the creamy peanut butter beautifully.
-
Candy Twists: Use different candy pieces like crushed Oreos or Butterfinger bits instead of standard chocolate chips to create a fun flavor explosion.
-
Syrupy Layers: Drizzle some caramel sauce over the peanut butter layer for an indulgent twist that adds a sweet, sticky flavor.
-
Spicy Kick: For those who love a touch of heat, mix in a dash of cayenne or chili powder with your peanut butter. This unexpected twist will surely surprise your taste buds!
-
Fruity Flavor: Incorporate some crushed bananas or diced strawberries on top before baking. The fresh fruit adds a burst of sweetness and complements the rich flavors.
-
Dairy-Free Delight: Use dairy-free chocolate chips and almond milk to make this dessert suitable for those with dietary restrictions.
-
Ice Cream Topping: Serve your slices warm with a scoop of your favorite ice cream for a comforting dessert experience reminiscent of a cozy diner treat. And if you’re craving more dessert ideas, check out our Velvet Strawberry Cheesecake for something equally indulgent!
Expert Tips for Peanut Butter Cup Dump Cake
-
Ingredient Temperature: Use room temperature peanut butter for easier dolloping and spreading; it helps create that perfect gooey texture in your Peanut Butter Cup Dump Cake.
-
Don’t Overmix: Avoid mixing the ingredients after pouring the water. This layering keeps your cake moist and creates distinct flavors—mixing can lead to a denser cake.
-
Oven Peek: Check for doneness as baking times may vary; you want the center to be set but gooey. A firm surface with slight bubbling indicates it’s just right.
-
Flavor Boost: For an extra layer of flavor, consider adding a pinch of sea salt on top before baking. It enhances the chocolate and peanut butter experience beautifully.
-
Serving Idea: Serve warm with a drizzle of chocolate sauce or a sprinkle of crushed nuts for added texture and flavor. Your guests will be raving about this Peanut Butter Cup Dump Cake!
Peanut Butter Cup Dump Cake Recipe FAQs
What type of cake mix is best for this recipe?
Absolutely! The classic choice is yellow cake mix, which provides a delightful sweetness and fluffy texture. If you’re in the mood for something richer, I highly recommend trying a chocolate cake mix instead. It pairs beautifully with the peanut butter and chocolate layers, creating a decadent experience.
How should I store leftover Peanut Butter Cup Dump Cake?
To ensure your leftovers stay fresh, store the Peanut Butter Cup Dump Cake in an airtight container in the fridge for up to 4 days. This method preserves the cake’s gooey texture and flavors. When you’re ready to enjoy a slice, simply reheat it in the microwave for a quick treat!
Can I freeze this cake?
Yes, you can! To freeze the Peanut Butter Cup Dump Cake, first allow it to cool completely. Then, wrap it tightly in plastic wrap and cover it with aluminum foil. It’ll keep well in the freezer for up to 3 months. When you’re ready to enjoy it, thaw it in the fridge overnight and reheat it in the oven at 350°F (175°C) for about 10-15 minutes.
What should I do if my cake is too dry?
If you find that your Peanut Butter Cup Dump Cake has come out dry, don’t worry! One common troubleshooting tip is to ensure you’re following the liquid measurements as specified. When pouring the water, try to distribute it evenly over the cake layer. You can also consider adding an extra dollop of peanut butter to enhance moisture during baking next time.
Can my pets enjoy this dessert?
It’s best to keep this cake away from pets, particularly because of the chocolate content—which can be toxic to animals. If you’re looking for a pet-friendly treat, consider making a special dog-safe cake using ingredients like pumpkin and peanut butter specifically formulated for pets!
How can I customize this recipe?
Get creative with add-ins! You can swap the yellow cake mix for chocolate or devil’s food mix, and playing with the types of chocolate chips or candy pieces can create delightful variations. Additionally, adding crushed pretzels or chopped nuts can boost flavor and add texture—absolutely a must-try!
Irresistible Peanut Butter Cup Dump Cake for Effortless Decadence
Ingredients
Equipment
Method
- Preheat your oven to 350°F (175°C) and prepare your 9x13 inch baking dish.
- Spread the yellow cake mix evenly across the bottom of the prepared baking dish.
- Dollop generous spoonfuls of peanut butter over the cake mix.
- Sprinkle a generous handful of chocolate chips evenly over the peanut butter layer.
- Carefully pour water over the top of the layered ingredients without mixing.
- Bake in the preheated oven for 40-45 minutes until the center is set.
- Let the cake cool for about 10-15 minutes before serving.
- Slice and serve warm, optionally with a scoop of vanilla ice cream.
Leave a Reply